Astrophotography Tips: Capturing the Beauty of Space
Understanding the Basics of Astrophotography
Astrophotography combines the beauty of photography with the wonders of the universe. At its core, it's about capturing celestial objects like stars, planets, and galaxies in stunning detail. To get started, you don’t need the fanciest equipment; a basic DSLR or mirrorless camera is often enough to begin your journey into the cosmos.
Astrophotography is a way to capture the beauty of the night sky and share it with others, revealing the wonders that often go unnoticed.
Understanding exposure settings is crucial in astrophotography. You'll want to experiment with long exposures to capture more light, which is key when photographing faint celestial objects. Additionally, learning about ISO settings can help you balance light sensitivity and image quality, allowing you to capture clearer night sky images.
Lastly, familiarize yourself with your camera's manual mode. This will give you the flexibility to adjust settings as needed, depending on the conditions and the subject you are photographing. Once you grasp these basics, you're well on your way to creating breathtaking images of the night sky.
Choosing the Right Location for Night Sky Photography
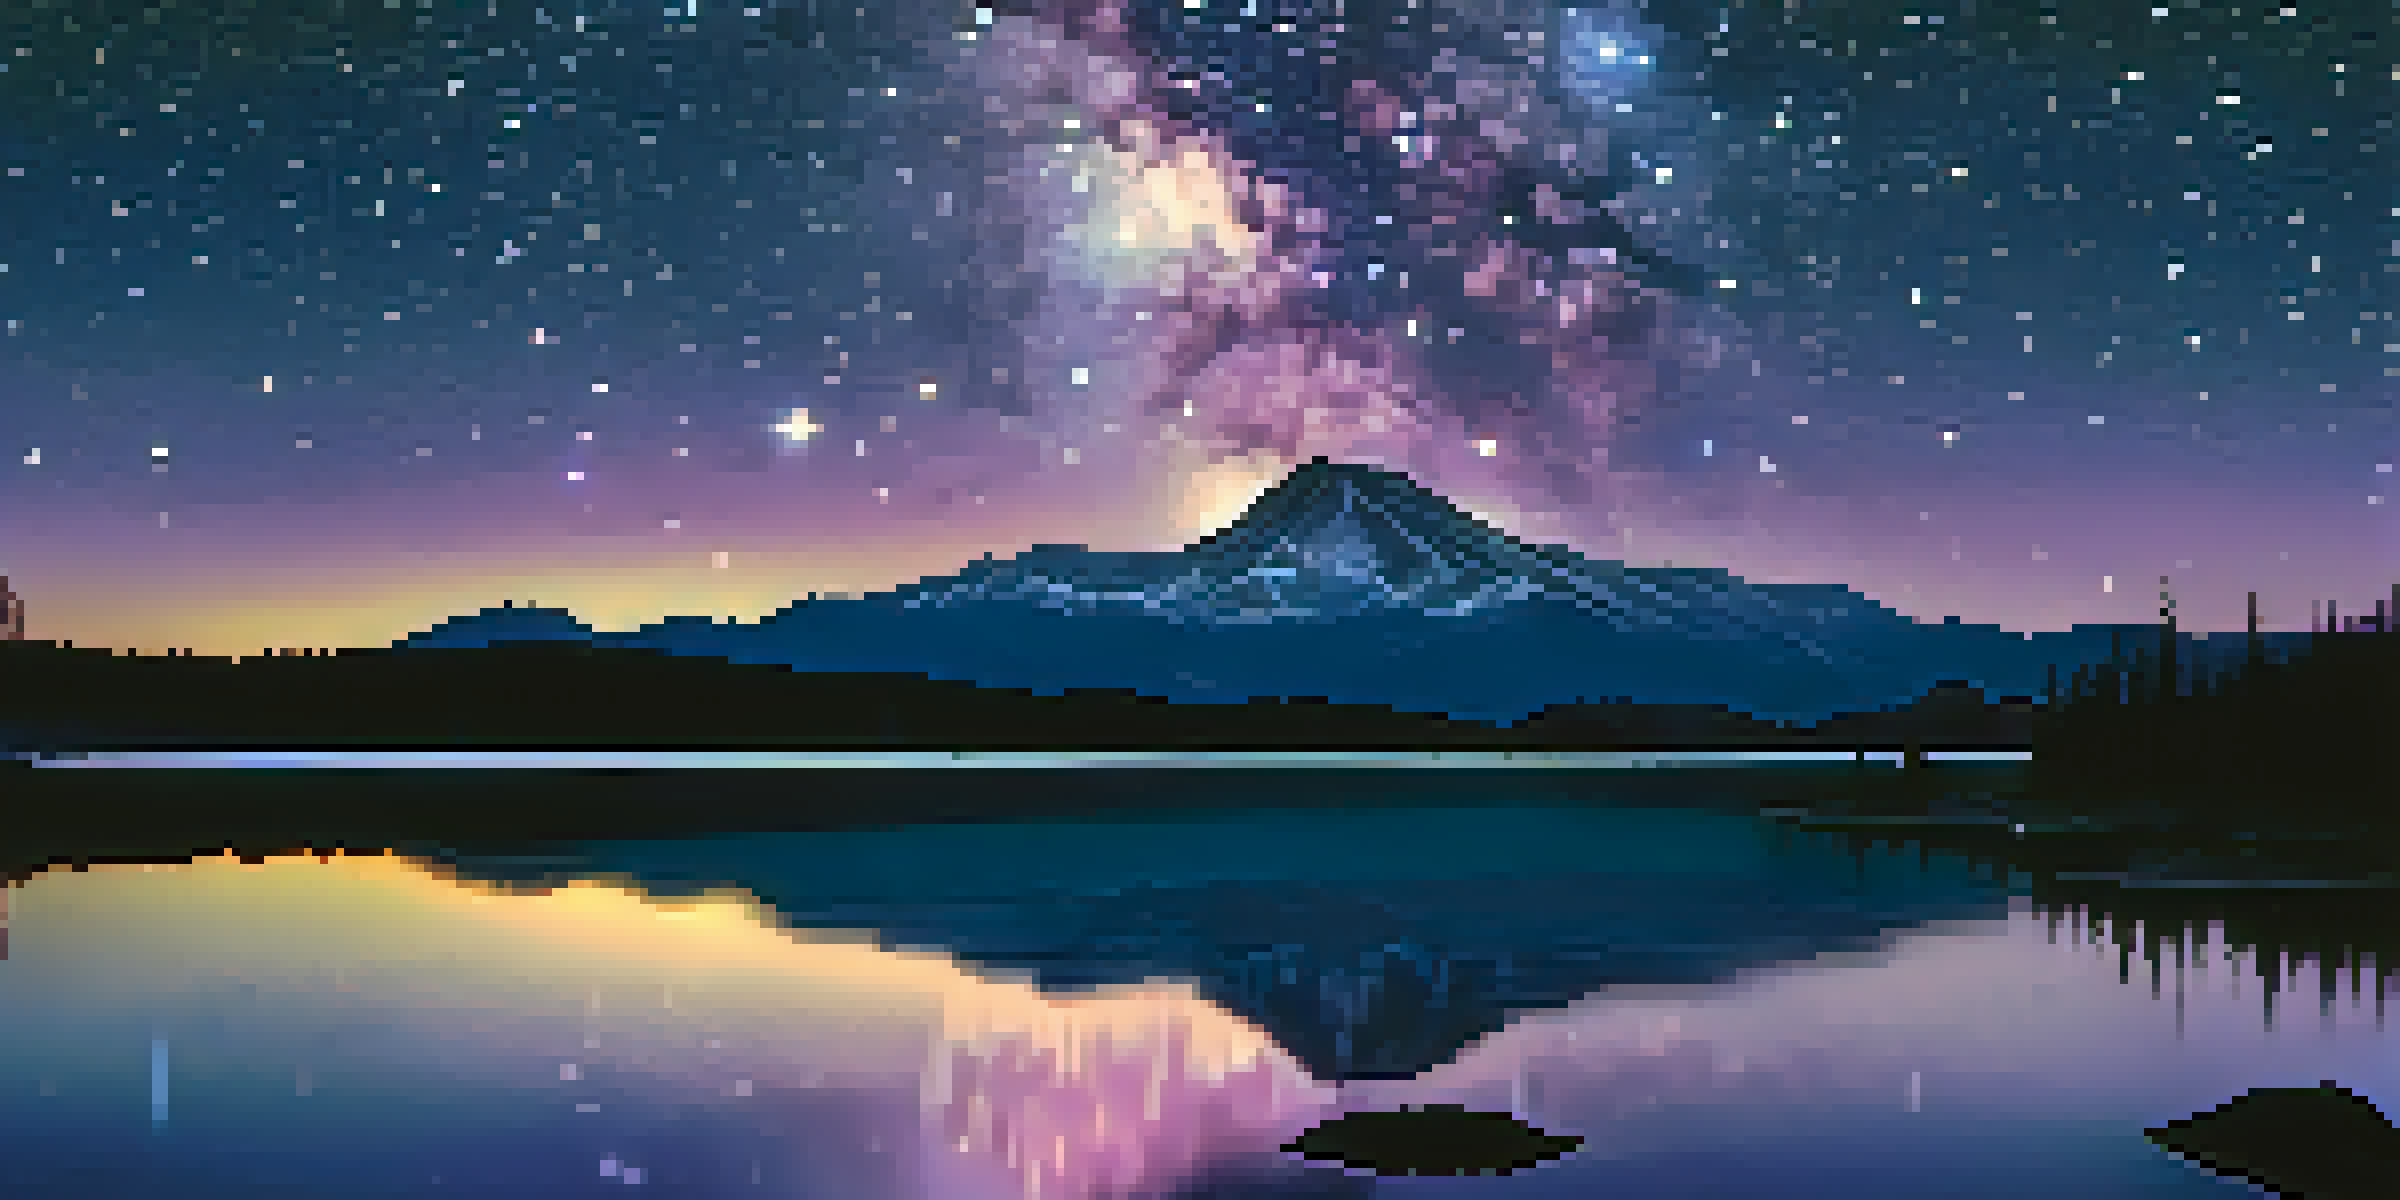
The location where you shoot can make or break your astrophotography experience. Ideally, you want to be far away from city lights to avoid light pollution, which can wash out the stars and other celestial features. National parks or remote areas can provide the dark skies perfect for capturing the universe's beauty.
In addition to light pollution, consider the altitude and weather conditions. Higher altitudes can offer clearer skies, while overcast weather can hinder your ability to see stars. Checking weather forecasts and moon phases is essential; a new moon night is ideal for dark skies.
Start with Basic Equipment
You don't need expensive gear; a basic DSLR or mirrorless camera and a sturdy tripod can kickstart your astrophotography journey.
Don’t forget to scout your location beforehand! Visiting the site during the day allows you to find the best angles and compositions for your night shots. It’s all about planning ahead to ensure you have everything you need for a successful astrophotography session.
Essential Equipment for Astrophotography
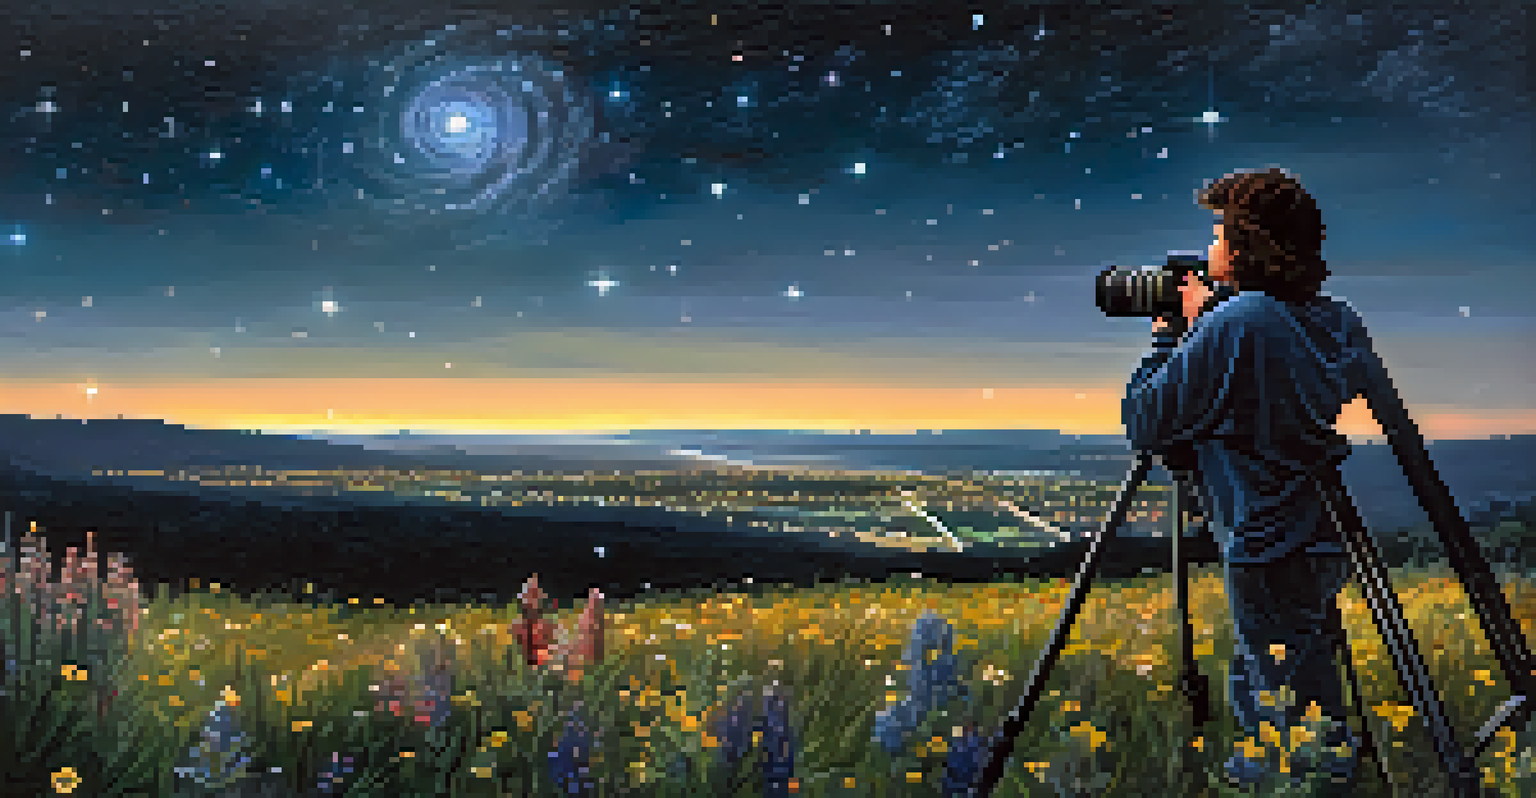
Having the right equipment can significantly enhance your astrophotography experience. A sturdy tripod is essential to keep your camera stable during long exposures, preventing any unwanted blurriness. Look for a tripod that can handle the weight of your camera and lenses, as stability is key.
Photography is the story I fail to put into words.
In addition to a tripod, a wide-angle lens is highly recommended for capturing expansive night skies. Lenses with a lower f-stop (like f/2.8 or lower) will let in more light, which is necessary for night photography. If you plan to photograph deep-sky objects, a telescope could be a worthwhile investment.
Finally, don’t overlook the importance of accessories like remote shutter releases or intervalometers. These tools help reduce camera shake during exposures, allowing for sharper images. With the right gear in hand, you’ll be better equipped to capture the breathtaking beauty of the cosmos.
Mastering Camera Settings for Astrophotography
Getting the right camera settings is crucial for capturing stunning astrophotography images. Start with a wide aperture (like f/2.8 or lower) to allow as much light in as possible. This is particularly important when shooting stars or the Milky Way, where capturing light is vital.
Next, experiment with your ISO settings. A higher ISO will make your sensor more sensitive to light, but be cautious—too high can introduce noise into your images. A common starting point is ISO 1600, but this can vary based on your camera and lens.
Choose Ideal Locations
Shooting away from city lights in high-altitude areas will help you capture the night sky's beauty without interference from light pollution.
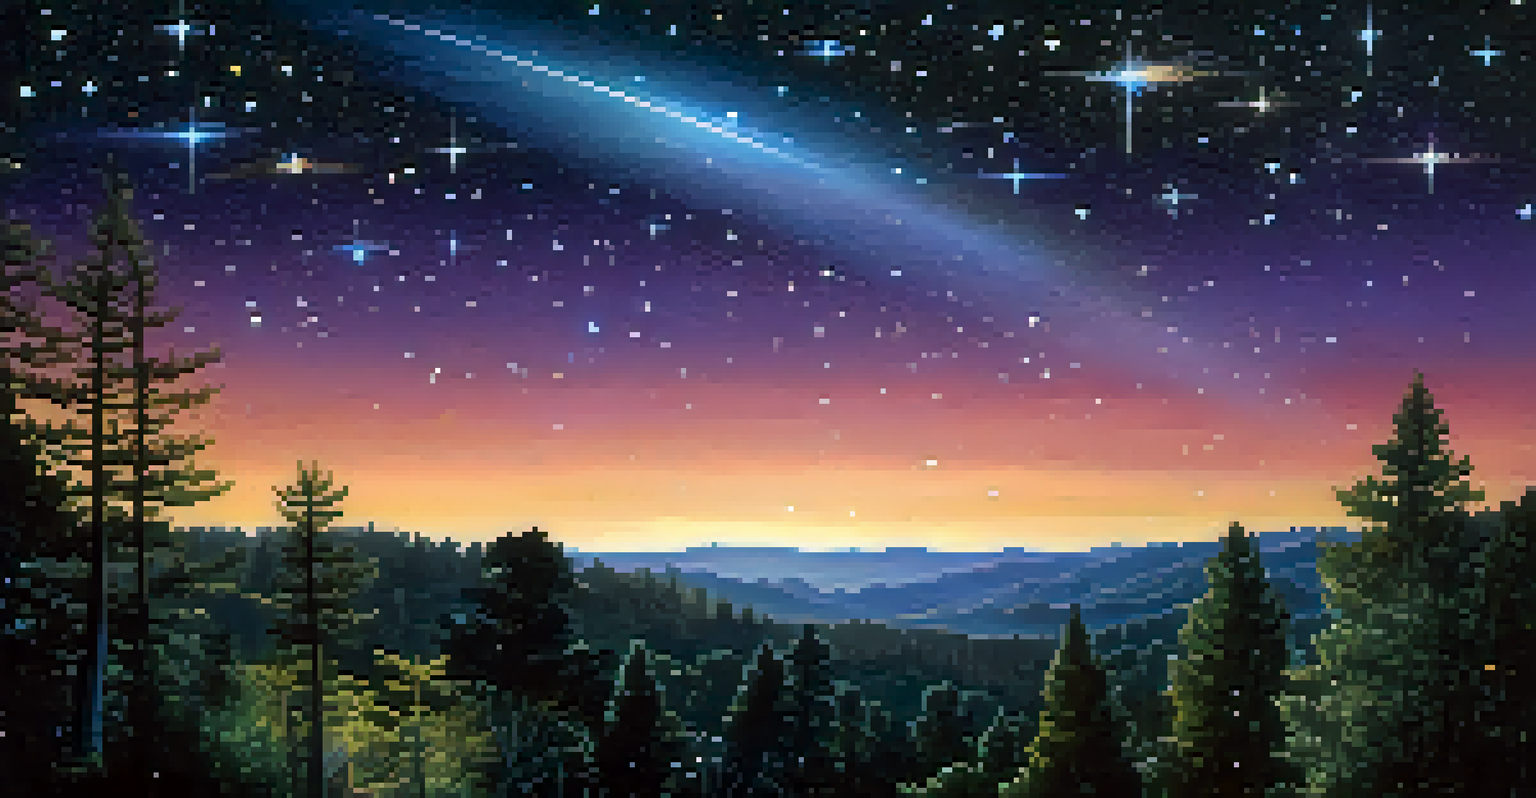
Finally, understand the importance of exposure time. The '500 rule' is a handy guideline: divide 500 by the focal length of your lens to determine the maximum exposure time in seconds without star trails. This allows you to capture sharp, detailed images of the night sky.
Composing Your Astrophotography Shots
Composition plays a vital role in astrophotography, just as it does in any other form of photography. Start by considering the rule of thirds; this classic principle helps create balanced and engaging images. Placing the horizon or key celestial objects off-center can lead to more dynamic compositions.
Additionally, incorporating foreground elements can add depth and interest to your photos. Whether it's trees, mountains, or even a silhouette of a person, these elements can create a story and draw viewers into your image. Experiment with different angles and perspectives to see what resonates with you.
Lastly, don’t be afraid to get creative! Astrophotography allows for artistic expression, so play around with light painting or using different framing techniques. The sky's the limit when it comes to capturing the beauty of space in your own unique style.
Post-Processing Techniques for Astrophotography
After capturing your astrophotography images, post-processing is where the magic happens. Software like Adobe Lightroom or Photoshop can help enhance your photos by adjusting exposure, contrast, and color balance. This step can bring out details in the stars and improve the overall look of your images.
A popular technique in astrophotography is stacking, which involves combining multiple images of the same scene to reduce noise and enhance details. This can be particularly useful for capturing faint objects in the night sky. Tutorials online can guide you through this process if you're new to it.
Master Camera Settings
Understanding exposure settings, ISO, and composition techniques is essential for capturing stunning images of celestial objects.
Don’t forget to experiment with different editing styles! Whether you prefer a natural look or a more dramatic approach, post-processing allows you to express your artistic vision. The more you practice, the more you'll develop your unique style in astrophotography.
Joining a Community of Astrophotographers
Connecting with fellow astrophotographers can significantly enhance your learning experience. Online forums, social media groups, and local clubs provide platforms to share your work, ask questions, and gain valuable feedback. Engaging with a community can also keep you motivated and inspired.
Participating in workshops or local meetups can offer hands-on experience and valuable tips from seasoned photographers. These gatherings are a great way to network, learn new techniques, and even collaborate on projects. Plus, you'll likely make friends who share your passion for the night sky.
Lastly, don't hesitate to showcase your work. Whether it’s on social media or through a personal website, sharing your astrophotography can lead to new opportunities and connections. The astrophotography community is often supportive, so putting your work out there can open doors.