Art of Shaping Bread: Techniques for Different Styles
Understanding the Importance of Bread Shaping
Shaping bread isn’t just about aesthetics; it plays a crucial role in the final texture and flavor of the loaf. When you shape dough, you're redistributing the yeast and creating tension on the outer surface, which helps develop a beautiful crust. Think of it like wrapping a present—how you fold and tuck can influence the final look and feel.
Baking bread is like making music; it requires the right notes, timing, and a little bit of love.
Different styles of bread require different techniques, and understanding this can elevate your baking game. For instance, a baguette needs a tighter shape to achieve its characteristic long, thin appearance, while a rustic boule can be more relaxed. Knowing the purpose behind each shape can help you master them effectively.
In essence, mastering the art of shaping bread is about creating a balance between form and function. As you experiment with various techniques, you'll discover how each shape influences not only the visual appeal but also the taste and texture of your bread.
Basic Techniques for Shaping Dough
Before diving into specific bread styles, it’s crucial to grasp some basic shaping techniques. One popular method is the 'coil fold,’ where you stretch and fold the dough over itself to build strength. This technique is particularly useful for high-hydration doughs, helping them maintain structure while still being soft.
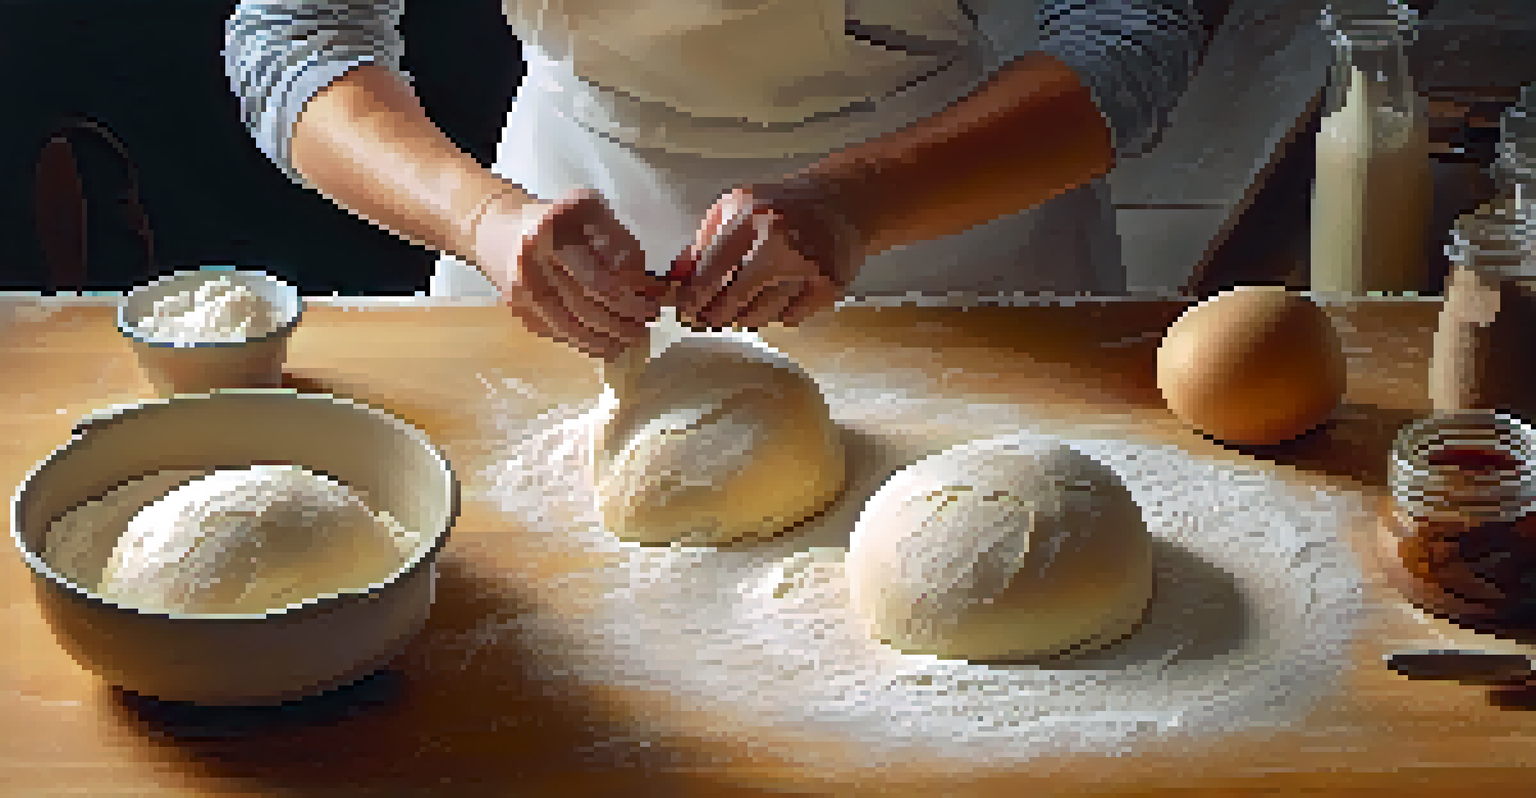
Another foundational technique is the 'pre-shape,' where you divide and form the dough into loose rounds before letting it rest. This step helps relax the gluten, making the final shaping easier and more effective. Imagine it as giving your dough a little warm-up before the main event!
Shaping Affects Texture and Flavor
The way you shape bread influences its final texture, flavor, and visual appeal, making it an essential skill for bakers.
Lastly, the 'final shape' is where the magic happens. Depending on whether you're making a batard, boule, or baguette, the final shaping involves creating surface tension, which is key for a good rise. As you practice, you’ll find that these basic techniques can adapt to fit various styles.
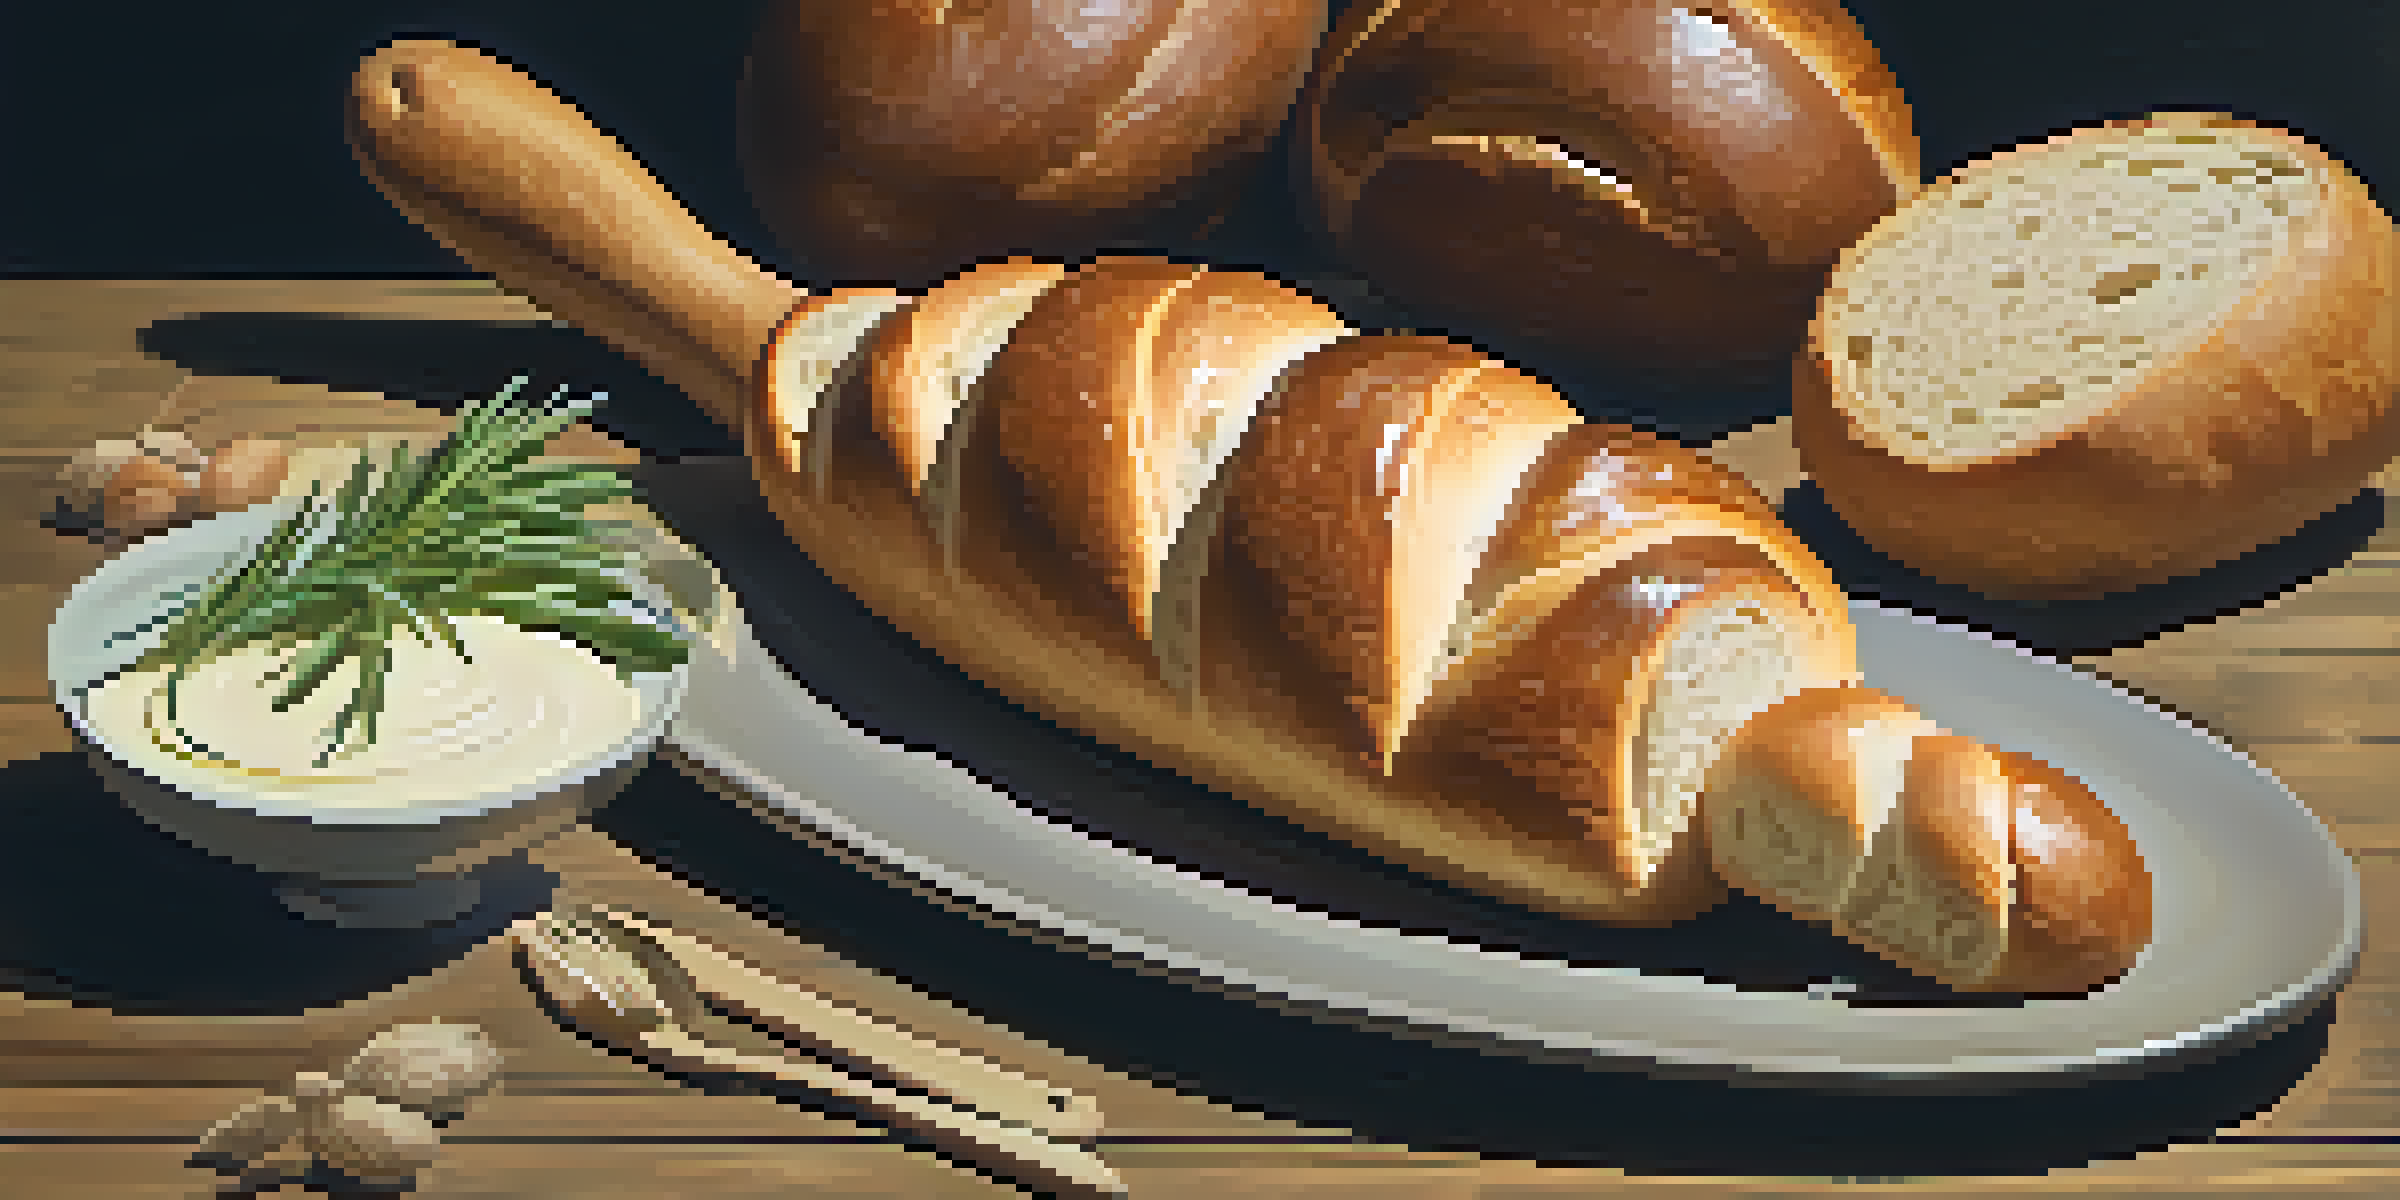
Shaping Boules: A Round Delight
The boule is one of the most beloved bread shapes, known for its round, rustic appearance. To shape a boule, start with your pre-shaped dough and flip it onto a lightly floured surface. Gently stretch the edges towards the center, tucking them in to create a smooth surface on top.
The secret of a good bread lies in the shaping; it’s where the magic begins.
Once you've formed a rough round, flip it seam-side down and use your hands to rotate the dough against the surface, tightening the shape. This technique builds that essential surface tension that results in a beautifully domed loaf. It's like giving your dough a gentle massage to help it relax and rise.
Don’t forget to let your shaped boule rest before baking! This short period allows the gluten to relax further and can improve the final texture of your bread. With a little practice, you'll be creating stunning boules that are as delightful to eat as they are to look at.
Crafting Baguettes: The Art of Long Loaves
Baguettes are iconic with their long, slender shape and crisp crust. To shape a baguette, you’ll want to start with a well-hydrated dough. After pre-shaping, divide the dough into equal portions and gently flatten each piece into a rectangle. This sets the stage for the shaping process.
Next, fold the top edge down towards the center and then fold the bottom edge up, creating a log-like shape. Roll the dough gently, using your palms to create a longer loaf. It’s akin to rolling out cookie dough—just with a bit more finesse! The goal is to keep the tension while ensuring the dough remains airy.
Master Basic Techniques First
Understanding foundational techniques like coil folds and pre-shaping is crucial for successfully shaping various types of bread.
Once shaped, place your baguettes on a floured couche or a baking sheet, allowing them to rise before baking. This step is crucial for developing that characteristic crunchy crust. With some practice, you’ll be crafting baguettes that not only taste amazing but also look like they came from a Parisian bakery!
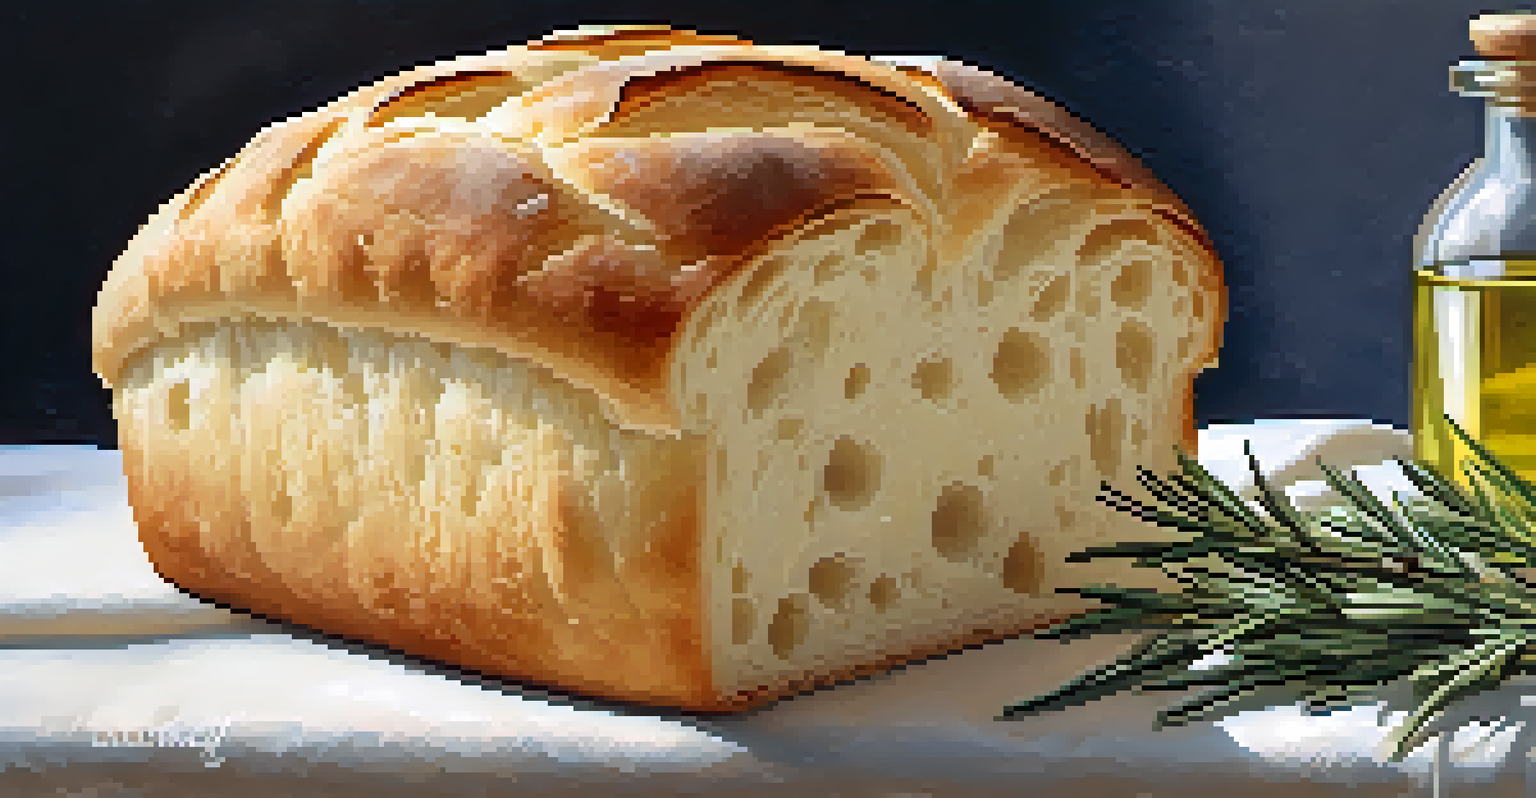
Shaping Focaccia: A Flat and Flavorful Experience
Focaccia is a delightful Italian bread known for its flat shape and dimpled surface. To shape focaccia, start by gently stretching your dough into a rectangle on a baking sheet. The goal here is to keep the air bubbles intact, which helps create that signature light texture.
After stretching, use your fingers to create dimples all over the surface, which not only looks inviting but also allows for toppings like olive oil, herbs, or even vegetables to nestle in. Think of it as creating little pockets for flavor to infuse during baking!
Let the dough rest for a bit before baking to allow it to rise slightly. This resting period is crucial for achieving that fluffy, airy quality. Once baked, you’ll have a focaccia that’s not only pleasing to the eye but also bursting with flavor, perfect for dipping or enjoying on its own.
Shaping Rolls: Small Bites, Big Flavor
Shaping rolls can be a fun and rewarding process, perfect for gatherings or family dinners. Start by dividing your dough into small, equal portions. The key to a good roll is to create surface tension, which helps the rolls rise beautifully in the oven.
To shape, take each piece and gently pull the edges towards the center, creating a tight ball. Then flip it seam-side down and use your palms to roll it against the work surface. Imagine it as tucking in a little baby; you want it snug and secure!
Get Creative with Unique Shapes
Once you master the basics, experimenting with unique shapes and flavors can elevate your bread-making experience.
After shaping, allow your rolls to rise before baking. This step is essential for achieving that fluffy, light texture inside. Once baked, you’ll have rolls that are perfect for serving up with butter, or even as the base for mini sandwiches!
Experimenting with Unique Shapes and Styles
Once you’ve mastered the basics, it’s time to get creative with unique shapes and styles. Consider trying a pretzel shape, which involves twisting the dough into a classic knot. Not only do they look impressive, but they also offer a delightful chewy texture when boiled before baking.
Another fun option is the ‘braided loaf,’ which involves dividing the dough into three or more strands and weaving them together. It’s a perfect way to impress guests, and the braiding technique can be applied to sweet or savory breads alike. Think of it as an art project—only this one you can eat!
Don’t hesitate to experiment with flavorings and toppings as well. Adding herbs, spices, or even cheese can elevate your bread’s profile. The possibilities are endless, and each shape offers a new adventure for your taste buds.