Baking Bread for Beginners: Step-by-Step Guide to Success
Understanding the Basics of Bread Baking for Beginners
Baking bread is both an art and a science, and it starts with understanding a few key concepts. At its core, bread is made from just four basic ingredients: flour, water, yeast, and salt. Each of these plays a crucial role in the bread-making process. For instance, yeast is what makes bread rise, while flour provides structure.
Baking bread is like a love letter to the world.
Before you dive in, it's important to familiarize yourself with some baking terminology. Proofing refers to the process of letting the dough rise and develop flavor, while kneading is the act of working the dough to develop gluten. Don't worry; these terms will become second nature as you practice!
Once you grasp these fundamentals, you're well on your way to creating delicious loaves. Remember, baking bread is about experimentation and learning from each attempt, so don't be afraid to make mistakes—every baker has been there!
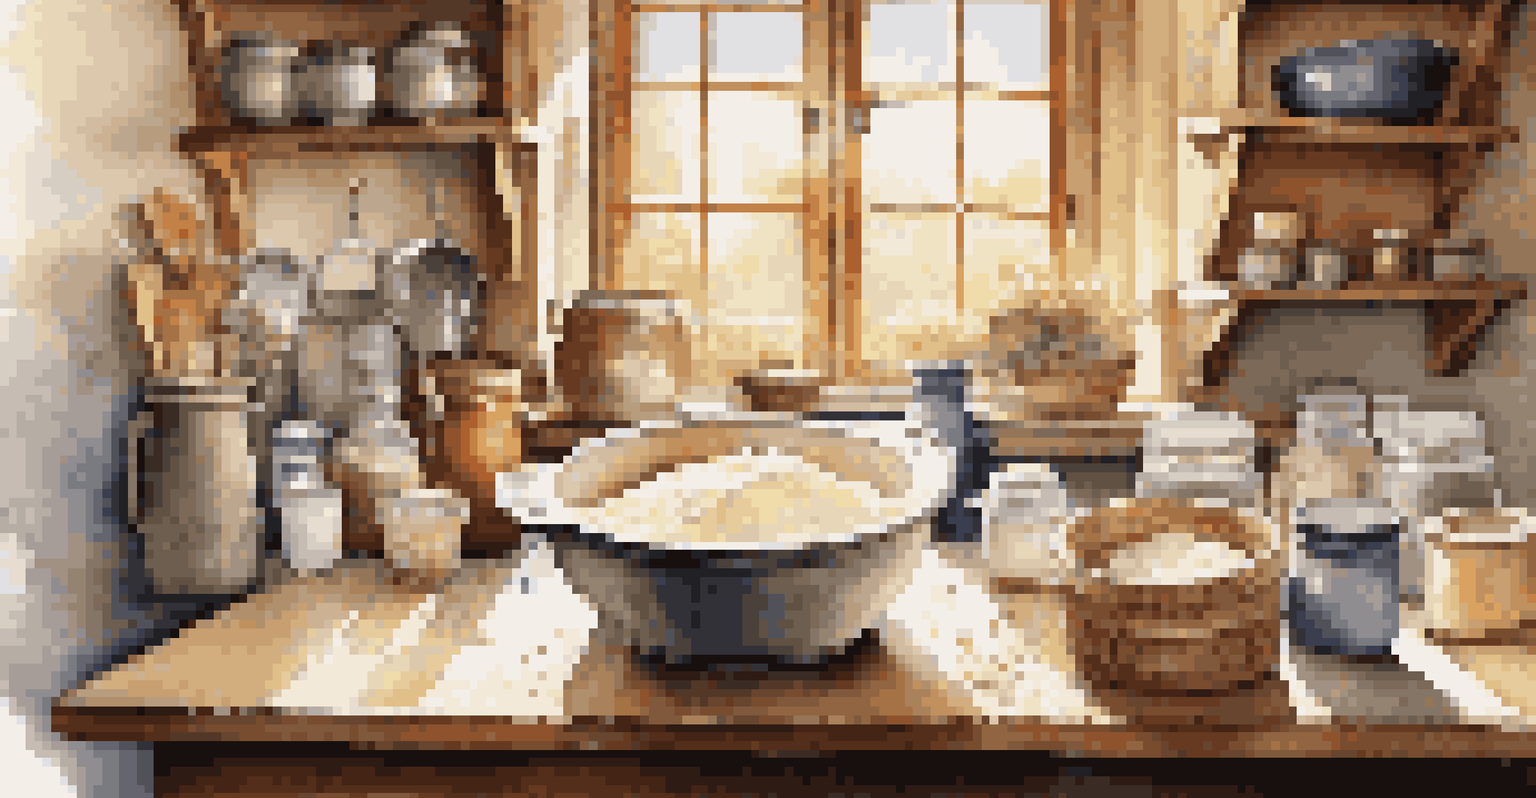
Essential Tools and Ingredients for Your Bread-Baking Journey
Having the right tools can make your bread-baking experience much smoother. At a minimum, you'll need a mixing bowl, measuring cups and spoons, a wooden spoon or spatula, and a baking sheet or loaf pan. A kitchen scale can also be incredibly helpful for accurate measurements, especially when it comes to flour.
As for ingredients, choose high-quality flour for the best results. All-purpose flour is great for beginners, but you can also experiment with bread flour for a chewier texture. Fresh yeast, or even instant yeast, can make a big difference in your bread's rise and flavor.
Baking Bread: A Simple Start
Understanding the basics of bread baking, including key ingredients and terminology, sets the foundation for beginner bakers.
Lastly, don't forget to have some patience! While the tools and ingredients are important, the most crucial component in baking is practice. The more you experiment with different recipes and techniques, the more confident you'll become.
Step-by-Step: Making Your First Simple Bread Recipe
Now that you're equipped with the basics and tools, let’s get into the fun part—baking! Start with a simple recipe, such as a no-knead bread, which is perfect for beginners. Combine flour, water, yeast, and salt in your mixing bowl and stir until it forms a shaggy dough.
The secret to great bread is to always have a warm heart and a keen eye.
Cover the bowl with a damp cloth and let it rest for about 12 to 18 hours at room temperature. This long resting period allows the flavors to develop and the dough to rise without the need for kneading, making it a fantastic option for novice bakers.
Once the dough has risen, shape it into a ball and let it rest again before baking. Preheat your oven, and with a little patience and excitement, you'll soon be pulling a golden-brown loaf out of the oven that you made from scratch!
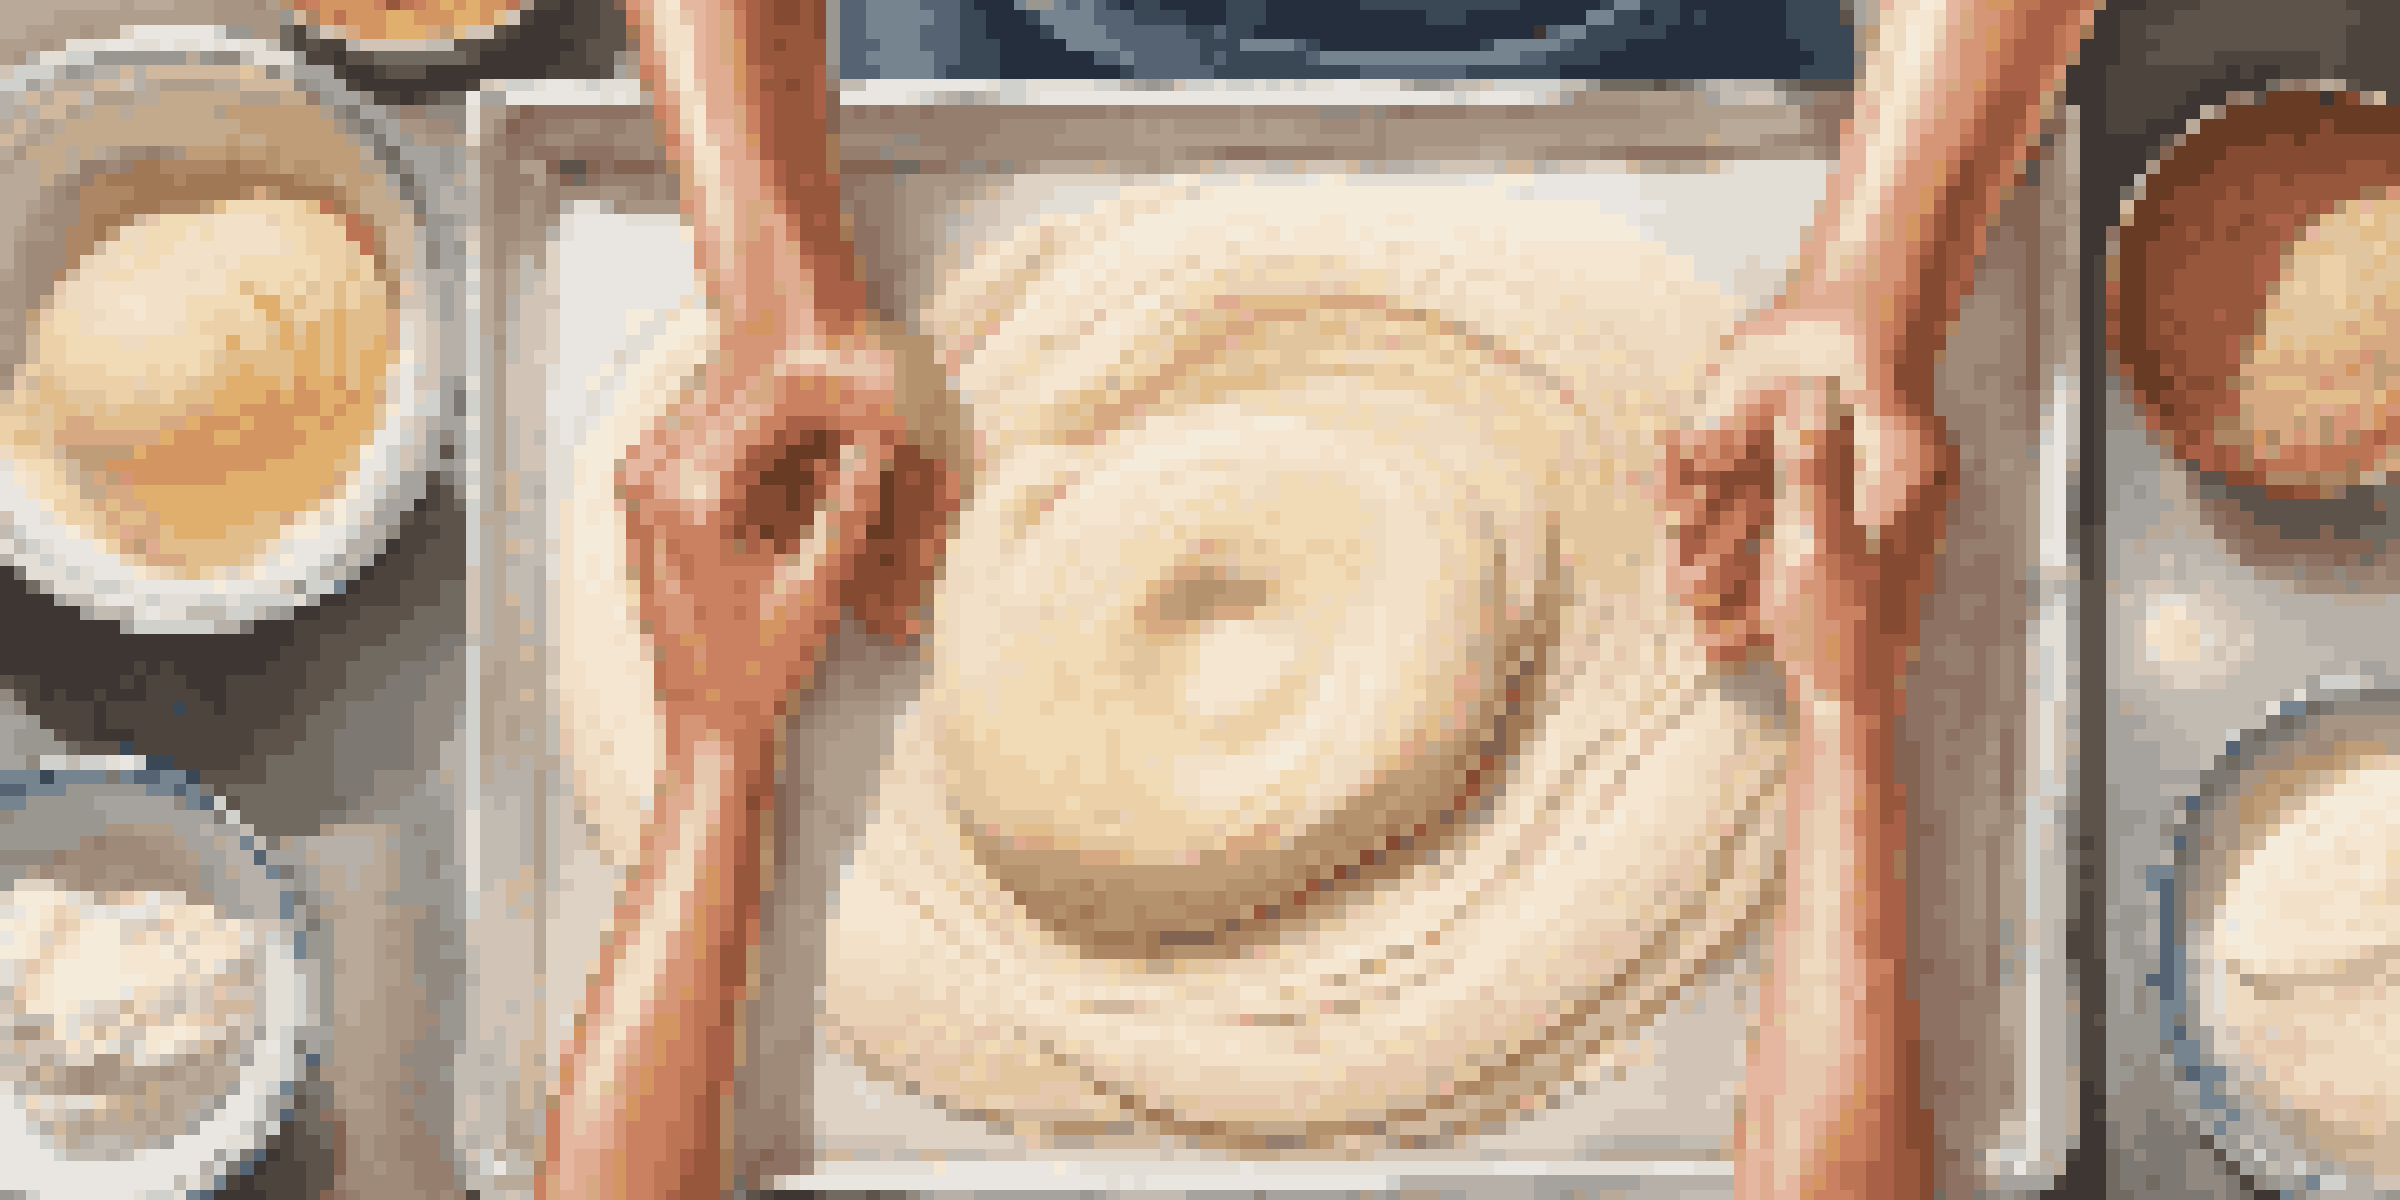
The Importance of Kneading and How to Do It
Kneading the dough is a vital process in bread making that helps develop gluten, giving the bread its structure and chewiness. To knead, simply turn the dough onto a floured surface, then fold and push it with the heel of your hand. Give it a quarter turn after every push to ensure even kneading.
Don’t get discouraged if it feels tough at first; with practice, the dough will become smoother and elastic. Typically, kneading takes about 8 to 10 minutes. You can also use a stand mixer with a dough hook if you prefer a less hands-on approach.
Essential Tools for Success
Having the right tools and high-quality ingredients is crucial for a smooth and successful bread-baking experience.
Remember, the dough is ready when it springs back to the touch and passes the 'windowpane test.' This is when you can stretch a small piece of dough until it's thin enough to see light through it without tearing. It's a fun way to check your progress!
How to Properly Proof Your Dough for Best Results
Proofing is the process where the dough rises, resulting in a lighter and airier bread. After kneading, you should place the dough in a lightly oiled bowl, cover it with a damp cloth, and let it rise until it doubles in size. This usually takes about 1 to 2 hours, depending on the temperature of your kitchen.
A warm, draft-free environment is ideal for proofing. If your kitchen is cool, consider placing the dough in an oven with the light on or near a warm window. The dough will let you know when it’s ready—it should feel puffy and airy.
Don’t rush the proofing process. Allowing your dough to rise adequately will greatly improve the texture and flavor of your final bread. If you’re ever unsure, it’s better to let it rise a little longer than to cut it short!
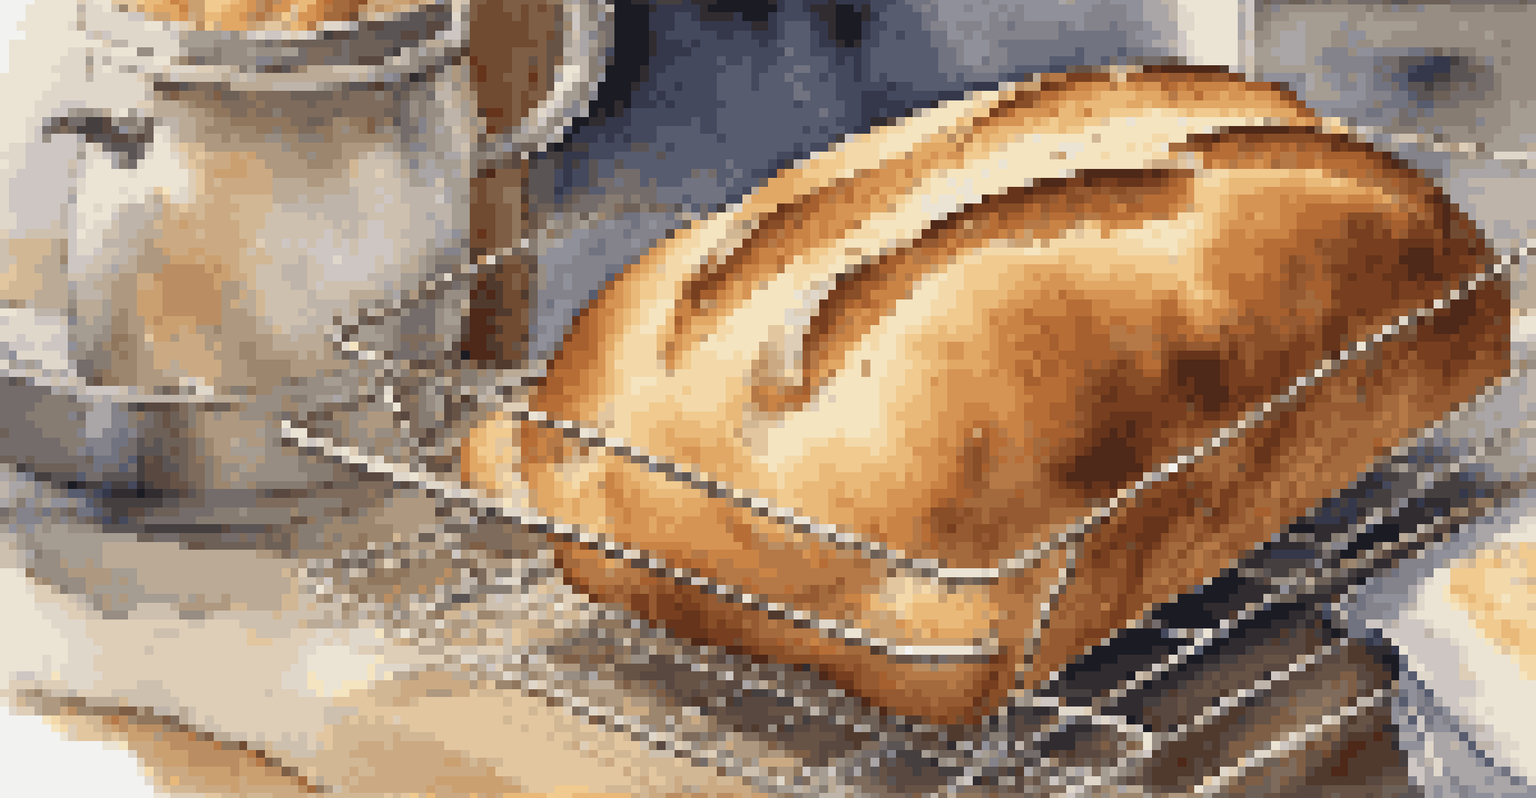
Baking Your Bread: Tips for the Perfect Crust and Texture
When it comes time to bake, preheating your oven is essential. A hot oven helps achieve that wonderful crust we all love. For added moisture, you can place a pan of hot water at the bottom of the oven during baking, which creates steam and helps the crust form beautifully.
The baking time will vary depending on the recipe and size of your loaf. Keep an eye on it, and look for a golden-brown color, which is a good indicator that your bread is done. If you tap the bottom and it sounds hollow, it’s a sure sign of a perfectly baked loaf.
Avoid Common Baking Mistakes
Recognizing and avoiding common pitfalls, such as using expired yeast or inaccurate measurements, can significantly improve your baking results.
Once out of the oven, let your bread cool completely on a wire rack. This cooling period allows the interior to finish cooking and sets the texture. The anticipation of slicing into your homemade bread is one of the best parts of the entire process!
Common Mistakes to Avoid When Baking Bread
Even experienced bakers make mistakes, so don't be too hard on yourself if things don't go as planned! One common mistake is using expired yeast, which can lead to flat and dense bread. Always check the expiration date and store yeast in a cool, dry place to ensure it's active.
Another pitfall is not measuring ingredients accurately. Baking is a science, and even a small difference in flour or water can significantly affect the outcome. Invest in a kitchen scale for precise measurements, especially for flour.
Lastly, don’t forget to trust your instincts. Bread baking can be unpredictable at times, so learning to read the dough and adapt is key. If something doesn’t seem right, don’t hesitate to tweak your approach for better results next time!