Kneading Techniques: Achieving Perfect Dough Consistency
Understanding the Importance of Kneading Dough
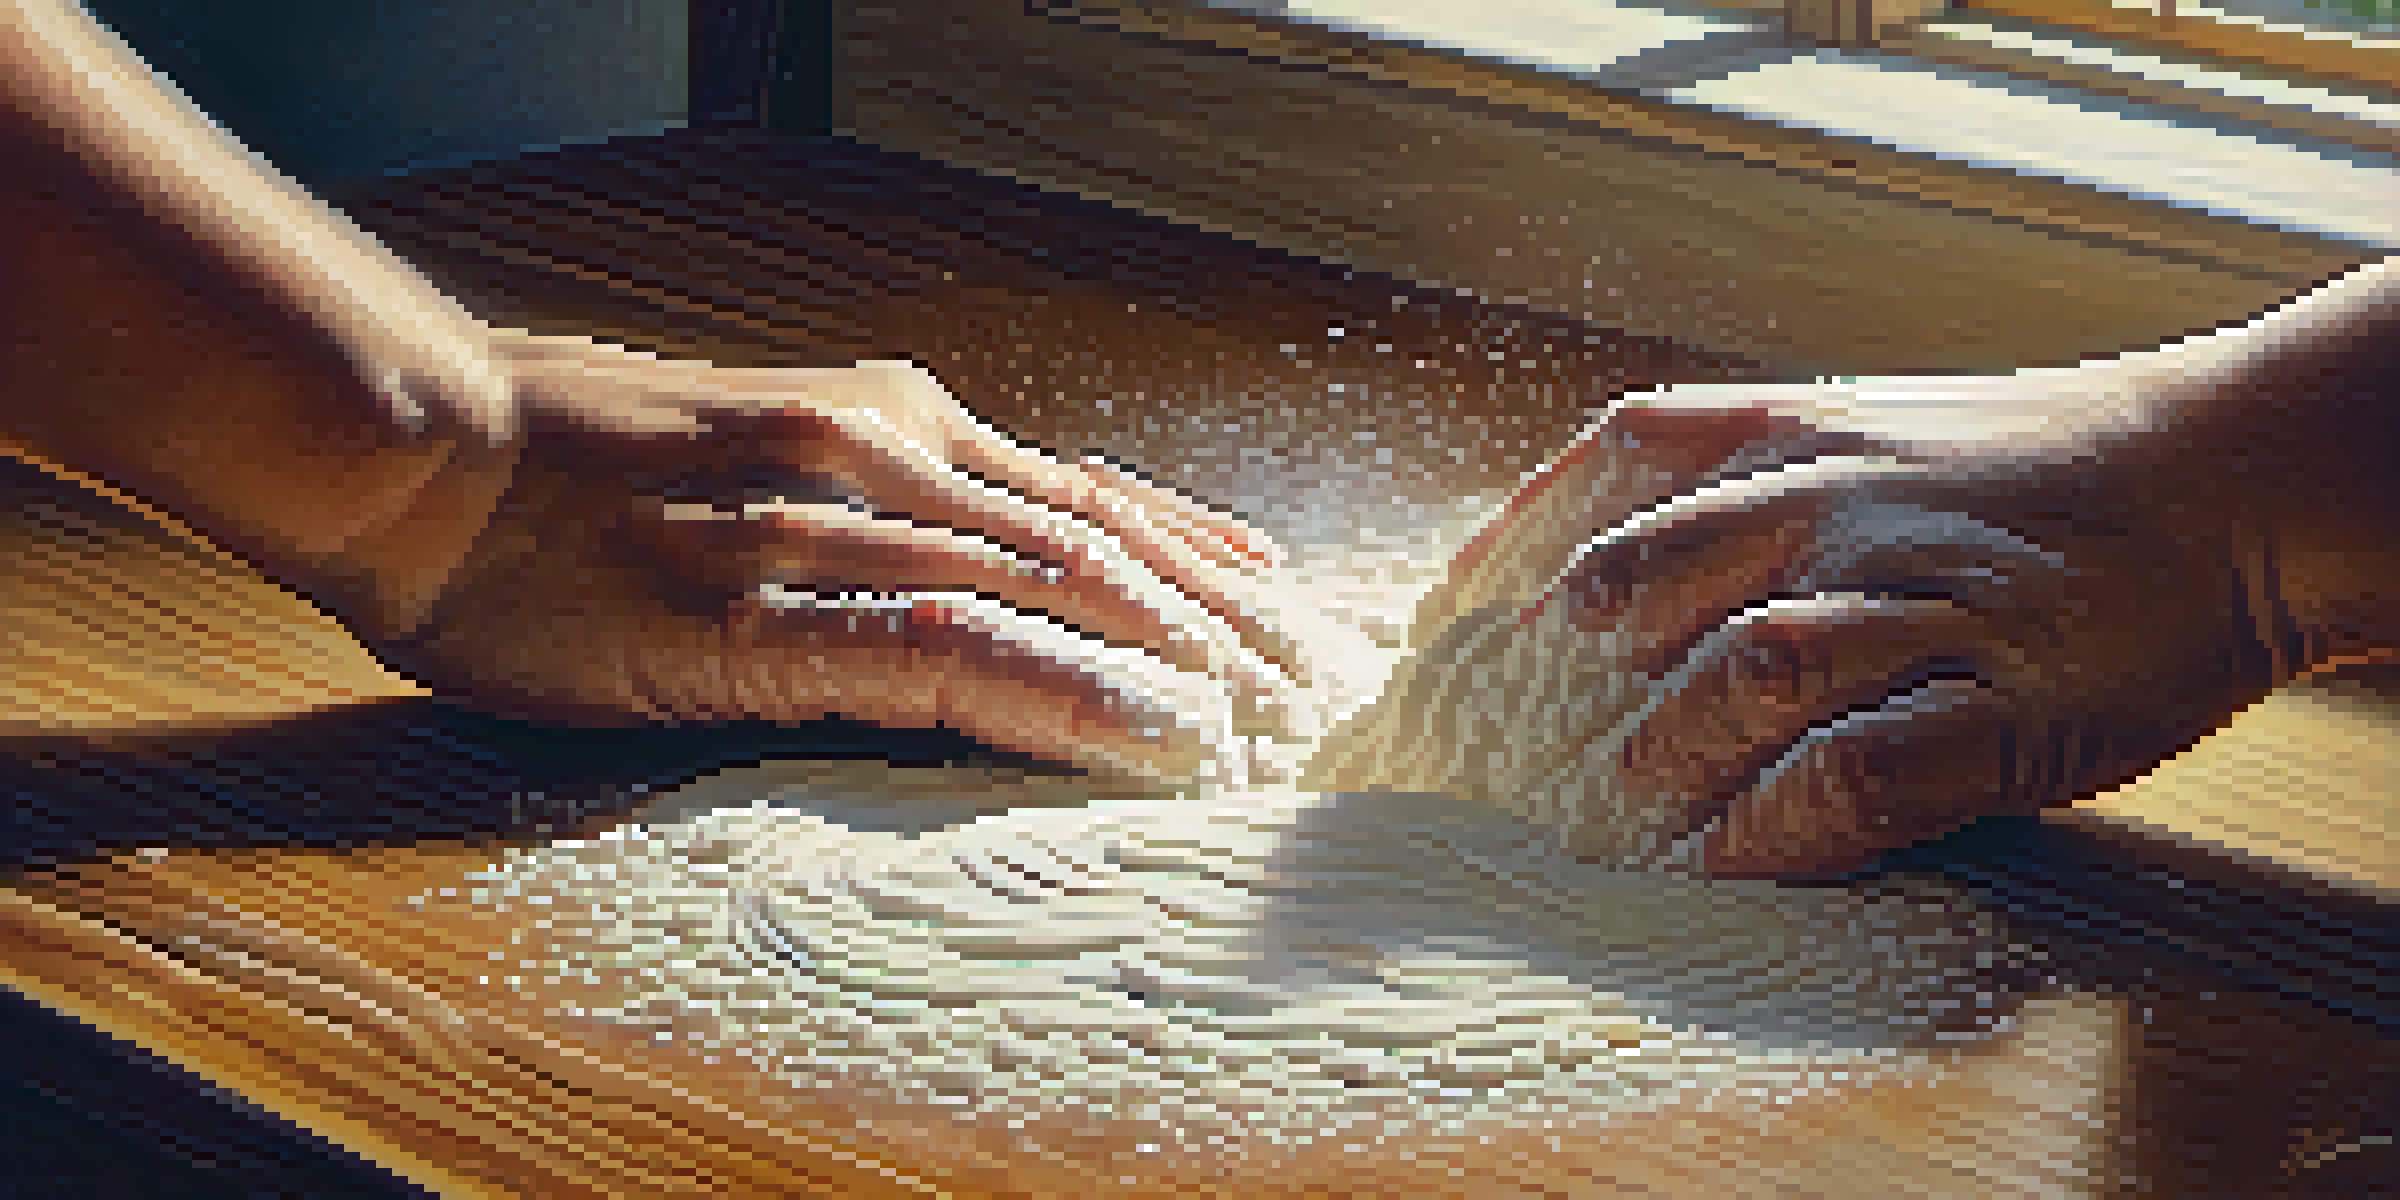
Kneading is a crucial step in bread-making that helps develop gluten, the protein that gives bread its structure. Without proper kneading, your dough may end up dense and heavy, rather than light and airy. Think of kneading as a workout for your dough; it builds strength and elasticity, which are essential for that perfect rise.
Good bread is the most fundamentally satisfying of all foods; and good bread with fresh butter, the greatest of feasts.
When you knead, you're not just mixing ingredients together; you're activating the proteins in the flour. This process transforms the sticky, shaggy mixture into a smooth, cohesive dough. Proper kneading can dramatically improve the texture of your final product, making each bite a delight.
To truly appreciate the role of kneading, consider how it affects the final loaf. A well-kneaded dough traps air bubbles during fermentation, leading to a fluffy and well-structured bread. So, whether you’re baking a rustic loaf or a delicate pastry, don’t underestimate the power of kneading.
The Basic Kneading Technique: A Step-by-Step Guide
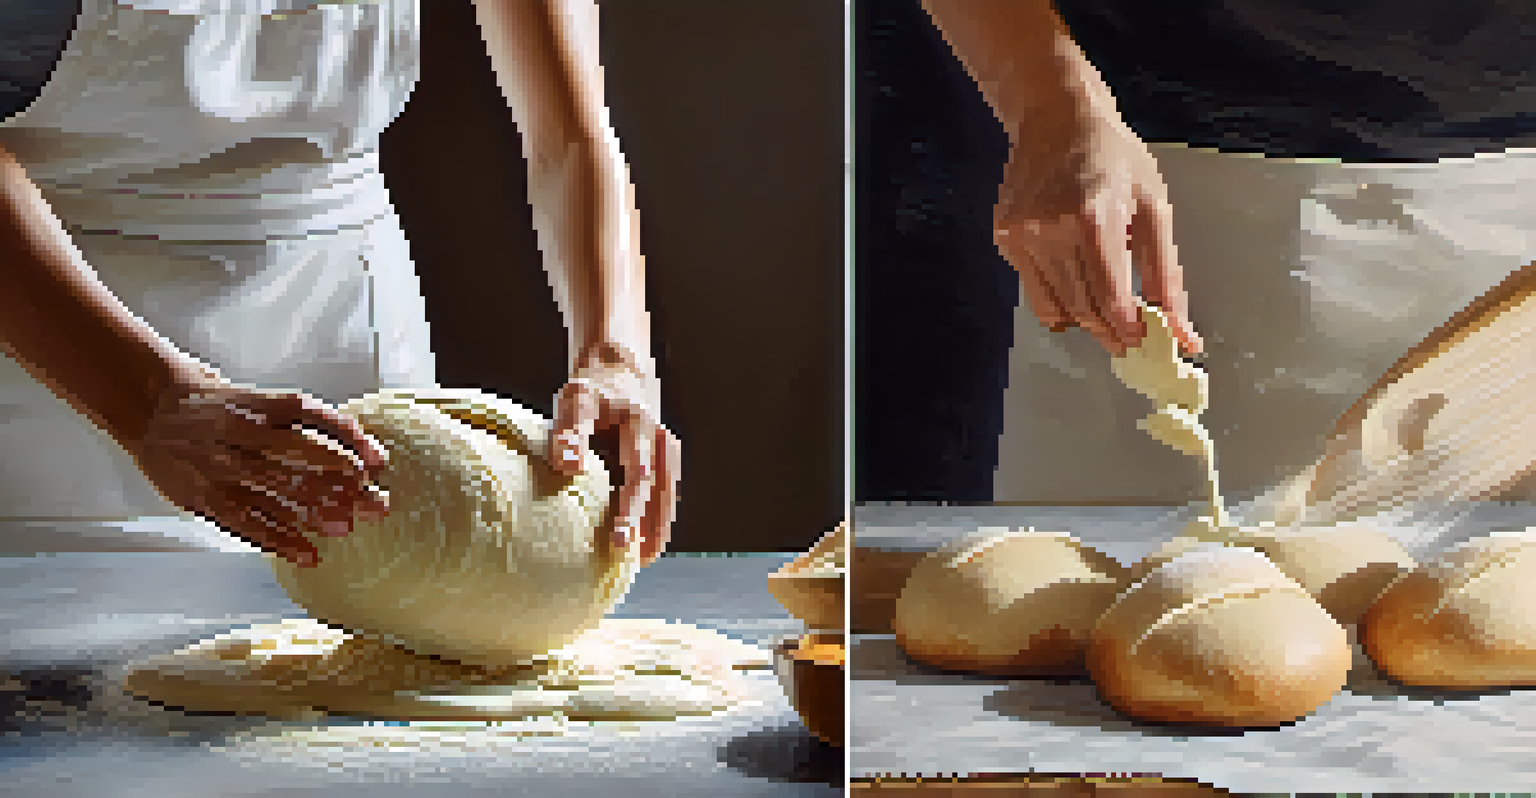
To get started with kneading, it’s essential to have a clean, flat surface. Begin by turning your dough out and pressing it down with your palms. As you push the dough away from you, fold it back over itself. This simple motion introduces oxygen and strengthens the dough's structure.
Continue this process, applying gentle pressure and rotating the dough as you go. It’s a rhythmic motion that should feel satisfying. Remember, the goal is to create a smooth, elastic texture, so if your dough feels sticky, don’t hesitate to sprinkle a little flour on the surface.
Kneading Builds Dough Strength
Kneading is essential for developing gluten, which gives bread its structure and airy texture.
Knead for about 8 to 10 minutes, or until the dough passes the 'windowpane test.' This means stretching a small piece of dough until it’s thin enough to see light through it without tearing. If it holds together, you’ve achieved the perfect consistency!
Exploring Alternative Kneading Methods
While traditional kneading is effective, there are alternative techniques that can achieve similar results. One popular method is the 'stretch and fold,' which involves stretching the dough and folding it over itself at intervals during its rise. This technique is especially useful for high-hydration dough, like sourdough.
Baking is both an art and a science, and kneading is where magic happens.
Another method is using a stand mixer with a dough hook attachment. This hands-off approach allows you to multitask while your mixer does the work. Just keep an eye on the dough to ensure it doesn’t over-knead, which can happen quickly with a powerful machine.
Finally, consider no-knead recipes that use long fermentation times to develop gluten naturally. This method results in a deliciously chewy texture without the need for extensive kneading. Each technique has its benefits, so don’t hesitate to experiment and find what works best for you!
Common Mistakes to Avoid When Kneading Dough
One of the most common mistakes is adding too much flour during the kneading process. While it’s tempting to sprinkle flour to manage stickiness, overdoing it can lead to a dry, crumbly dough. Instead, use just enough flour to prevent sticking while allowing the dough to maintain its moisture.
Another error is under-kneading, which can leave you with a weak dough that doesn’t rise properly. Make sure to devote the right amount of time and attention to this step. If you’re unsure, remember that it’s better to knead a bit longer than to risk a dense loaf.
Master the Kneading Technique
Proper kneading involves rhythmic motions to create a smooth, elastic dough, ensuring optimal rise.
Lastly, be mindful of your kneading surface. Using a rough or uneven surface can lead to inconsistencies in the dough. Opt for a smooth countertop that allows for easy movement of the dough, ensuring an even texture and optimal results.
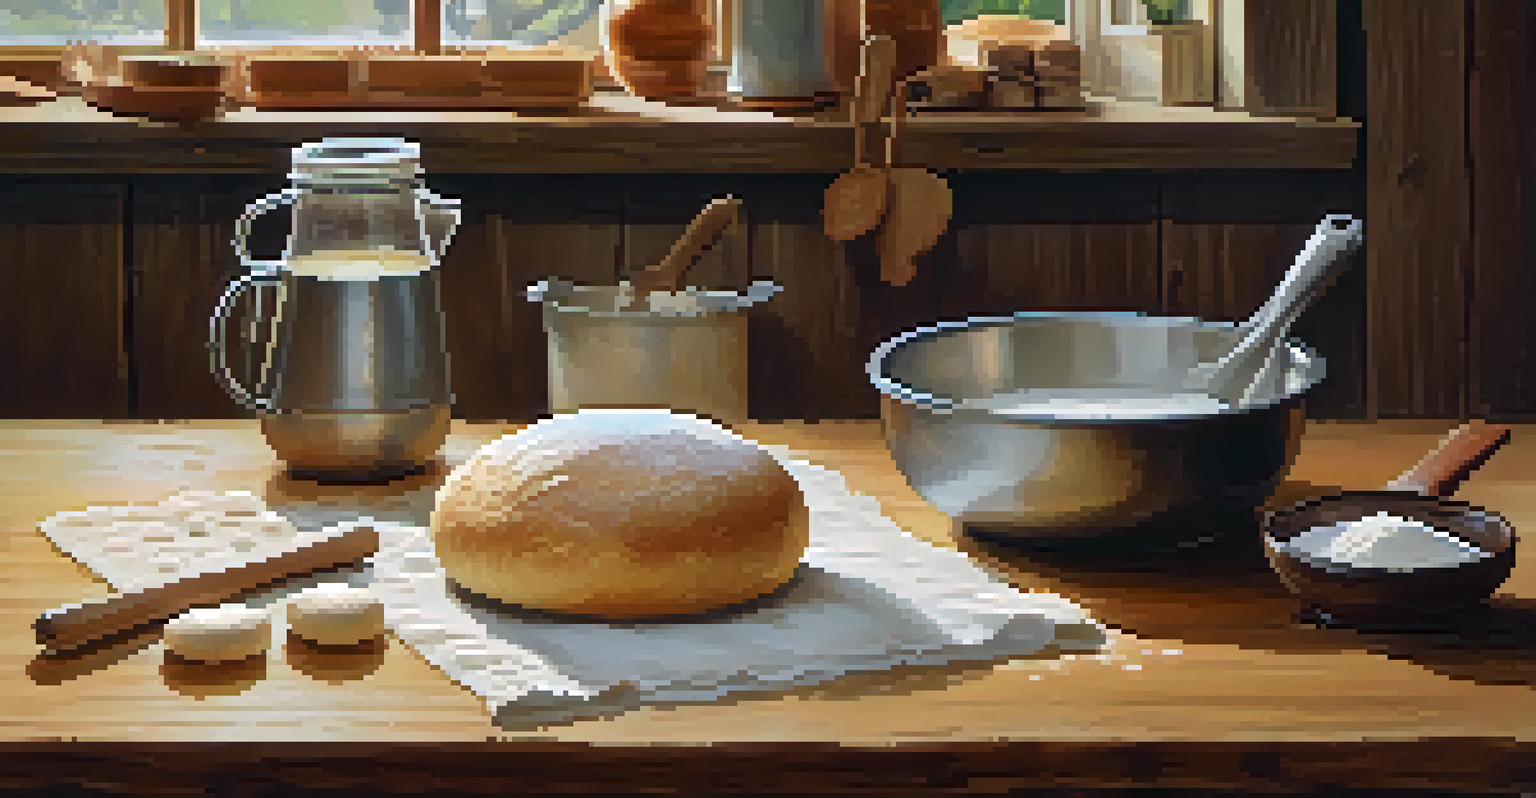
Recognizing the Right Dough Consistency
Achieving the right dough consistency is key to successful baking. A well-kneaded dough should be smooth, elastic, and slightly tacky but not sticky. When you poke it with your finger, it should spring back gently, indicating that the gluten has developed properly.
As you knead, pay attention to the dough's texture. If it feels too dry, add a bit of water; if too wet, sprinkle some flour. This adjustment is crucial because every batch of flour can behave differently based on humidity and other factors.
Ultimately, the goal is to create a dough that holds its shape while still being pliable. By learning to recognize these characteristics, you'll build confidence in your baking skills and achieve consistent results every time.
The Role of Resting: Why It Matters
After kneading, it’s essential to let your dough rest. This period allows the gluten to relax, making it easier to shape later on. Think of it as a mini-vacation for your dough, where it can gather strength and prepare for its next adventure.
Resting also aids in flavor development. During this time, the yeast continues to work, creating those delicious flavors that make bread irresistible. A good rule of thumb is to let your dough rest for at least 30 minutes before shaping.
Avoid Common Kneading Mistakes
It's important to prevent adding too much flour or under-kneading to achieve the right dough consistency.
To ensure your dough doesn’t dry out during this resting phase, cover it with a damp cloth or plastic wrap. This will keep the moisture in, allowing for optimal fermentation and the best results when you finally bake your creation.
Tips for Perfecting Your Kneading Technique Over Time
Like any skill, perfecting your kneading technique takes practice. Start by making small batches of dough so you can focus on mastering the feel and texture without feeling overwhelmed. As you become more comfortable, gradually increase the quantities.
Consider keeping a baking journal to track your experiences. Note down what techniques worked well and any adjustments you made. This reflection will help you fine-tune your process and understand how different variables influence your dough.
Lastly, don’t hesitate to watch videos or take a class on bread-making. Seeing the techniques in action can provide valuable insights and inspire you to experiment with your kneading style. Remember, every baker has their unique touch, so embrace your journey!