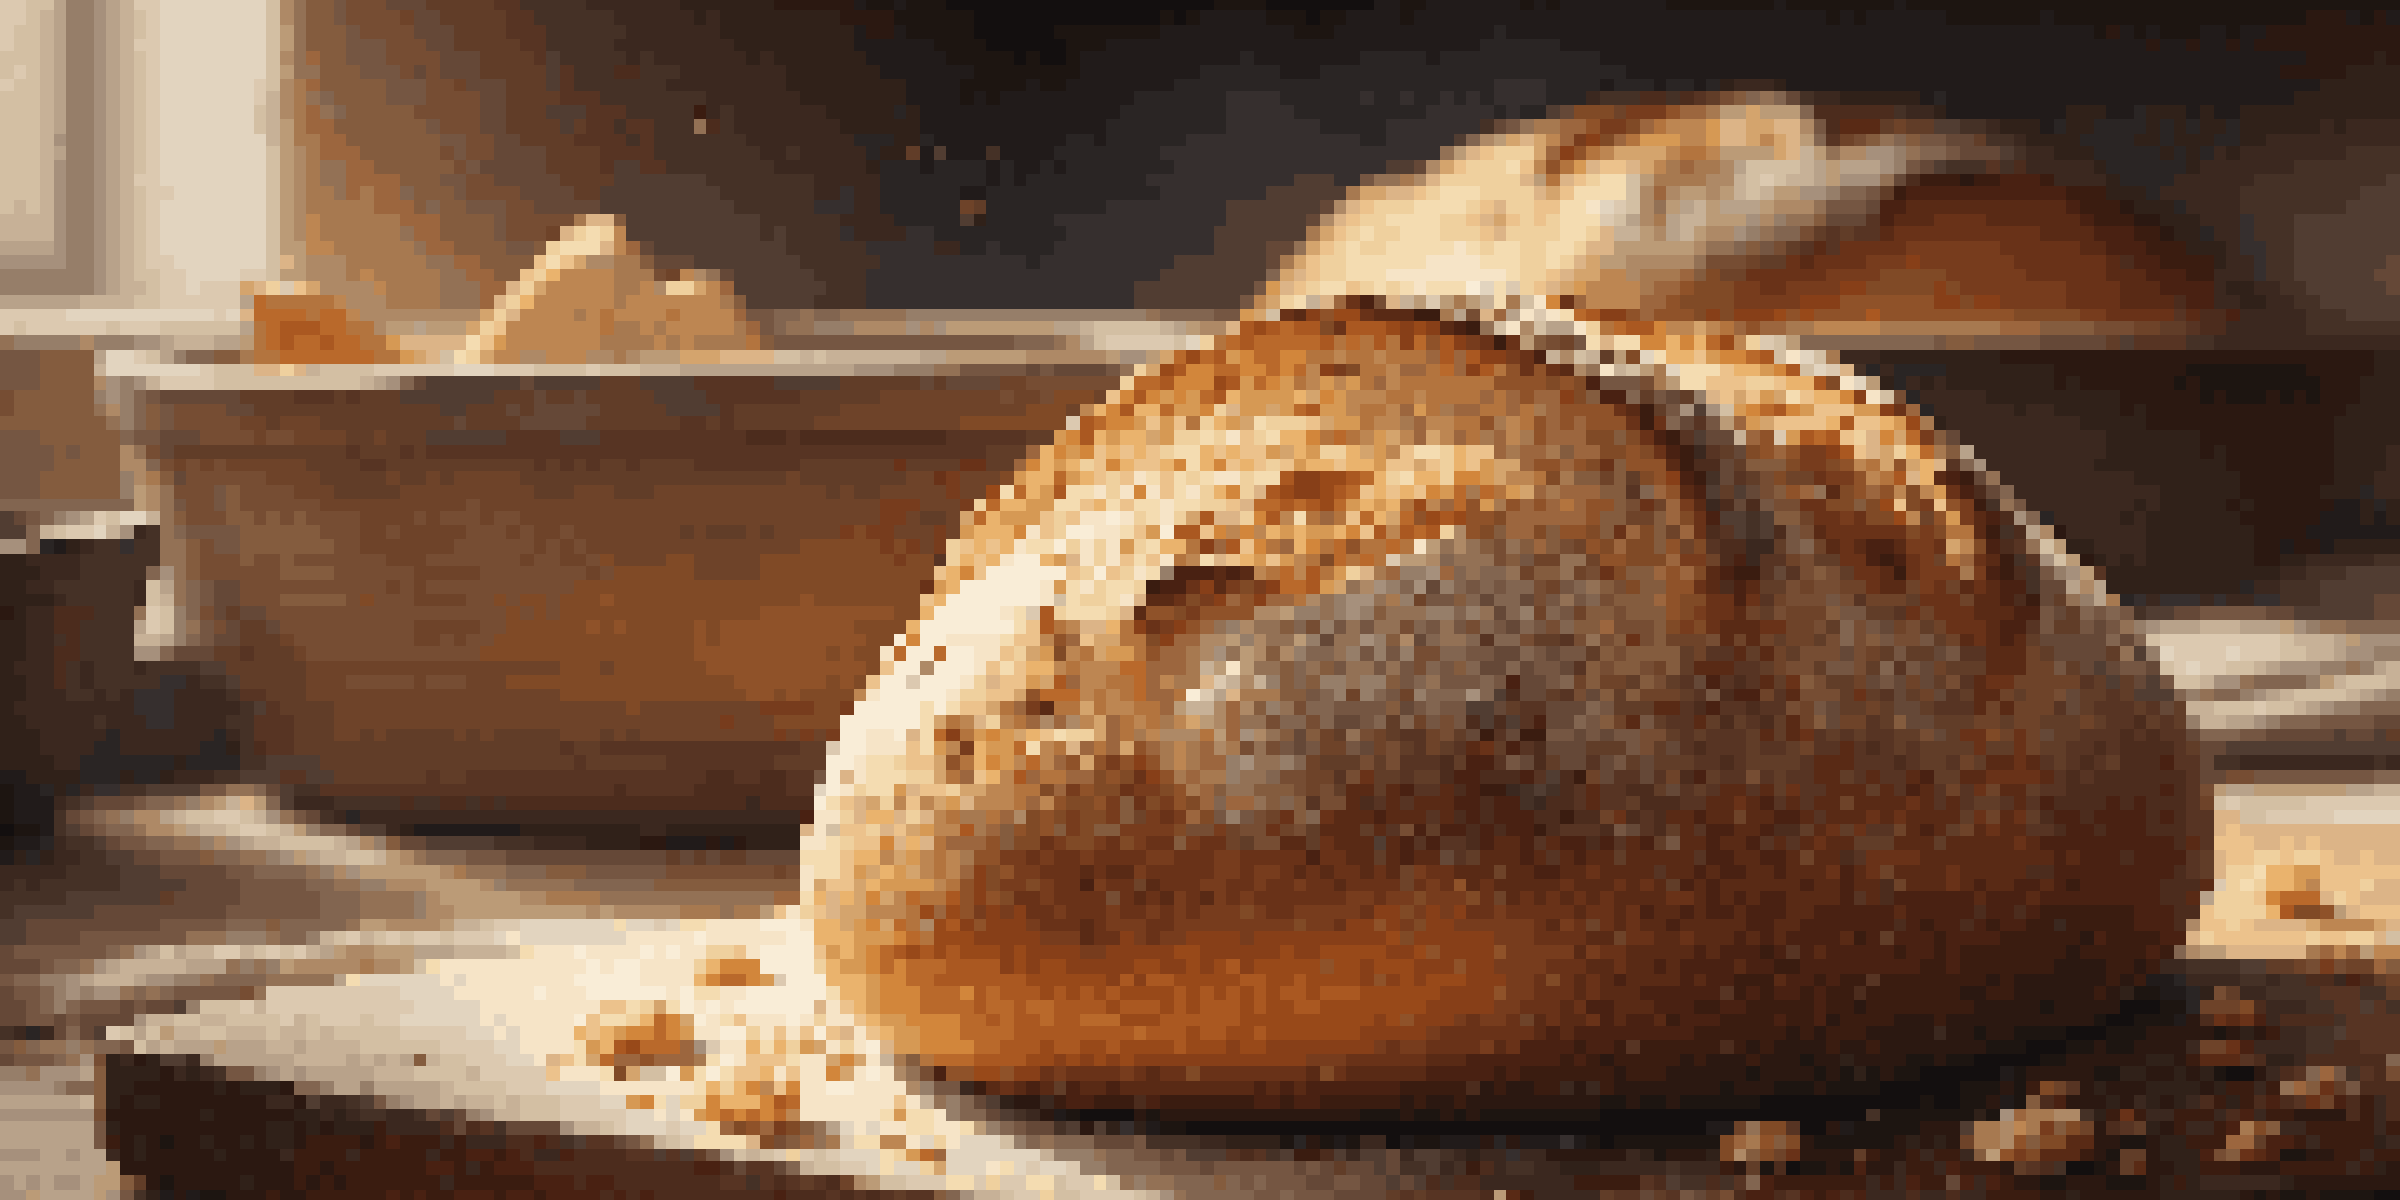
The Perfect Crust: Techniques for Achieving Crunchy Bread
Understanding the Role of Ingredients in Bread Crust
The ingredients you choose play a crucial role in the final crust of your bread. Flour, water, yeast, and salt are the basics, but variations can lead to different textures. For instance, using bread flour, which has a higher protein content, can help develop gluten, leading to a chewier crust. Additionally, the type of yeast and the hydration level of your dough will significantly affect how the crust forms.
Baking is both an art and a science, and the perfect loaf is a balance of both.
When you bake, the sugars in your ingredients undergo caramelization, contributing to color and flavor. Adding ingredients like sugar or honey can enhance this process, giving you a more golden, crunchy crust. On the other hand, fats such as butter or oil can soften the crust, so balance is key depending on your desired outcome.
Experimenting with different combinations can lead to delightful surprises. For example, adding a bit of whole wheat flour not only boosts nutrition but also adds a rustic texture to the crust. Understanding these ingredients gives you the power to craft the perfect loaf.
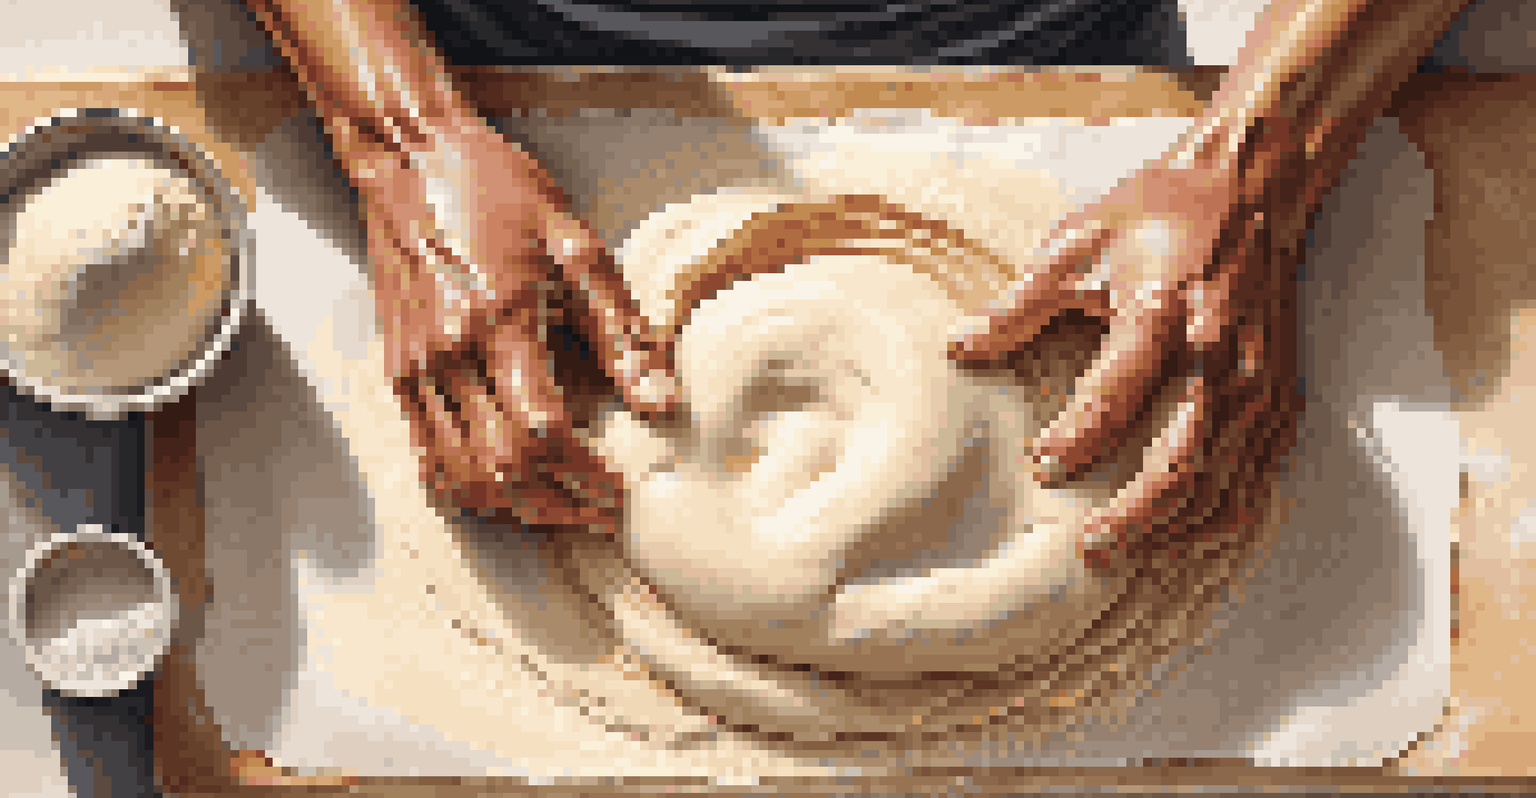
Kneading Techniques for Optimal Dough Structure
Kneading is essential for developing gluten, which provides structure to your bread. When you knead, you're effectively aligning the gluten strands, which helps the dough trap air bubbles during fermentation. This is crucial for achieving that lovely rise and a crunchy crust. Aim for about 10 minutes of kneading to ensure your dough is elastic and smooth.
If you're short on time or energy, consider alternative methods like stretch and fold. This technique involves gently stretching the dough and folding it over itself at intervals during the first rise. It’s less labor-intensive but still effective in developing gluten without overworking the dough.
Ingredients Shape Bread Crust
The choice of ingredients, such as flour type and added sugars or fats, significantly influences the texture and flavor of your bread's crust.
Remember, a well-kneaded dough will spring back when poked but not feel overly sticky. This balance is vital, as it sets the stage for a crust that’s both crunchy and tender. Mastering the kneading process can be a game-changer for your bread-making journey.
The Importance of Proper Fermentation
Fermentation is like the secret sauce of bread-making. It’s during this stage that the yeast works its magic, producing carbon dioxide and alcohol, which contribute to the dough's flavor and texture. A longer fermentation period often results in a more complex flavor profile and a better crust. Consider using a cold fermentation technique by placing your dough in the fridge overnight.
The secret of great bread is in the details—good ingredients, proper kneading, and a patient hand.
During fermentation, gluten continues to develop, and the dough becomes stronger. This is why it's important not to rush this step. If you let your dough rise until it has doubled in size, you'll find that it has a better structure, leading to a crust that can stand up to slicing and handling.
Keep an eye on the dough; it should feel airy and light when fully fermented. Understanding this process allows you to adjust timing and temperatures based on your environment, ensuring a successful bake every time.
Shaping Your Dough for the Best Crust
Shaping your dough properly is crucial for a beautifully formed loaf with a crunchy crust. After fermentation, gently deflate the dough and shape it into a round or oblong form, depending on your preference. This process helps create surface tension, which supports rising and results in a crust that has a nice, even texture.
Don't rush the shaping process; take your time to ensure that the surface of the dough is taut. This tension helps the bread hold its shape as it bakes. If you’re new to shaping, practice makes perfect. Watching a few videos online can provide clarity on the technique.
Kneading Enhances Dough Structure
Proper kneading techniques develop gluten, which is essential for creating a chewy, well-structured bread crust.
The way you place your dough in the baking vessel also matters. Whether you’re using a baking stone, a loaf pan, or a Dutch oven, the positioning can affect how the crust develops. A well-shaped loaf will provide a sturdy base for that desired crunch.
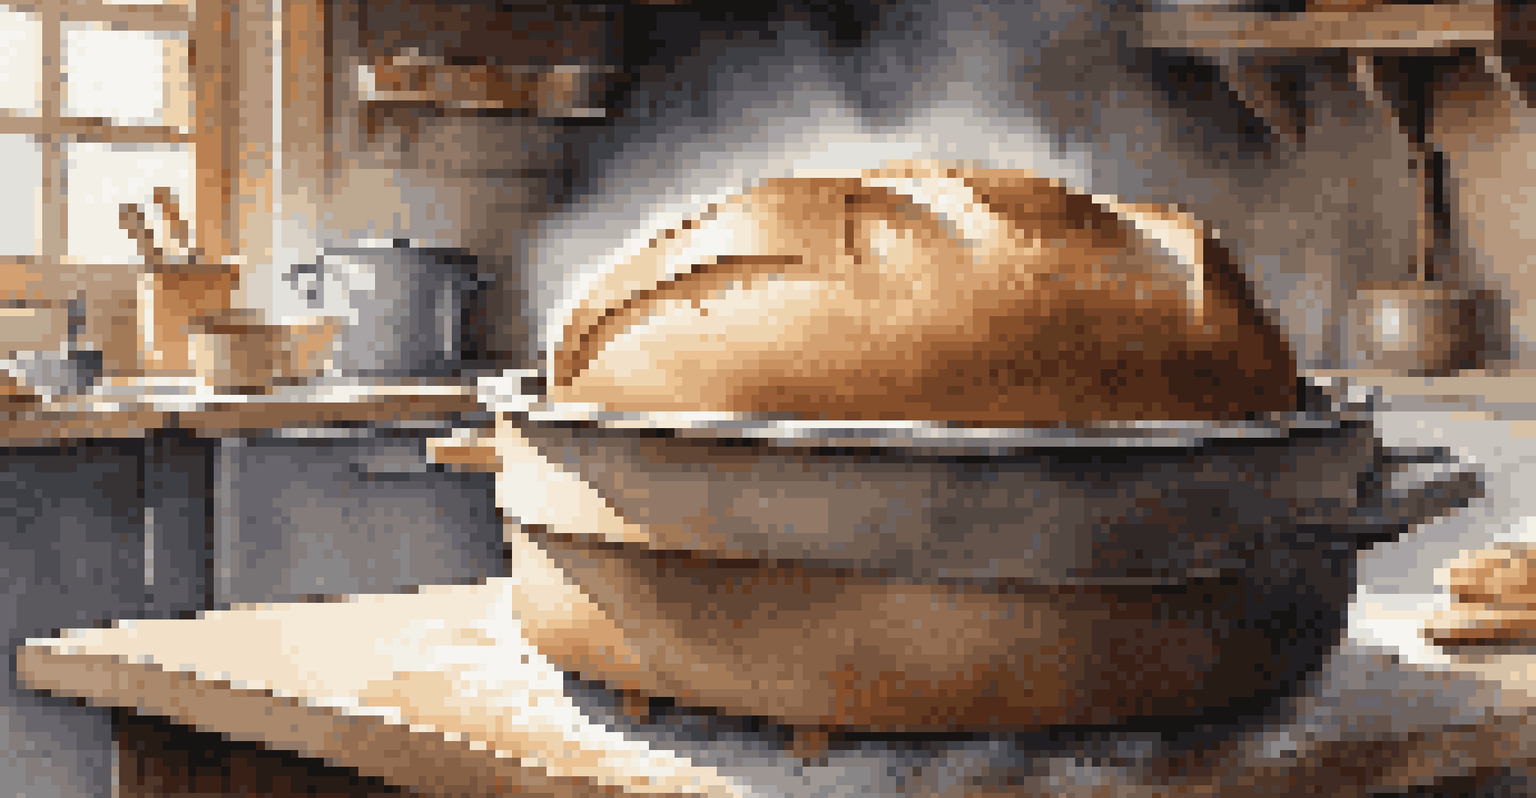
Preheating Your Oven: The Key to Crunchy Crusts
Preheating your oven is a step that should never be overlooked when aiming for that perfect crust. A hot oven ensures that the dough begins to bake immediately, causing rapid steam production. This steam is critical for creating a crust that’s both crunchy and flavorful. Ideally, preheat your oven to around 450°F (232°C) for best results.
Using a baking stone can enhance the crust even further. The stone retains heat, providing a consistent baking temperature that helps the bottom of the bread cook evenly. If you don’t have a stone, a heavy baking sheet turned upside down can serve a similar purpose.
Don’t forget to create steam in your oven, especially in the initial stages of baking. You can do this by placing a pan of water in the oven or spritzing the loaf with water before closing the door. This extra moisture helps create that desired crunchy exterior.
Baking Times and Temperatures for Perfect Results
Baking times and temperatures can vary depending on the type of bread you’re making. Generally, a crusty artisan loaf bakes for about 25 to 35 minutes at a high temperature. Keep an eye on your bread; it should turn a deep golden brown when it’s ready. A thermometer can be a handy tool here; bread is done when it reaches an internal temperature of around 190°F (88°C).
Remember that each oven is unique, and you may need to adjust your baking time accordingly. If your bread browns too quickly, consider lowering the temperature slightly or placing a piece of foil over it to prevent burning. On the flip side, if your bread isn’t browning enough, raise the temperature a bit to encourage that lovely crust.
Oven Preheating is Crucial
Preheating your oven effectively ensures rapid steam production, leading to a crunchy and flavorful crust.
Allowing your bread to cool on a wire rack after baking is equally important. This cooling time lets steam escape and prevents a soggy crust. Patience is key; slicing into hot bread can ruin that perfect crunch you’ve worked so hard for.
Troubleshooting Common Crust Issues
Even seasoned bakers face crust issues from time to time. If your bread turns out too soft, it might be due to too much fat in the dough or insufficient baking time. On the other hand, a crust that's too hard could mean your oven temperature was too high, or you overbaked it. Understanding these common pitfalls can help you troubleshoot and improve your next batch.
Another common issue is a pale crust, which can be due to inadequate fermentation or baking temperature. Ensure you're giving your dough enough time to rise and that your oven is properly preheated. If you find yourself consistently facing this issue, consider adjusting your method slightly.
Lastly, if your crust is cracking too much, it might be a sign that your dough was shaped too tightly. Don’t be afraid to experiment with your techniques and learn from each baking session. Every loaf is a new opportunity to perfect your craft.