Tips for Perfectly Baked Cookies: A Pastry Baker’s Guide

Understanding Ingredients: The Building Blocks of Cookies
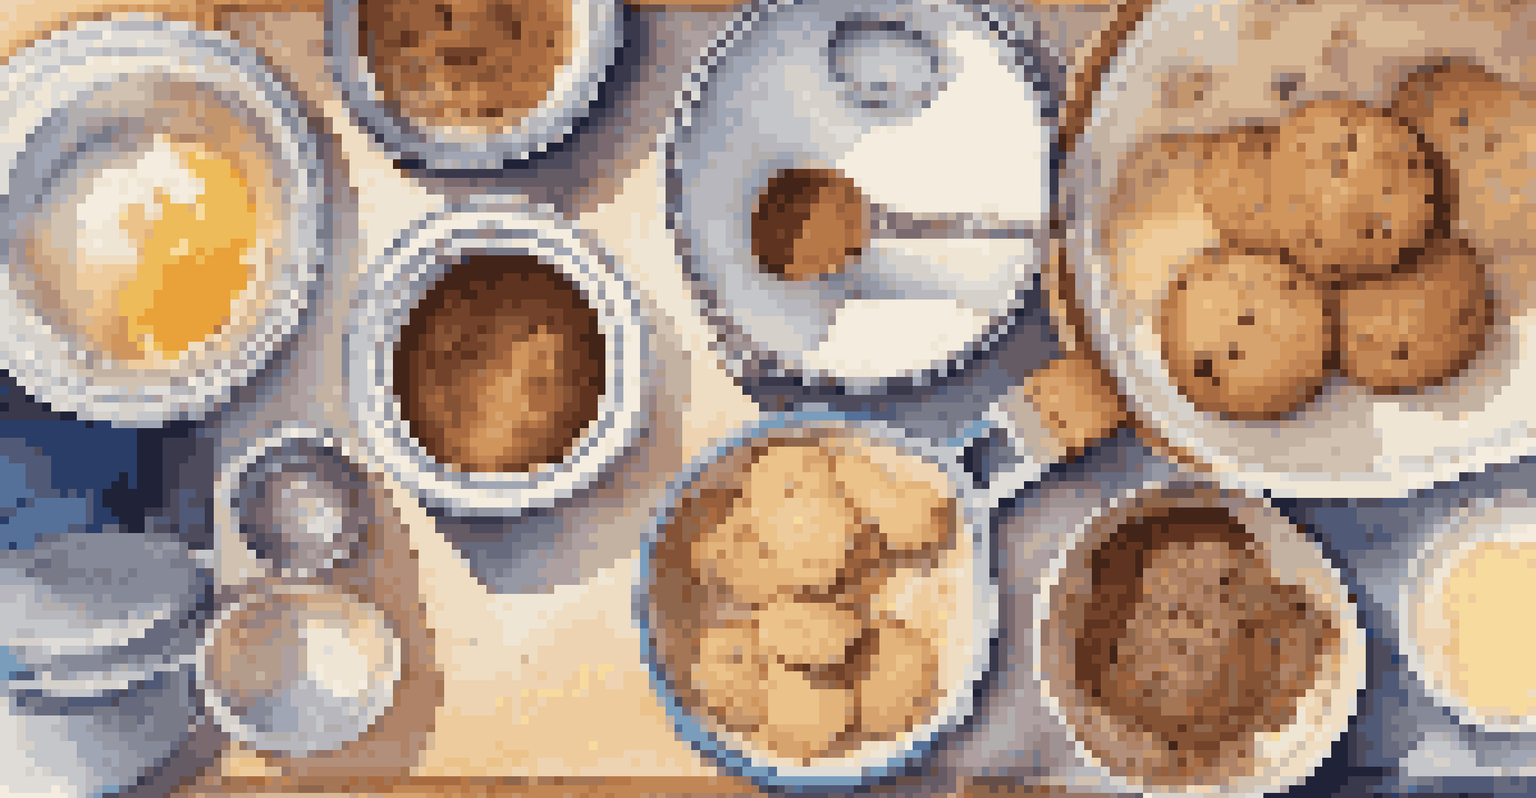
Every great cookie starts with understanding its ingredients. Flour, sugar, butter, and eggs are the foundational elements, each playing a crucial role in texture and flavor. For instance, using all-purpose flour gives your cookies a nice chew, while bread flour can create a denser bite.
Baking is both an art and a science, and the key to success is understanding how the ingredients work together.
Don’t underestimate the power of quality ingredients. Fresh butter, for example, not only enhances flavor but also affects the spread and consistency of your cookies. Similarly, using pure vanilla extract instead of imitation will elevate the overall taste significantly.
Also, consider the importance of measuring accurately. A kitchen scale can be your best friend, ensuring you don’t end up with a dry cookie or one that spreads too much. Precision is key in baking, as even a slight variation can change the final product.
The Right Mixing Techniques for Cookie Perfection
Mixing your ingredients properly is crucial to achieving the perfect cookie dough. Start by creaming together butter and sugar until the mixture is light and fluffy. This process incorporates air, which helps your cookies rise beautifully.

Once you add the eggs and vanilla, mix just until combined to avoid overworking the dough. Overmixing can lead to tough cookies, which is a common pitfall for many bakers. Think of your dough as a delicate fabric; you want to blend it without stretching it out.
Quality Ingredients Matter
Using fresh, high-quality ingredients significantly enhances the flavor and texture of your cookies.
Finally, when adding dry ingredients, mix until just combined. If you see a few streaks of flour, that’s perfectly fine; you can fold in any remaining flour by hand. This gentle approach helps maintain a tender texture in the final product.
Chilling the Dough: A Key Step You Shouldn't Skip
Chilling your cookie dough is more than just a suggestion; it's a game changer. By allowing the dough to rest in the fridge for at least an hour, you let the flavors meld together while firming up the fat. This results in cookies that are chewier and more flavorful.
The secret to great cookies is in the details, from choosing the right ingredients to perfecting your technique.
Additionally, chilling helps control the spread of your cookies during baking. A warmer dough will spread out too quickly in the oven, leading to flat, crispy cookies. By contrast, chilled dough holds its shape better, yielding a thicker, more satisfying cookie.
If you're short on time, even a quick chill of 15-30 minutes can make a difference. Just remember, the longer you chill, the better the texture and flavor will be, so plan ahead if you can!
Choosing the Right Baking Sheet and Parchment Paper
The baking sheet you choose can affect how your cookies turn out. Opt for heavy-duty, light-colored baking sheets, as they distribute heat more evenly. Dark sheets can cause your cookies to brown too quickly on the bottom, leading to uneven baking.
Using parchment paper is another essential tip. It not only prevents sticking but also allows for even heat distribution, which is crucial for achieving that perfect golden edge. Plus, cleanup becomes a breeze; just toss the parchment after baking!
Chill Your Dough for Best Results
Chilling cookie dough helps meld flavors and control spread, resulting in chewier and more flavorful cookies.
If you prefer, you can also use silicone baking mats, which are reusable and provide a non-stick surface. However, avoid greasing your baking sheets, as this can lead to overly greasy cookies that lose their ideal texture.
Proper Oven Temperature: The Secret to Even Baking
Oven temperature is critical in baking, and using an oven thermometer can help ensure accuracy. Preheat your oven for at least 15-20 minutes before baking to allow it to reach the desired temperature. This step is vital for achieving the right rise and texture in your cookies.
Baking at the wrong temperature can lead to various issues; too hot can burn the edges, while too cool can result in undercooked centers. If your cookies are consistently turning out wrong, it may be time to invest in an oven thermometer to ensure your settings are accurate.
Remember to rotate your baking sheets halfway through the baking time for even baking. Ovens often have hot and cool spots, so a little rotation can help all your cookies bake to perfection.
Don’t Forget to Test for Doneness: The Perfect Bake
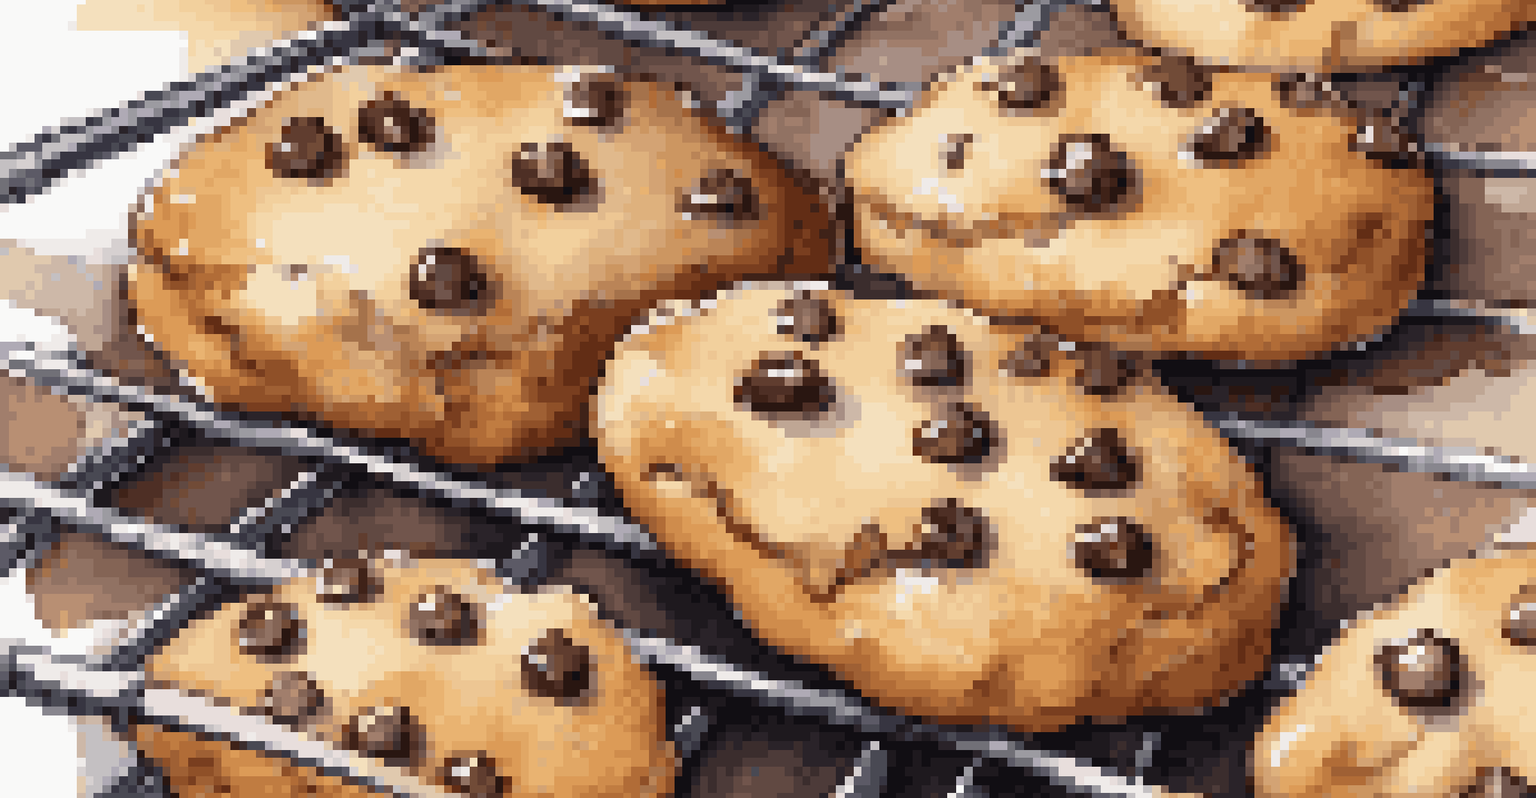
Knowing when your cookies are done baking can be tricky. Generally, cookies should be golden around the edges and just slightly soft in the center. They will continue to cook a bit on the baking sheet after you pull them out, so it's better to take them out a minute or two early.
If you’re making stuffed cookies or ones with extra ingredients like chocolate chips, keep an eye on the melting state of those additions. Once they appear gooey and the edges are lightly browned, it’s a good sign your cookies are ready.
Proper Baking Techniques Are Key
Accurate oven temperature, the right baking sheet, and knowing when cookies are done are essential for achieving perfect bakes.
For a foolproof method, use the 'touch test.' Gently press the center of a cookie; if it bounces back, you’ve got a winner. If it leaves an indent, give it an extra minute or two in the oven.
Storing Cookies: Keeping Them Fresh for Longer
Proper storage is key to enjoying your cookies at their best. Once cooled, store them in an airtight container to keep moisture in and air out. This will help maintain their chewy texture and prevent them from becoming stale.
For cookies that tend to dry out quickly, consider adding a slice of bread to the container. The cookies will absorb moisture from the bread, keeping them soft and delicious. Just make sure to replace the bread slice every few days to keep things fresh.

If you’ve baked a large batch, freezing cookies is a fantastic option. Just make sure to cool them completely, then wrap them tightly in plastic wrap before placing them in a freezer-safe bag. They can last for up to three months and are perfect for those late-night cravings!