Step-by-Step Guide to Building a Simple Birdhouse
Gathering Tools and Materials for Your Birdhouse
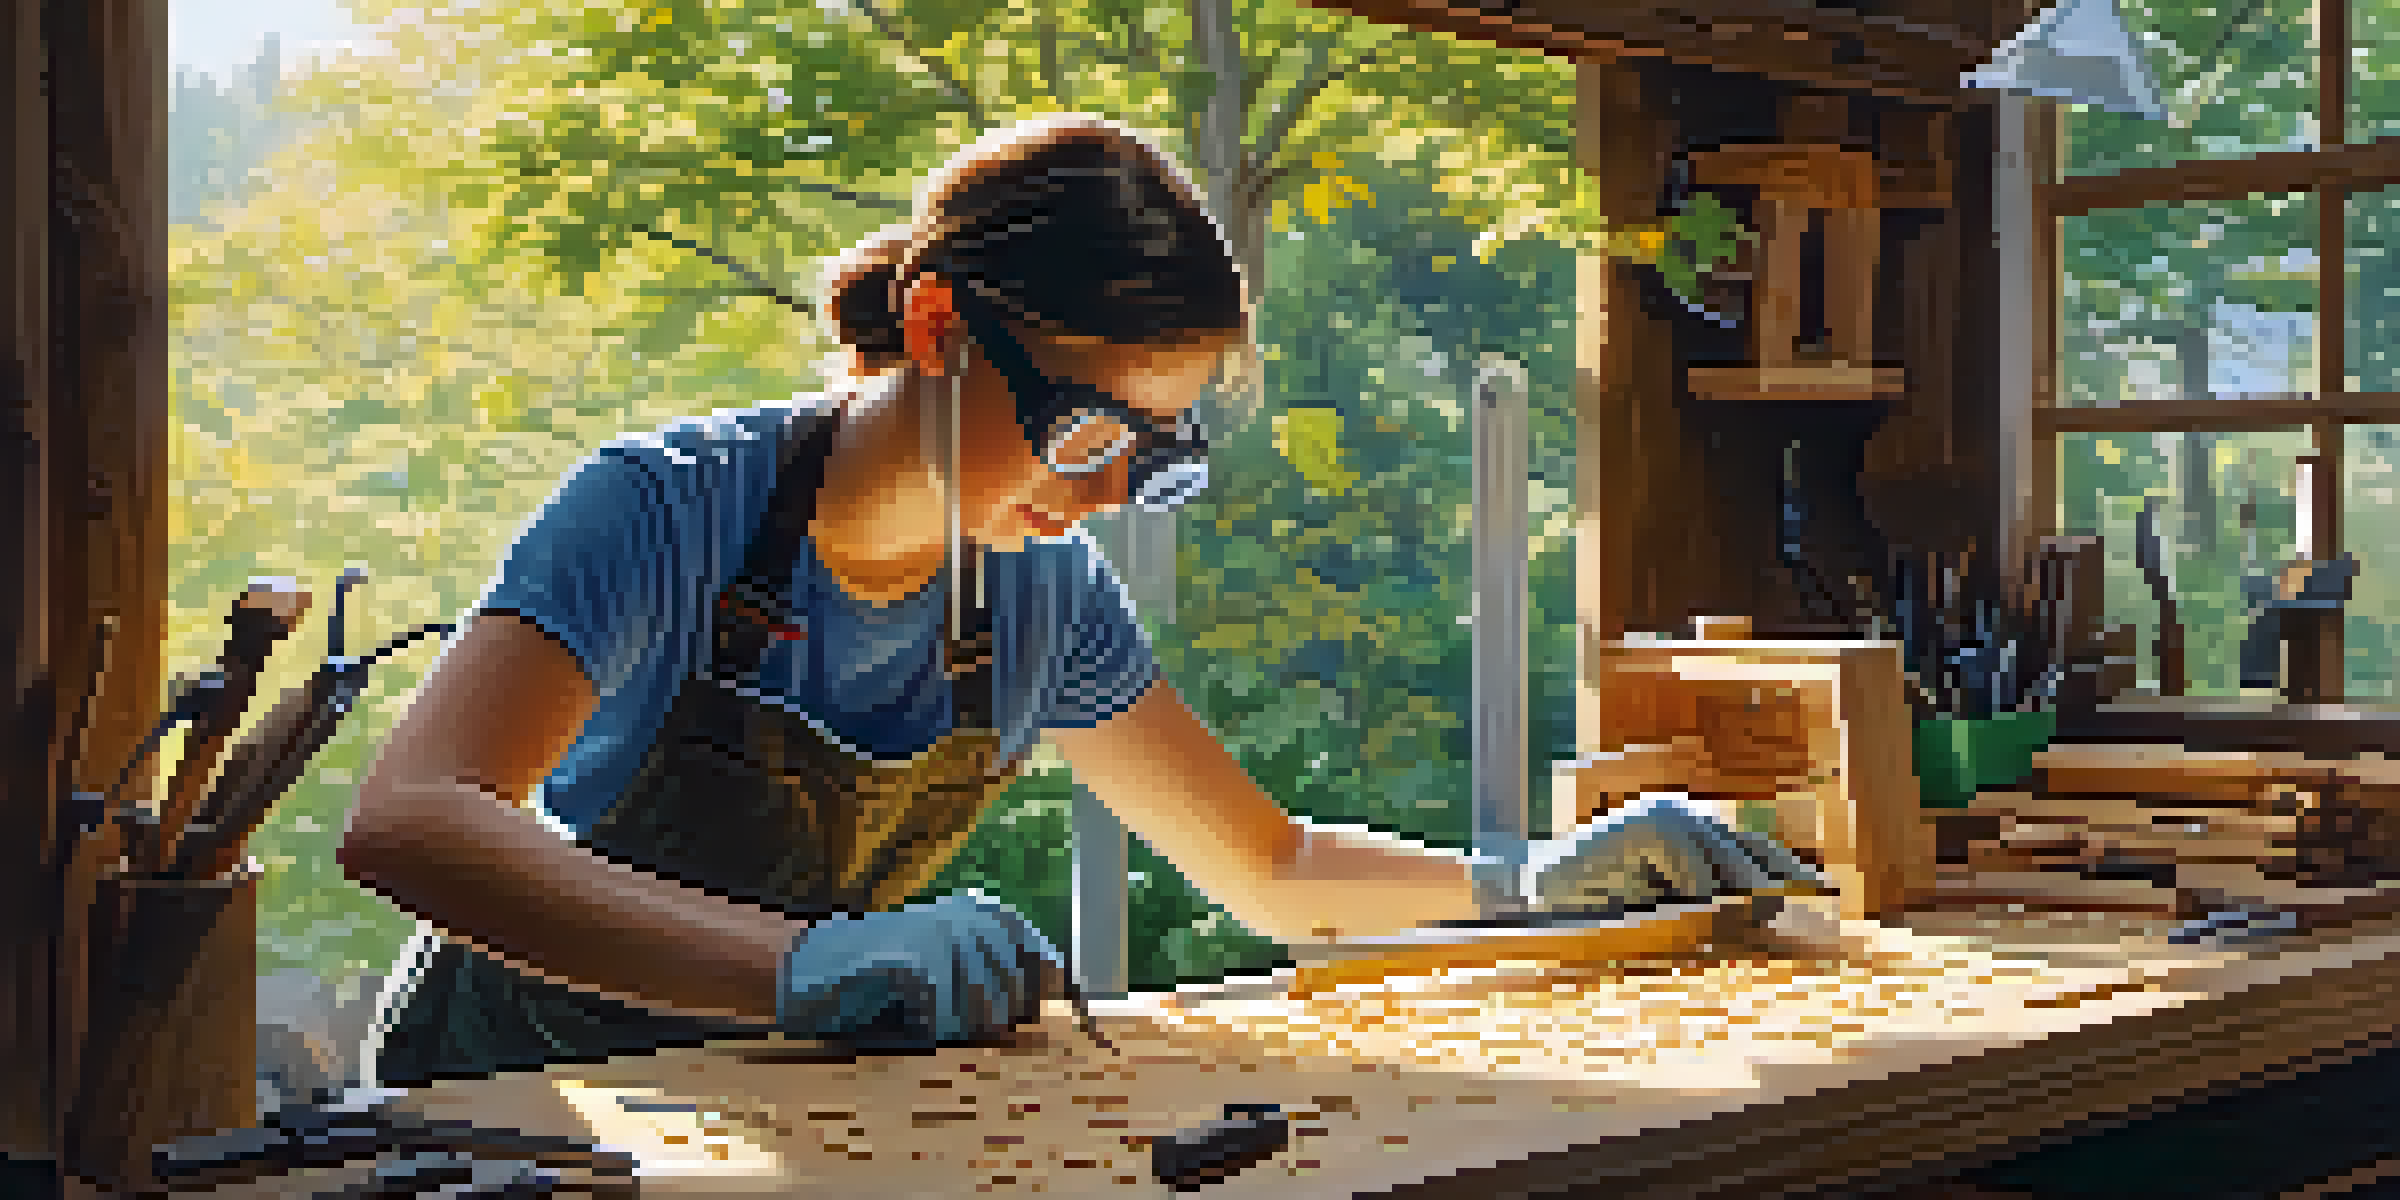
Before you start building your birdhouse, it's essential to gather all the necessary tools and materials. You'll need wood (cedar or pine works well), nails, a hammer, a saw, and a drill. Additionally, having sandpaper and wood glue can help ensure your birdhouse is sturdy and smooth.
Birds are indicators of a healthy ecosystem. If we take care of them, they will take care of us.
Think about the design you want for your birdhouse. There are many styles, from classic to modern, but a simple design is perfect for beginners. You can find numerous plans online or even sketch out your own idea. The important thing is to choose a design that suits the type of birds you want to attract.
Once you have your tools and materials ready, find a clean, flat workspace where you can comfortably build your birdhouse. This will make the process smoother and more enjoyable, and it will help you keep everything organized.
Cutting the Wood Pieces to Size
Now that you have your materials, it's time to cut the wood pieces to the correct sizes according to your design. Typically, you'll need a front, back, two sides, a roof, and a base. Measure carefully before cutting to ensure that everything fits together well.
Using a saw, take your time to make straight cuts. If you're new to woodworking, consider practicing on scrap wood first. Remember, safety comes first—wear goggles to protect your eyes and gloves to protect your hands.
Gather Essential Birdhouse Tools
Before building your birdhouse, gather tools like wood, nails, and a drill to ensure a smooth construction process.
Once you've cut all your pieces, take a moment to sand the edges. This will smooth out any rough spots and prevent splinters, making it safer for both you and the birds that will eventually call your birdhouse home.
Assembling the Birdhouse Frame
With all your pieces cut and sanded, it's time to start assembling your birdhouse. Begin by attaching the sides to the back piece using nails or wood glue. Make sure to pre-drill the holes to prevent the wood from splitting, especially if you’re using softwood.
The best way to attract birds is to provide food, water, and shelter. A well-built birdhouse can be a perfect home.
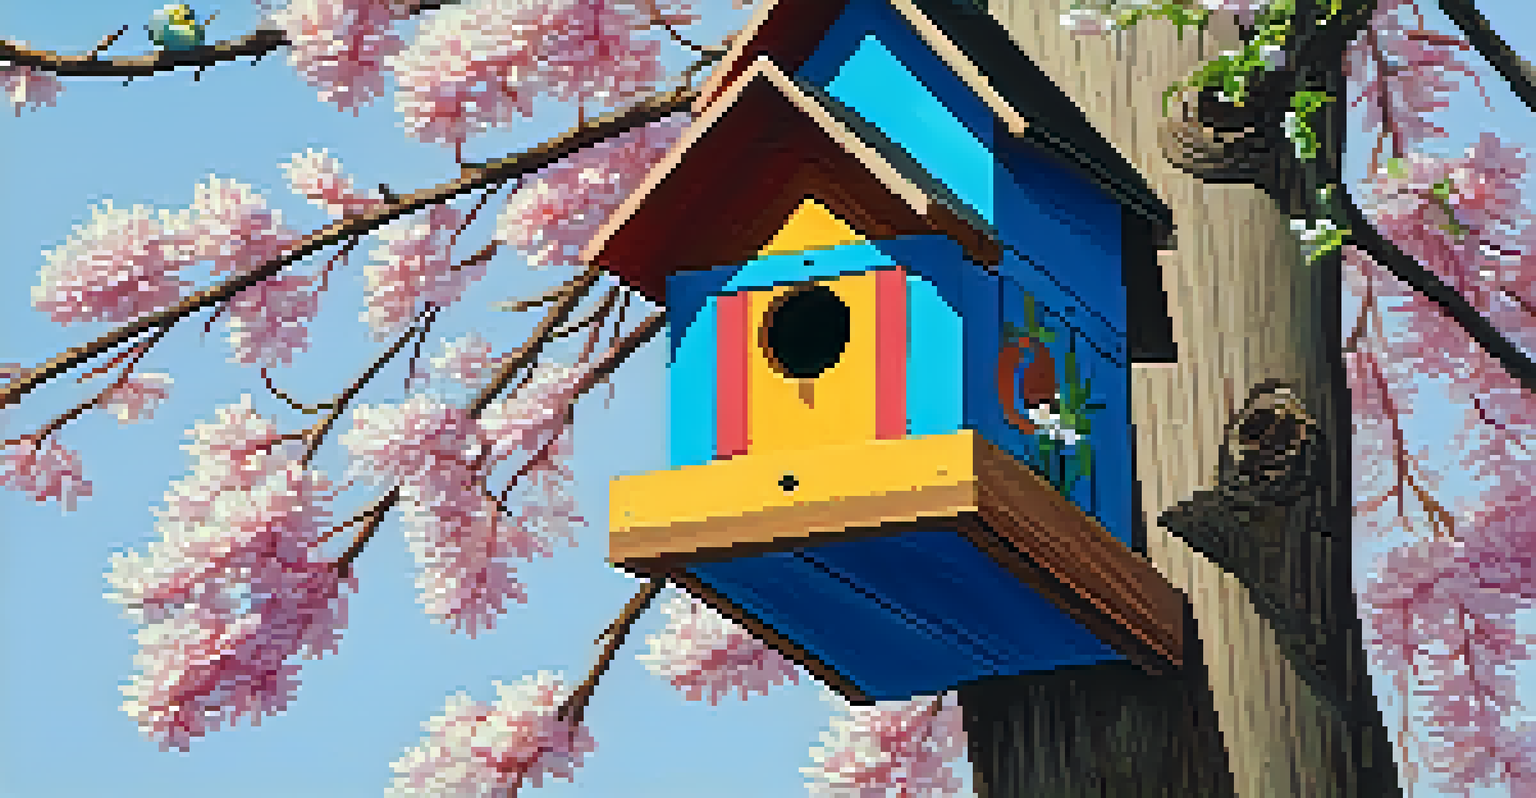
Next, attach the front piece, ensuring you leave an opening for the bird entrance. A hole about 1.5 inches in diameter is perfect for many small birds. After that, secure the base to the sides and back, adding stability to your structure.
Finally, attach the roof pieces. Depending on your design, you can use a single sloped roof or two flat pieces. This part can be a little tricky, so take your time to ensure everything fits snugly and securely.
Creating the Entrance and Ventilation Holes
To ensure your birdhouse is comfortable for its new residents, you'll need to create an entrance hole. Using a drill, carefully create a circular hole in the front piece of the birdhouse. This hole should be positioned about 6 to 8 inches from the base.
Ventilation is crucial, especially during hot summer months. Drill a few small holes near the top of the birdhouse, just below the roof. These holes will allow air to circulate, keeping the interior cool and comfortable for the birds.
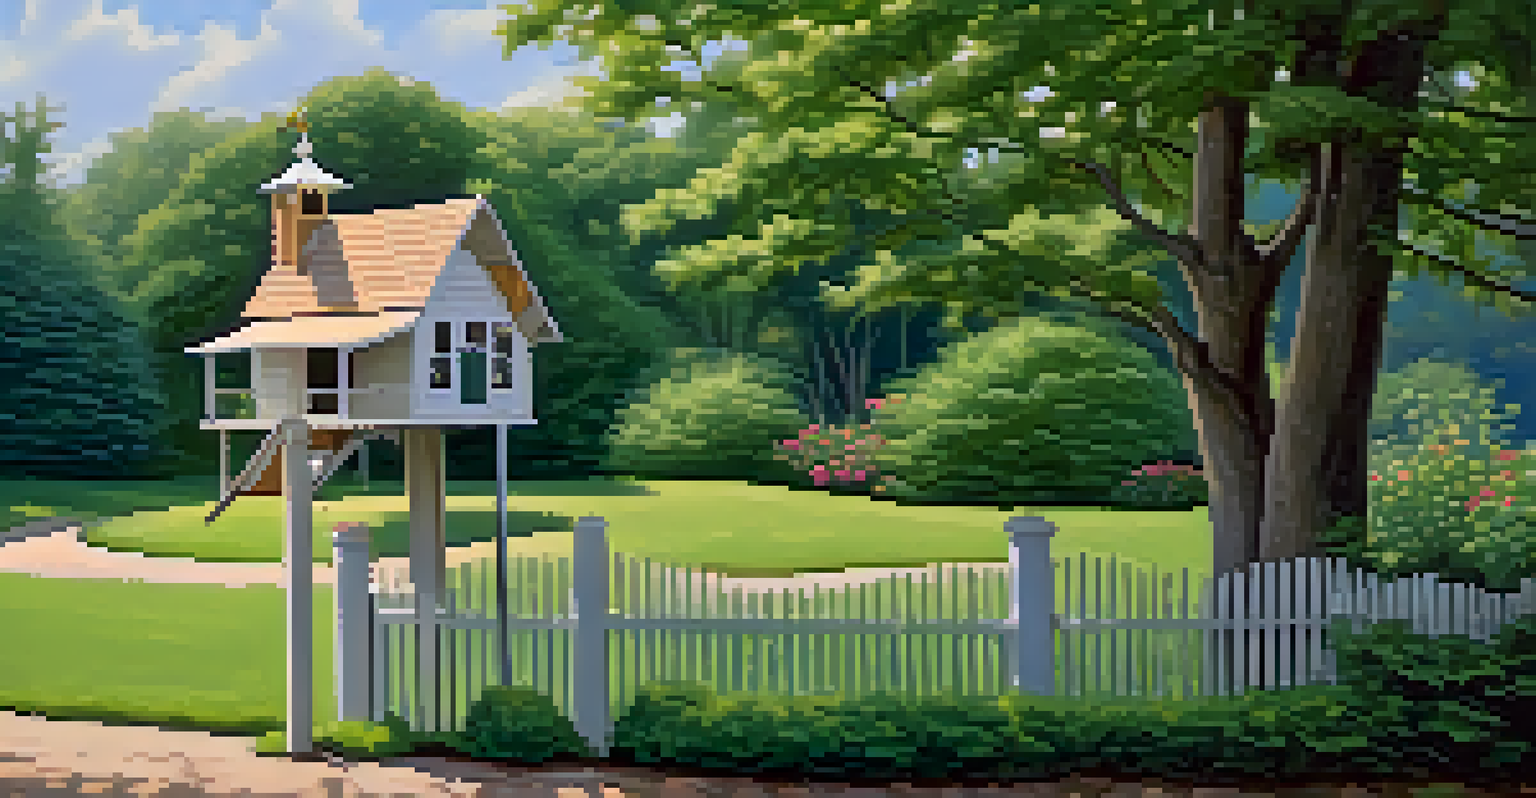
Choose a Safe Location
Placing your birdhouse in a sheltered area away from harsh weather and busy spots will attract more birds.
Additionally, consider adding drainage holes at the bottom of your birdhouse. This will help to prevent water from pooling inside during rain, ensuring the birds stay dry and healthy.
Painting and Finishing Your Birdhouse
Now that your birdhouse is assembled, it’s time to add some personality! You can paint or stain the wood to match your garden or home. Choose non-toxic paint, as you want to keep the birds safe from harmful chemicals.
If you prefer a natural look, consider applying a clear sealant to protect the wood from the elements while preserving its natural beauty. Just make sure that any products you use are safe for wildlife.
Allow your birdhouse to dry completely before putting it outside. This not only helps with the appearance but also ensures that the paint or sealant has cured properly, making it safe for your feathered friends.
Choosing the Right Location for Your Birdhouse
Selecting the perfect spot for your birdhouse is crucial for attracting birds. Aim for a location that is sheltered from strong winds and direct sunlight. Ideally, place it on a tree trunk, post, or building at a height of 5 to 10 feet.
Make sure the entrance hole faces away from prevailing winds and is not directly exposed to harsh weather. This will help keep the birds safe and comfortable in their new home.
Regular Maintenance is Key
Cleaning and inspecting your birdhouse annually helps prevent disease and ensures it remains a safe home for birds.
Additionally, avoid placing it too close to feeders or busy areas, as this may deter birds from nesting. A quiet, peaceful location will encourage more feathered visitors.
Maintaining Your Birdhouse for Longevity
Once your birdhouse is up, maintenance is key to ensuring it remains a safe haven for birds. At the end of each nesting season, clean out any old nesting materials. This helps prevent the spread of disease and prepares the house for new residents next year.
Inspect the birdhouse regularly for signs of wear or damage. Look for cracks, loose parts, or any signs of pests. Taking care of these issues promptly will extend the life of your birdhouse.
Finally, consider repainting or resealing your birdhouse every few years to keep it looking fresh and providing protection from the elements. A little care goes a long way in making your birdhouse a welcoming home for many seasons to come.