Exploring Different Candle Shapes: Molds and Techniques

Understanding the Basics of Candle Molds
Candle molds are essential tools for creating unique shapes and designs. They come in various materials, including metal, silicone, and plastic, each offering different advantages. For instance, silicone molds are flexible, making it easy to pop out your finished candles, while metal molds provide a sturdy option for more intricate designs.
Candles are like friends; they bring warmth and light to our lives.
Choosing the right mold can significantly impact the final look of your candle. If you’re aiming for a simple pillar candle, a basic cylindrical mold will do the trick. However, if you want to impress with a more artistic shape, you might opt for a multi-part mold that allows for more complex designs.
Understanding how to use molds effectively is crucial for beginners and seasoned candle makers alike. Always remember to prepare your mold with a release agent, especially for intricate designs, to ensure a smooth removal process after your candle has set.
Popular Candle Shapes and Their Uses
Different candle shapes serve various purposes, from aesthetic appeal to functional use. For example, pillar candles are fantastic for creating a cozy atmosphere, while taper candles can add elegance to dining settings. Unique shapes like animals or geometric forms can be great conversation starters and make perfect gifts.
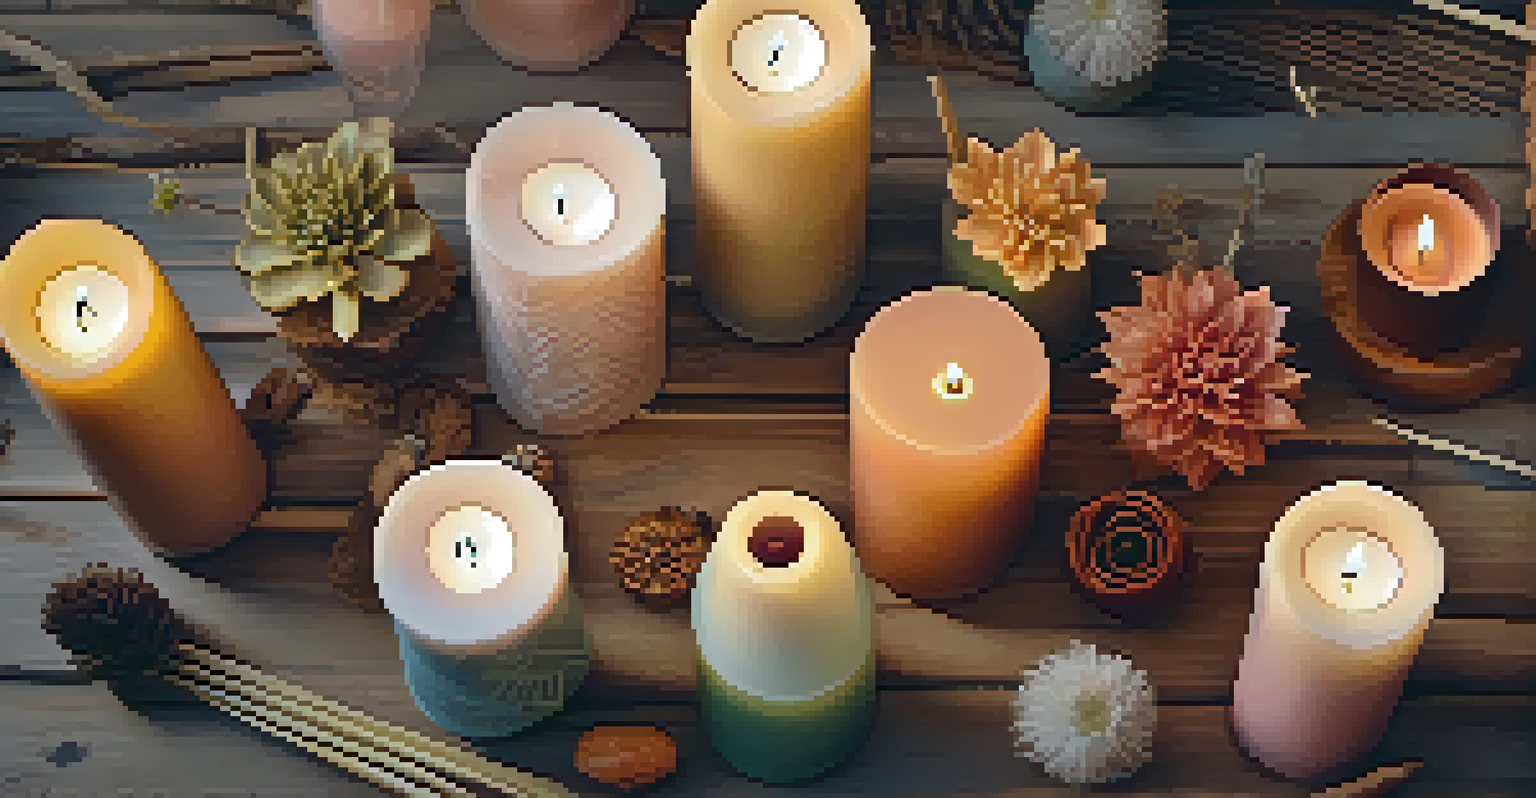
Incorporating different shapes into your candle-making repertoire not only enhances creativity but also allows for personalization. Think about themed candles, like hearts for Valentine's Day or snowflakes for winter holidays, to connect with seasonal sentiments. This versatility makes candle making an enjoyable hobby or a potential small business.
Candle Molds Shape Your Creations
Choosing the right mold is crucial for the aesthetic and functionality of your candles, impacting their final appearance.
Experimenting with shapes can also lead to discovering new techniques. If you’ve mastered the basics, consider trying to create layered candles or even candles with embedded objects—like dried flowers—that can add a stunning visual element.
Choosing the Right Wax for Your Molds
The type of wax you choose will greatly influence the shape and quality of your candles. Paraffin wax is widely used for its affordability and ease of use, but natural options like soy and beeswax are becoming increasingly popular for their eco-friendliness. Each wax has its own melting point, which can affect how well it fills your molds.
Creativity takes courage.
For intricate molds, a wax that cools slowly, like soy wax, can help preserve fine details without warping. Conversely, paraffin wax sets quickly, which can be beneficial for simpler shapes but might not work as well for detailed designs. Knowing your wax's properties will help you achieve the best results.
Additionally, consider experimenting with blends of waxes to find the perfect balance for your projects. This can give you the benefits of different wax types, leading to candles that burn longer and cleaner while showcasing beautiful shapes.
Techniques for Creating Unique Candle Designs
Beyond basic pouring, there are several techniques to elevate your candle-making game. Swirling different colored waxes together can create a stunning marbled effect, while layering can provide a beautiful gradient look. Techniques like these not only add flair but also allow for creative expression.
Another fun technique involves embedding objects within your candles, such as dried herbs, flowers, or even small trinkets. This not only adds visual interest but can also create delightful fragrances as the candle burns. Just make sure that the embedded items are heat-resistant and safe to use.
Wax Type Affects Candle Quality
The choice of wax influences the details and burn quality of your candles, with each type offering unique properties.
Lastly, consider experimenting with textures. You can achieve unique surfaces by using textured molds or by applying techniques like carving or adding embellishments after the candle has set. These little details can transform a simple candle into a work of art.
Essential Tools for Candle Making
Having the right tools can make your candle-making experience smoother and more enjoyable. Basic tools include a double boiler for melting wax, a thermometer to monitor temperature, and pouring pitchers for accuracy. These essentials help ensure that your process is efficient and your candles turn out as expected.
Don’t forget about safety equipment! Protective gear like gloves and goggles can prevent burns or irritation from hot wax or fragrance oils. It’s always better to err on the side of caution, especially when working with hot materials.
As you become more experienced, you might want to invest in additional tools, like a wick holder or a scale for precise measurements. These can further refine your process and help you create candles that are not only beautiful but also burn perfectly.
Tips for Successful Candle Pouring
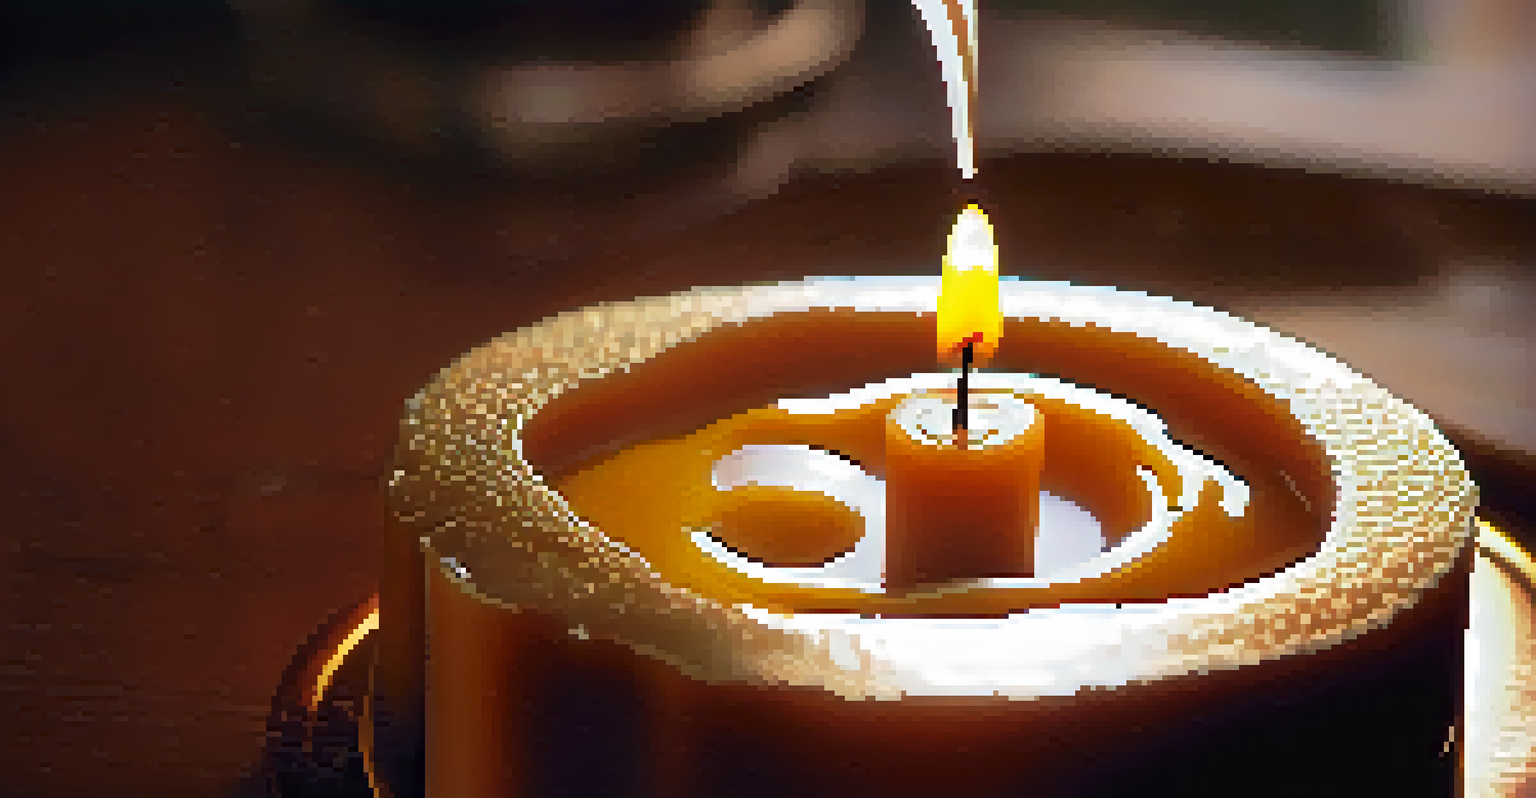
Pouring wax may seem simple, but there are tricks to ensure a flawless finish. Start by preheating your molds slightly; this helps prevent issues like cracking or shrinking as the wax cools. The right pouring temperature is also key—too hot, and it can warp your mold; too cool, and you might get air bubbles.
Pouring slowly and steadily can help achieve a smooth surface. If you notice bubbles forming, gently tapping the mold can help release them. For more complex molds, consider pouring in layers, allowing each layer to cool slightly before adding the next for a cleaner look.
Decorating Adds Personal Touch
Finishing touches like decorations and labels can transform your candles into personalized gifts or charming home accents.
Finally, allow your candles to cure properly before removing them from the molds. This waiting period can improve the fragrance throw and overall burning quality, ensuring you end up with a product you can be proud of.
Finishing Touches: Decorating Your Candles
Once your candles are set, it’s time to think about the finishing touches. Decorating your candles can be just as fun as making them! You can paint the outside with wax dyes or use decoupage techniques to apply designs or images that match the theme of your candles.
Another popular method is to wrap your candles with natural materials like twine, burlap, or even dried flowers. This not only enhances their visual appeal but also adds a rustic touch that many people find charming. Personalization can turn a simple candle into a thoughtful gift.
Finally, consider adding labels or tags to your candles, especially if you plan to give them as gifts or sell them. A simple label with the scent and a handmade touch can make your candles feel even more special and unique.