How to Make Candles with Natural Ingredients: A Guide
Understanding the Benefits of Natural Ingredients in Candles
Many people are turning to natural ingredients for various reasons, including health benefits and environmental concerns. Traditional candles often contain synthetic materials that can release harmful chemicals into the air when burned. By using natural ingredients, you not only create a safer atmosphere but also enjoy the therapeutic properties of essential oils and plant-based waxes.
The candle is a symbol of light and hope, illuminating the darkness and bringing warmth to the heart.
Natural ingredients like soy wax, beeswax, and essential oils provide a cleaner burn and can enhance the ambiance of your space. For instance, beeswax emits negative ions that can purify the air, while essential oils can promote relaxation or energy, depending on your choice. This means that your homemade candles can serve a dual purpose: providing light and creating a soothing environment.
Moreover, making candles with natural ingredients is often more sustainable. Many natural waxes are biodegradable, and using essential oils reduces the need for synthetic fragrances. Embracing these materials can lead to a more eco-friendly lifestyle while indulging in a creative and enjoyable hobby.
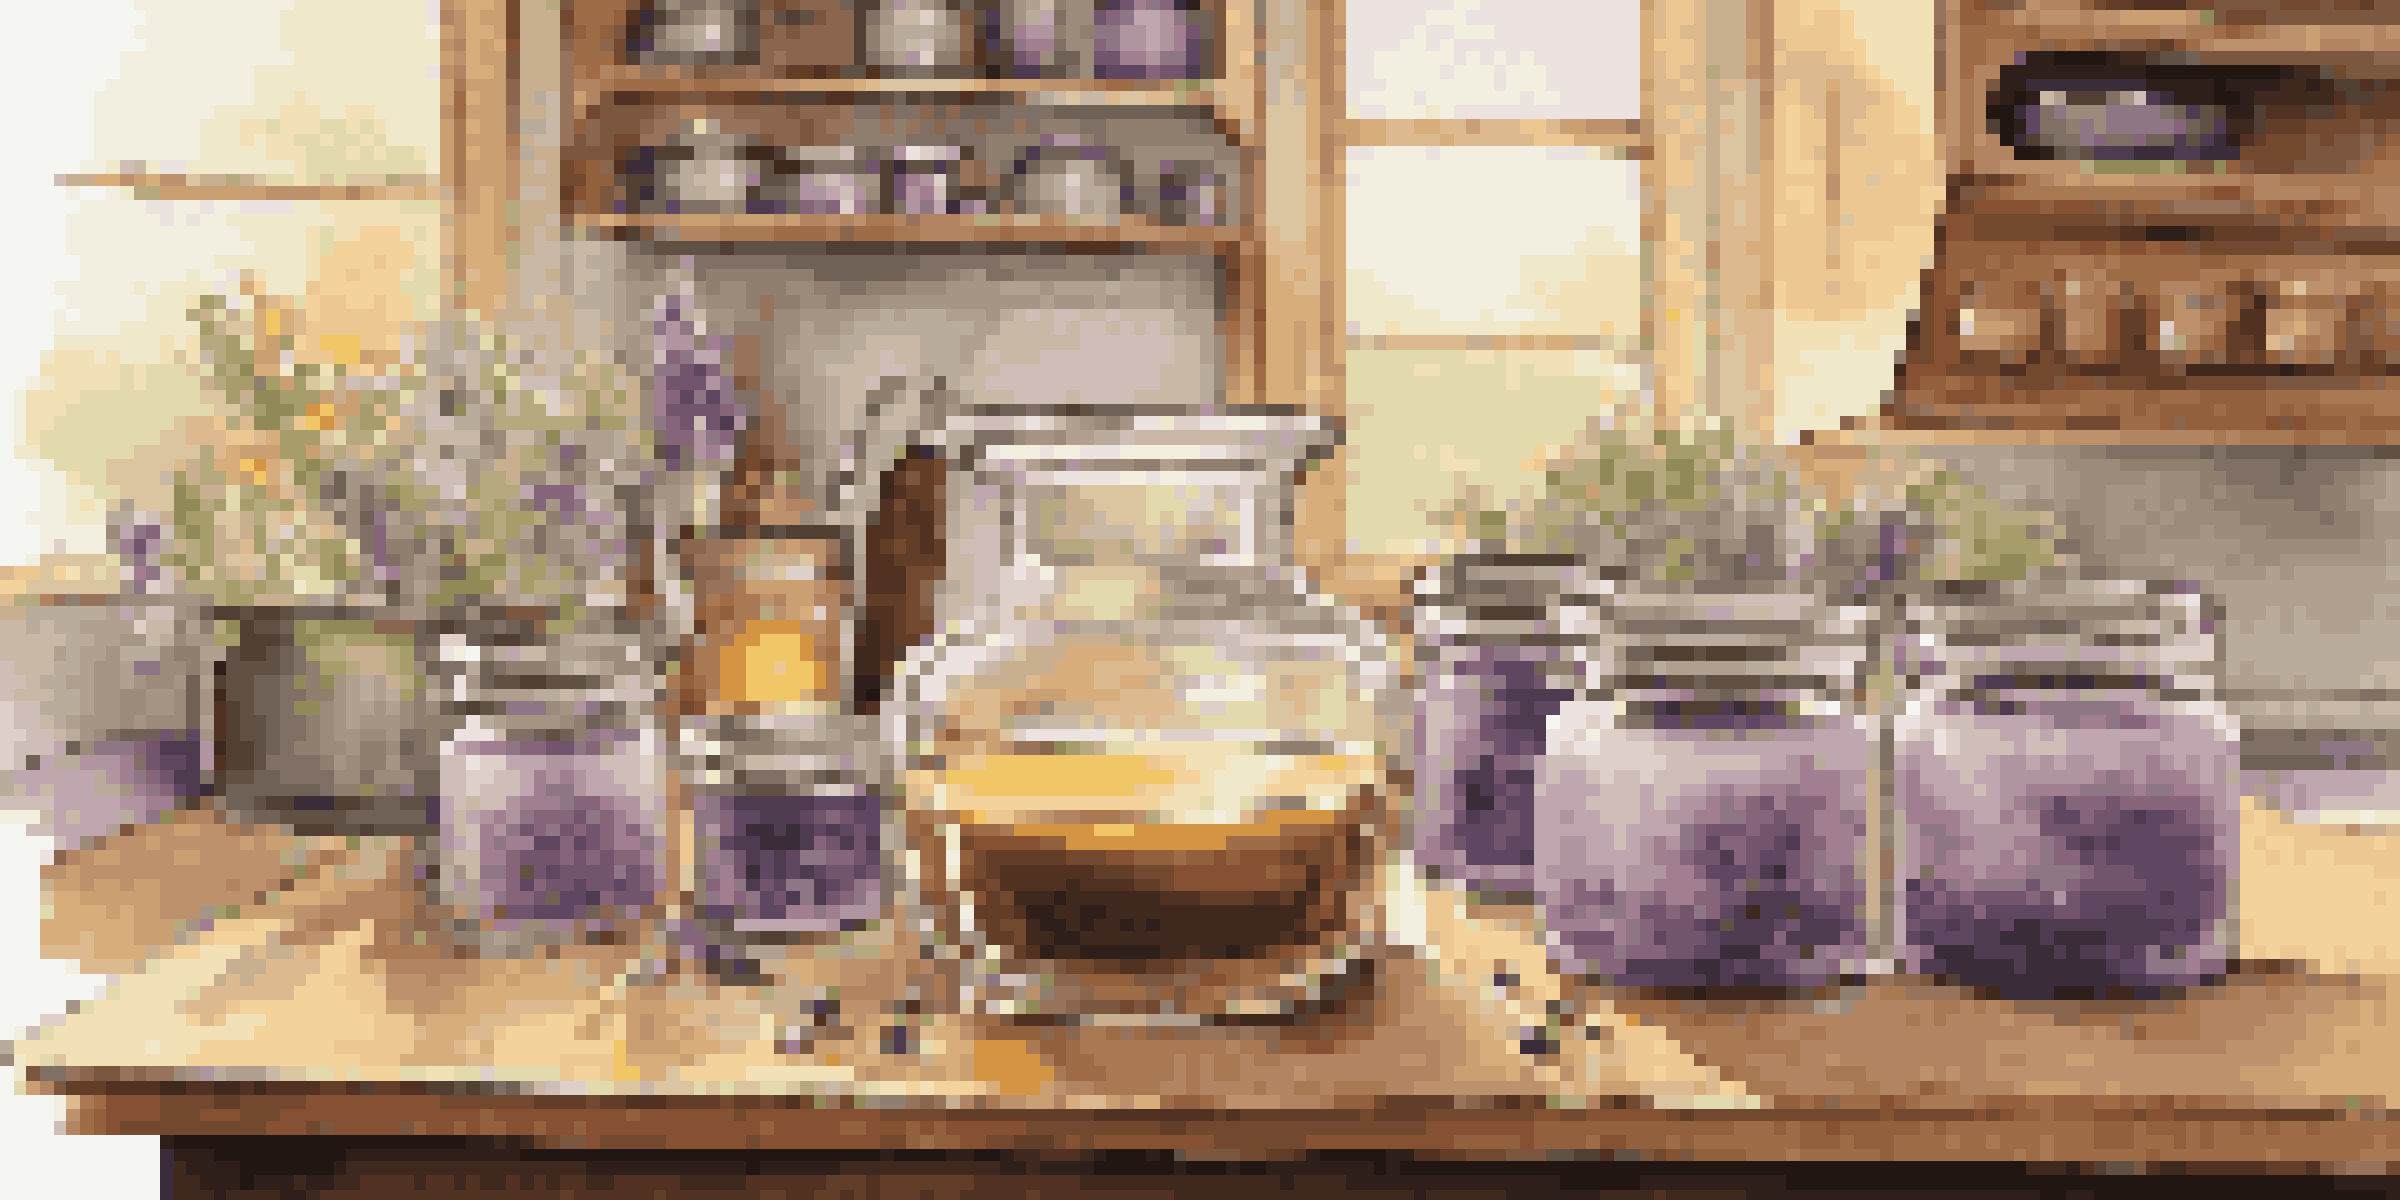
Gathering Your Materials for Candle Making
Before diving into candle making, it’s essential to gather all the necessary materials. You'll need natural wax, such as soy or beeswax, wicks, essential oils, and containers. Additionally, having a double boiler, thermometer, and stirring utensils will make the process smoother and more enjoyable.
Choosing the right wax is vital since each type has unique properties. For instance, soy wax is great for beginners due to its easy handling and ability to hold fragrance well. On the other hand, beeswax is excellent for those looking for a more natural and air-purifying option.
Natural Candles Offer Health Benefits
Using natural ingredients like soy and beeswax creates a safer atmosphere and provides therapeutic properties.
Don't forget to select your favorite essential oils! They will not only provide scent but also enhance the candle's therapeutic benefits. Popular choices include lavender for relaxation and citrus for an uplifting aroma. Having everything ready before starting will help you maintain focus and creativity throughout the process.
Melting the Wax: The First Step in Candle Making
Once you have all your materials, it’s time to start melting the wax. Fill your double boiler with water and place it on low heat, then add your wax to the top pot. It’s essential to monitor the temperature closely, ideally keeping it between 170°F and 180°F to prevent burning.
Nature does not hurry, yet everything is accomplished.
As the wax melts, you may notice it transforming from solid to liquid, which is quite mesmerizing! Stir occasionally to ensure even melting and to release any trapped air bubbles. This step is crucial as it sets the foundation for a smooth and even candle.
Keep an eye on the clock as you melt; this process typically takes around 10-15 minutes. Patience is key here, as rushing can lead to issues down the line, such as uneven candles or poor scent throw. Once fully melted, you're ready for the next exciting step!
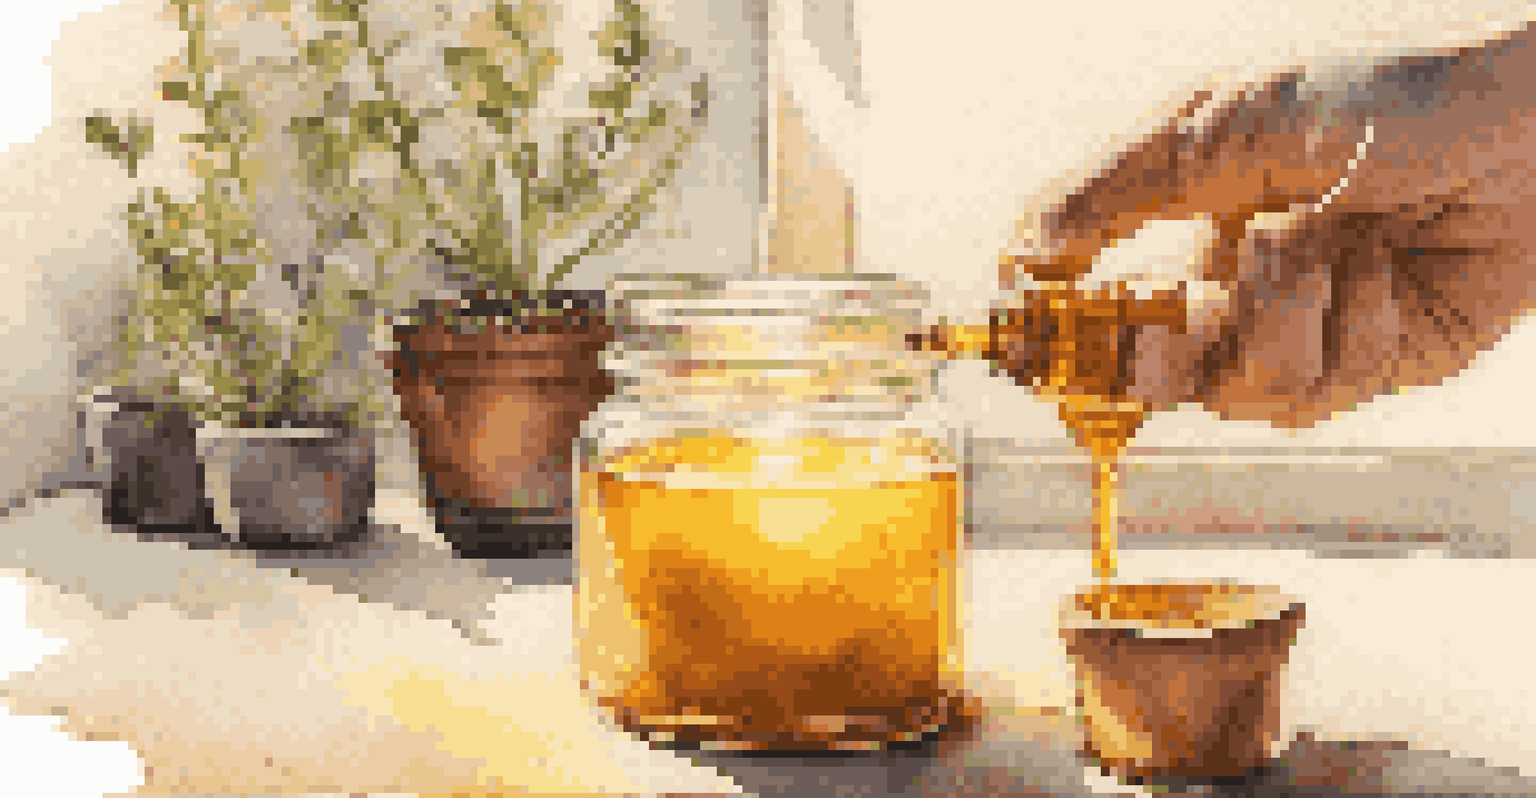
Adding Essential Oils for Aroma and Benefits
Now comes the fun part—adding your chosen essential oils! Once the wax is melted, remove it from heat and let it cool slightly before incorporating the oils. This step is important because adding them when the wax is too hot can diminish their fragrance and benefits.
A good rule of thumb is to use about 1 ounce of essential oil for every pound of wax. You can mix different oils to create a unique scent that suits your mood or occasion. For example, combining eucalyptus and peppermint can create a refreshing and invigorating aroma, perfect for a study session.
Essential Oils Enhance Candle Experience
Adding essential oils not only fragrances the candles but also incorporates their relaxing and invigorating benefits.
Stir the essential oils into the wax gently but thoroughly to ensure an even distribution. This not only enhances the candle’s scent but also allows the therapeutic properties of the oils to be released when burned. Your olfactory journey is just beginning!
Preparing Your Containers and Wicks for Pouring
While your wax cools after adding the essential oils, take a moment to prepare your containers and wicks. If you're using glass jars, make sure they are clean and dry. For wicks, you’ll want to choose one that corresponds to the diameter of your container to ensure an even burn.
To attach wicks, you can use a bit of melted wax or a wick sticker to secure the base to the bottom of your container. This will help prevent the wick from moving while you pour the wax. It's like getting everything ready for a grand finale!
Additionally, consider using a wick holder to keep the wick centered as the wax hardens. You can create a simple holder by laying a chopstick or pencil across the top of the container and resting the wick in the middle. This ensures a beautiful and functional candle once it's set!
Pouring the Wax and Allowing It to Set
With everything prepared, it’s time to pour the wax into your containers. Carefully pour the melted wax into your prepared containers, leaving a small space at the top. Pouring slowly helps prevent air bubbles from forming and ensures a smoother surface.
As you pour, keep an eye on the wick to ensure it stays centered. You might find that adjusting the wick holder after pouring can help maintain the perfect position. This part can be quite satisfying, watching the wax fill the container and take shape!
Personal Touch in Candle Making
Homemade candles allow for creative expression, making them perfect for personal use or thoughtful gifts.
Once filled, allow the candles to cool undisturbed for at least 4-6 hours. During this time, the wax will solidify, creating a beautiful finish. Patience is key here, as touching or moving the candles too soon can lead to imperfections. After waiting, you’ll be rewarded with lovely homemade candles!
Final Touches: Trimming Wicks and Decorating Candles
After your candles have completely set, it's time to add the final touches. Start by trimming the wick to about 1/4 inch above the wax surface. This helps ensure a clean burn and prevents excessive flickering or soot buildup. A well-groomed wick is like a cherry on top of your candle-making masterpiece!
Next, consider decorating your candles. You can wrap them with natural twine, add dried flowers, or label them with your unique scent combinations. This not only enhances their visual appeal but also makes them perfect gifts for friends or loved ones.
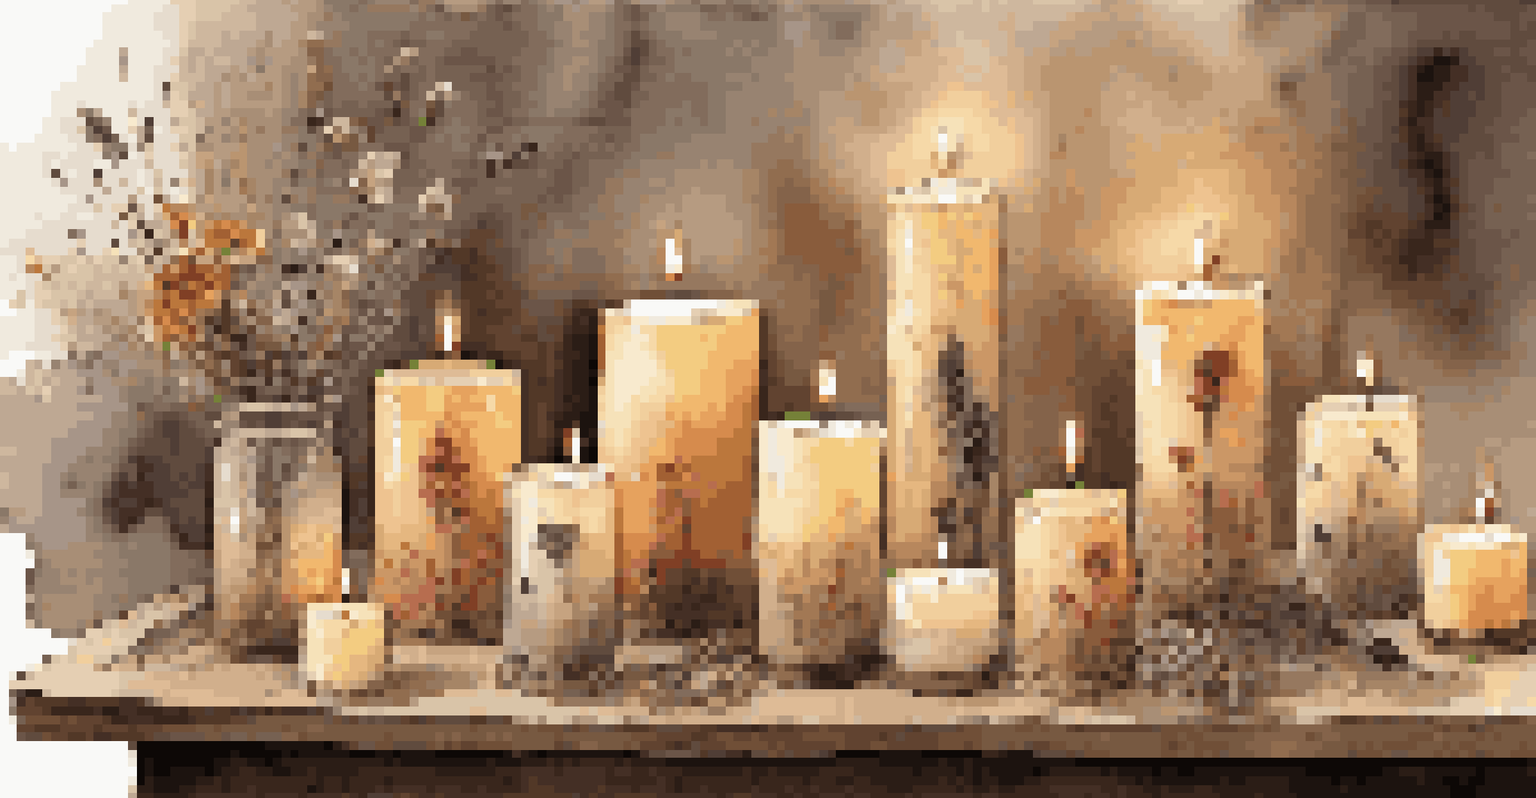
Remember, the beauty of homemade candles lies in their personal touch. Whether you’re making them for yourself or as thoughtful gifts, each candle reflects your creativity and the care you put into crafting them. Enjoy the process, and don’t hesitate to experiment with different shapes, sizes, and scents!