The Art of Canning: Essential Techniques for Home Preservation
Understanding the Basics of Canning Techniques
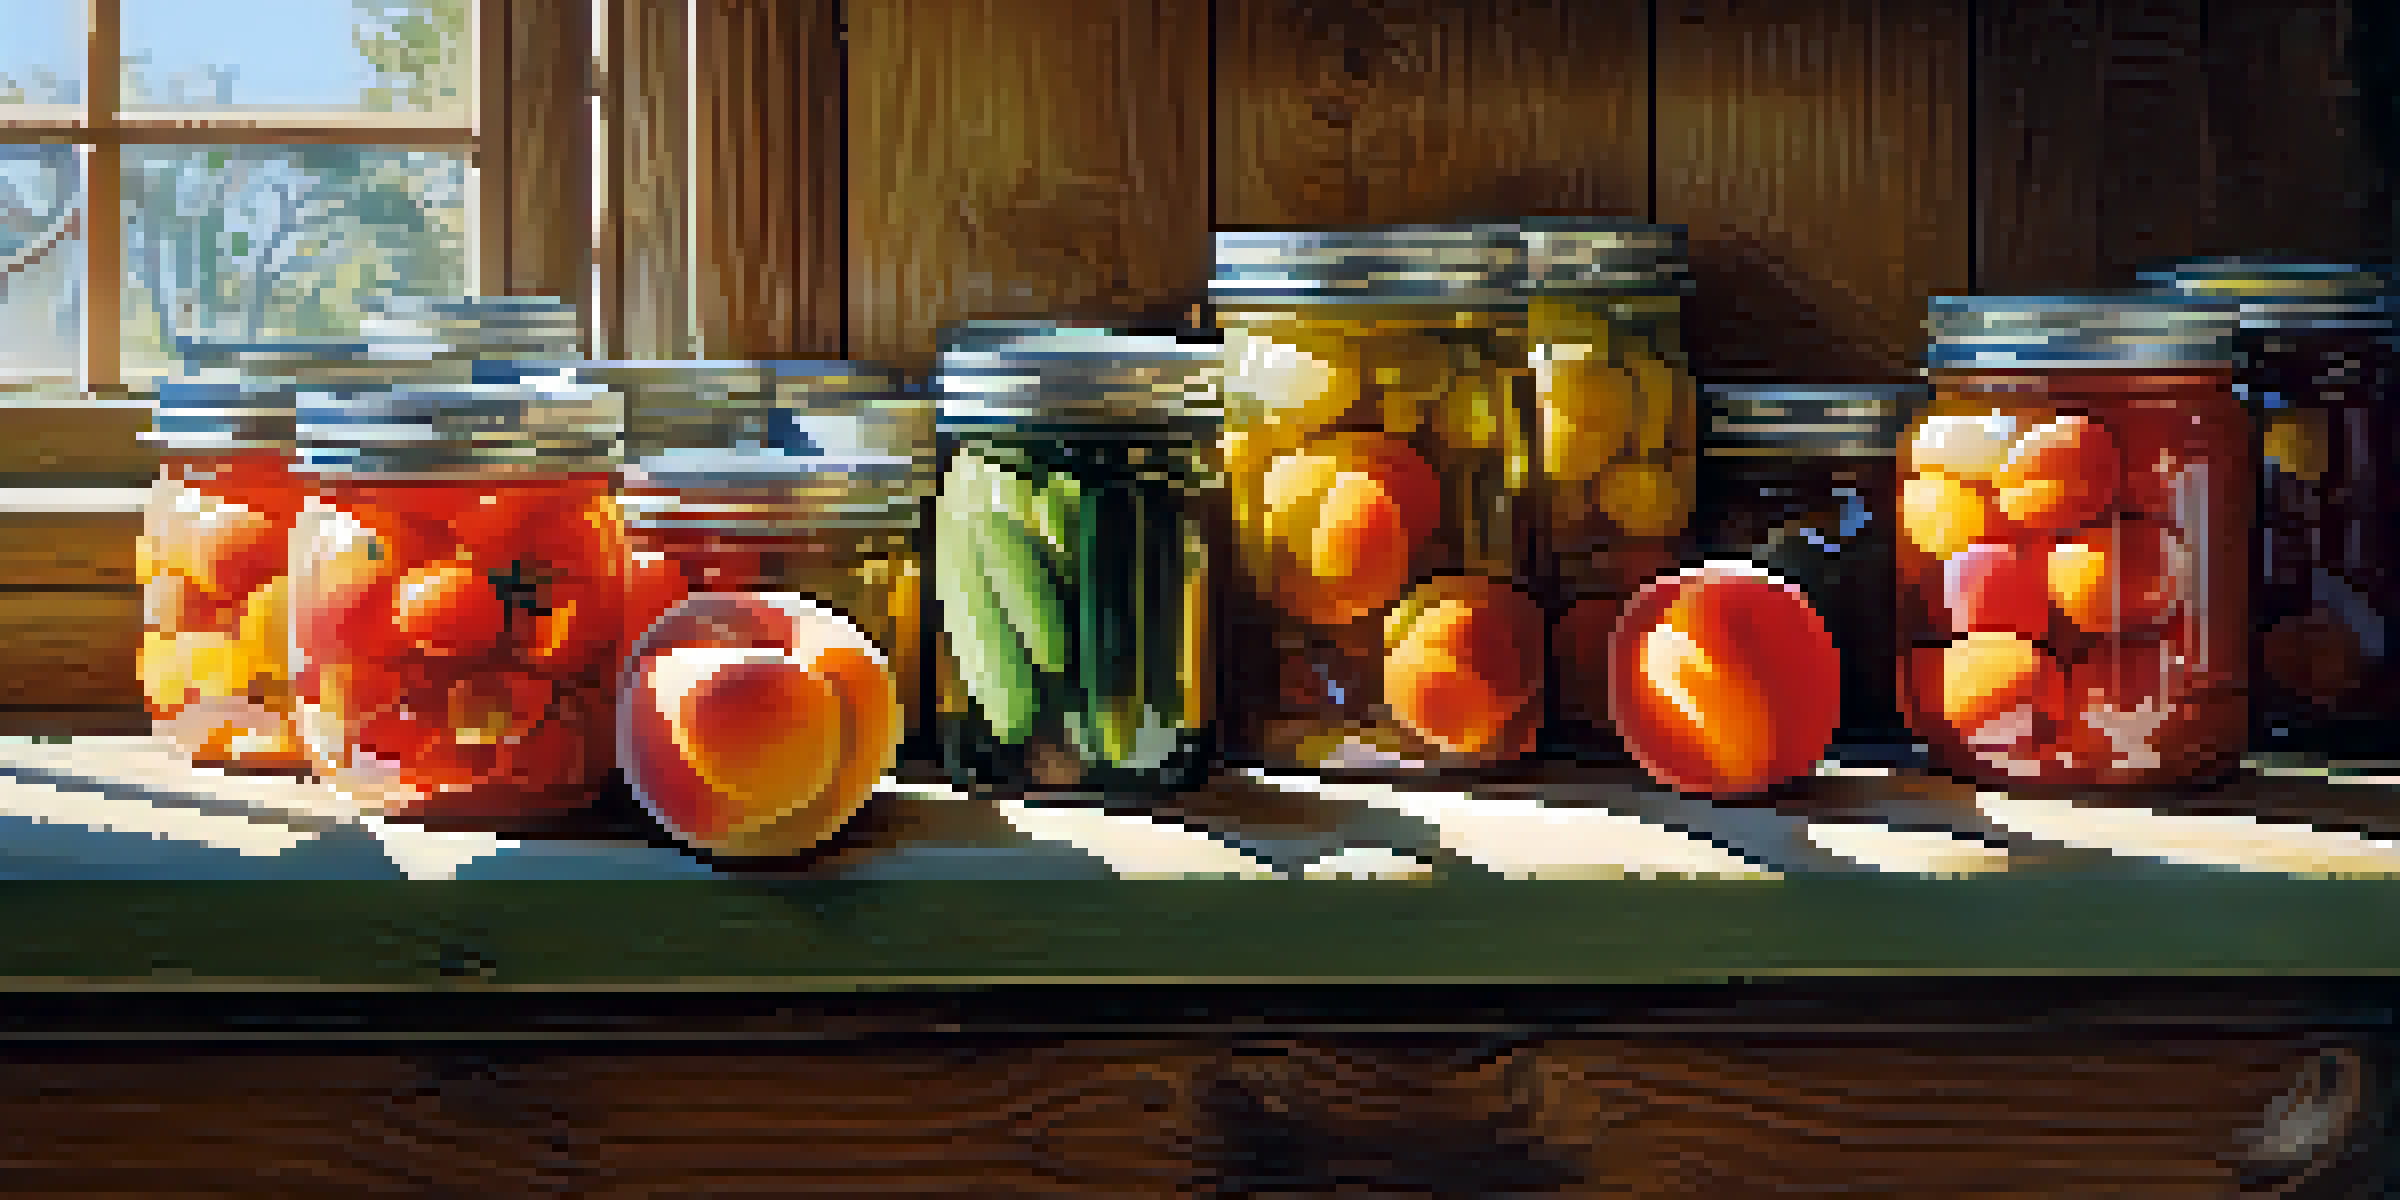
Canning is an age-old method of preserving food, allowing us to enjoy seasonal flavors year-round. It involves sealing food in jars and heating them to kill bacteria, yeasts, and molds that can cause spoilage. This process not only helps in extending the shelf life of your food but also retains its taste and nutrition. Understanding the basics is crucial for anyone looking to dive into this rewarding hobby.
Canning is a great way to preserve the harvest and bring a little bit of summer into the winter months.
Begin by familiarizing yourself with the two primary canning methods: water bath canning and pressure canning. Water bath canning is ideal for high-acid foods like fruits, jams, and pickles, while pressure canning is necessary for low-acid foods, such as vegetables and meats. Each method has its unique steps and requirements, but both can lead to delicious preserved goods.
As you embark on your canning journey, remember that safety is paramount. Proper sterilization of jars, lids, and tools is essential to prevent contamination. Also, always follow tested recipes to ensure the correct processing time and method, as this will help you avoid foodborne illnesses.
Gathering the Right Equipment for Canning
Having the right equipment can make all the difference in your canning experience. At a minimum, you'll need canning jars, lids, a canning pot, and a jar lifter. Investing in high-quality tools ensures that you can safely and effectively preserve your foods without complications.
A canning pot, often with a rack, is designed to hold jars during the heating process, while a jar lifter allows you to safely remove hot jars without burns. You might also consider a funnel for easy filling and a magnetic lid lifter to securely place lids on your jars. These tools not only enhance safety but also streamline the canning process.
Canning Basics for Beginners
Understanding canning methods and safety is essential for preserving food effectively.
Before you start canning, take the time to review your equipment and make sure everything is in good condition. Check for any cracks in jars or rust on lids, and replace any items that show signs of wear. This ensures that your canning process goes smoothly and safely.
Choosing the Right Ingredients for Canning
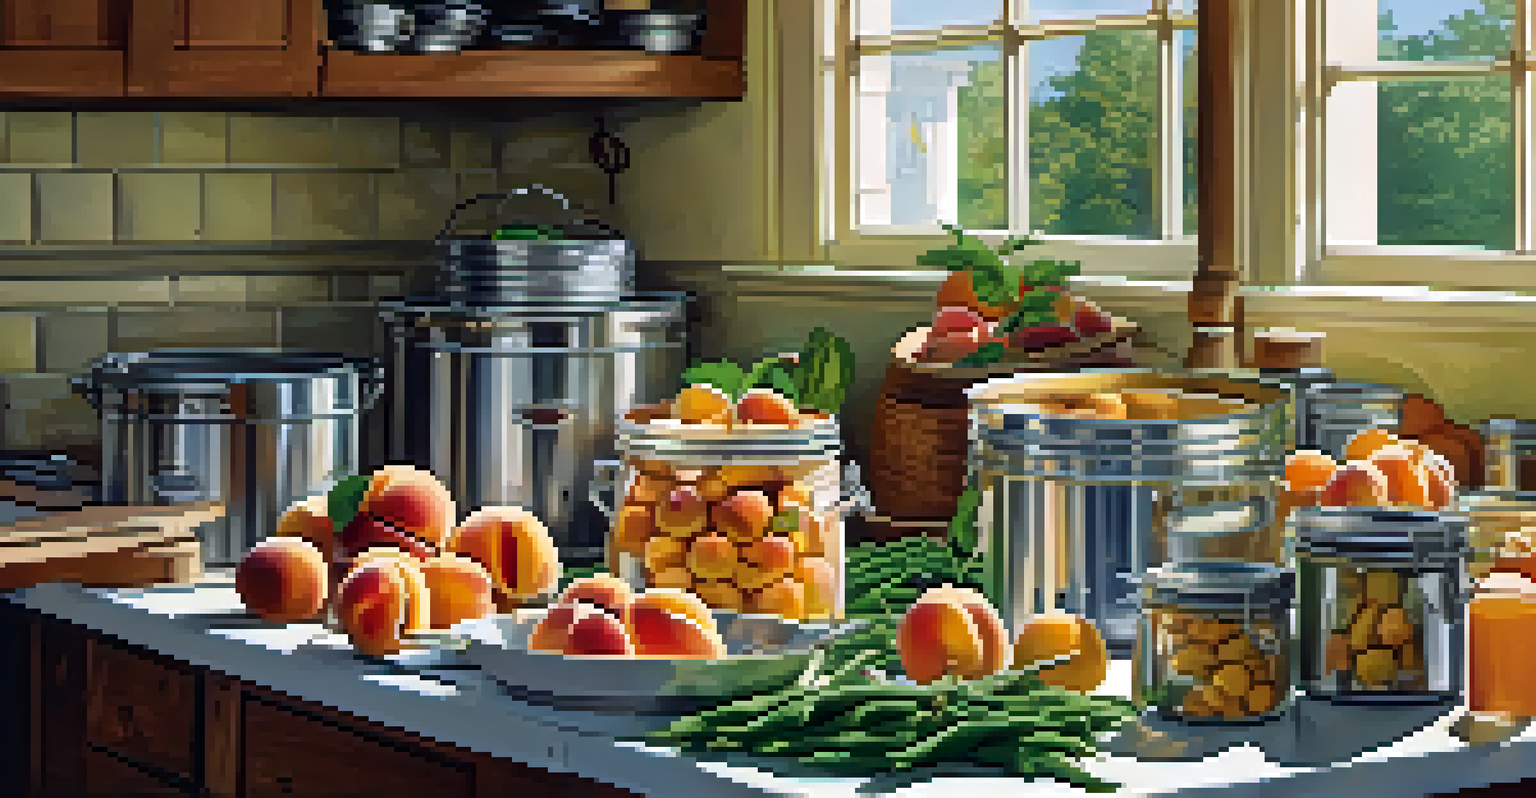
The quality of your preserved foods largely depends on the ingredients you choose. Fresh, ripe produce not only tastes better but also retains more nutrients during the canning process. Visit local farmers' markets or grow your own fruits and vegetables to ensure you’re working with the best possible ingredients.
Home canning is not just a way to preserve food; it’s a way to preserve memories.
When selecting ingredients, consider seasonal availability. Certain fruits and vegetables peak at different times of the year, and canning them at their freshest ensures optimal flavor. For example, summer peaches are perfect for canning into preserves, while fall pumpkins make great pie filling.
Remember, it’s not just about the main ingredients; don’t forget flavor enhancers like herbs and spices. A touch of cinnamon in your applesauce or a sprig of dill in pickles can elevate your canned goods to a whole new level. Experiment with combinations to discover your favorite flavors!
Preparing Food for Canning: Steps to Follow
Preparing your food for canning is a crucial step that requires attention to detail. Start by washing your fruits and vegetables thoroughly to remove dirt and pesticides. Next, peel, chop, or slice as needed, depending on the recipe you’re following.
Blanching is another important step for many vegetables, as it helps to preserve color, flavor, and nutrients. This process involves briefly boiling the vegetables before plunging them into ice water. It not only enhances the final product but also makes peeling fruits like tomatoes much easier.
Essential Canning Equipment
Having the right tools, like jars and a canning pot, greatly enhances the canning experience.
After preparation, ensure that your ingredients are precisely measured according to your recipe. Accurate measurements are vital for achieving the right acidity levels, particularly in low-acid foods. This attention to detail will help ensure both the taste and safety of your canned goods.
The Canning Process: Step-by-Step Instructions
Now that you're equipped with knowledge and prepared ingredients, it's time to dive into the canning process! Start by sterilizing your jars and lids, which can be done by boiling them in water for a few minutes. This step is essential for preventing bacteria from spoiling your food.
Next, fill the jars with your prepared ingredients, leaving the recommended headspace as indicated in your recipe. Headspace is the gap between the food and the top of the jar, which allows for the expansion of food during processing. Proper headspace helps ensure a good seal and prevents overflow.
Once filled, wipe the rims of the jars with a clean cloth to remove any residue, then place the lids on securely. Process the jars in your canning pot according to the specified time for your recipe. After processing, let the jars cool completely before checking the seals, ensuring that your hard work has paid off!
Understanding the Importance of pH Levels in Canning
pH levels play a crucial role in canning, particularly when it comes to food safety. Foods with a high acidity (like tomatoes and citrus) can be safely canned using the water bath method, while low-acid foods require pressure canning. Understanding these levels helps prevent the growth of harmful bacteria, like botulism.
You can easily test the acidity of foods with litmus paper or pH meters. Generally, a pH level below 4.6 is considered safe for water bath canning. If you're unsure about a particular recipe or ingredient's acidity, it's best to err on the side of caution and follow tested guidelines.
Importance of Quality Ingredients
Using fresh, seasonal produce ensures better taste and nutrition in your canned goods.
For those interested in preserving low-acid foods, pressure canning is a must. It utilizes higher temperatures than water bath canning, which effectively destroys harmful bacteria. Embracing this knowledge ensures not only delicious results but also safe home preservation.
Storing and Enjoying Your Canned Goods
After putting in the hard work of canning, proper storage is essential to maintain the quality of your preserved foods. Store your jars in a cool, dark place, away from direct sunlight and heat sources. Ideally, a pantry or cupboard works best for keeping your creations in optimal condition.
Before storing, make sure each jar has sealed properly. A good seal will have a concave lid and should not pop when pressed. If you find any unsealed jars, simply refrigerate and consume the contents within a few days or reprocess them to achieve a proper seal.
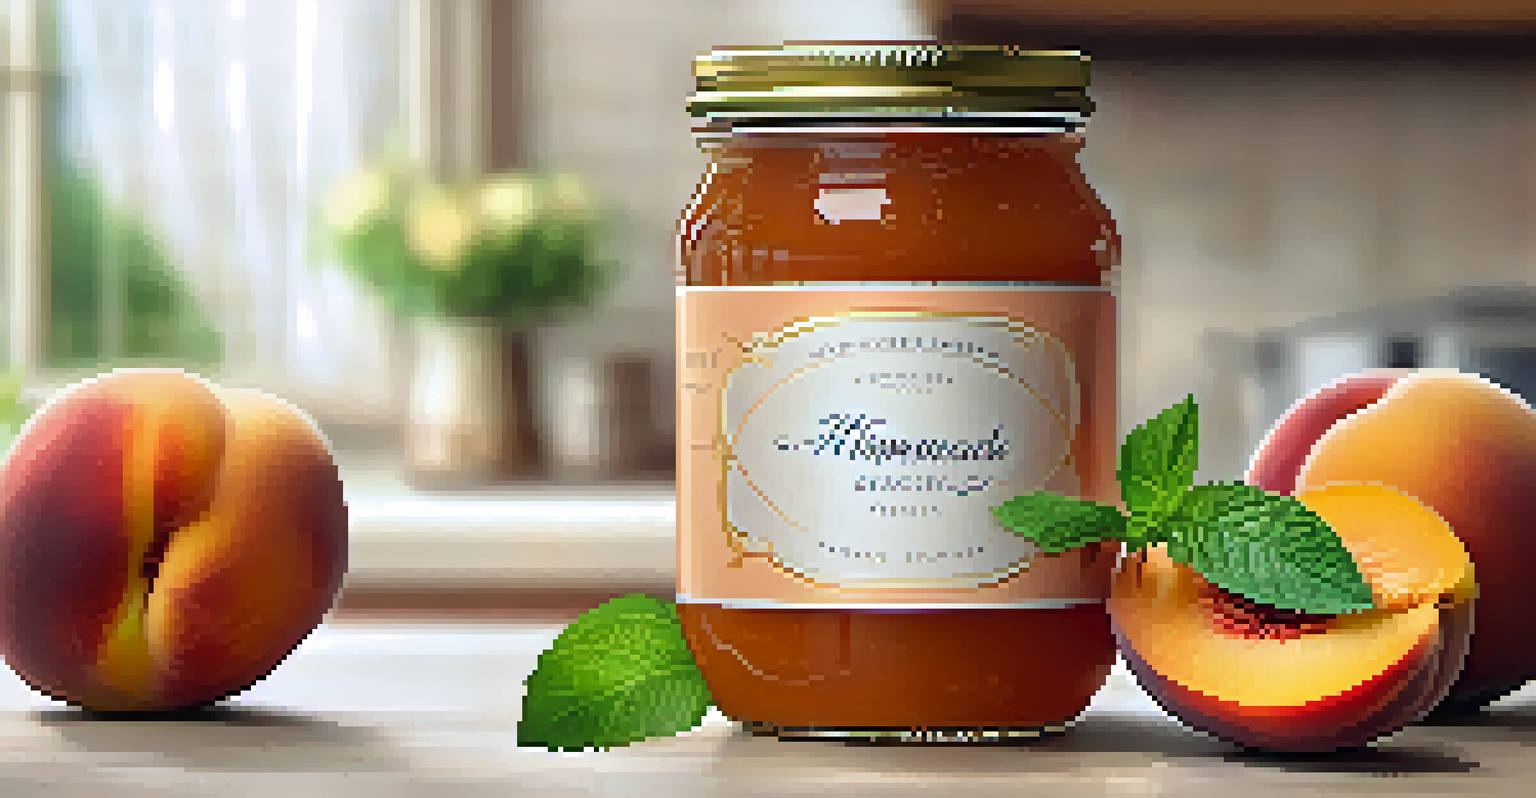
Finally, enjoy the fruits of your labor! Canned goods are perfect for quick meals, gifting, or simply savoring the flavors of summer in the cold months. Whether it's a jar of homemade salsa or sweet peach preserves, each jar is a delicious reminder of your canning journey.