Exploring HDR Photography and Its Editing Techniques
Understanding HDR Photography: What It Is and Why It Matters
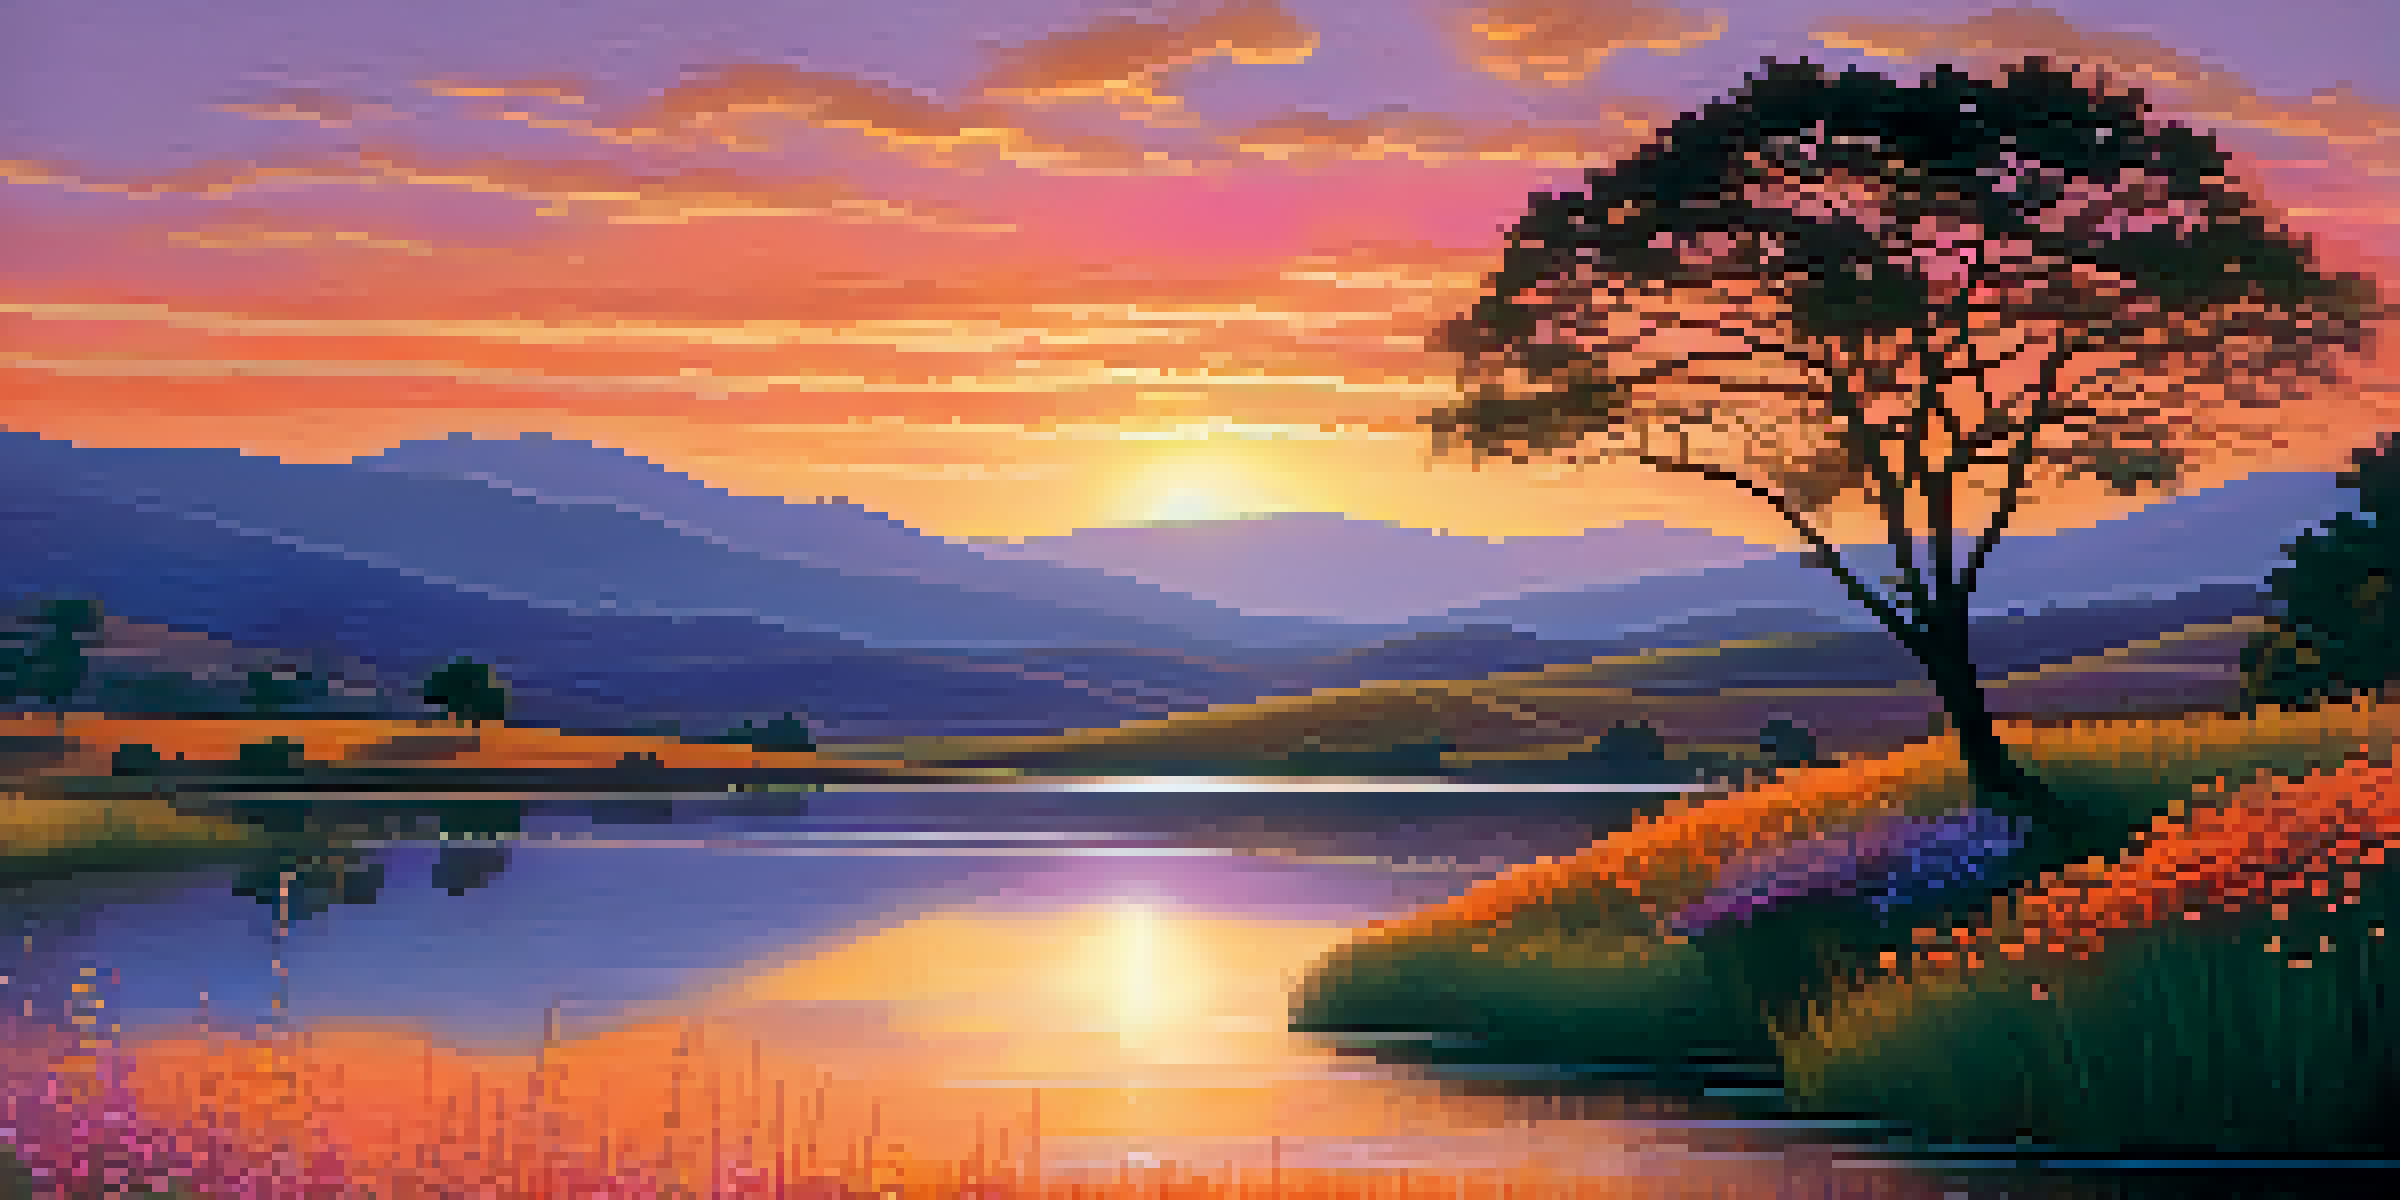
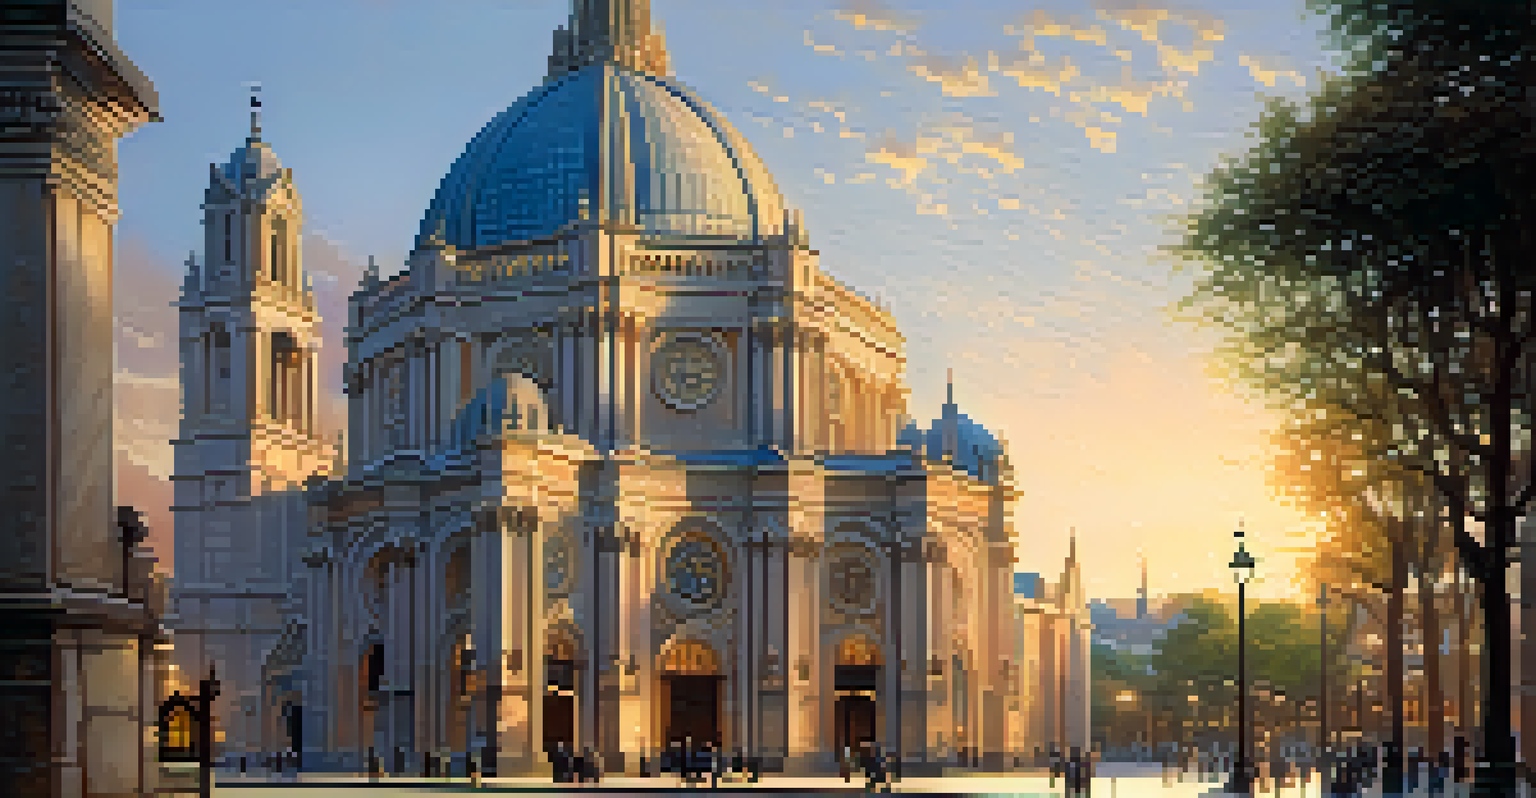
High Dynamic Range (HDR) photography is a technique that captures a greater range of light and color than standard photography. It allows photographers to create images that closely resemble what the human eye perceives in real life, particularly in high-contrast situations.
Photography is the story I fail to put into words.
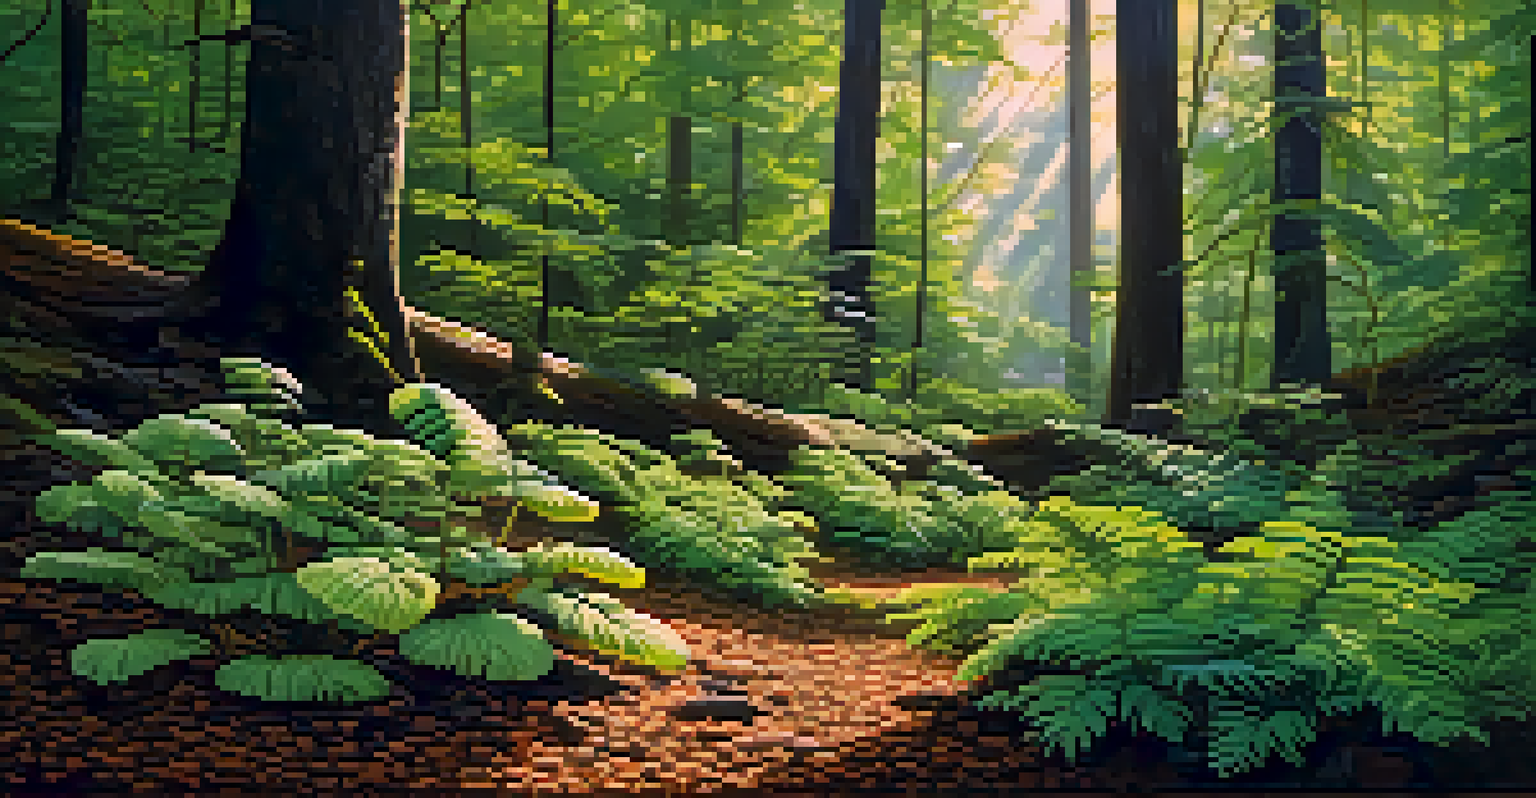
By merging multiple exposures of the same scene, HDR photography can bring out details in both the shadows and highlights. This approach is especially useful in landscapes or architectural photography where lighting can be uneven.
Ultimately, HDR photography enhances the visual storytelling of your images, allowing you to convey emotions and atmospheres more effectively.
The Basics of HDR: Equipment and Settings You Need
To get started with HDR photography, you'll need a camera capable of shooting in manual mode, a sturdy tripod, and ideally, a remote shutter release. These tools help ensure that your multiple exposures align perfectly.
When setting up your camera, choose a low ISO to reduce noise and ensure your images are as clean as possible. Use a wide aperture to create a depth of field appropriate for your scene, and take at least three exposures at varying shutter speeds.
HDR Photography Enhances Imagery
High Dynamic Range (HDR) photography captures a broader spectrum of light and color, making images more lifelike and emotionally compelling.
This combination of equipment and settings will set the foundation for capturing stunning HDR images, making your workflow smoother and more efficient.
Capturing the Perfect HDR Shot: Tips for Success
To capture a great HDR shot, consider the composition first. Think about the rule of thirds and how the light interacts with your subject. This preparation will help you frame your shot effectively before you even start shooting.
The camera is an instrument that teaches people how to see without a camera.
Timing is crucial, especially when shooting landscapes. Golden hour, just after sunrise or before sunset, offers beautiful lighting conditions that can dramatically enhance your HDR images. However, be mindful of changing light conditions.
Lastly, don't forget to experiment with different exposure ranges. Sometimes, capturing more than three exposures can yield a richer HDR effect, especially in complex scenes.
Editing HDR Images: Software Options to Explore
Once you've captured your images, it's time to dive into editing. Popular software options for HDR editing include Adobe Photoshop, Lightroom, and dedicated HDR programs like Photomatix. Each has its unique features and interfaces.
Photoshop and Lightroom allow you to merge HDR images seamlessly and tweak individual elements for optimal results. On the other hand, Photomatix is specifically designed for HDR processing, offering more specialized tools.
Essential Gear for HDR Success
To achieve stunning HDR photographs, you'll need a camera with manual settings, a sturdy tripod, and multiple exposure techniques.
Choosing the right software depends on your comfort level and specific editing needs, so don't hesitate to explore a couple of options before settling on your favorite.
Merging Exposures: Step-by-Step Guide
Merging exposures is a key step in HDR processing. Begin by selecting your images in your editing software and choosing the merge option. This will align and blend your exposures to create a single HDR image.
Once merged, you'll often have the option to tone-map your image, adjusting the brightness, contrast, and saturation levels. This process helps to fine-tune the final look, ensuring it accurately represents your vision.
As you navigate through this process, remember that subtlety is key. Over-processing can lead to unnatural results, so aim to enhance the image while maintaining its integrity.
Enhancing Your HDR Images: Advanced Editing Techniques
After merging your HDR images, consider using additional editing techniques like local adjustments. This involves selectively enhancing areas of your image, such as brightening shadows or adding contrast to specific elements.
You can also experiment with filters and textures to add depth and interest to your final image. For instance, a subtle vignette can draw attention to the focal point of your photograph.
Sharing Your HDR Creations
Once edited, showcase your HDR images online while sharing the story behind each shot to engage with your audience.
Always keep an eye on the overall balance of your image. The goal is to create a captivating visual without sacrificing the natural feel of the scene.
Showcasing Your HDR Work: Best Practices for Sharing
Once you've edited your HDR images, it's time to share them! Consider creating an online portfolio or using social media platforms that cater to photographers, such as Instagram or Flickr.
When sharing, ensure your images are appropriately sized and optimized for web viewing. This enhances load times and ensures your work looks its best on various devices.
Engagement is key, so don't just post your images. Share the story behind each shot, your editing process, and encourage feedback from your audience to foster a community around your work.