DIY Photo Frames: Crafting Personalized Displays for Memories
Why DIY Photo Frames Are Perfect for Personalization
Creating your own photo frames allows you to infuse your personality into your home decor. Instead of settling for mass-produced frames, you can design pieces that reflect your unique style and taste. This customization not only enhances your space but also gives a personal touch to your cherished memories.
Creativity takes courage.
Moreover, DIY frames can serve as meaningful gifts for friends and family. Imagine giving a beautifully crafted frame that showcases a special moment you shared together. It’s a heartfelt way to express your love and thoughtfulness, making the gift even more significant.
Finally, DIY projects like photo frames can be a fun way to spend your time creatively. Whether you’re crafting alone or with loved ones, it can be a therapeutic and enjoyable activity. You'll find satisfaction in creating something beautiful and meaningful with your own hands.
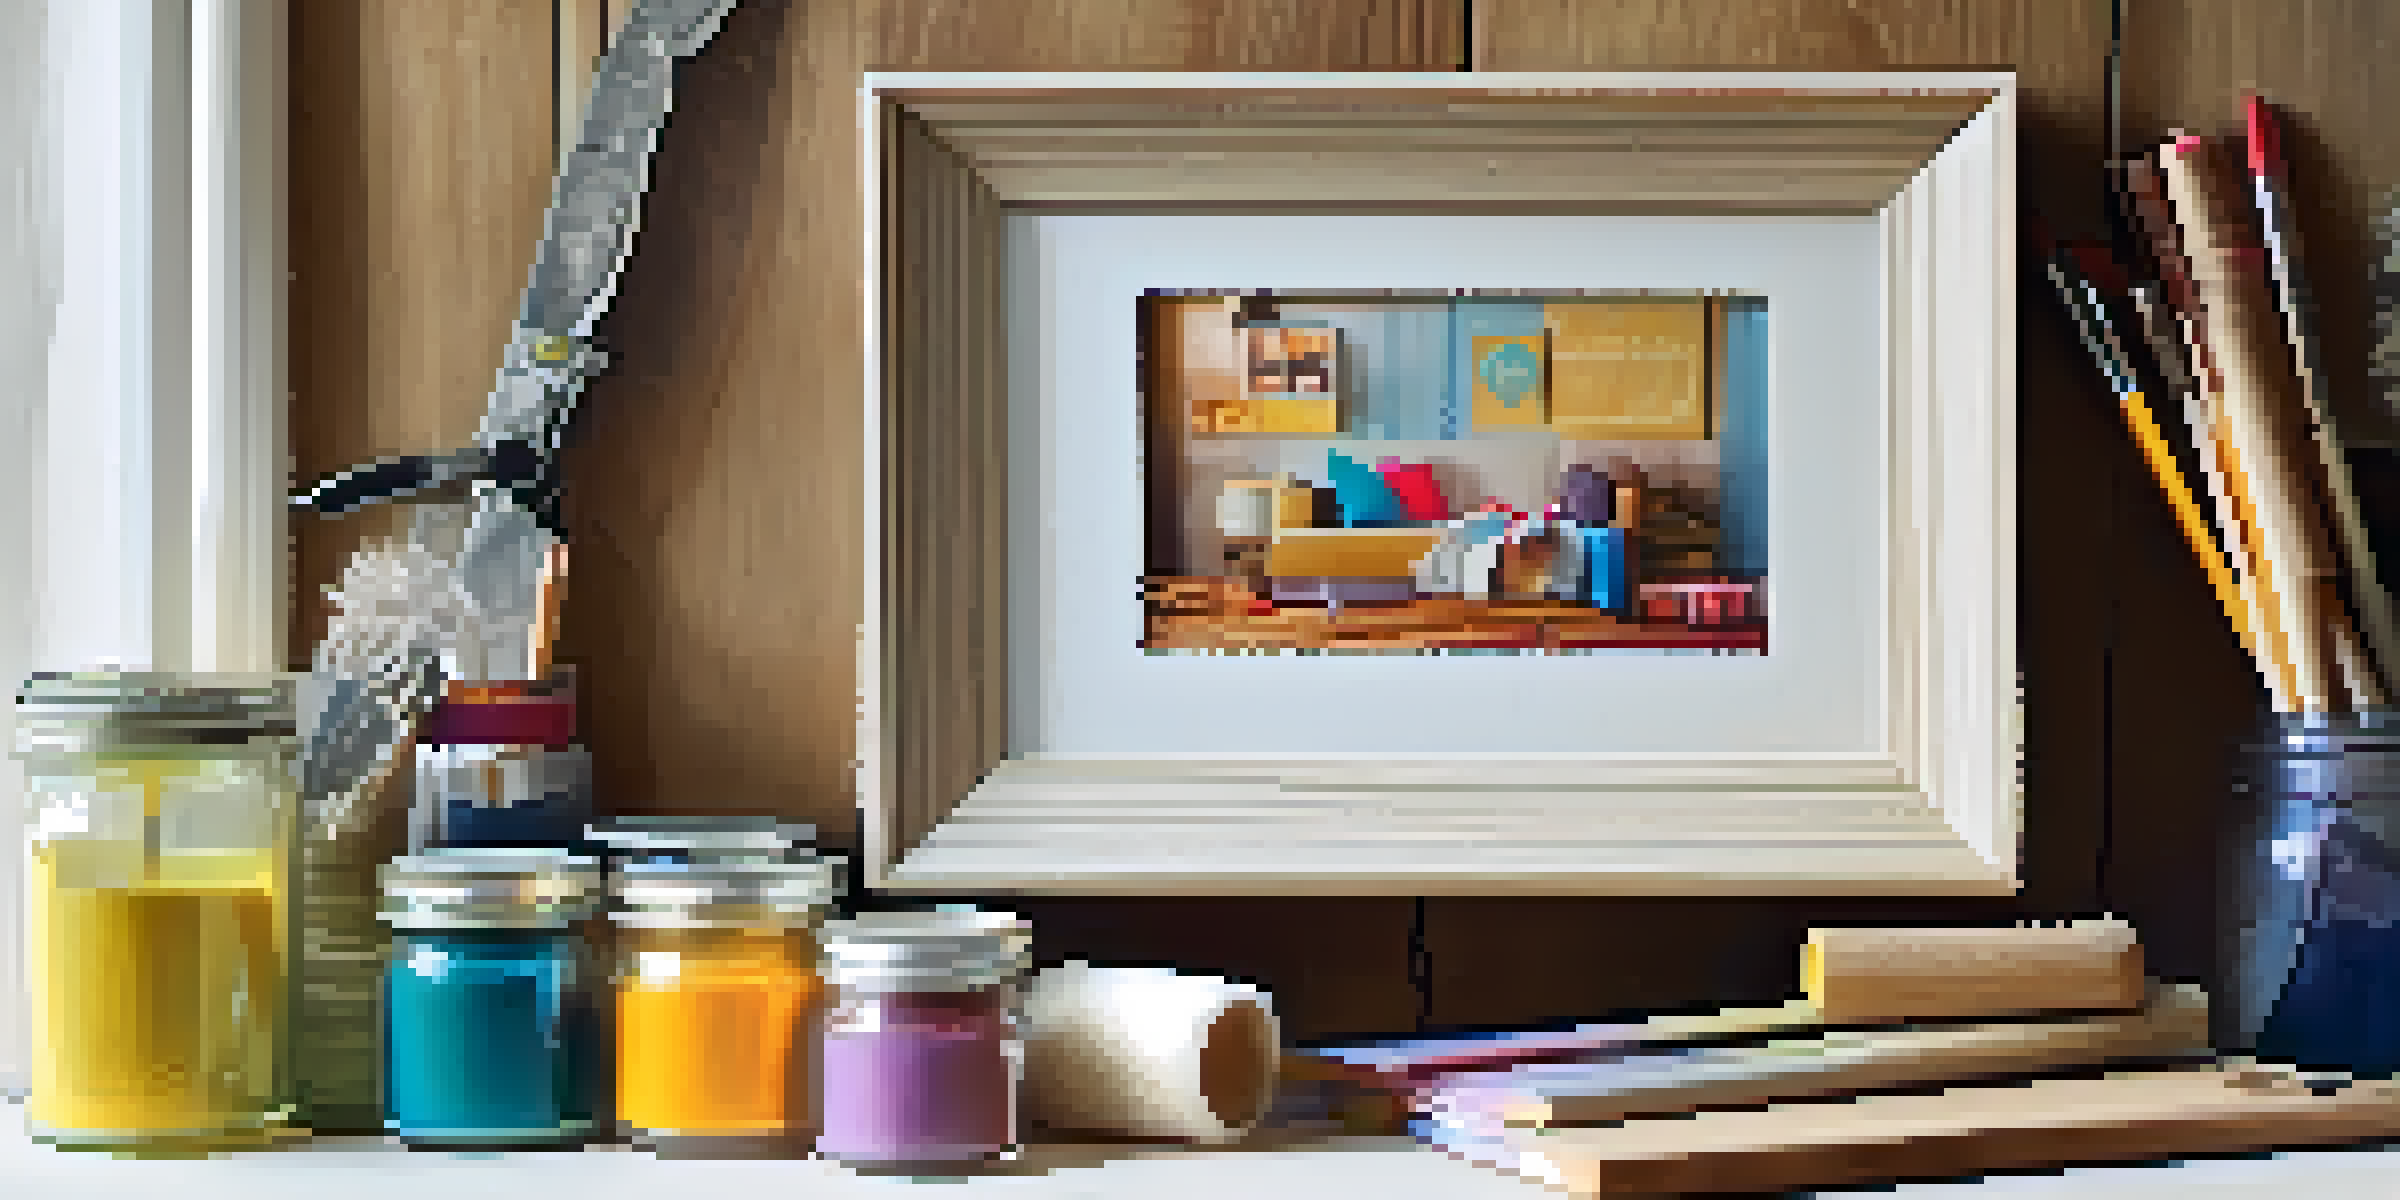
Gathering Materials for Your DIY Photo Frames
Before you start crafting, it’s essential to gather all the materials you’ll need. Basic items include cardstock, scissors, glue, and decorative elements like ribbons or paint. You might also want to consider using upcycled materials, such as old wooden crates or cardboard, which can add character and sustainability to your project.
Don't forget about the tools that can make your crafting process smoother. A cutting mat, ruler, and craft knife will allow you to achieve clean edges and precise measurements. Having the right tools on hand can elevate your DIY experience and the final product.
Personalize Your Home Decor
Creating DIY photo frames allows you to reflect your unique style and enhance your living space.
Lastly, let your imagination run wild! The beauty of DIY is that there are no strict rules. Feel free to incorporate unique materials that resonate with you, such as fabric swatches or natural elements like twigs and leaves. This is your chance to get creative and craft something genuinely one-of-a-kind.
Step-by-Step Guide to Creating a Basic Photo Frame
Start by measuring and cutting your base material to the desired size of your frame. A standard size is usually around 4x6 inches, but you can adjust this according to your photo. Be sure to make a notch in the back for easy photo insertion, allowing you to change the pictures whenever you wish.
The best way to predict the future is to create it.
Once your frame shape is ready, it’s time to decorate! You can paint it in your favorite color, add washi tape, or even glue on small embellishments like beads or shells. The goal here is to express your style while ensuring that the frame complements the photo it will hold.
Finally, secure the photo in place and add any backing needed to keep it stable. You can use cardboard or even a piece of strong paper for this. Once everything is assembled, find a spot in your home to display your beautiful creation proudly!
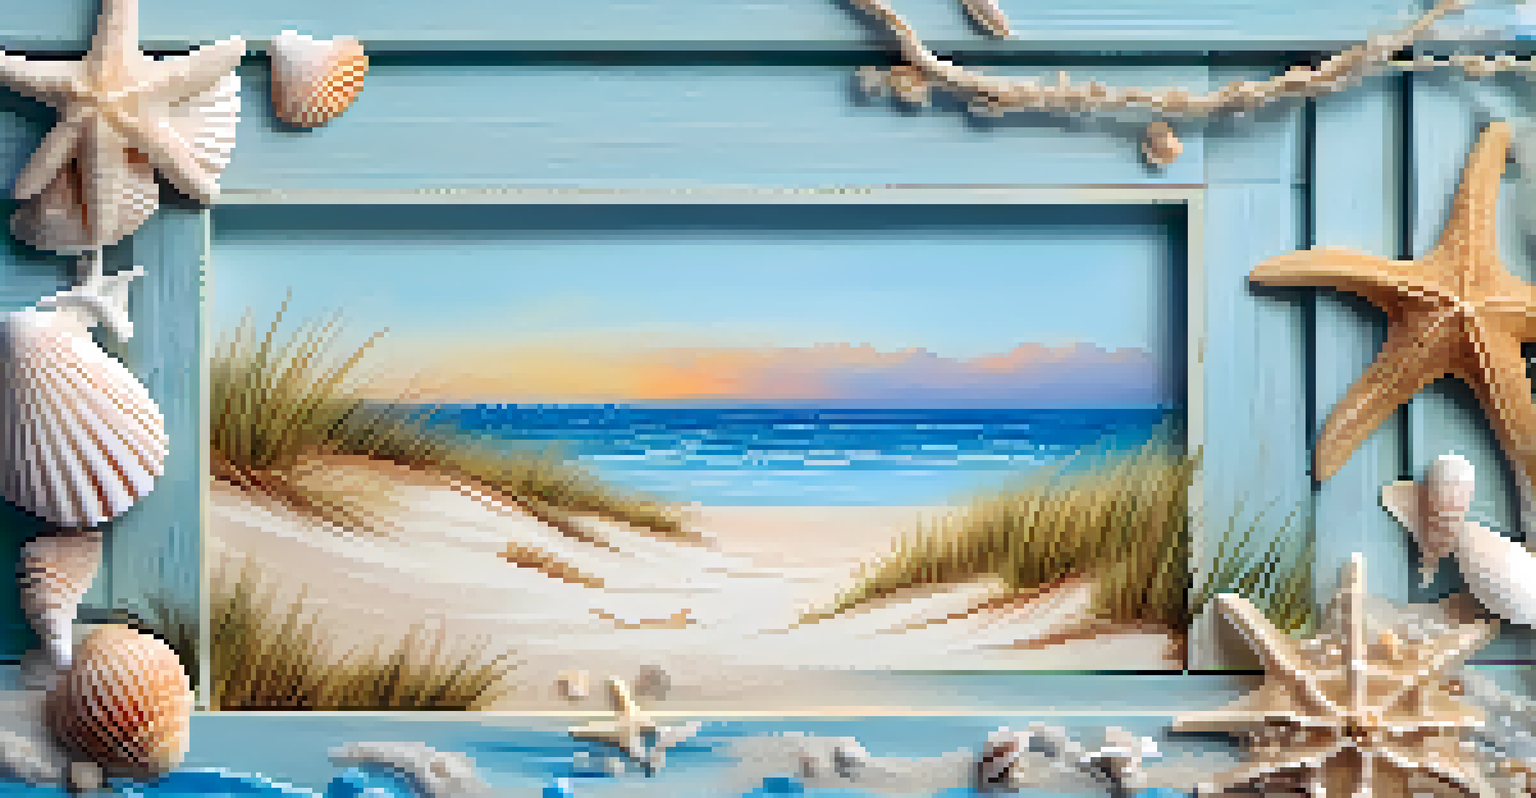
Incorporating Themes into Your DIY Photo Frames
Themed photo frames can elevate your decor by telling a story or setting a mood. For instance, a beach theme could include sand and small seashells glued around the frame, perfect for summer vacation photos. Likewise, a rustic theme might feature distressed wood or burlap that evokes a cozy, countryside feel.
You can also consider seasonal themes, allowing you to change the decor as the year progresses. Think about autumn leaves for fall, snowflakes for winter, or flowers for spring. This not only refreshes your space but also keeps your memories alive in a relevant context.
Eco-Friendly Crafting Options
Using upcycled materials for your frames not only saves money but also promotes sustainability.
Themes can also be based on your family traditions or favorite activities. If you love hiking, you might create a frame adorned with miniature pine cones and twigs. This personal touch makes the frame not just a display but a cherished part of your family’s story.
Using Upcycled Materials for Eco-Friendly Frames
Upcycling is a fantastic way to create beautiful photo frames while being kind to the planet. Materials like old wooden pallets, discarded picture frames, or even fabric scraps can be transformed into stunning displays. This approach not only saves money but also reduces waste, making your crafting more sustainable.
For instance, an old wooden crate can be cut down and painted to create a rustic frame. Alternatively, you can wrap a plain frame with fabric or yarn to give it a fresh, cozy look. The possibilities are endless when you think outside the box!
Additionally, involving your kids in upcycling projects can be a great way to teach them about sustainability. They can learn how to repurpose items while also developing their creativity. Together, you can create memorable keepsakes that reflect your family's values and creativity.
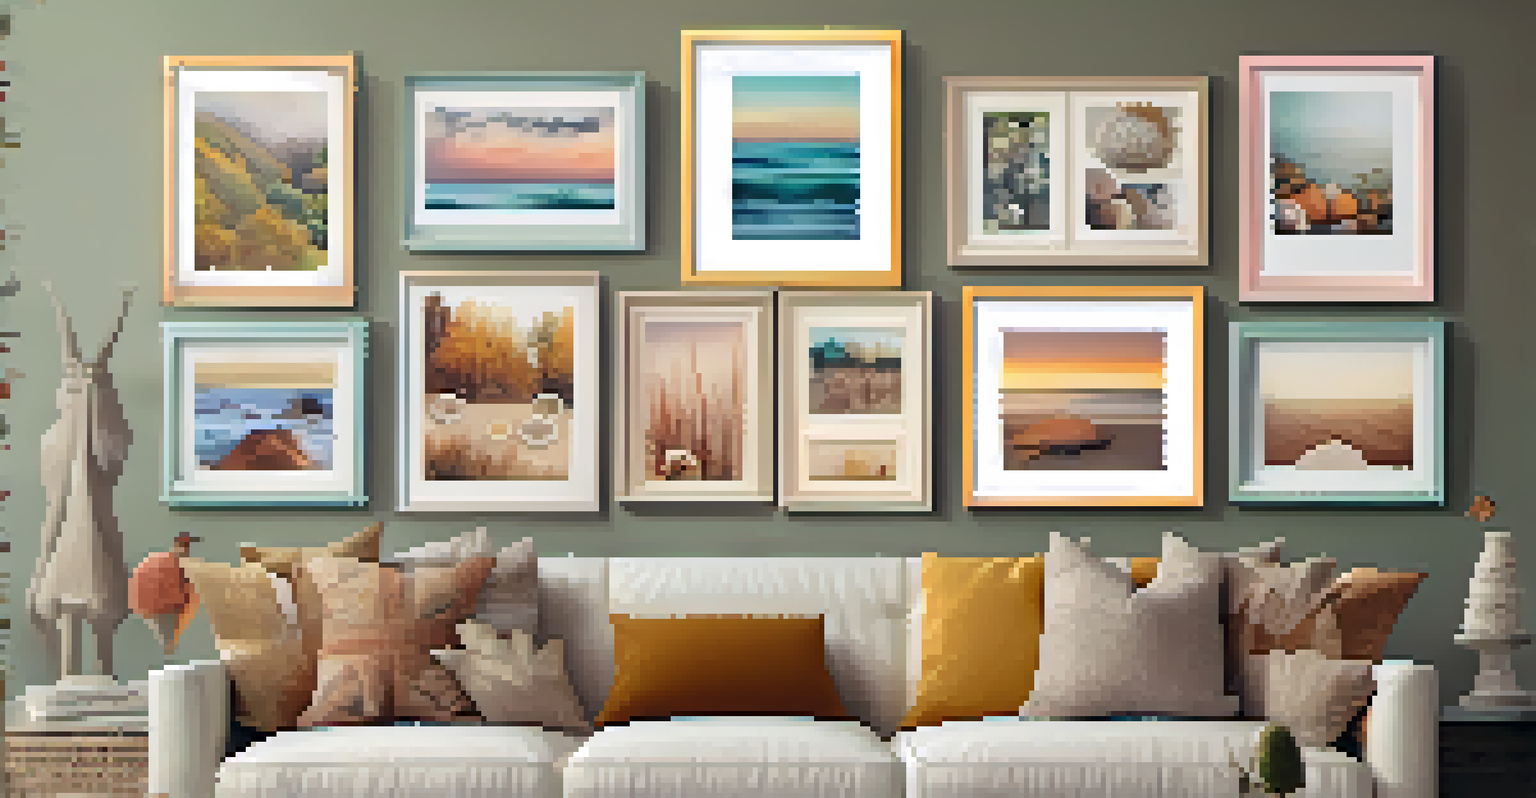
Creative Ways to Display Your DIY Photo Frames
Once you’ve crafted your unique photo frames, displaying them can be just as fun as making them. Consider creating a gallery wall where multiple frames are arranged together. This not only serves as an eye-catching focal point but also allows you to tell a visual story through your memories.
If wall space is limited, think about using shelves or mantels to showcase your frames. You can mix and match different sizes and styles for an eclectic look. Adding small decorative items like plants or candles can enhance the overall aesthetic of the display.
Share Your Creative Journey
Showcasing your DIY creations on social media can inspire others and connect you with a crafting community.
Lastly, don’t forget about using easels or stands for a more dynamic presentation. This way, you can easily change the photos displayed without having to take the frames off the wall. It’s an effortless way to keep your decor fresh and engaging while celebrating your favorite moments!
Sharing Your DIY Photo Frame Creations
After putting in the time and effort to create your DIY photo frames, sharing your work can be incredibly rewarding. Showcase your creations on social media platforms like Instagram or Pinterest. This not only inspires others but can also connect you with a community of fellow crafters who share your passion.
You can also consider hosting a crafting party where friends and family can come together to create their own frames. This makes for a fun and interactive experience, allowing everyone to leave with a piece of art that holds a story behind it. Plus, it’s a wonderful way to bond over creativity!
Lastly, don't hesitate to share tips and tutorials based on your crafting journey. Whether through blog posts or videos, sharing your knowledge can empower others to start their own DIY adventures. It’s a fulfilling way to contribute to the crafting community while celebrating the joy of creating.