How to Brew Cider at Home: A Comprehensive Guide
Understanding the Basics of Cider Brewing
Brewing cider at home is both an art and a science, and starting with a solid foundation is key. At its core, cider is simply fermented apple juice, but the process involves several steps that can vary widely. By understanding the basics, you'll be better equipped to create a cider that suits your taste preferences. Let's explore what you'll need and the fundamental concepts behind fermentation.
There is no wine without a little bit of magic.
You'll want to begin by choosing the right apples, as they are the heart of your cider. Sweet, tart, or a blend of both can dramatically affect the flavor profile of your final product. Additionally, it's important to consider the fermentation process, where yeast converts the sugars from the apple juice into alcohol. This transformation is where the magic happens, and understanding it will help you control the outcome.
Lastly, remember that patience is a virtue in cider making. The fermentation process can take weeks, and allowing your cider to age will enhance its flavors. So, gather your ingredients and tools, and let's dive deeper into the steps involved in brewing cider at home!
Essential Tools and Ingredients for Cider Brewing
Before you start brewing, you'll need to gather some essential tools and ingredients. Key items include a fermentation vessel, airlock, and bottles for storage. You’ll also need a way to crush and press your apples unless you’re opting for pre-pressed juice. Investing in quality equipment can make the process smoother and more enjoyable.

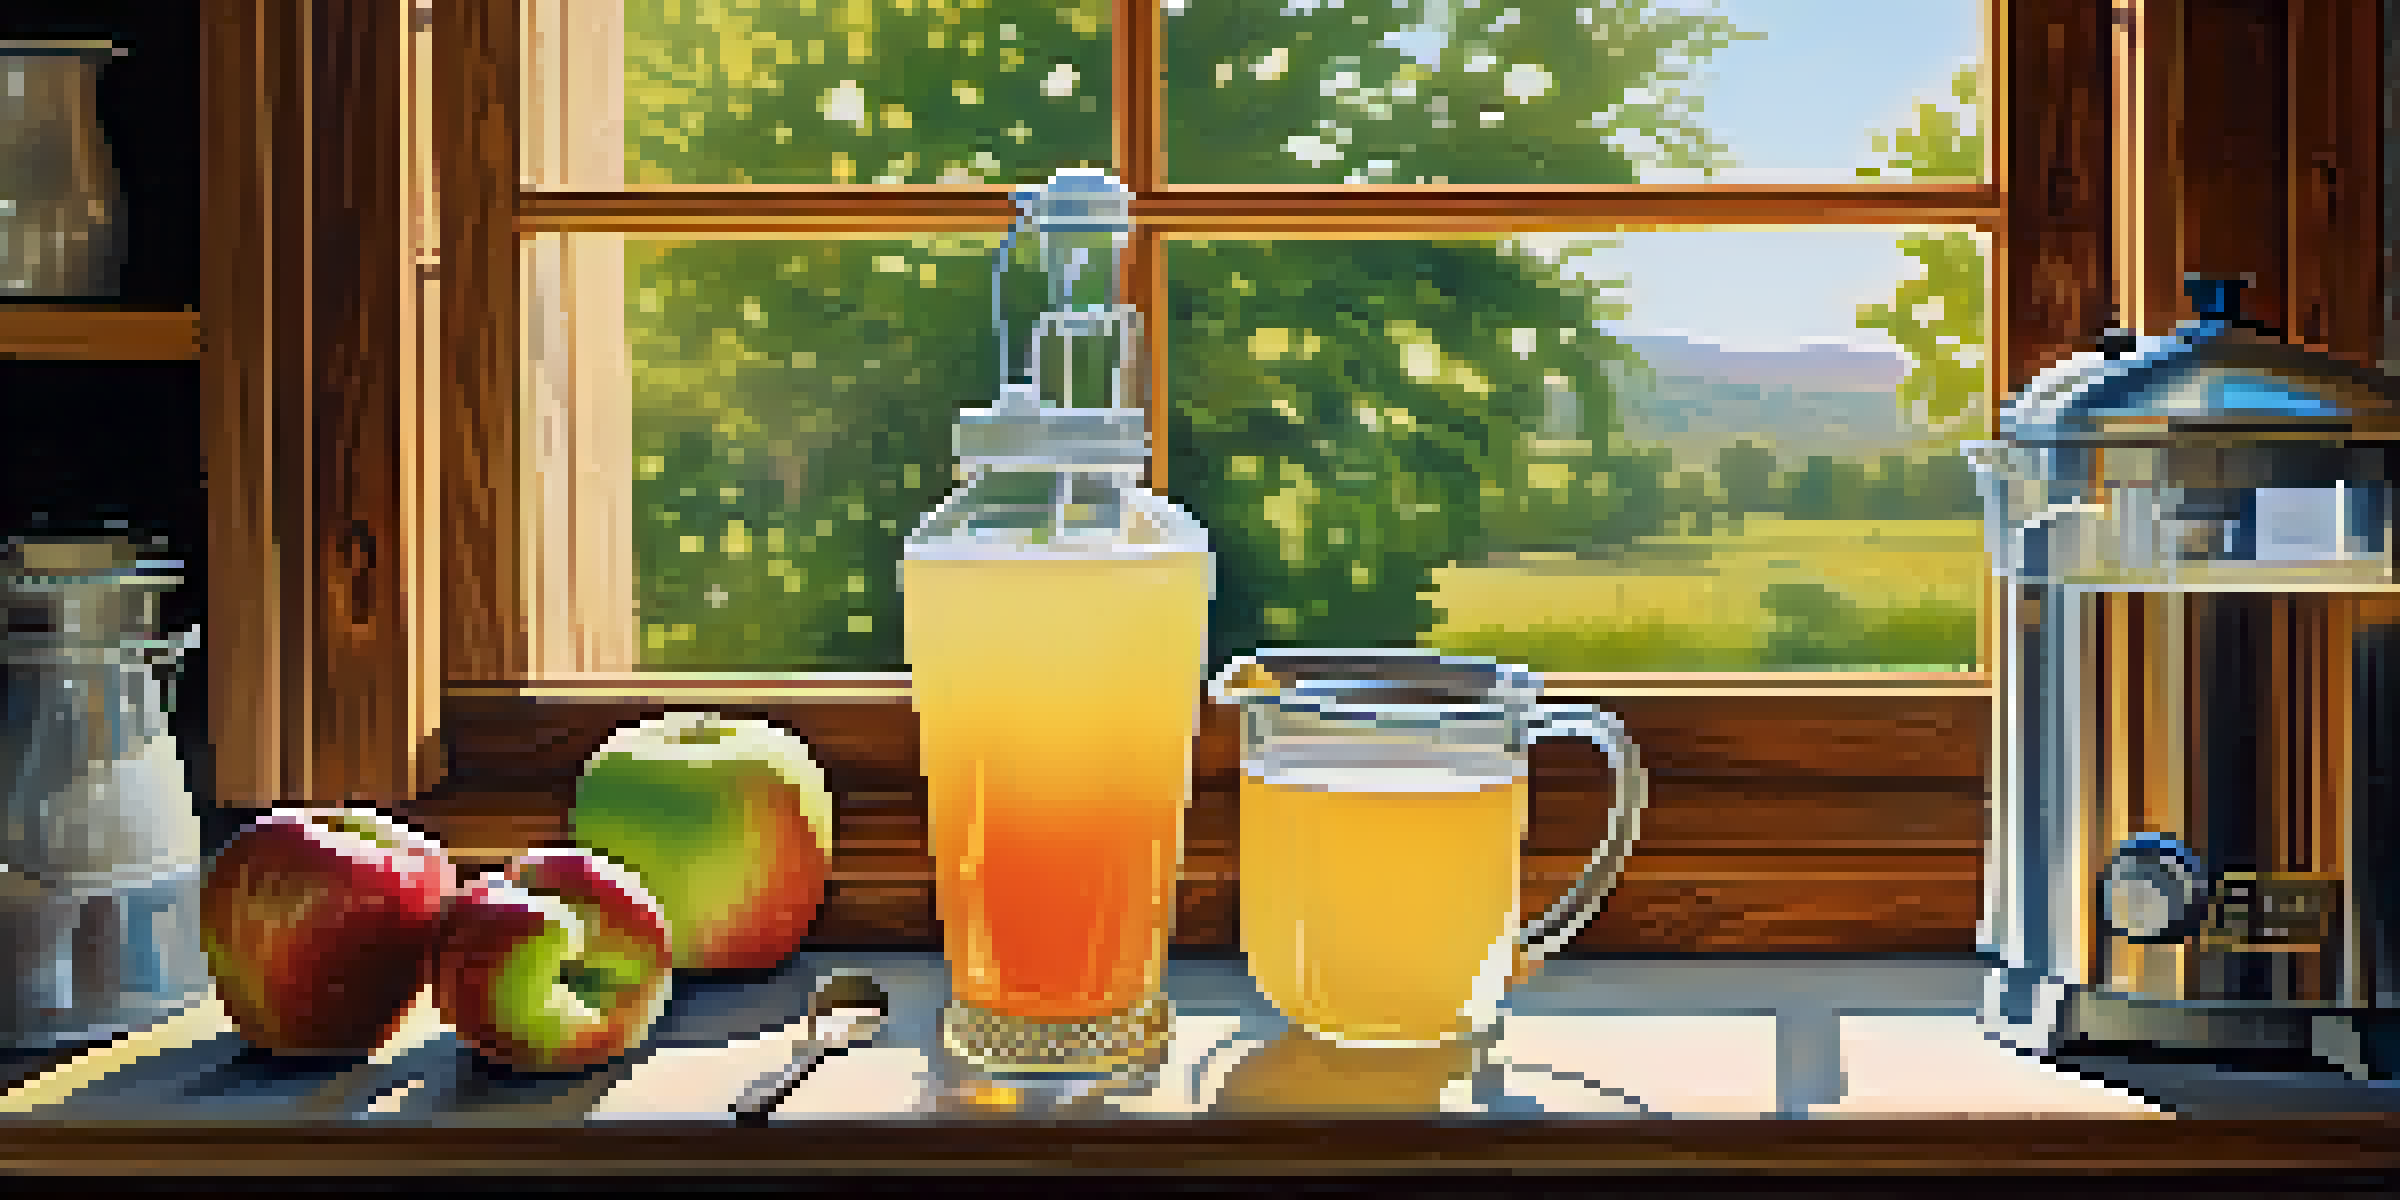
The main ingredient, of course, is apples. You can use various apple varieties, but a mix often yields the best flavor. Look for fresh, ripe apples from local orchards or farmer's markets for the most delicious results. Additionally, consider adding some sugar or honey to boost fermentation, especially if your apples are on the tart side.
Choose the Right Ingredients
Selecting the right apples and quality yeast is crucial for crafting a flavorful cider.
Lastly, don't forget about yeast! While wild fermentation can produce unique flavors, using a specific cider yeast can help you achieve consistent results. With your ingredients and tools ready, you’re well on your way to brewing your first batch of cider!
Step-by-Step Process to Brew Your Own Cider
Now that you've gathered your ingredients and tools, it's time to get brewing! Start by washing your apples thoroughly to remove any dirt or pesticides. Next, crush and press the apples to extract the juice, which will be the base for your cider. This step can be done with a hand press, or you can use a juicer if you have one handy.
Brew your own beer, and you'll never go thirsty.
Once you have your fresh apple juice, it's time to add your yeast. This is the magical moment when fermentation begins! Pour the juice into your fermentation vessel, sprinkle in the yeast, and seal it with an airlock to allow gases to escape while keeping contaminants out. Ensure the vessel is kept at a stable temperature, ideally around 65-75°F (18-24°C) for optimal fermentation.
After about one to two weeks, you should notice bubbling in the airlock, indicating active fermentation. This is when the yeast is doing its work to convert sugars into alcohol. Once bubbling slows down, it’s time to check the specific gravity, which helps determine the alcohol content. When fermentation is complete, you can proceed to bottle your cider!
How to Bottle and Store Your Brewed Cider
Bottling your cider is an exciting step as it means you’re nearing the end of the brewing process. Begin by sanitizing your bottles and caps to prevent any unwanted bacteria from spoiling your cider. You can use a siphon or racking cane to transfer the cider from the fermentation vessel into the bottles, leaving some headspace at the top for carbonation.
If you prefer a sparkling cider, now's the time to add a small amount of sugar to each bottle before capping. This sugar will fuel a secondary fermentation in the bottles, creating delightful bubbles. If you want a still cider, simply cap the bottles without any added sugar. Make sure each bottle is sealed tightly to avoid leaks.
Patience is Key in Brewing
Allowing time for fermentation and aging enhances the flavors of your homemade cider.
Store your bottles in a cool, dark place for at least a few weeks before tasting. This aging process helps develop the flavors and allows any sediment to settle at the bottom. After a few weeks, your cider will be ready to chill and enjoy—just remember to pour carefully to leave the sediment behind!
Flavoring Your Cider: Tips and Ideas
One of the joys of brewing cider at home is the ability to experiment with flavors. While traditional apple cider is delicious on its own, consider adding spices like cinnamon or cloves for a warm, autumnal twist. You can also try infusing your cider with berries, ginger, or even herbs like rosemary for unique flavor profiles.
Another popular option is to create a fruit blend. Mixing different fruit juices, like pear or cherry, with your apple base can lead to interesting and delightful combinations. Just ensure you maintain a balance so that no one flavor overpowers the others. This is where your creativity can shine, and tasting along the way can help you achieve your desired blend.
Don't be afraid to take notes during your brewing process. Keep track of what flavors you add and how they change the final product. This way, you can replicate your successes or tweak your recipe for future batches. The more you experiment, the more you'll discover your personal cider preferences!
Troubleshooting Common Cider Brewing Issues
As with any craft, brewing cider can come with its fair share of challenges. One common issue is off-flavors, which can occur due to insufficient sanitation or using the wrong type of apples. If your cider has an undesirable taste, make sure to evaluate your process and ingredients. Proper sanitation is crucial, so always clean your tools and equipment thoroughly.
Another potential problem is excessive sediment in your final product. While some sediment is normal, too much can affect the texture and clarity of your cider. To minimize this, let your cider settle in the fermentation vessel for a bit longer before bottling, and use a siphon to avoid disturbing the sediment when transferring.
Experiment with Flavors
Adding spices or blending different fruit juices can create unique and exciting cider flavors.
Lastly, if your cider isn’t carbonating as expected, check that you added enough sugar before bottling. If you skipped this step for a still cider, you won't achieve the bubbly effect. Remember, every brewing experience is a learning opportunity, so embrace the process and don’t hesitate to adjust for next time!
Enjoying and Sharing Your Homemade Cider
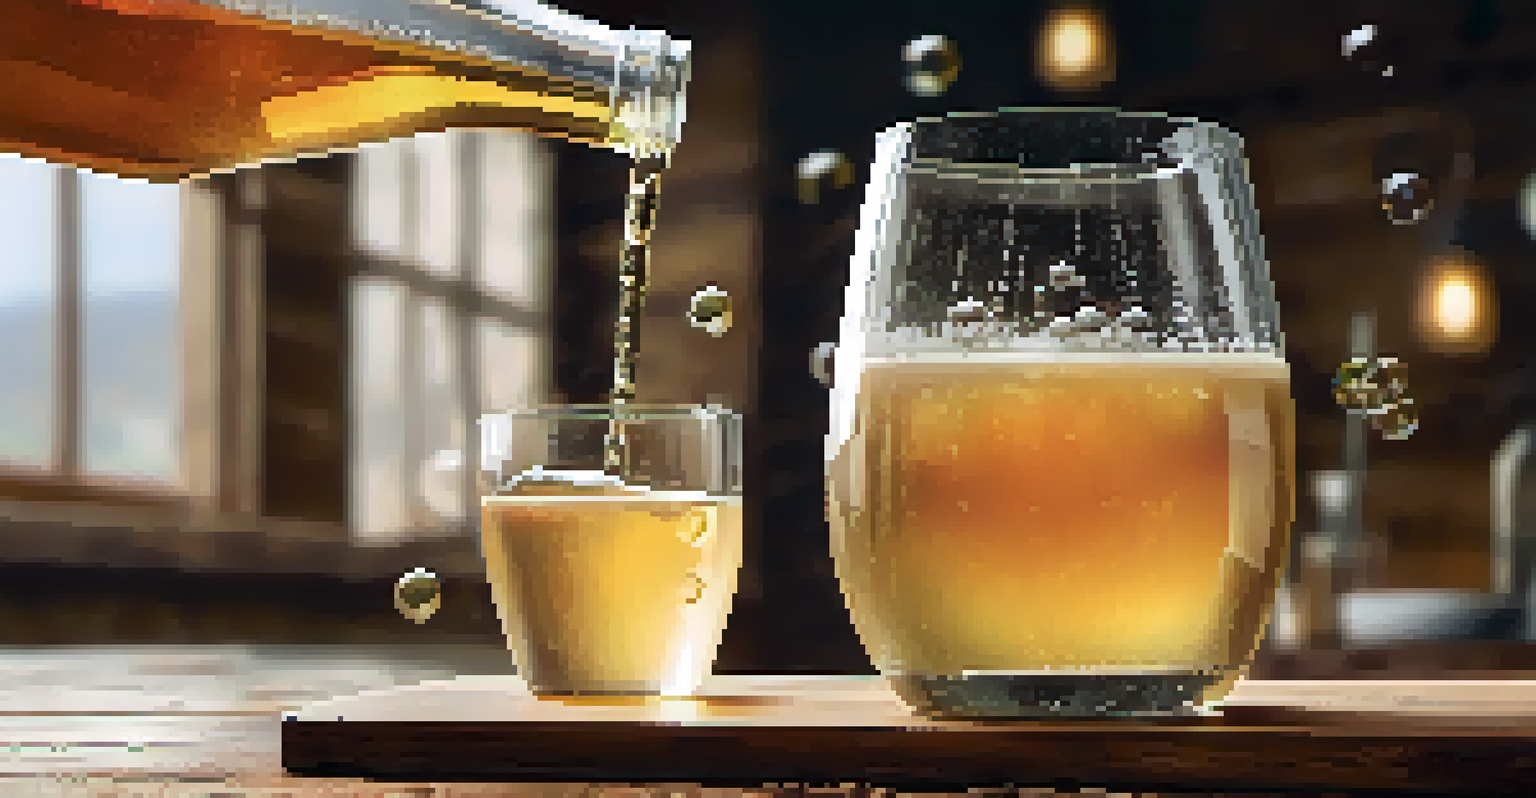
After all your hard work, it’s time to enjoy the fruits of your labor! Pour yourself a glass of your homemade cider and take a moment to appreciate the unique flavors you’ve created. Whether it’s a sweet, tart, or spiced cider, each sip is a testament to your brewing journey. Don’t forget to serve it chilled for the best experience!
Cider is not just a drink; it’s a great way to gather friends and family. Consider hosting a cider tasting party where everyone can sample your creations. Pair your cider with cheese, charcuterie, or light bites to enhance the experience. Sharing your cider is a wonderful way to celebrate your efforts and introduce others to the joys of home brewing.
Lastly, take some time to reflect on what you’ve learned during the brewing process. Each batch provides valuable insights for future attempts, so keep experimenting and refining your technique. With practice, you’ll not only become a skilled cider maker but also a true connoisseur of flavors!