DIY Distilling: Building Your Own Still at Home
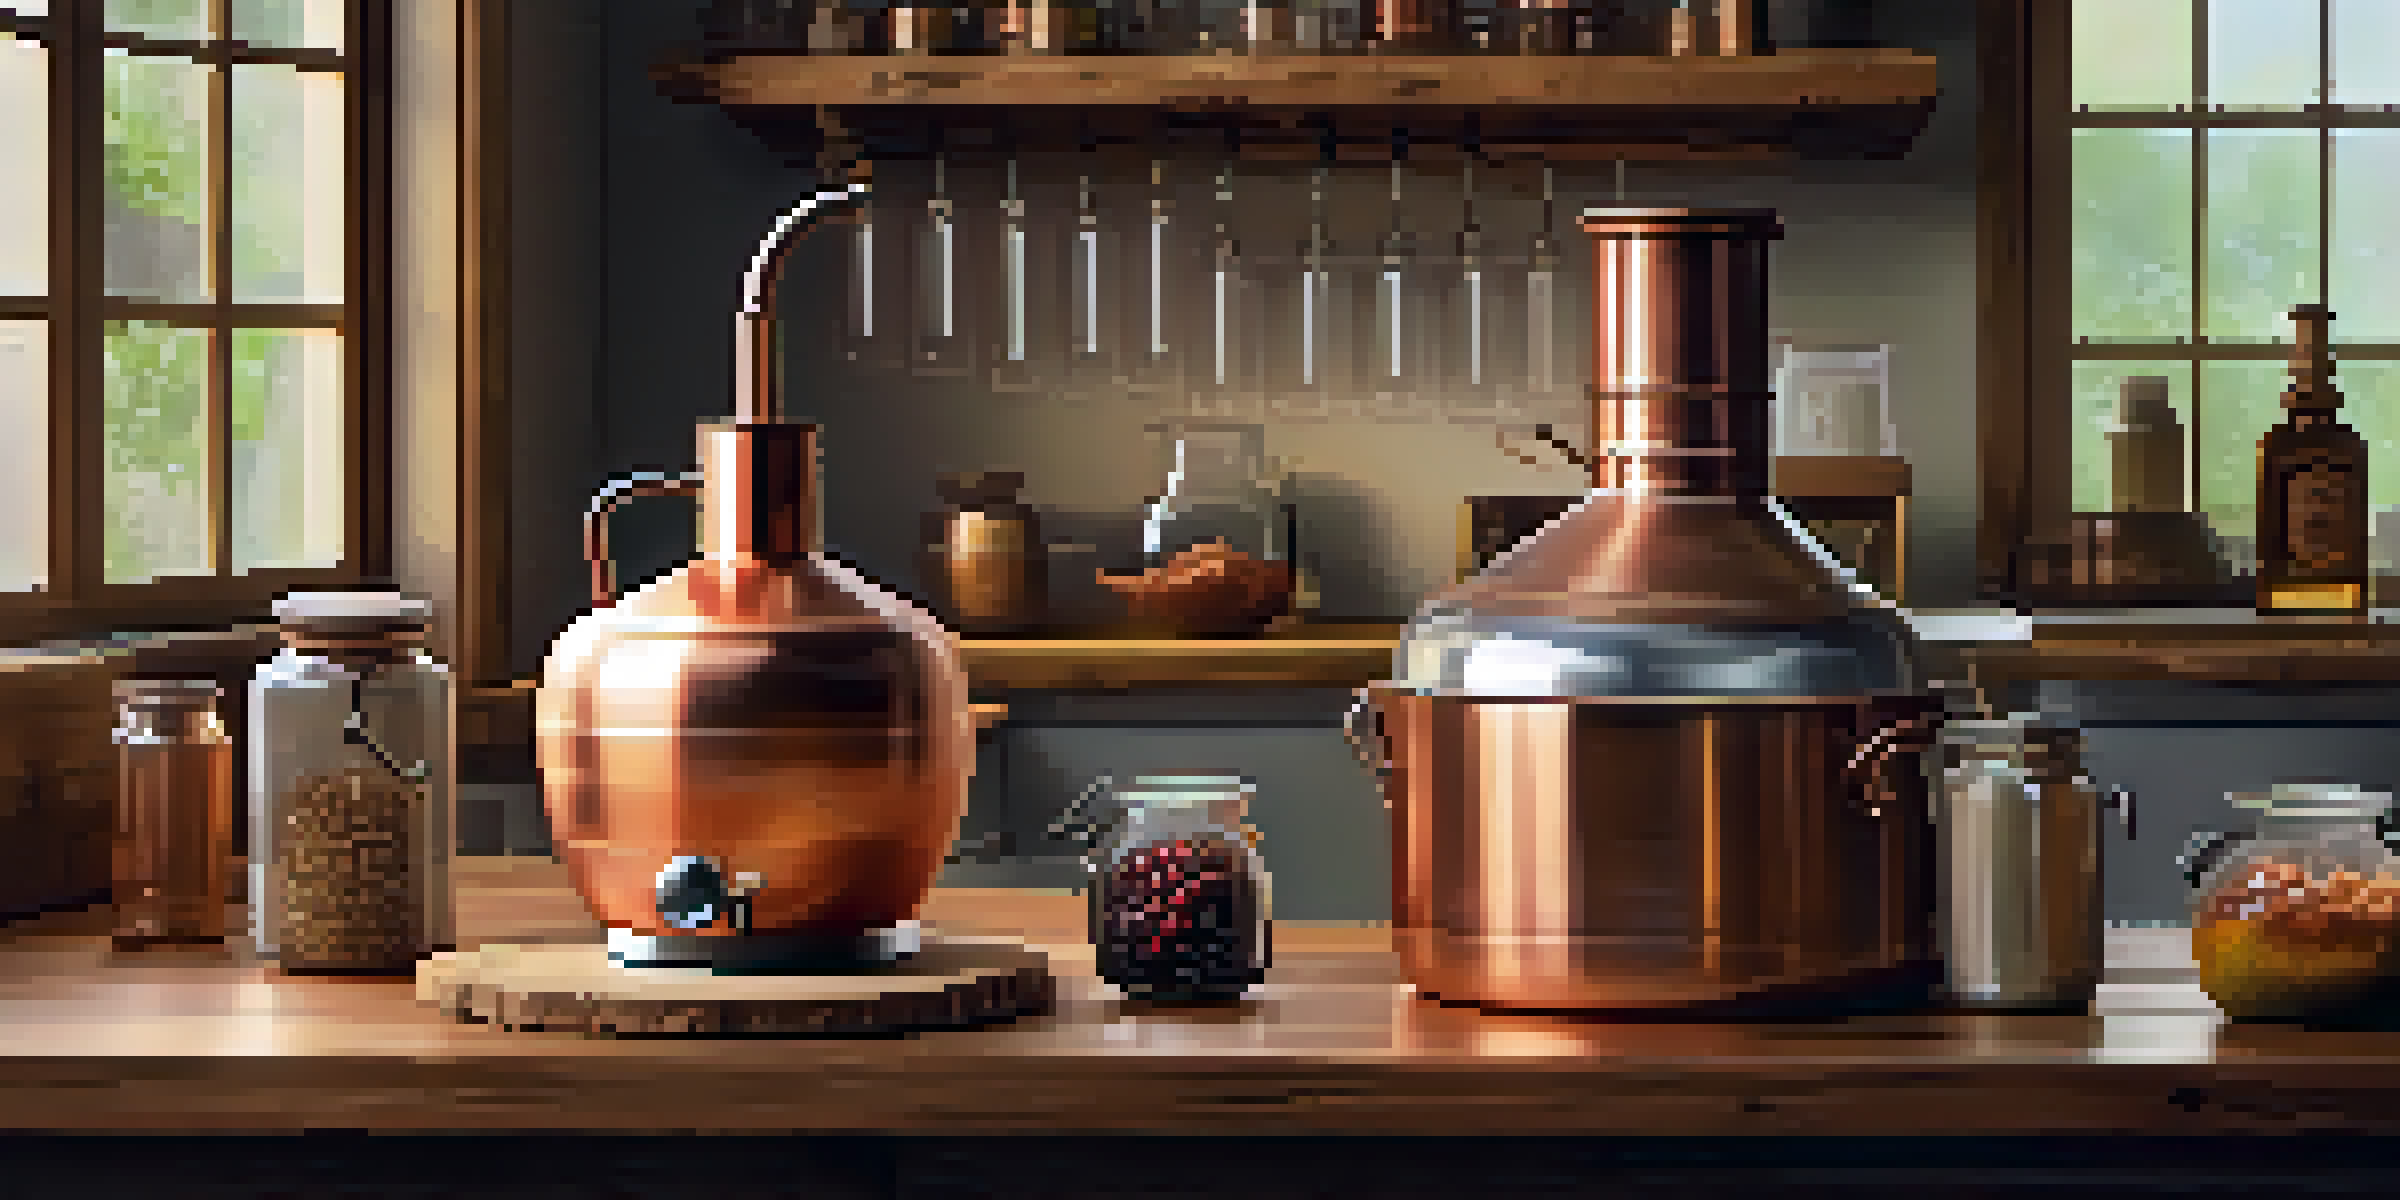
Understanding the Basics of Distilling at Home
Before diving into DIY distilling, it's crucial to grasp the basics. Distilling is the process of heating a liquid to create vapor and then cooling it back into liquid form. This is how alcohol is separated from the fermentation mix. Understanding this fundamental principle will set the stage for your DIY project.
The distillation process is an art as much as it is a science; it requires both creativity and precision.
While the concept may seem straightforward, the science behind it involves chemistry and thermodynamics. For instance, different alcohols evaporate at different temperatures, which is why accurate temperature control is vital. Distilling at home can be a fun and educational experience if approached with the right knowledge.
Remember, safety is paramount. Distilling alcohol can produce flammable vapors, so being aware of the risks involved is essential. Always prioritize your safety and the safety of those around you when setting up your still.
Legal Considerations for DIY Distilling
Before you start building your still, it's important to understand the legal landscape surrounding distilling. In many places, distilling alcohol without the proper permits is illegal. This can lead to hefty fines or legal trouble, so researching your local laws is crucial.
Some regions allow home distilling for personal use, while others strictly prohibit it. It’s best to check with local authorities or legal resources to ensure you're compliant. This step is often overlooked, but it can save you from potential headaches down the line.
Know Legal Distilling Requirements
Researching local laws on home distilling ensures compliance and helps avoid potential legal issues.
If you find that distilling is illegal in your area, consider alternative options like brewing beer or making wine, which often have fewer restrictions. Engaging in these activities can still be rewarding without the legal risks associated with distilling.
Essential Tools and Materials for Your Still
Creating your own still requires specific tools and materials, which can vary based on the type of still you want to build. Essential items typically include a heat source, a fermentation vessel, and a condenser. You can often find these materials at local hardware stores or online.
Safety is not a gadget but a state of mind.
For a basic still, many DIY enthusiasts use a pot still design, which is simpler to construct. A large pot, a tube, and a cooling container can often suffice. Gathering these materials will help you visualize the construction process and understand what you'll need to achieve your distilling goals.
Don't forget to invest in quality equipment, as this will enhance both your safety and the distilling process. Cheap materials may lead to contamination or inefficient distillation, so it’s worth spending a little extra for reliability.
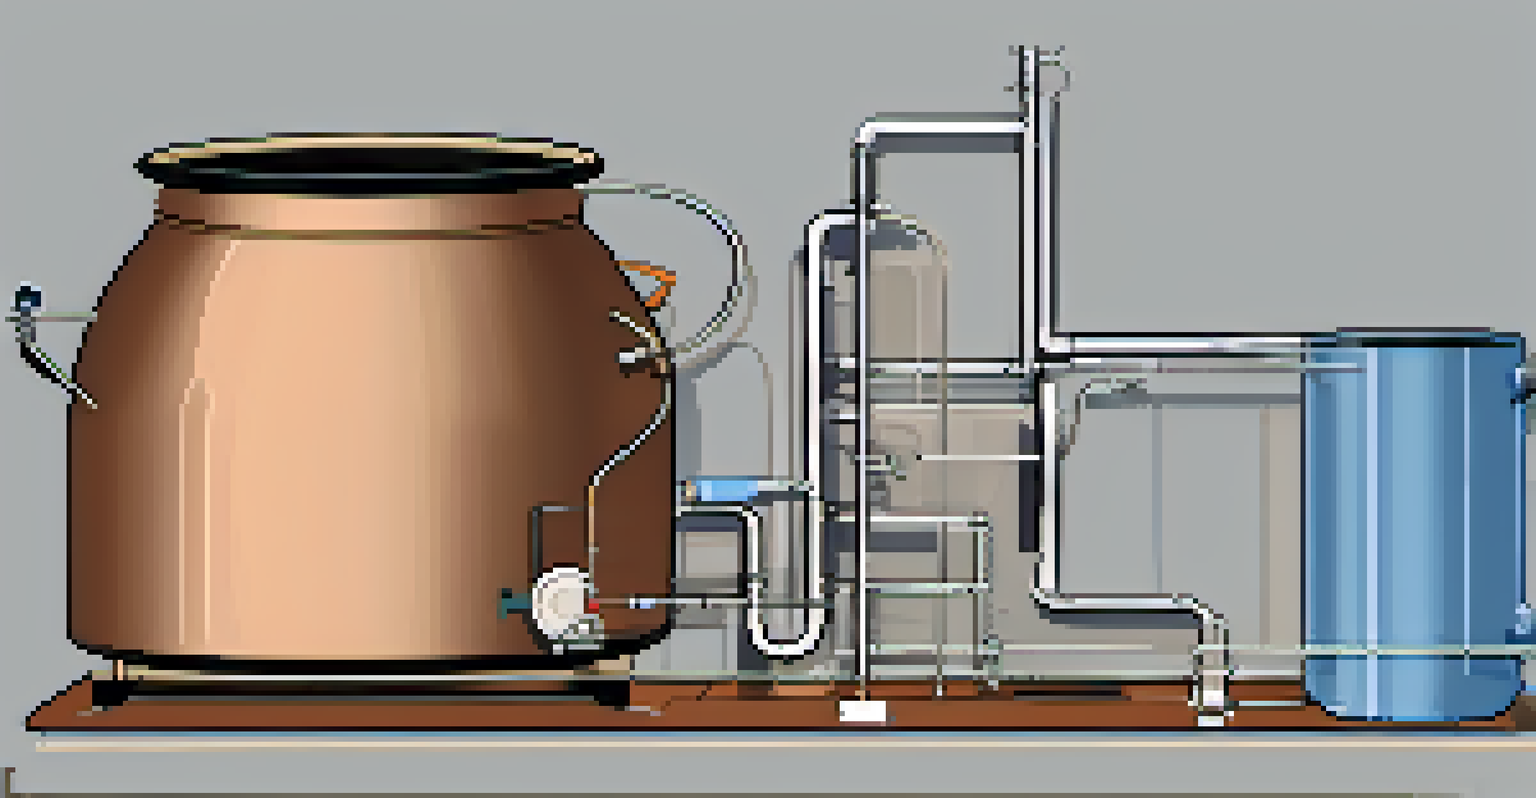
Step-by-Step Guide to Building Your Still
Building your still can be an exciting project, and following a clear step-by-step guide can make it manageable. Start by selecting a design that suits your skill level, whether it’s a simple pot still or a more complex reflux still. Each type has its advantages, depending on what you wish to distill.
Once you have your design, gather all your materials and tools. Follow the construction steps carefully, ensuring everything is securely attached and airtight. This step is crucial to prevent any vapors from escaping, which can be both dangerous and wasteful.
Understand Distillation Basics
Grasping the fundamental principles of distillation and safety is essential before embarking on your DIY project.
Finally, after assembling your still, test it with water before using it for alcohol distillation. This practice run will help you identify any leaks or issues that need fixing, ensuring your final distillation process is safe and effective.
Fermentation: The Key to Successful Distillation
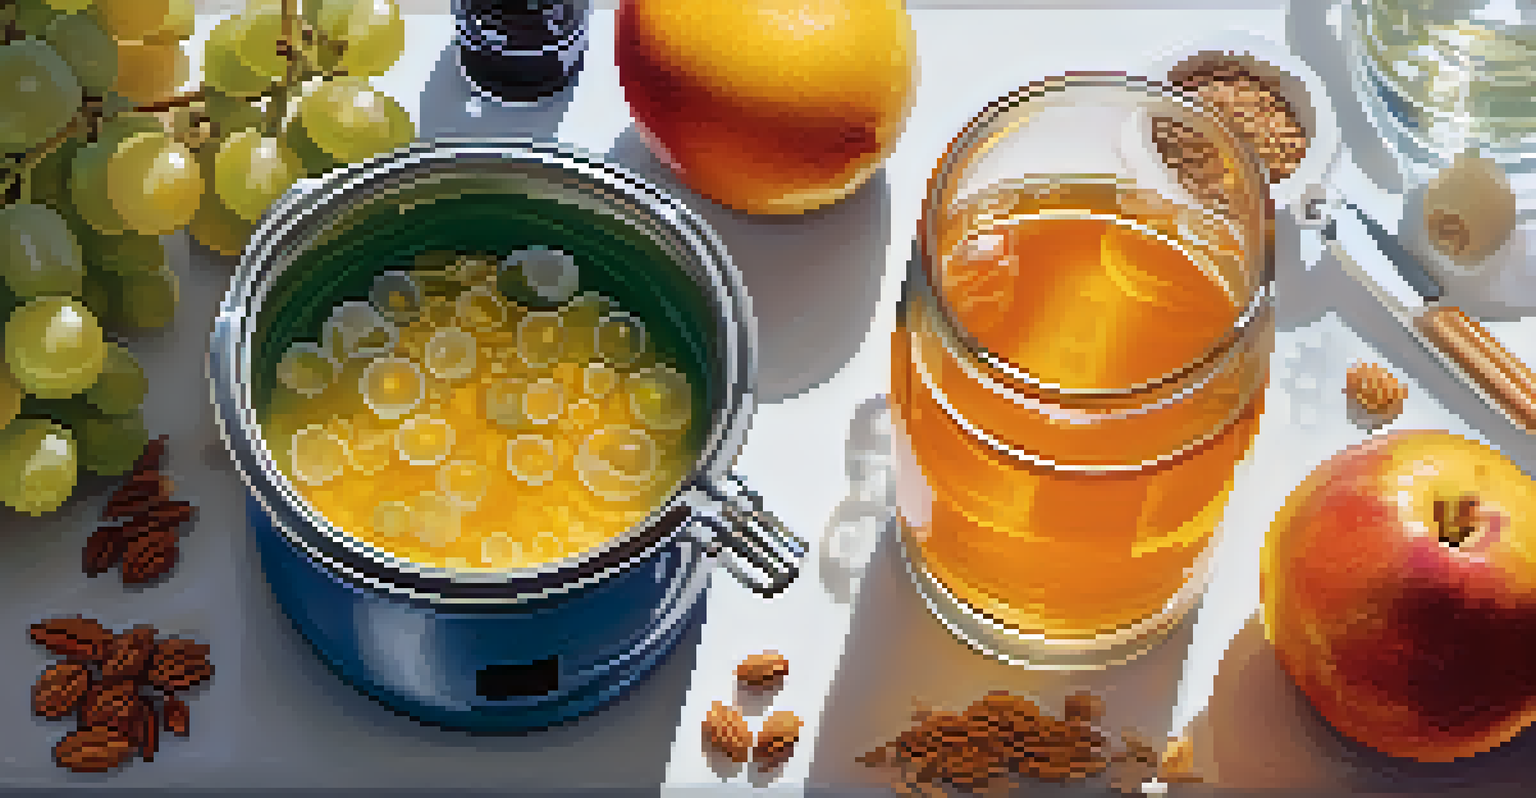
Before you can distill alcohol, you need to ferment your base ingredients. Fermentation is the process where yeast converts sugars into alcohol and carbon dioxide. This stage is essential, as it creates the liquid that you’ll ultimately distill.
The ingredients you choose will influence the flavor and alcohol content of your final product. Common options include grains, fruits, or sugar-based mixtures. Experimenting with different ingredients can be part of the fun, allowing you to create unique flavors.
It’s important to maintain the right conditions during fermentation, including temperature and time. Pay attention to these factors, as they can drastically affect the quality of your distillate. A successful fermentation sets the stage for an enjoyable distillation experience.
Distillation Process: Making Your First Batch
Now that you have your still and fermented liquid ready, it's time for the distillation process. Start by heating your fermentation mixture slowly, allowing the alcohol to vaporize. Keep an eye on the temperature, as this is crucial for separating the different components effectively.
As the vapors travel through the condenser, they cool down and turn back into liquid. This liquid, known as distillate, will contain alcohol along with other compounds. Collect the distillate in clean containers, making sure to label them for easy identification.
Prioritize Safety When Distilling
Maintaining a safe environment and using protective gear are crucial for a successful home distilling experience.
Don’t forget about the 'heads,' 'hearts,' and 'tails' during this process. Each fraction has different characteristics, and separating them can improve the quality of your final product. Understanding these components will allow you to refine your distillation technique over time.
Safety Tips for Home Distilling Enthusiasts
Safety should always be your top priority when distilling at home. First and foremost, ensure you’re working in a well-ventilated area. This helps dissipate any potentially harmful vapors and reduces the risk of fire hazards from flammable substances.
Always use appropriate protective gear, such as gloves and goggles, to safeguard yourself from any spills or accidents. Additionally, keep a fire extinguisher nearby in case of emergencies. Being prepared can make all the difference if something goes wrong during the distillation process.
Finally, never leave your still unattended while it’s in operation. Monitoring the process allows you to catch any issues early on, ensuring both your safety and the quality of your distillate. By following these safety tips, you can enjoy the art of distilling while minimizing risks.