How to Create Jewelry Using Polymer Clay

Introduction to Polymer Clay Jewelry Making
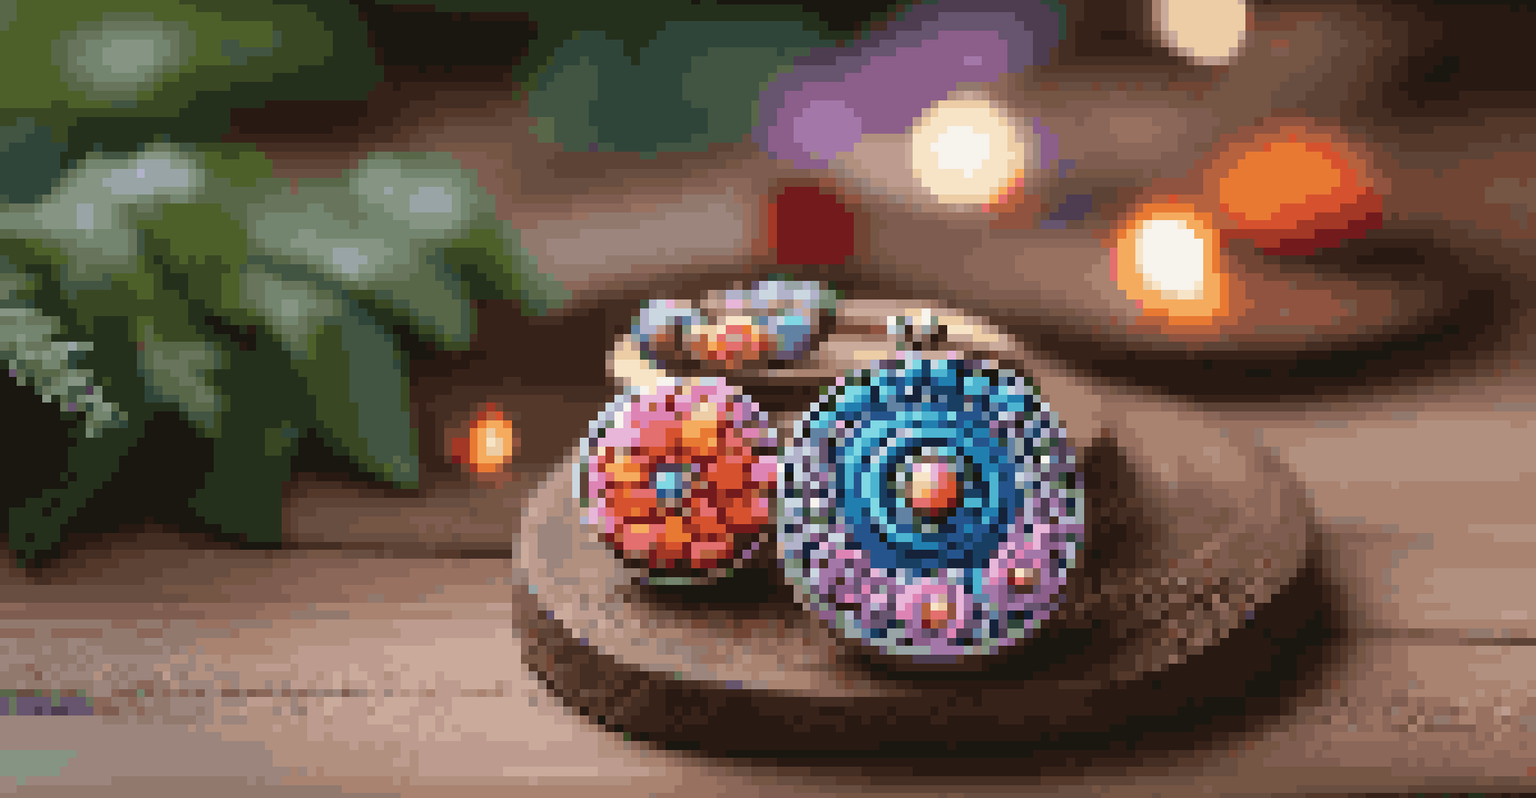
Polymer clay is a versatile and colorful medium that allows you to create unique jewelry pieces. It’s popular among crafters because it’s easy to work with and can be molded into intricate shapes. Whether you're a beginner or have some experience, making jewelry with polymer clay can be a rewarding and fun activity.
Creativity takes courage.
One of the best things about polymer clay is that it comes in a wide range of colors and finishes, giving you endless possibilities for creativity. You can mix colors, create textures, and even add embellishments to enhance your designs. Plus, the process is quite forgiving, allowing you to experiment without too much pressure.
In this guide, we’ll walk through the essential steps and tips for creating beautiful jewelry pieces using polymer clay. From gathering materials to finishing your creations, you'll be well-equipped to dive into your new craft!
Gathering Your Materials for Polymer Clay Jewelry
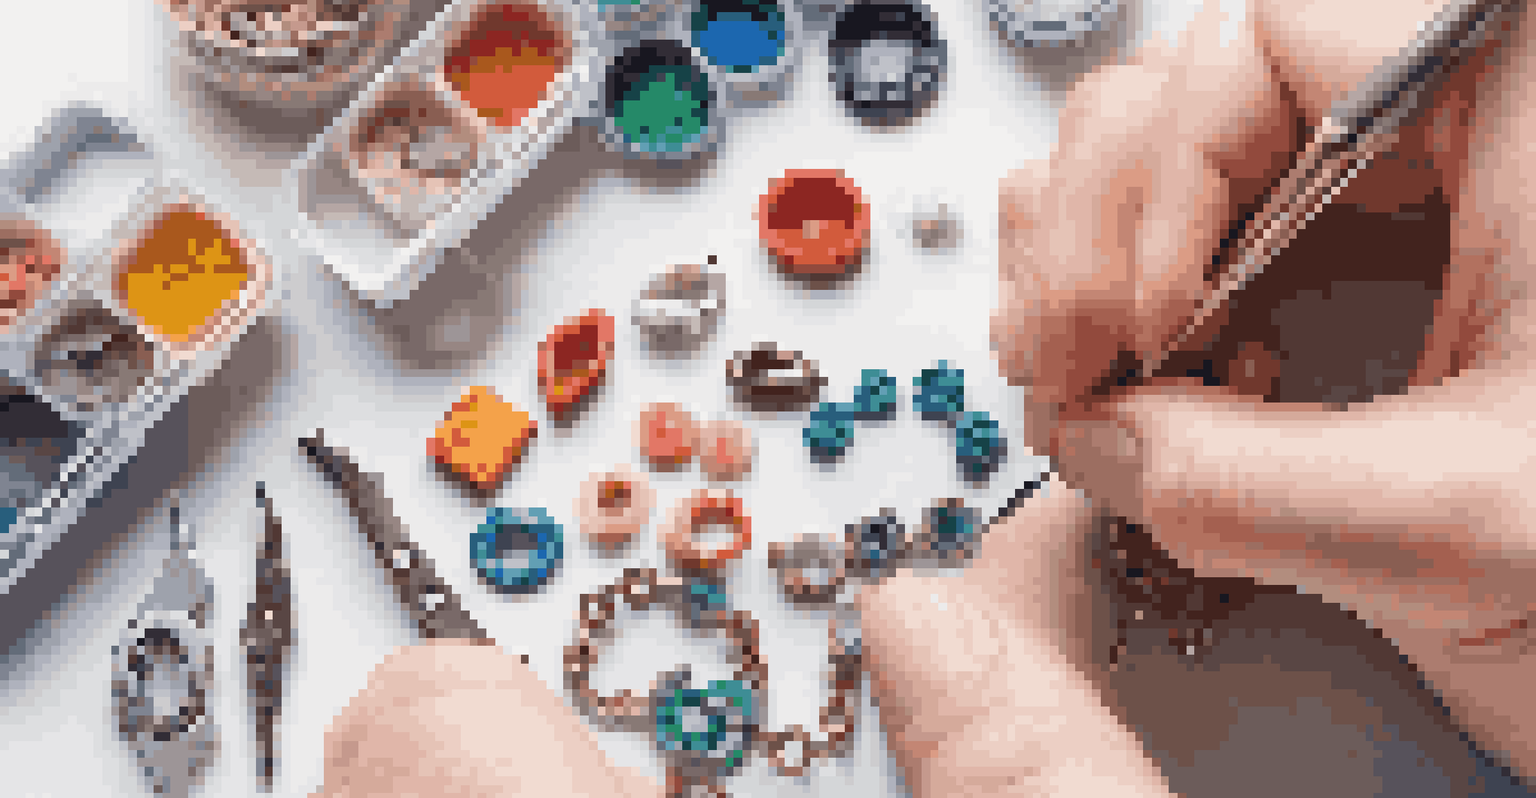
Before you start creating, it's important to gather all the necessary materials. You’ll need polymer clay, which can be found in craft stores or online, along with tools like a craft knife, rolling pin, and baking sheet. Don’t forget items for embellishing, such as beads, metal findings, and jewelry wires, depending on your design.
You may also want some basic tools like a pasta machine for rolling out clay evenly, and silicone molds for creating specific shapes. If you’re aiming for a polished look, consider investing in sandpaper and varnish to finish your pieces. Having everything ready makes the crafting process smoother and more enjoyable.
Gather Materials for Crafting
Collect essential tools and supplies like polymer clay, baking sheets, and embellishments to ensure a smooth crafting experience.
Lastly, set up a clean, flat workspace where you can comfortably mold and bake your clay. This will not only enhance your creativity but also keep your materials organized and accessible.
Choosing and Preparing Your Polymer Clay
When selecting polymer clay, consider the colors and textures that inspire you. Most brands offer a variety of colors, including metallic and translucent options. You can also blend colors together to achieve unique shades that are all your own. Remember, the color of the clay may change slightly after baking, so test a small piece first if you're unsure.
Every artist was first an amateur.
Once you have your colors selected, condition the clay by kneading it until it’s soft and pliable. This step is crucial, as it helps remove air bubbles and prepares the clay for molding. If the clay feels too stiff, you can warm it up slightly by rolling it between your palms or using a pasta machine.
After conditioning, you’re ready to roll out the clay or shape it as desired. Make sure to work on a clean surface and use cornstarch or a non-stick mat to prevent the clay from sticking.
Creating Unique Designs with Polymer Clay
Now comes the fun part: designing your jewelry! You can create anything from simple beads to intricate pendants. Consider using cookie cutters or molds to achieve specific shapes, or freehand your designs for a more personalized touch. Don’t hesitate to incorporate textures by using stamps or household items like lace.
Another technique is to create canes, which are long, cylindrical shapes made by layering different colors of clay. When sliced, these canes reveal beautiful patterns that can be used for earrings or necklaces. This method allows for creativity and experimentation, making each piece truly unique.
Design and Create Unique Jewelry
Use various techniques and personal styles to design one-of-a-kind jewelry pieces, experimenting with shapes and textures.
As you design, keep in mind how your pieces will be assembled. Think about the size and proportion of each element to ensure a balanced and visually appealing final product.
Baking Your Polymer Clay Creations Safely
Once you’ve perfected your designs, it’s time to bake the clay to set your creations. Preheat your oven according to the polymer clay package instructions, usually around 265°F to 275°F. Be sure to use a dedicated baking sheet or ceramic tile to avoid contamination from food items.
Place your pieces on the baking sheet, ensuring they are not touching each other. Baking times vary depending on the thickness of your designs, but it's typically around 15 to 30 minutes. Keep an eye on your pieces to prevent burning, as over-baking can lead to discoloration or brittleness.
After baking, let your creations cool completely before handling them. This step is crucial for ensuring that your jewelry maintains its shape and durability.
Finishing Touches: Sanding and Sealing
After your pieces have cooled, you may notice rough edges or imperfections. This is where sanding comes in! Gently sand the edges with fine-grit sandpaper to achieve a smooth finish. Be careful not to over-sand, as you want to maintain the integrity of your design.
Once you’re happy with the smoothness, it’s time to add a protective layer. Applying a sealant or varnish can enhance the color and shine of your polymer clay jewelry, giving it a professional look. Make sure to choose a sealant that is compatible with polymer clay, as some products can react negatively.
Finish and Assemble Your Pieces
Sanding, sealing, and carefully assembling your jewelry enhances its durability and aesthetic appeal before showcasing your creations.
Allow the sealant to dry completely before moving on to assembling your jewelry. This final step can elevate your pieces and help them stand out!
Assembling Your Polymer Clay Jewelry Pieces
Now that your clay pieces are ready, it’s time to put everything together. Depending on your design, you may need jewelry findings like jump rings, clasps, and earring hooks. These components can be found at craft stores or online and are essential for turning your creations into wearable art.
When assembling, be gentle to avoid breaking your clay pieces. Use pliers to open and close jump rings, ensuring a secure fit. If you're making necklaces or bracelets, measure the length carefully to achieve the desired look.
Remember, your unique style shines through in the final assembly, so don’t be afraid to mix and match components. Each piece of jewelry should reflect your personality and creativity.
Showcasing and Sharing Your Polymer Clay Jewelry
With your beautiful pieces complete, it’s time to show them off! Consider wearing your creations to special events or even casual outings. Not only will you enjoy the compliments, but it also opens up conversations about your crafting journey.
If you’re feeling adventurous, think about selling your jewelry online or at local craft fairs. Social media platforms like Instagram and Etsy are great places to showcase your work and connect with other crafters. Sharing your process can inspire others and build a community around your creations.
Lastly, don’t forget to take plenty of photos of your finished pieces. Good lighting and creative backgrounds can make your jewelry pop, making it more appealing to potential buyers or admirers. Happy crafting!