Crafting Your Own Jigsaw Puzzles: A Fun DIY Experience
The Joy of DIY: Why Make Your Own Jigsaw Puzzles?
Creating your own jigsaw puzzles is not only a fun activity but also a rewarding experience. It allows you to unleash your creativity and produce something uniquely yours. Plus, it offers an opportunity to connect with family and friends as you work together on a shared project.
Creativity is intelligence having fun.
DIY puzzles can serve as thoughtful gifts or personalized decor for your home. Imagine crafting a puzzle from a favorite family photo or a stunning landscape you captured on vacation. Each piece tells a story, and piecing it together can bring back wonderful memories.
Beyond the nostalgia, making your own puzzles is an excellent way to hone your problem-solving skills. It challenges your mind and can be a relaxing pastime. So, get ready to dive into the world of DIY puzzles!
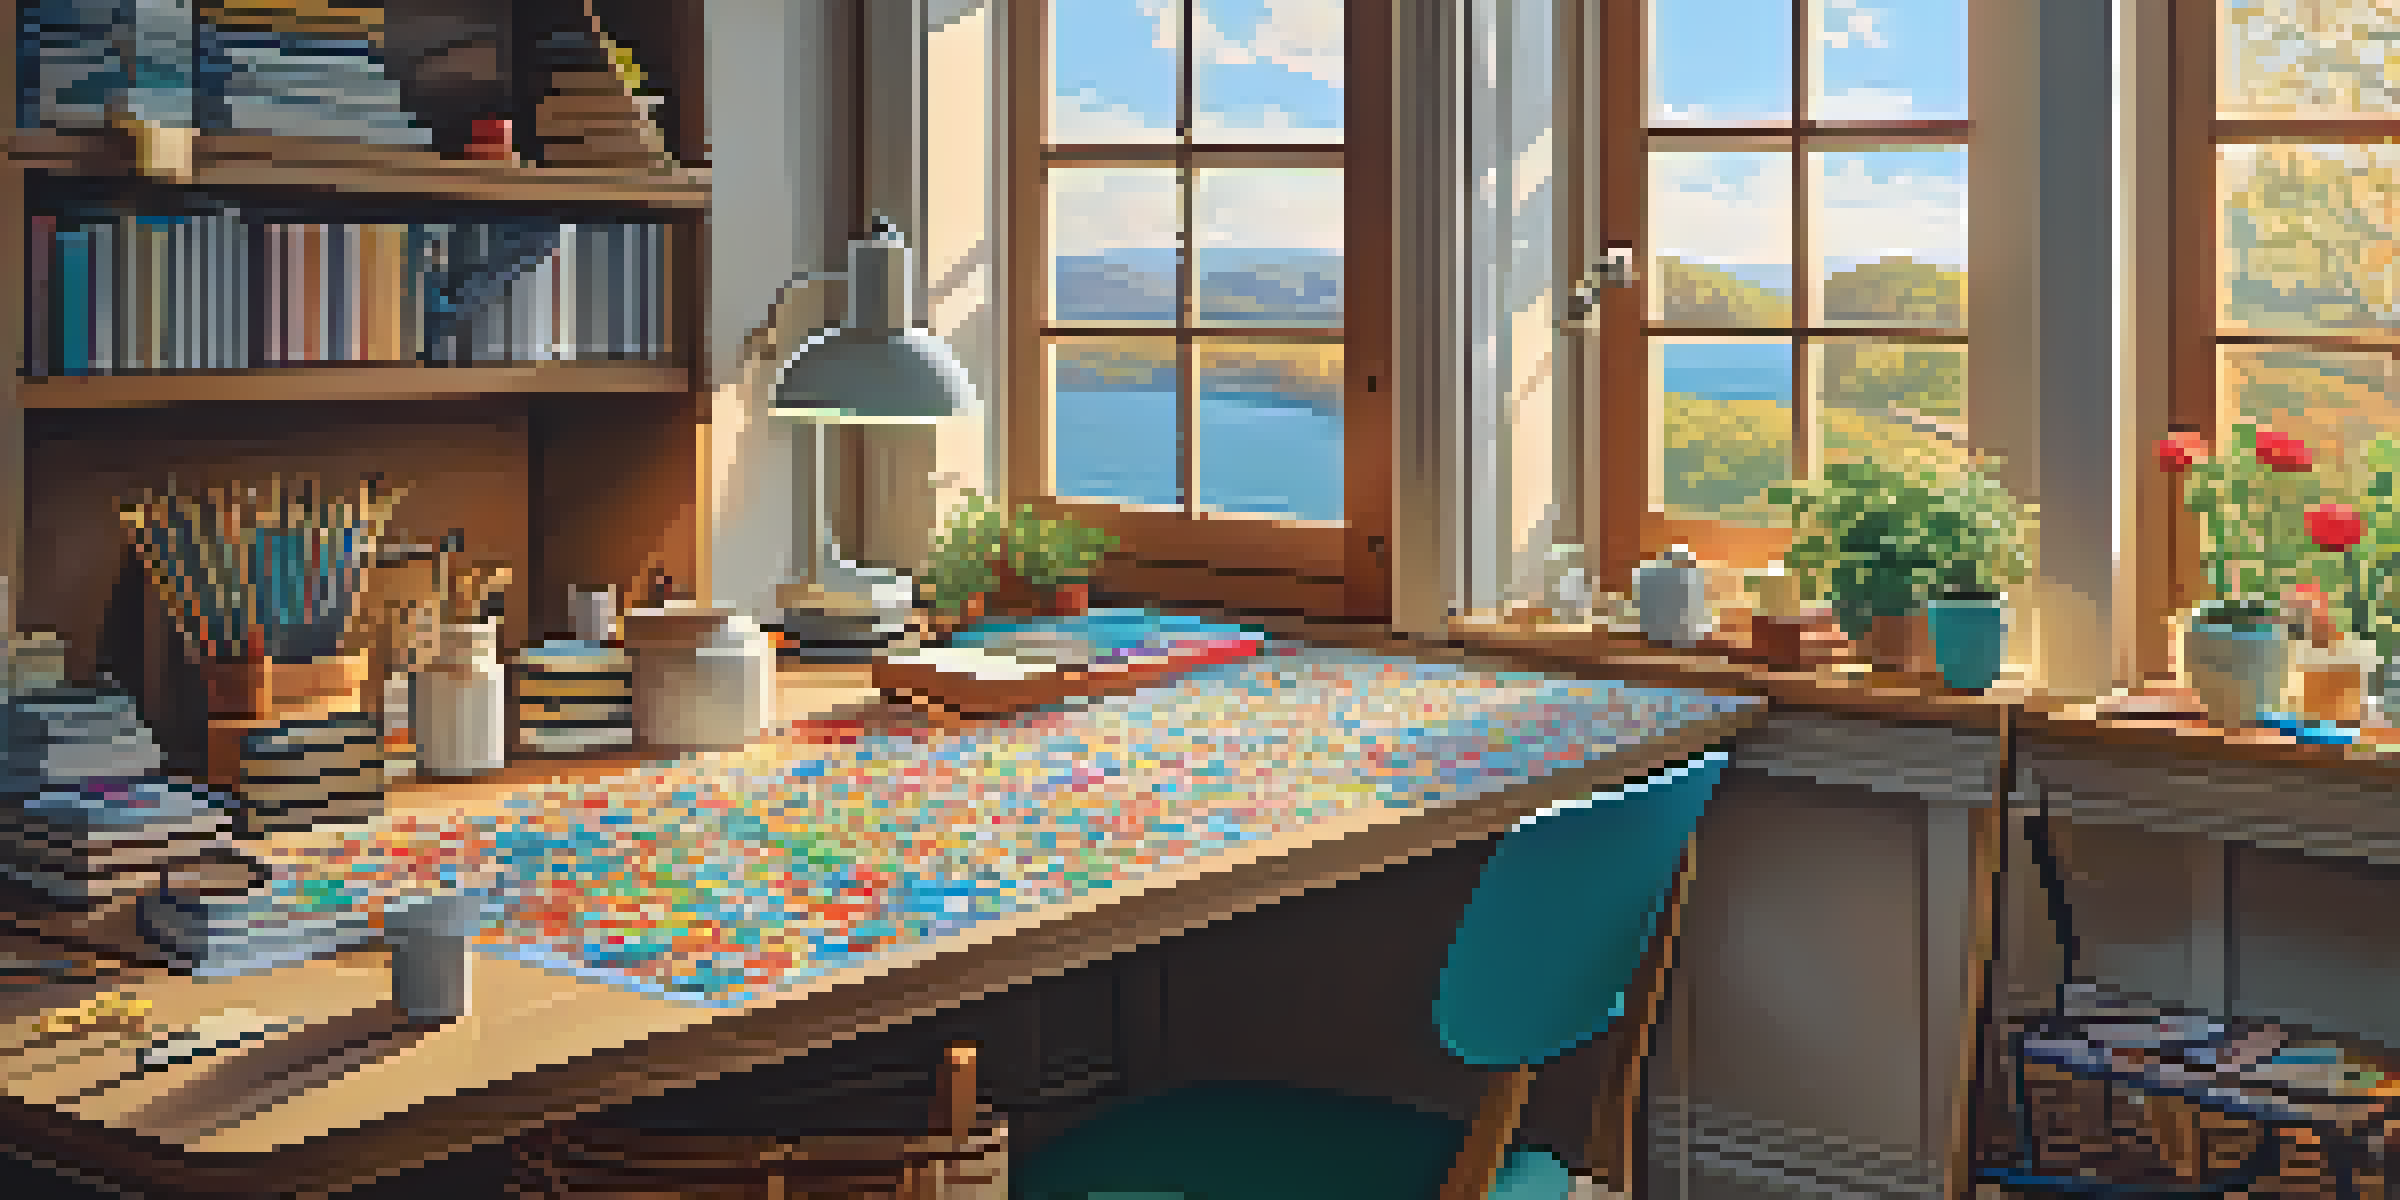
Gathering Your Materials: What You Need to Get Started
Before you begin your puzzle-making journey, it’s essential to gather the right materials. You’ll need a sturdy base like cardboard or wood, a printed image of your choice, an adhesive, and a sharp craft knife or scissors. Having everything ready will streamline the process and make it more enjoyable.
Consider using high-quality images for the best results; the clarity of your picture will significantly enhance your puzzle. You can print images at home or use a print shop for larger sizes. Don’t forget to choose a theme that resonates with you or the intended recipient – it adds a personal touch!
DIY Puzzles Foster Creativity
Creating your own jigsaw puzzles is a fun way to express your creativity and connect with loved ones.
Lastly, make sure to have a flat, clean workspace where you can comfortably craft your puzzle. Organizing your materials will not only save time but also keep the creative process flowing smoothly.
Choosing the Perfect Image: Tips for Selection
The image you select is one of the most crucial elements of your jigsaw puzzle. It should be something that inspires joy or nostalgia. Whether it’s a beautiful landscape, a cherished family photo, or artwork you love, choosing the right image sets the stage for the entire puzzle experience.
The only way to do great work is to love what you do.
Consider the complexity of the image as well. Intricate designs can be challenging and may require more time to complete, while simpler images can be more enjoyable for beginners or kids. Balance is key—choose something that excites you without overwhelming your puzzle-solving skills.
Lastly, think about the size and resolution of your image. Higher resolution images will yield clearer prints, ensuring that your puzzle pieces fit together seamlessly. A well-chosen image will elevate your DIY puzzle from ordinary to extraordinary.
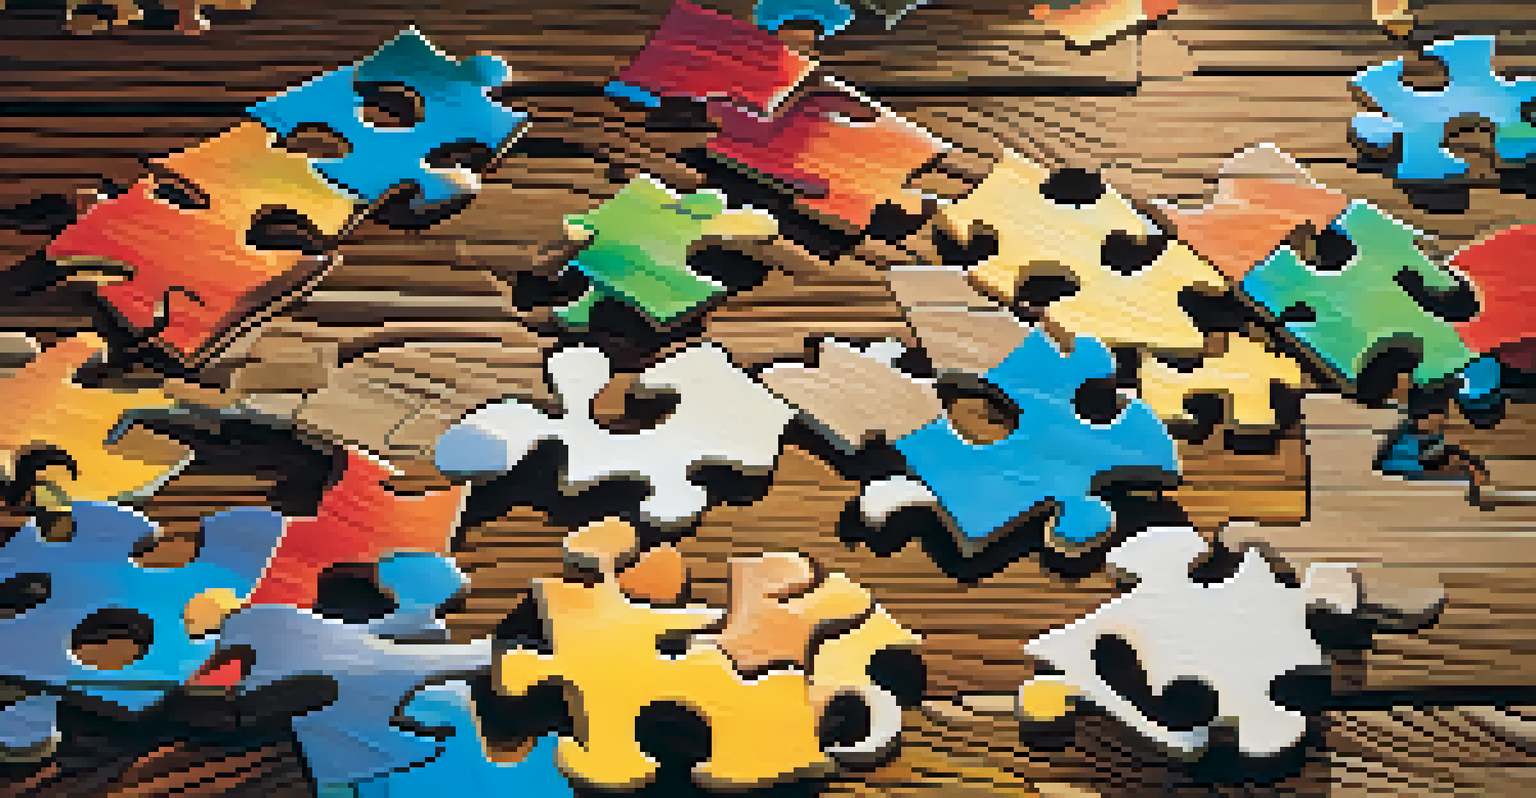
Step-by-Step Guide: Crafting Your Puzzle
Now that you have your materials and image ready, it’s time to dive into crafting your puzzle! Start by gluing your image to the cardboard or wood base, ensuring it’s smooth and free from air bubbles. Allow it to dry completely to avoid any mishaps during cutting.
Once dry, take your craft knife or scissors and carefully cut the image into puzzle pieces. You can create traditional shapes or get creative with unique designs. If you’re new to this, it might be helpful to sketch out a template beforehand to guide your cuts.
Choosing the Right Image Matters
The image you select for your puzzle significantly impacts the enjoyment and challenge of the crafting experience.
As you cut, remember to have fun and embrace the process! The satisfaction of seeing your image transformed into a beautiful puzzle piece by piece is incredibly rewarding. Plus, you’ll have a personalized puzzle waiting for you at the end.
Tips for Cutting: Ensuring Clean Edges and Shapes
Cutting your puzzle pieces with precision is key to a successful DIY project. Use a sharp craft knife for cleaner cuts, as dull blades can lead to jagged edges. Take your time and don’t rush the process—patience will pay off in the final product.
If you’re feeling unsure about your cutting skills, consider using a ruler as a guide for straight edges. Alternatively, you can create templates for more complex shapes. This can help maintain uniformity across all pieces, making your puzzle easier to assemble.
Lastly, keep a steady hand and a steady pace. If you make a mistake, don’t be discouraged! Every DIY project has its challenges, and learning from them is part of the fun.
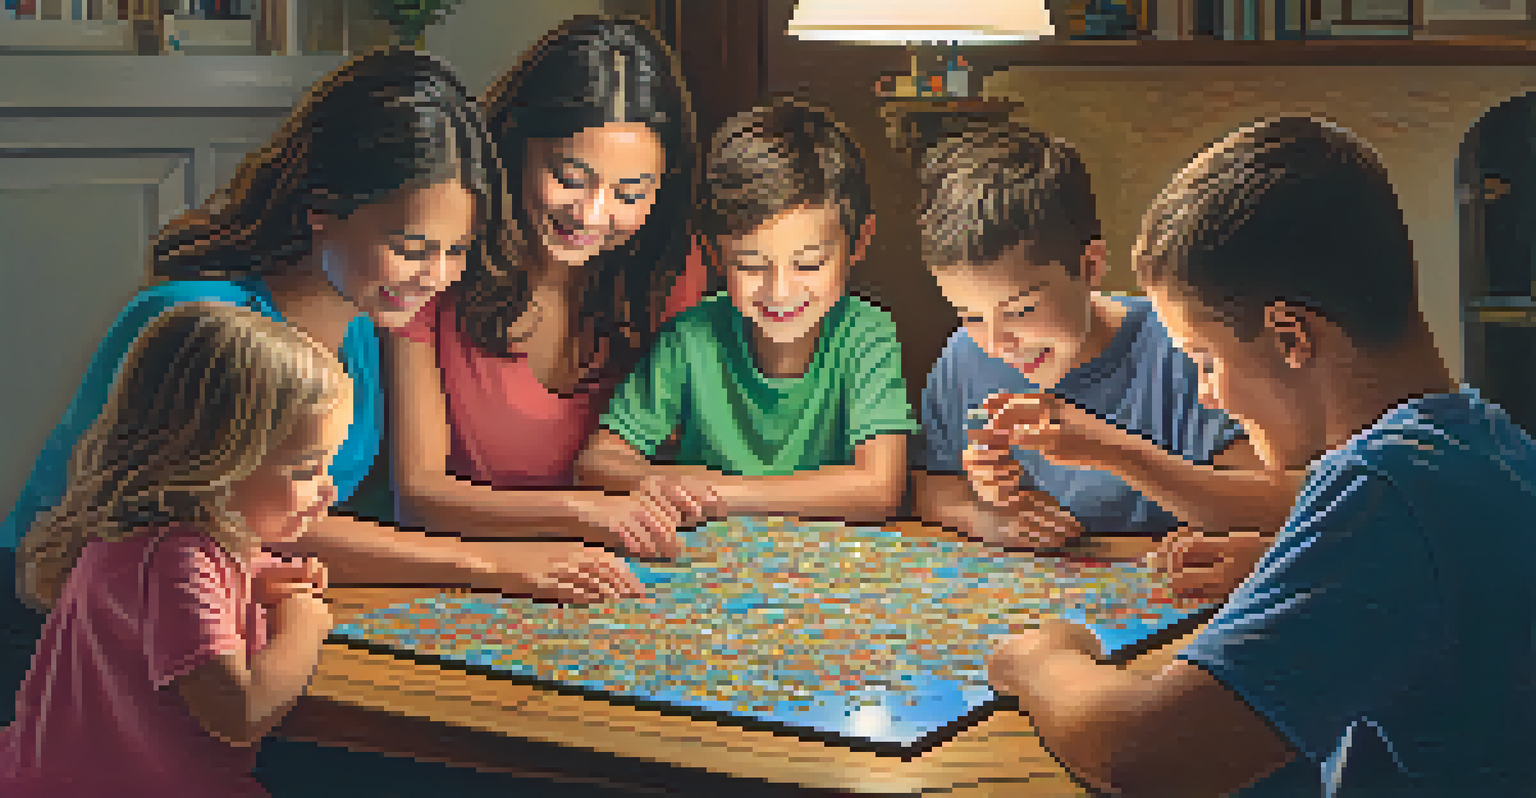
Assembling Your Puzzle: The Fun Begins!
Once your pieces are cut, it’s time to assemble your puzzle! This is where all your hard work pays off as you watch the image come together. Gather your family or friends and make it a social event—there’s nothing quite like the satisfaction of solving a puzzle together.
If you’re new to jigsaw puzzles, start by sorting the pieces into edge and middle sections. This strategy can make the process smoother and less overwhelming. Plus, it’s a great way to engage everyone in the activity, making it more enjoyable for all.
Preserving Your Puzzle is Key
Proper storage and preservation techniques can ensure your DIY puzzle remains a cherished keepsake for years to come.
Don’t forget to celebrate your success once the puzzle is complete! Take photos and share them with your loved ones, and consider framing your masterpiece for a lasting memory. You’ll not only have a beautiful puzzle but also a wonderful story to tell.
Storing and Preserving Your Puzzle: Keeping It in Shape
After enjoying your DIY jigsaw puzzle, you’ll want to consider how to store and preserve it for future fun. Use a large zip-lock bag or a sturdy box to keep the pieces together and prevent damage. Label the container for easy identification later.
If your puzzle has sentimental value, you might even want to frame it. Framing not only protects your creation but also allows you to display it as a unique piece of art in your home. It’s a great conversation starter and a testament to your creativity!
Regularly check on your stored puzzle to ensure all pieces are intact. If you notice any wear and tear, consider repairing them with tape or glue. This way, your DIY puzzle can be enjoyed for years to come, bringing joy to you and your loved ones.