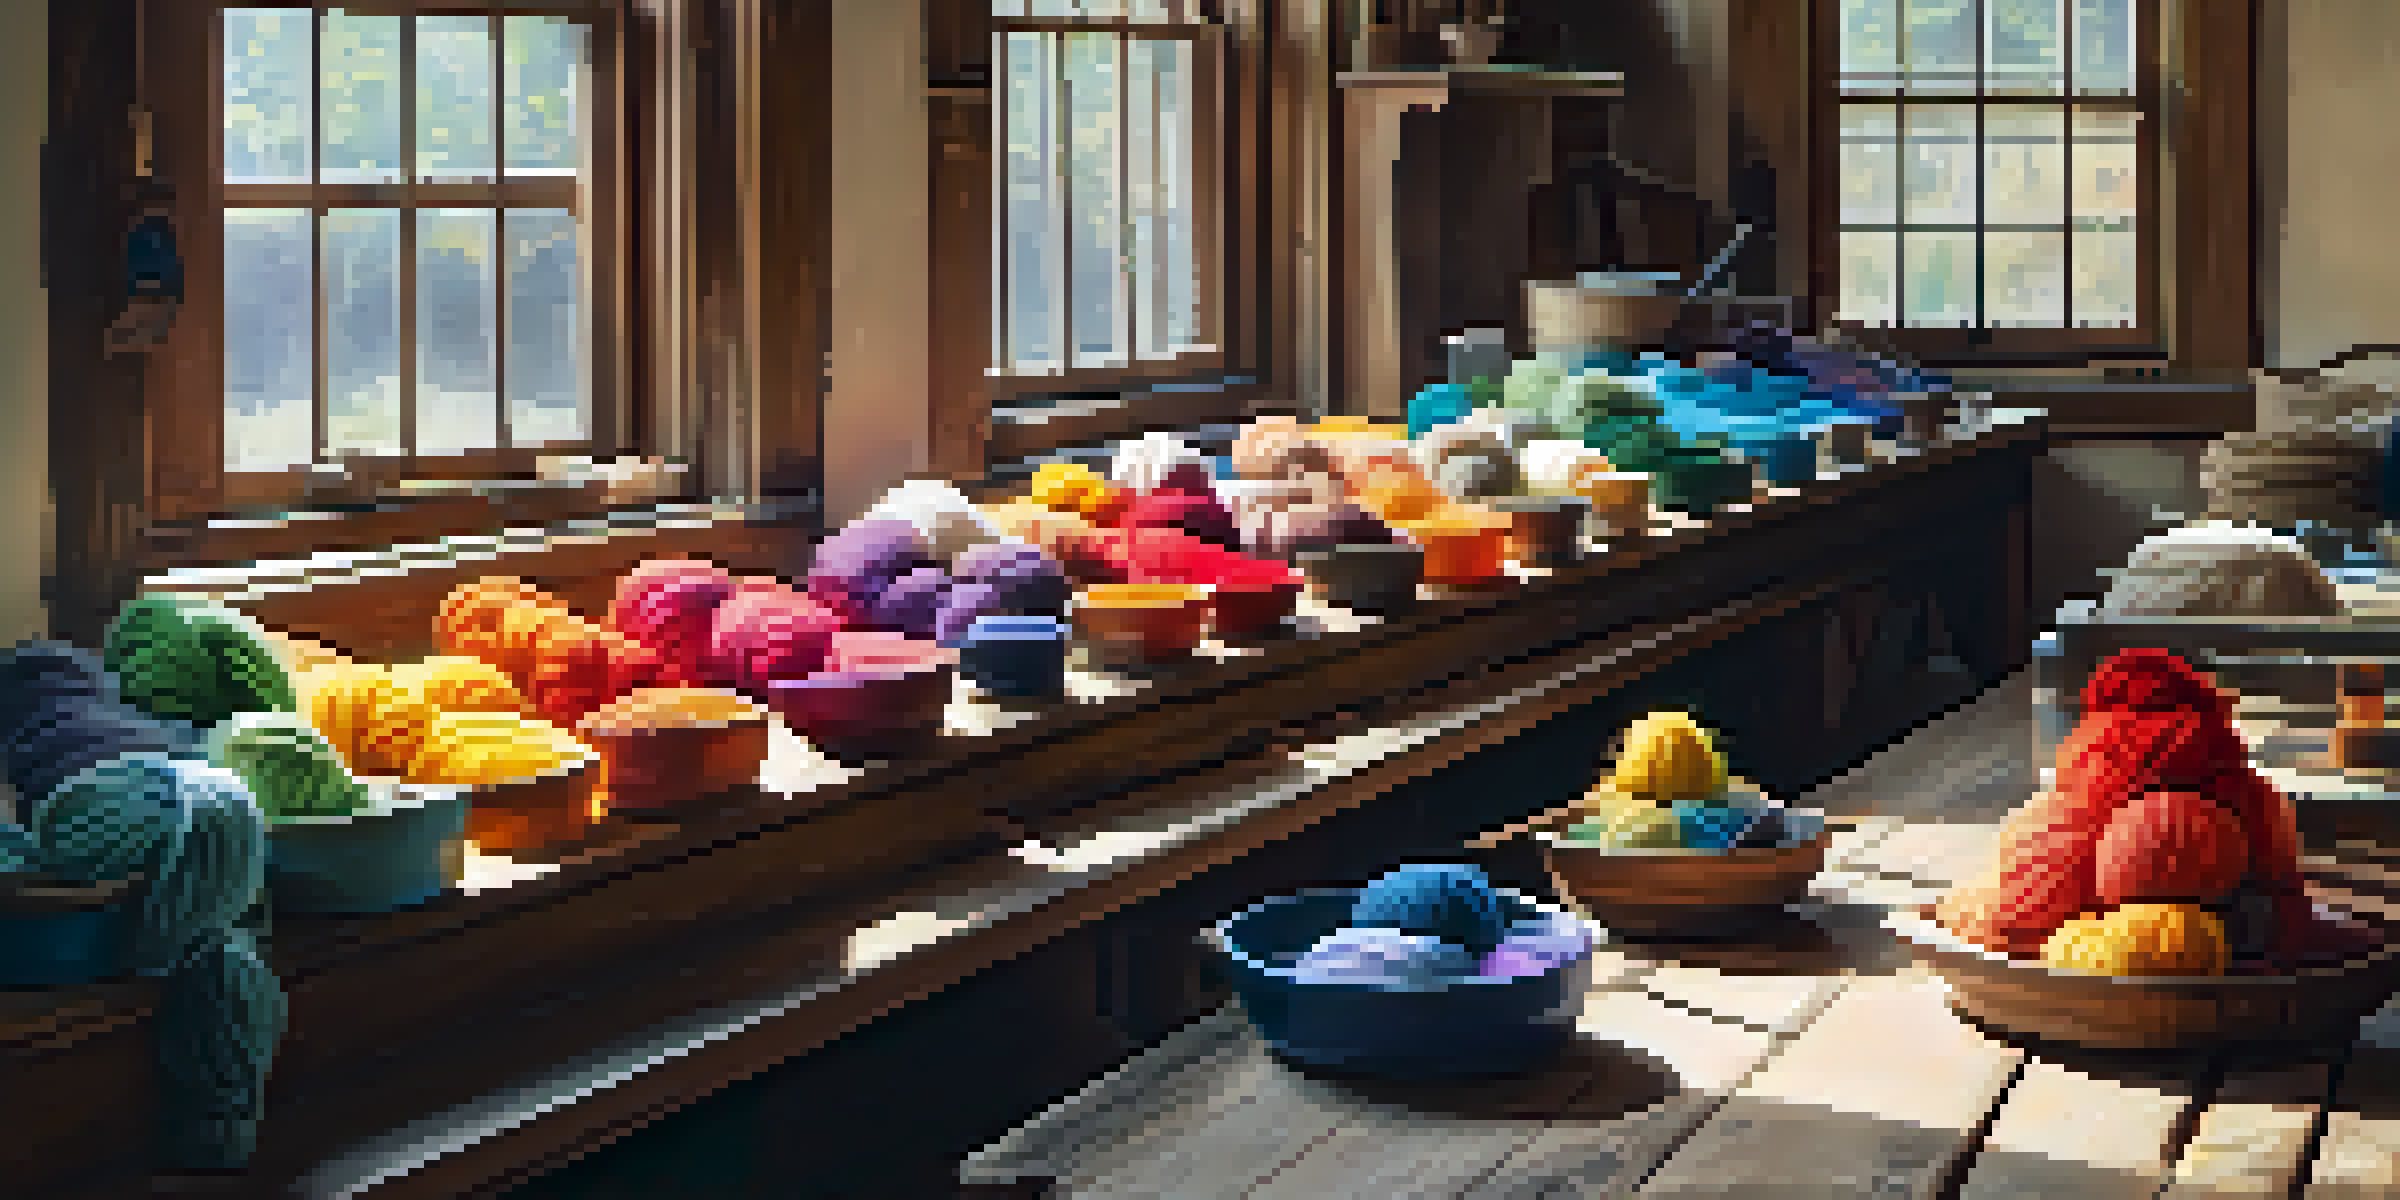
Yarn Dyeing Techniques: Customize Your Crafting Materials
Understanding Yarn Dyeing: The Basics You Need to Know
Yarn dyeing is the process of adding color to yarn before it's used in crafting. This technique allows for a wide range of creative possibilities, enabling crafters to customize their materials to match their vision. Whether you’re knitting, crocheting, or weaving, understanding the basics of yarn dyeing can elevate your projects from ordinary to extraordinary.
Color is the keyboard, the eyes are the harmonies, the soul is the piano with many strings.
There are several methods for dyeing yarn, including immersion dyeing, tie-dye, and hand painting. Each method offers distinct results, so it's essential to choose one that aligns with your desired outcome. For instance, immersion dyeing is perfect for achieving solid colors, while tie-dye can produce vibrant patterns that catch the eye.
Before diving into dyeing, it's crucial to consider the type of yarn you’re working with. Different fibers absorb dye differently, meaning that wool, cotton, and acrylic will yield varied results. Familiarizing yourself with these differences will help you achieve the best possible outcome for your crafting materials.
Preparation: Setting Up for Successful Yarn Dyeing
Proper preparation is key to a successful yarn dyeing experience. Start by gathering all necessary supplies, including yarn, dye, gloves, and containers. It's also a good idea to work in a well-ventilated area to avoid inhaling any fumes from the dye, ensuring a safe crafting environment.
Next, you’ll want to pre-wash your yarn to remove any oils or treatments that may interfere with dye absorption. This step is essential, as it helps the fibers take in the dye more evenly. Once you've prepared your yarn, set up your dyeing station with all your materials organized and within reach.
Yarn Dyeing Methods Explained
There are various yarn dyeing techniques, including immersion dyeing for solid colors and tie-dye for vibrant patterns, each offering unique creative possibilities.
Lastly, don’t forget to protect your workspace! Cover surfaces with plastic or old newspapers to catch any spills. By taking these precautionary steps, you’ll create a seamless and enjoyable dyeing experience that allows you to focus on unleashing your creativity.
Immersion Dyeing: A Classic Technique for Solid Colors
Immersion dyeing is one of the most popular techniques for achieving solid colors in yarn. This method involves submerging your yarn in a dye bath, allowing the fibers to absorb the color evenly. It’s an excellent choice for beginners, as it’s straightforward and yields consistent results.
Creativity takes courage.
To use this technique, dissolve your chosen dye in hot water, then add the wet yarn to the mixture. Stir gently to ensure even coverage, and let the yarn soak for the recommended time. Keep an eye on the yarn to achieve your desired shade, as some colors may develop quickly.
Once the desired color is reached, rinse the yarn thoroughly until the water runs clear. This step is crucial to remove any excess dye and prevent it from bleeding onto future projects. After rinsing, let the yarn dry completely before using it in your crafting endeavors.
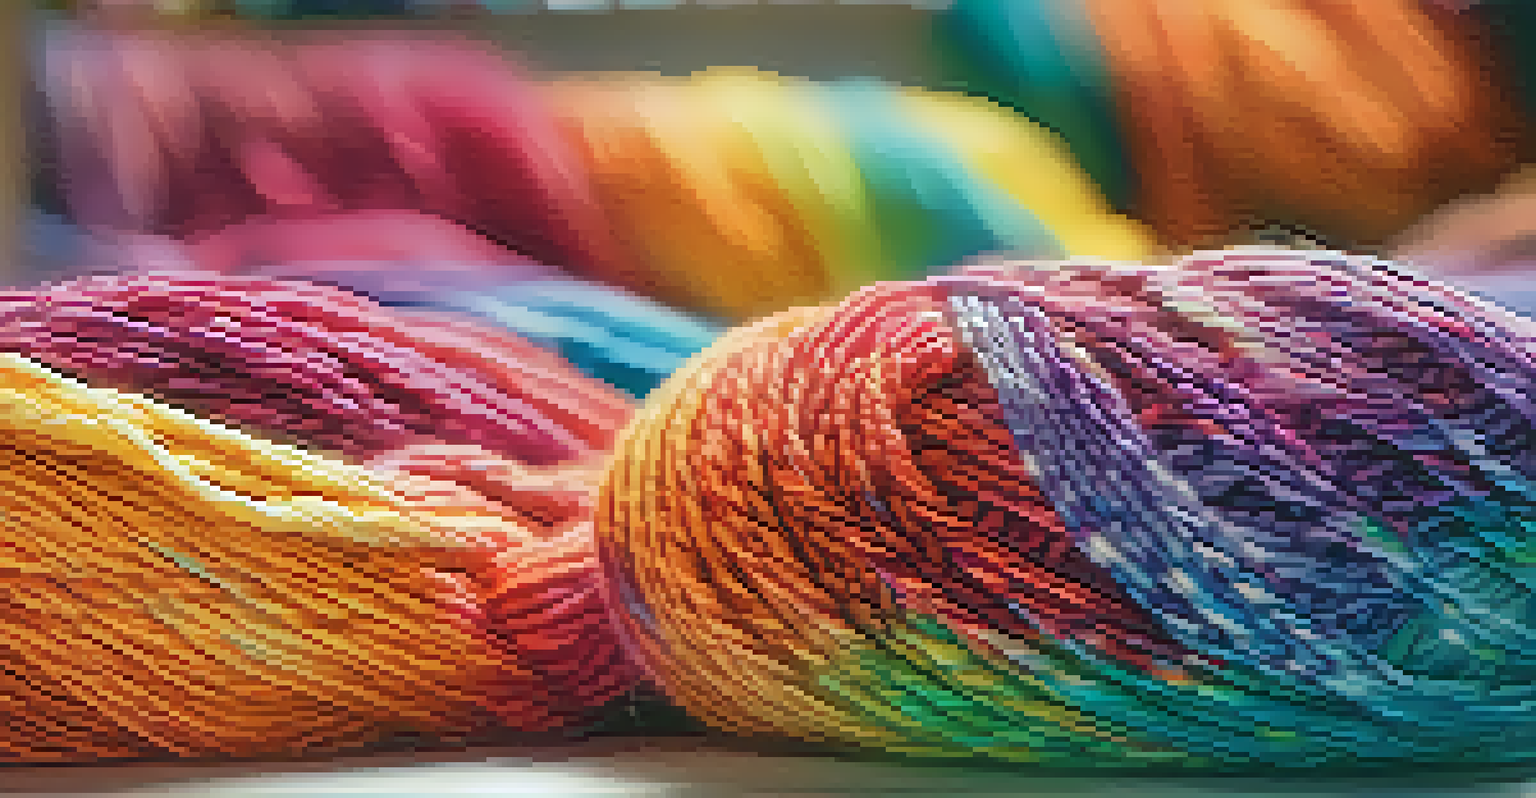
Tie-Dye: A Fun and Creative Way to Add Patterns
Tie-dyeing is a playful and artistic approach to yarn dyeing that allows for unique patterns and designs. By folding, twisting, or binding the yarn before applying dye, you can create stunning visuals that stand out in your projects. This method is perfect for those who want to explore their creativity and experiment with colors.
To start, prepare your yarn by dampening it slightly, then choose a folding technique that suits your design. Popular techniques include spirals, stripes, and crumples. Once your yarn is secured in the desired shape, apply your dyes in sections to achieve the desired color distribution.
Preparation is Key for Dyeing
Gathering supplies and pre-washing yarn are essential steps to ensure successful dye absorption and a smooth dyeing process.
After dyeing, let the yarn sit for several hours to allow the colors to set. Rinse carefully to reveal your beautiful patterns. Remember, the beauty of tie-dye lies in its unpredictability, so embrace the surprises that come with this fun technique!
Hand Painting Yarn: Personalize Your Colors
Hand painting yarn is a fantastic way to create personalized color gradients and designs. This technique gives you complete control over the application of dye, allowing you to blend colors and create unique patterns. It's perfect for those who enjoy a more hands-on approach to dyeing.
To hand paint your yarn, start by laying it flat on a plastic surface or a large piece of plastic wrap. Apply your dye using brushes or squeeze bottles, experimenting with different techniques to achieve the look you want. This method is particularly effective for creating variegated yarns, where a mix of colors flows seamlessly into one another.
Once you’re satisfied with your design, wrap the yarn in plastic to let the dye set. After the dye has cured, rinse the yarn thoroughly and let it dry. You'll be left with a one-of-a-kind yarn that truly embodies your creative vision.
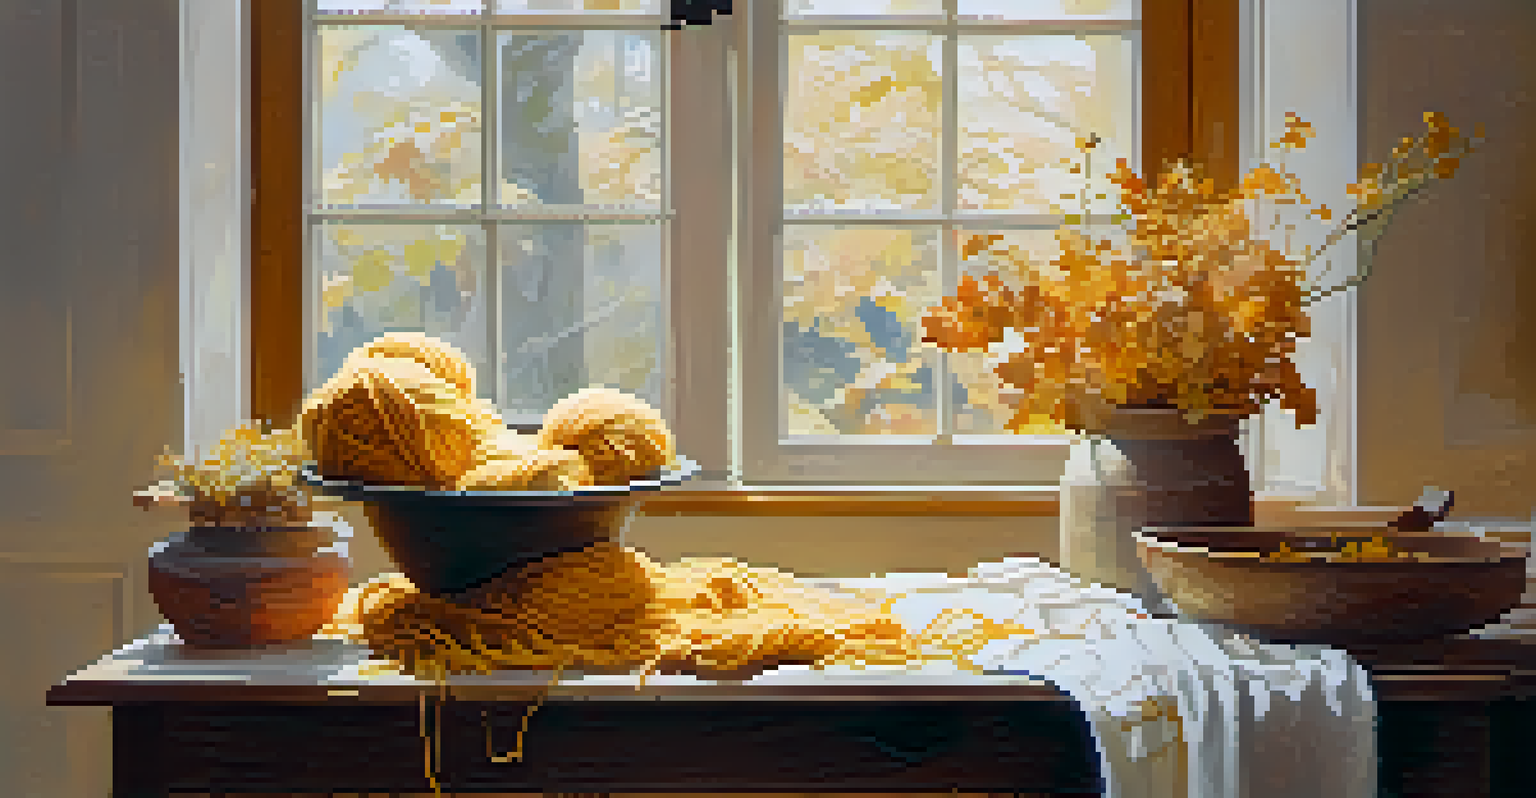
Natural Dyeing: Eco-Friendly Options for Yarn Color
Natural dyeing is an eco-friendly alternative that uses plant-based materials to color yarn. This technique not only produces beautiful, earthy tones but also connects you to nature in a meaningful way. If you're passionate about sustainability, natural dyeing might be the perfect avenue for your crafting.
To get started, gather natural materials such as flowers, leaves, or even kitchen scraps like onion skins. These materials can be simmered in water to extract color, which can then be applied to your yarn. The results are often softer and more muted than synthetic dyes, giving your projects a rustic charm.
Care for Vibrant Dyed Yarn
Proper rinsing and storage of dyed yarn are crucial for maintaining its vibrancy and preventing color bleeding in future projects.
While natural dyeing can be less predictable than synthetic methods, it’s a rewarding process. Each batch of dye can yield different results based on the materials used and the dyeing conditions. Embrace the uniqueness of each dye session and enjoy the journey of creating beautifully colored yarn.
Post-Dye Care: Ensuring Your Yarn Stays Vibrant
Once you've completed the dyeing process, it’s essential to care for your yarn properly to maintain its vibrancy. Start by rinsing your dyed yarn in cold water to remove any excess dye. This step is crucial to prevent colors from bleeding onto other projects in the future.
After rinsing, consider using a gentle wool wash to clean your yarn without stripping it of color. Follow the instructions on the product label for the best results. As a rule of thumb, always wash dyed yarn in cool water to preserve its integrity and prevent shrinking.
Finally, store your dyed yarn in a cool, dry place away from direct sunlight. This helps to keep colors fresh and prevents fading. With proper care, your beautifully dyed yarn will remain a vibrant part of your crafting stash for years to come.