How to Make Leather Belts: A Complete Crafting Guide
Understanding the Basics of Leather Crafting
Before diving into making leather belts, it's essential to understand the basics of leather crafting. Leather is a durable and versatile material, but it can be intimidating for beginners. Familiarizing yourself with different types of leather, such as vegetable-tanned or chrome-tanned, can help you choose the right one for your project.
Leather is a timeless material that tells a story through its wear and tear, making each piece unique.
Each type of leather has its unique characteristics and uses. For instance, vegetable-tanned leather is eco-friendly and develops a beautiful patina over time, making it a popular choice for belts. On the other hand, chrome-tanned leather is softer and more supple, which might be better for certain styles.
Understanding these fundamentals will not only enhance your crafting experience but also allow you to create a belt that suits your personal style and needs.
Gathering Essential Tools and Materials
To get started on your leather belt-making journey, you'll need a few essential tools and materials. Basic tools include a cutting mat, a utility knife, a ruler, and a hole punch. Investing in a quality cutting mat will protect your work surface while providing a stable area for cutting.
In addition to tools, you'll need materials like leather, thread, and a buckle. When selecting leather, consider the thickness and color that best fits your design. A standard belt typically requires about 3 to 4 ounces of leather, providing the right balance of sturdiness and flexibility.
Basics of Leather Crafting
Understanding different types of leather, such as vegetable-tanned and chrome-tanned, is crucial for selecting the right material for your belt.
Having all your materials ready before you start crafting can streamline the process and make it more enjoyable.
Measuring and Cutting Your Leather
Proper measurement and cutting are crucial steps in making a leather belt. Start by measuring your waist and deciding how long you want your belt to be. A good rule of thumb is to add about 6 inches to your waist measurement to accommodate the buckle and allow for adjustment.
The best way to predict the future is to create it.
Once you have your measurements, use a ruler and utility knife to cut the leather. Make sure to cut in a straight line for a clean edge. A steady hand and a sharp blade will help prevent any jagged edges that can spoil the overall look of your belt.
Remember, it’s better to start with a little extra length than to cut too short, as you can always trim the leather down later if needed.
Creating Holes for the Buckle and Adjustments
After cutting your leather, the next step is to create holes for the buckle and the adjustment prongs. Using a hole punch tool, mark where you want the holes to go, typically about 1-inch apart along one end of the belt. This spacing allows for flexibility in sizing.
When making the holes for the buckle, ensure they're large enough for the prong to fit through comfortably. You want the buckle to be secure without being too loose, which can cause it to slide out unexpectedly.
Essential Tools and Materials
Gathering necessary tools like a utility knife and materials such as leather and a buckle is vital for a smooth crafting process.
This step is essential for functionality, as well as aesthetics. Neatly punched holes contribute to the overall quality and look of your finished belt.
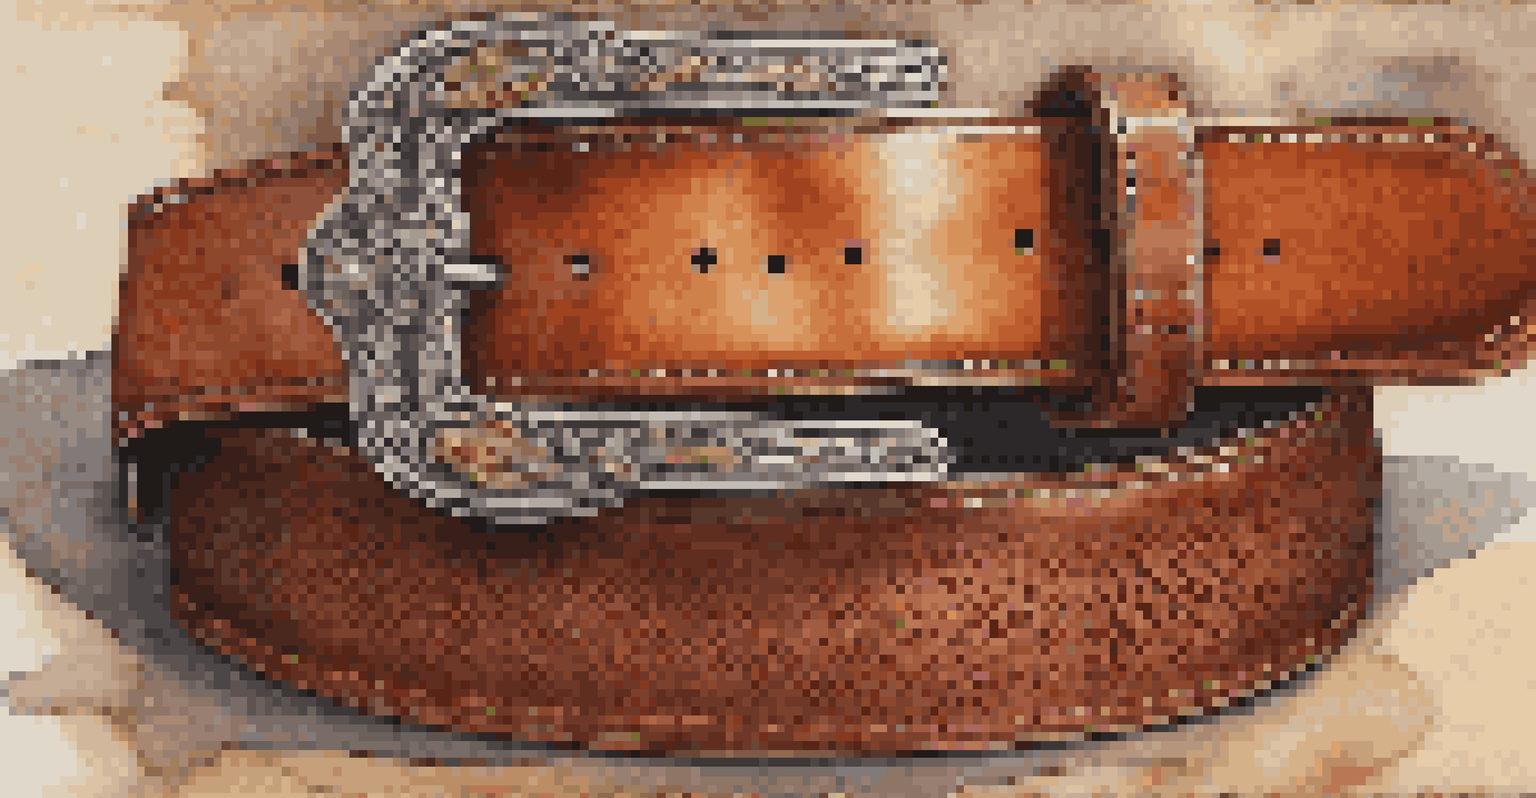
Adding the Buckle and Finishing Touches
With the holes in place, it’s time to attach the buckle. Depending on the type of buckle you choose, this can be as simple as sliding it onto the leather or may require additional hardware. Follow the manufacturer's instructions for securing the buckle to ensure it’s firmly in place.
After attaching the buckle, take a moment to finish the edges of your leather belt. You can use a burnishing tool to smooth out the edges, giving your belt a polished and professional look. Edge finishing not only enhances appearance but also helps prevent the leather from fraying over time.
Adding a personal touch, like a custom stamp or dye, can also elevate your belt's uniqueness and reflect your style.
Maintaining Your Leather Belt for Longevity
Once your leather belt is complete, proper maintenance will ensure it lasts for years. Leather, while durable, can dry out and crack if not cared for. Regularly conditioning your belt with a quality leather conditioner will help keep it supple and prevent damage.
Avoid exposing your belt to excessive moisture or harsh chemicals, as these can degrade the leather. If your belt does get wet, gently pat it dry and allow it to air dry naturally, away from direct heat sources.
Creative Belt Designs
Once you master the basics, you can explore various styles and designs to create a unique leather belt that reflects your personality.
By taking a little time to maintain your leather belt, you can keep it looking great and functioning well for many occasions.
Exploring Creative Designs and Styles
Once you’ve mastered the basics of making leather belts, it’s time to get creative! There are countless styles and designs you can explore, from simple, classic belts to more intricate, embellished versions. Consider incorporating different colors, textures, or even decorative stitching to make your belt truly unique.
You can also experiment with different buckle styles, such as vintage or modern designs, to complement your personal aesthetic. The great thing about crafting your own leather belt is that it can reflect your individuality and style.
Don’t be afraid to try new techniques or materials as you grow more confident in your skills. Each belt you create can tell a story and become a cherished accessory.