How to Make Leather Luggage Tags: Easy DIY Guide
Gather Your Materials for Leather Luggage Tags
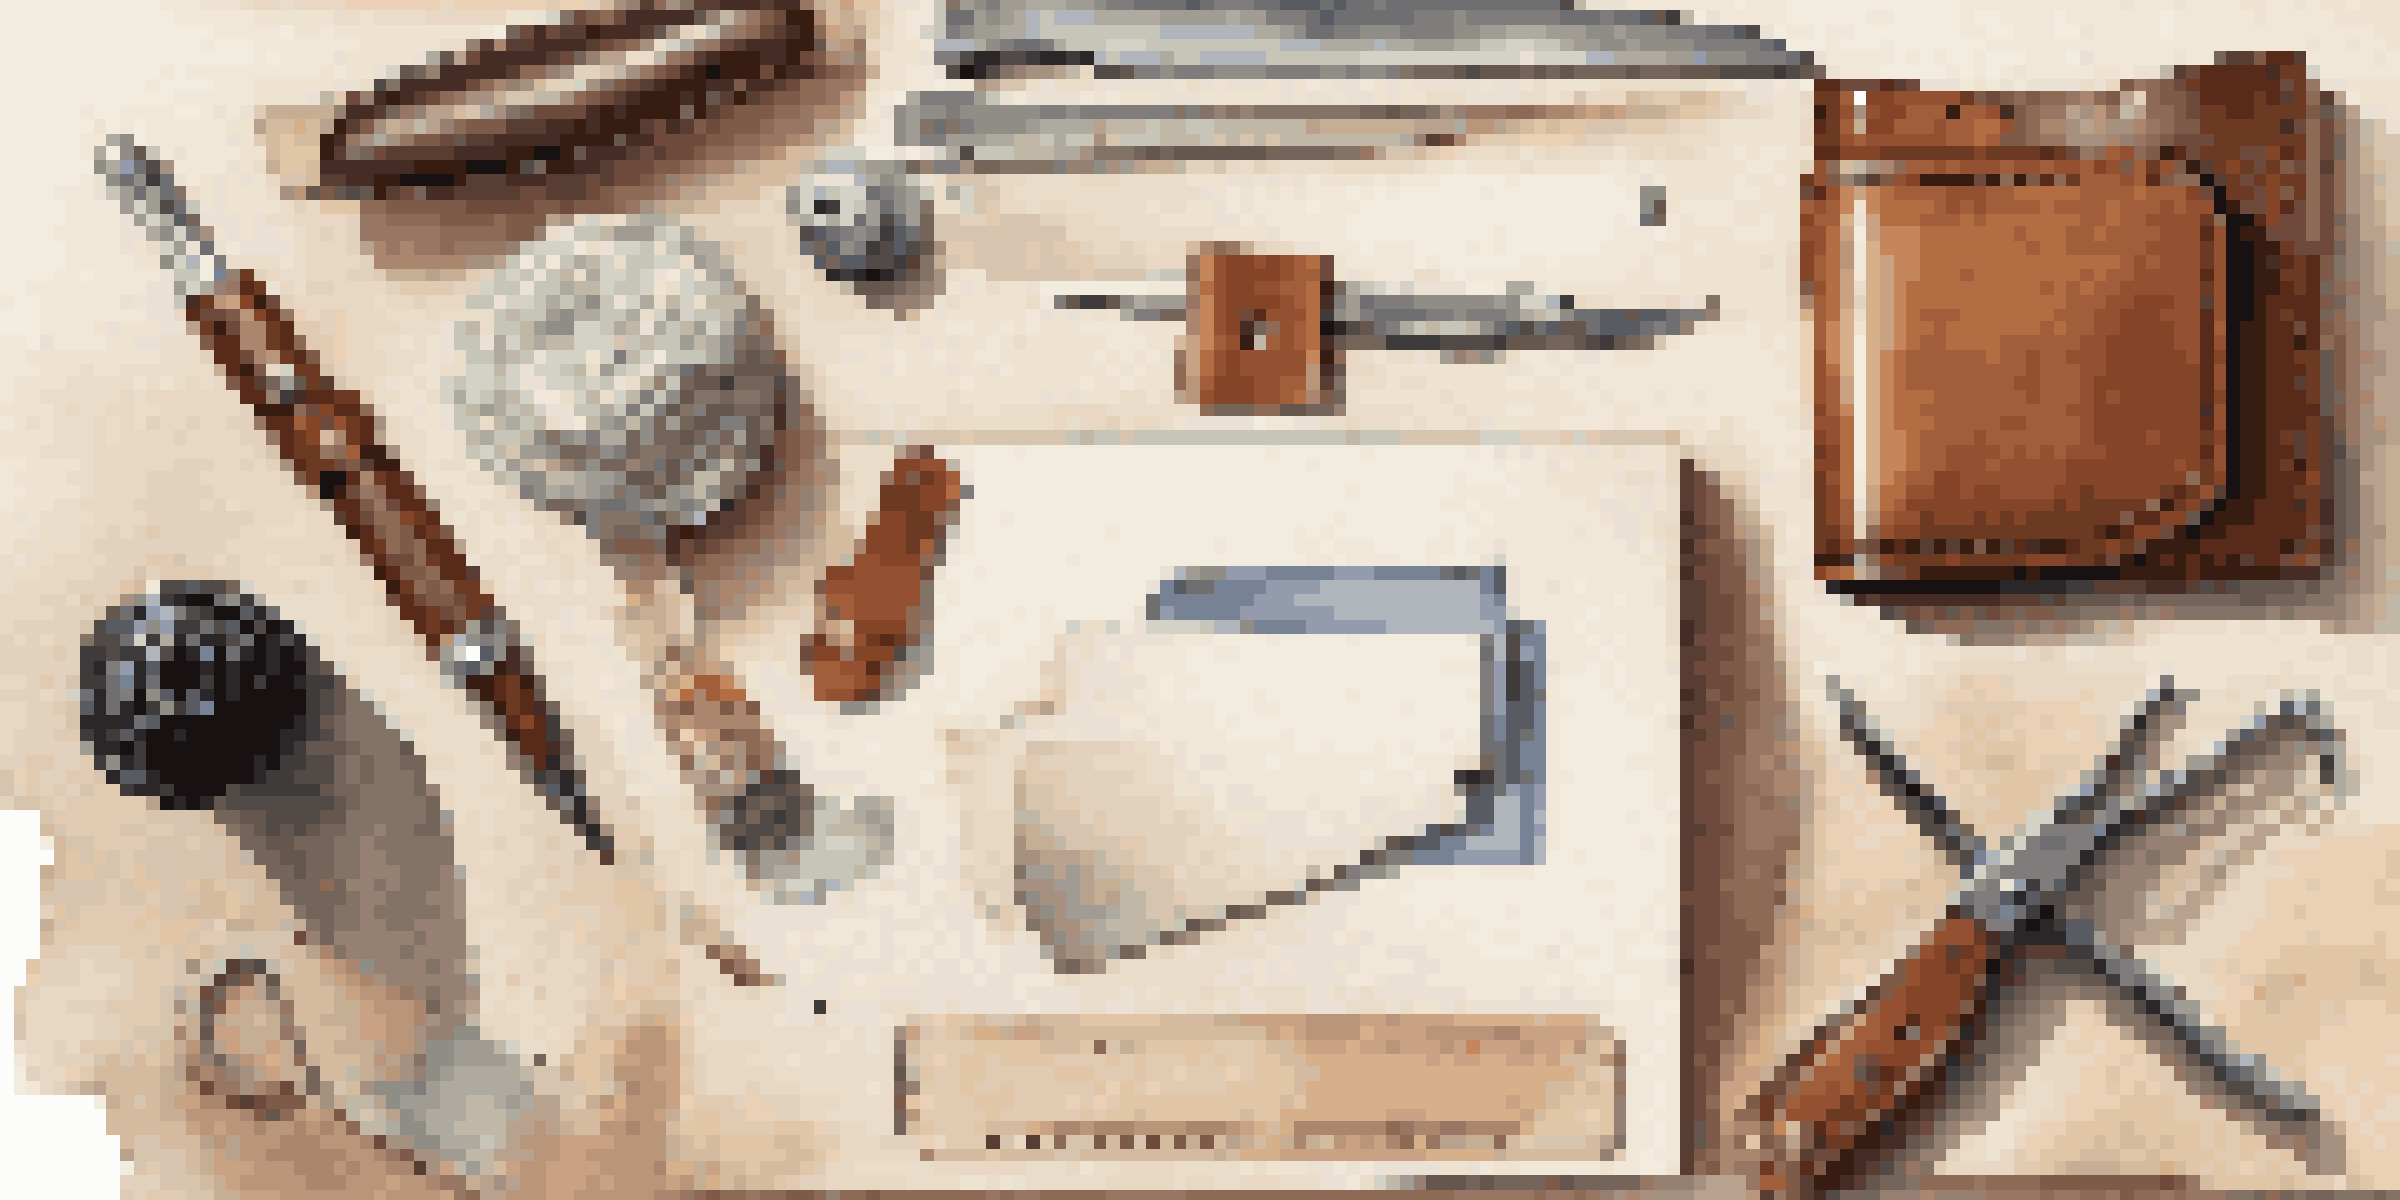
Before you dive into crafting your leather luggage tags, gather all necessary materials. You'll need vegetable-tanned leather, a ruler, a cutting mat, a sharp knife or rotary cutter, and a hole punch. Don't forget some sturdy thread and a needle for stitching, as well as a cutting tool to shape your tags.
Creativity takes courage.
Choosing the right leather is essential for durability and aesthetics. Vegetable-tanned leather is an excellent choice because it ages beautifully over time and can be easily stamped or dyed. As you collect your tools and materials, think about the design you want; this is where creativity really shines!
Setting up a clean workspace will make your crafting experience more enjoyable. Ensure you have plenty of room to cut and assemble your tags, and consider having a reference image nearby. This will not only keep you organized but also inspire you as you create.
Designing Your Leather Luggage Tags
Designing your luggage tags is where the fun begins! Sketch out a few ideas on paper, keeping in mind the size and shape you want. Common dimensions for luggage tags are around 2.5 x 4.5 inches, but feel free to customize based on your preferences.
Think about incorporating personal touches, like your initials or a fun graphic. You can use stamps or stencils to create unique designs that reflect your personality. This is a great way to ensure your tag stands out on the luggage carousel!
Gather Essential Crafting Materials
Collecting the right tools, like vegetable-tanned leather and stitching supplies, is crucial for creating durable and aesthetically pleasing luggage tags.
Once you have a design in mind, transfer it onto your leather using a pencil or marker. This will serve as your guide while cutting. Remember, the more precise your design, the better your final product will look.
Cutting the Leather for Your Tags
Now that your design is ready, it's time to cut the leather. Place your leather on the cutting mat and use a ruler to measure your dimensions carefully. A sharp knife or rotary cutter will help you achieve clean, straight edges.
The details are not the details. They make the design.
Take your time with this step, as precision is key to a polished final product. If you're feeling unsure, practice cutting on a scrap piece of leather first. This will help you build confidence and skill before moving on to your actual tags.
Once you've cut out your tags, check the edges for any rough spots. A fine-grit sandpaper can smooth these out, giving your tags a professional finish. This attention to detail will make all the difference in how your tags look and feel.
Punching Holes for Attachments
After cutting your tags, you'll need to punch holes for attaching them to your luggage. Using a hole punch, carefully mark where you want the holes to go—usually at the top edge of the tag. This is where your strap or string will fit through, so make sure it's centered.
It's a good idea to use a scrap piece of leather to test the hole placement first. This will help you avoid mistakes on your actual tags. Remember that the holes should be large enough to accommodate your attachment method but not so big that they compromise the tag's integrity.
Design and Personalize Your Tags
Sketching a unique design and adding personal touches, such as initials or graphics, ensures that your luggage tags reflect your personality.
Once you're satisfied with the hole placement, punch through the leather with even pressure. This step is crucial for ensuring that your tags won't tear or rip when attached to your bags.
Stitching Your Leather Tags Together
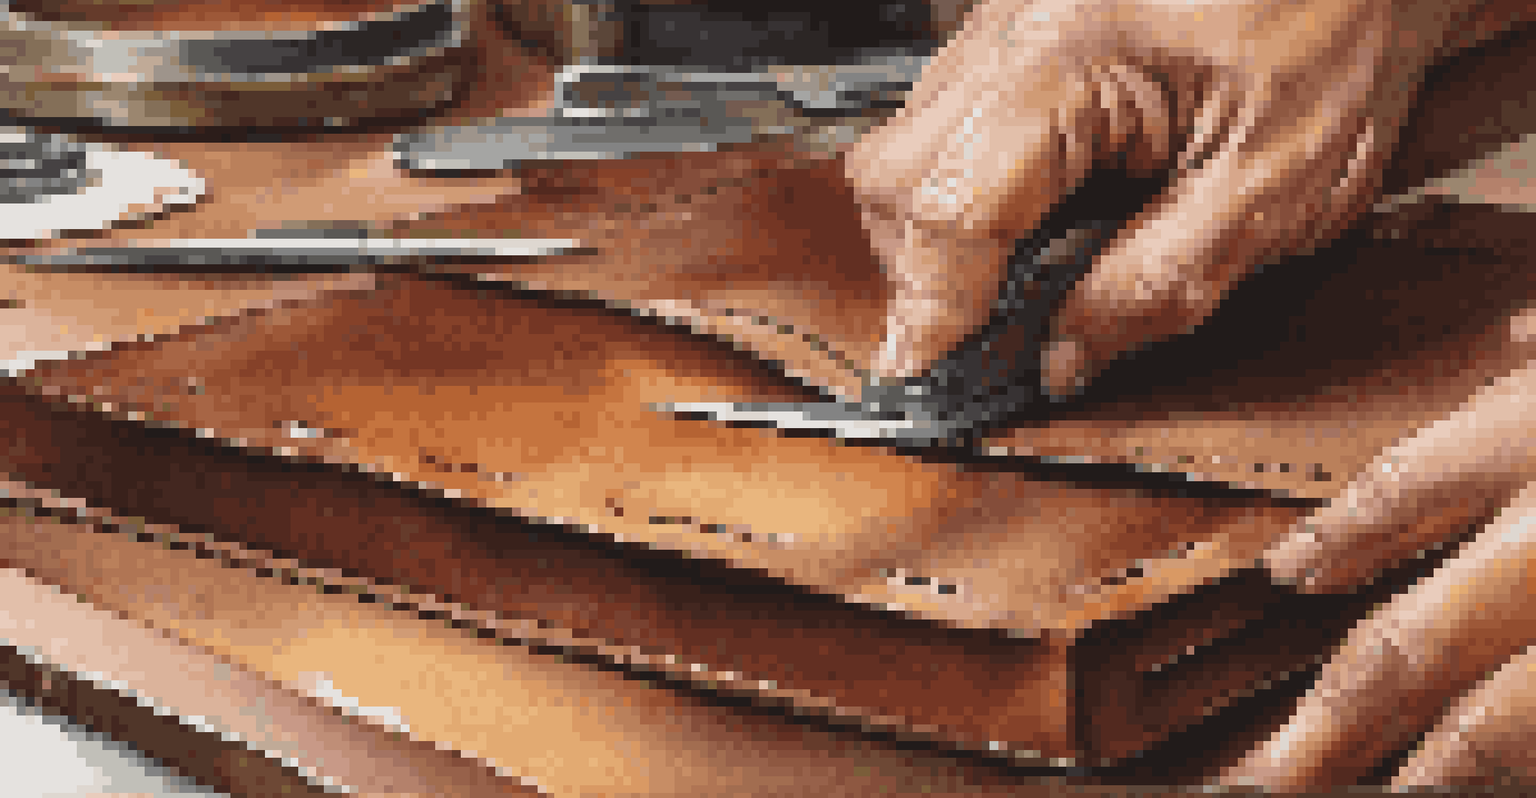
Now it's time to stitch your tags! Using a needle and sturdy thread, begin sewing the edges of your leather together. You can opt for a simple running stitch or a more decorative stitch, depending on your skill level and preference.
Make sure to pull the thread taut but not too tight, as this can cause the leather to pucker. A thimble can be helpful here, especially if you're using thicker leather. As you stitch, take your time to ensure that every stitch is even and consistent.
Once you've sewn your tags, tie off the thread securely. A few extra knots won't hurt, as they ensure your tags will withstand the test of time. This step adds to the durability of your tag and gives it a handmade charm.
Adding Personalization to Your Tags
Personalization is what makes your leather luggage tags truly special. You might choose to emboss your name, initials, or a favorite quote. This not only adds a unique touch but also helps identify your luggage easily.
To emboss, you can use a simple letter stamp set and a mallet. Place your leather on a firm surface, position the stamp, and give it a firm tap. This process can be incredibly satisfying, as you see your design come to life right before your eyes.
Finish with Care and Protection
Applying leather conditioner and sealant protects your tags, enhancing their durability and keeping them looking polished for your travels.
If you prefer a different approach, consider using leather paints or dyes to add color and detail. This allows for even more creativity, enabling you to customize your tags to match your style or travel aesthetic.
Finishing Touches and Care for Your Tags
With your tags complete, it’s time to add finishing touches. A leather conditioner can help preserve the softness and sheen of the leather, making your tags look polished and professional. Just a small amount rubbed in can go a long way.
Additionally, consider adding a protective sealant if you want extra durability against wear and tear. This is especially useful for tags that will be exposed to the elements during travel. Taking these steps will ensure your tags last for many journeys to come.
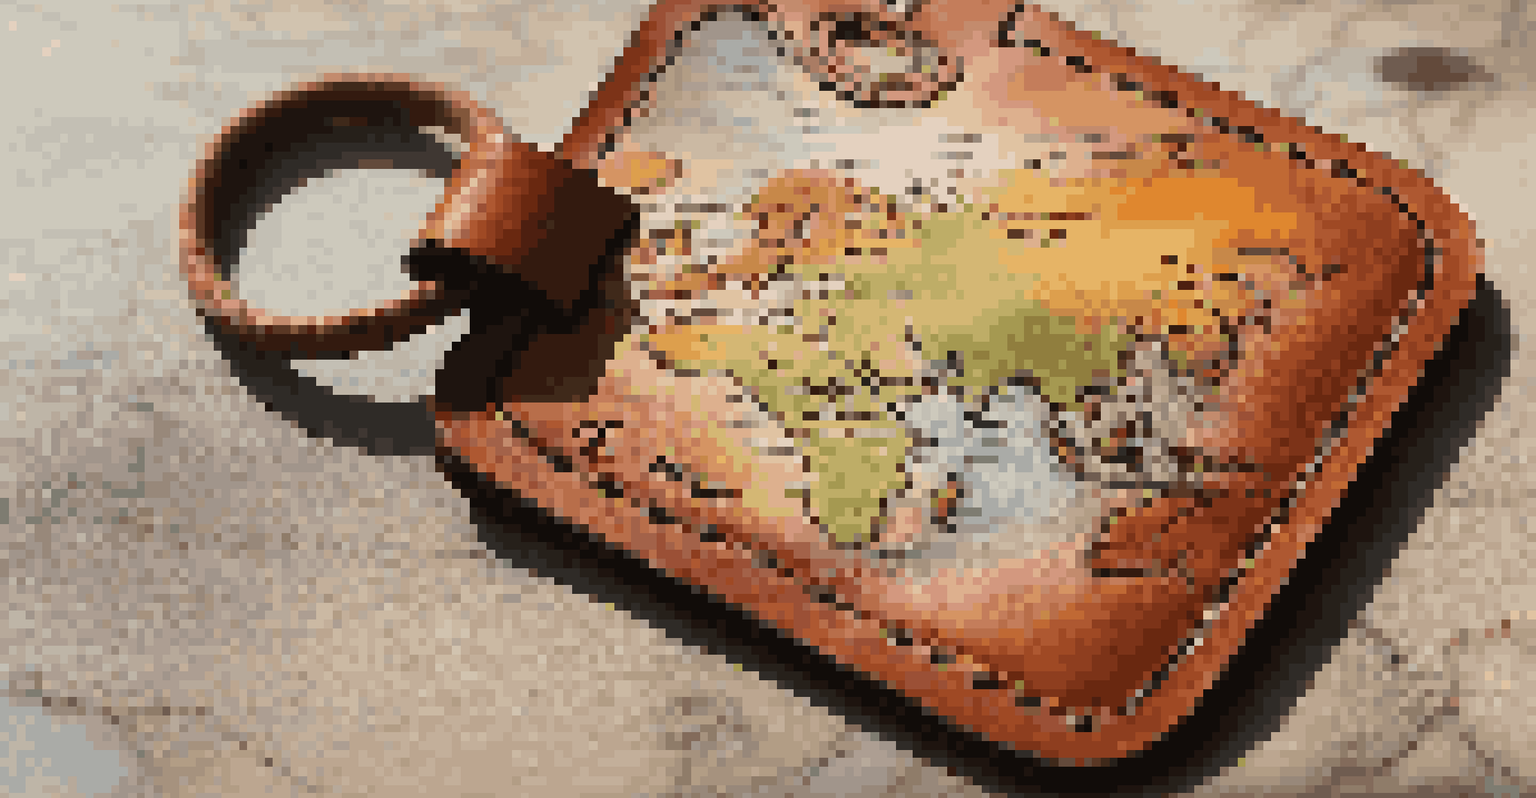
Finally, attach your completed tags to your luggage and admire your handiwork! Not only will you have a functional item, but you’ll also have a beautiful piece that reflects your personality and style. Enjoy your travels with your new creations!