The Art of Leather Dyeing: Techniques for Vibrant Colors
Understanding the Basics of Leather Dyeing
Leather dyeing is a fascinating craft that transforms plain leather into stunning pieces of art. To start, it’s essential to understand the type of leather you’re working with, as different leathers absorb dye differently. For example, vegetable-tanned leather is a popular choice for dyeing due to its porous nature, which allows for vibrant color absorption.
The way to get started is to quit talking and begin doing.
Additionally, leather dye comes in various forms, such as liquid, gel, or spray, each offering unique effects. Liquid dyes are great for deep saturation, while gel dyes provide more control during application. Choosing the right dye can significantly influence the final outcome of your project.
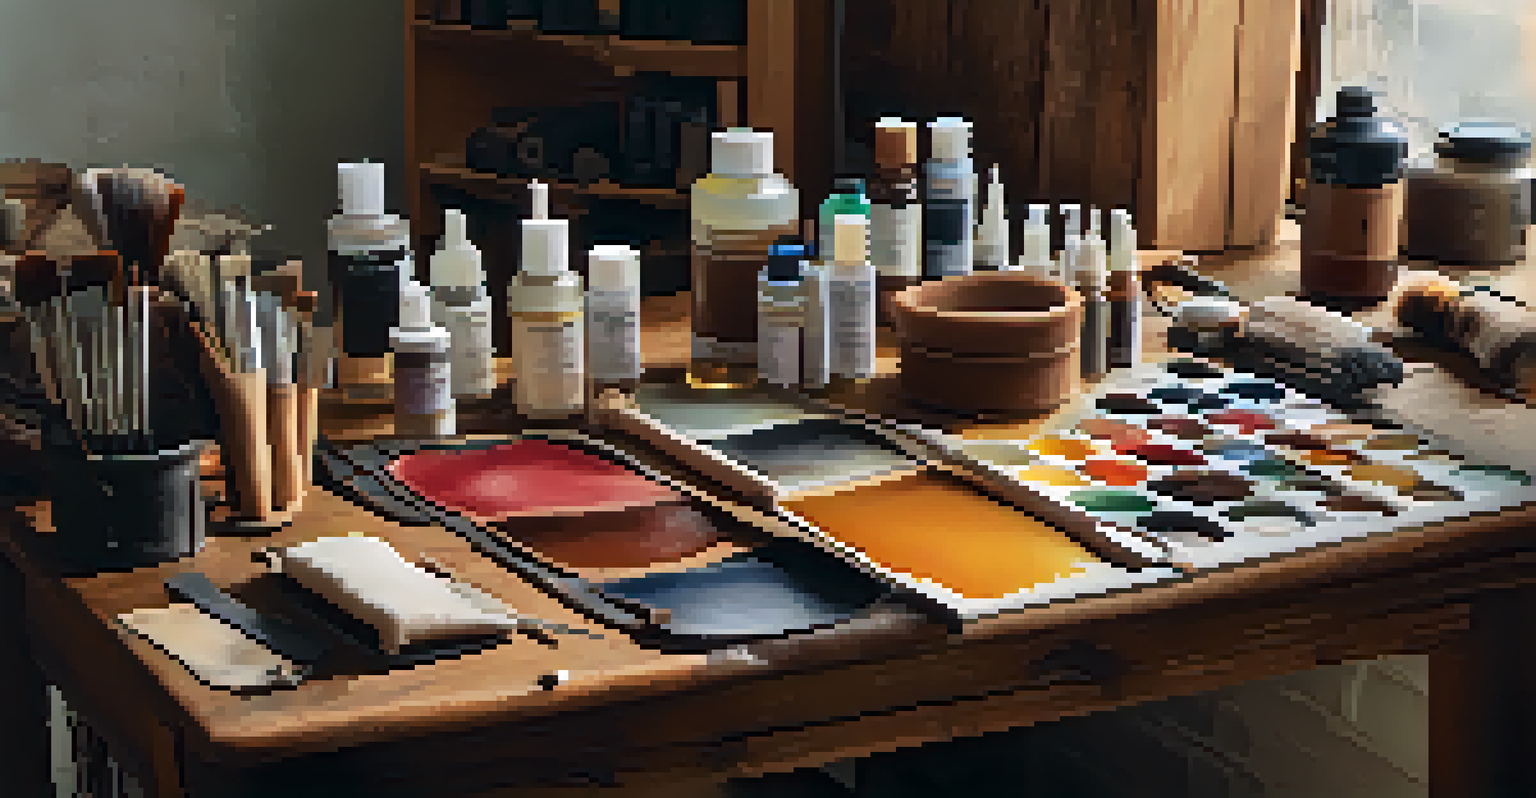
Lastly, don’t forget to gather the necessary tools like brushes, gloves, and protective coverings for your workspace. Preparing your materials is just as important as the dyeing process itself, ensuring a clean and enjoyable crafting experience.
Preparing Leather for Dyeing: Cleaning and Conditioning
Before diving into the dyeing process, proper preparation of your leather is crucial for achieving vibrant results. Start by cleaning the leather surface to remove any dirt, oils, or finishes that might interfere with dye absorption. A gentle leather cleaner or a mixture of water and mild soap can do wonders in refreshing the leather.
After cleaning, conditioning the leather is just as important. A good leather conditioner will help to restore moisture and flexibility, allowing the dye to penetrate more effectively. Remember, conditioned leather not only looks better but also enhances the longevity of your dyed piece.
Prepare Leather for Best Results
Cleaning and conditioning the leather is crucial to ensure vibrant dye absorption and enhance the longevity of your dyed piece.
Finally, let the leather dry completely before applying any dye. This step prevents any potential streaks or uneven coloring, ensuring that your leather is ready to absorb those beautiful hues.
Choosing the Right Dye: Types and Their Effects
When it comes to dyeing leather, the type of dye you choose can greatly impact the final look. Water-based dyes are popular for their ease of use and eco-friendliness, while alcohol-based dyes offer intense colors that are quick to dry. Consider your project’s needs before making a decision.
Creativity takes courage.
For instance, if you’re looking for a more subtle, natural finish, an aniline dye might be your best bet. However, if vibrant and bold colors are your goal, then a pigment dye will provide that pop of excitement. Each type of dye has its strengths, so understanding their characteristics is key.
Moreover, experimenting with different dye combinations can lead to unique and stunning results. Don’t hesitate to mix colors to achieve that perfect shade, as creativity often leads to the best outcomes in leather dyeing.
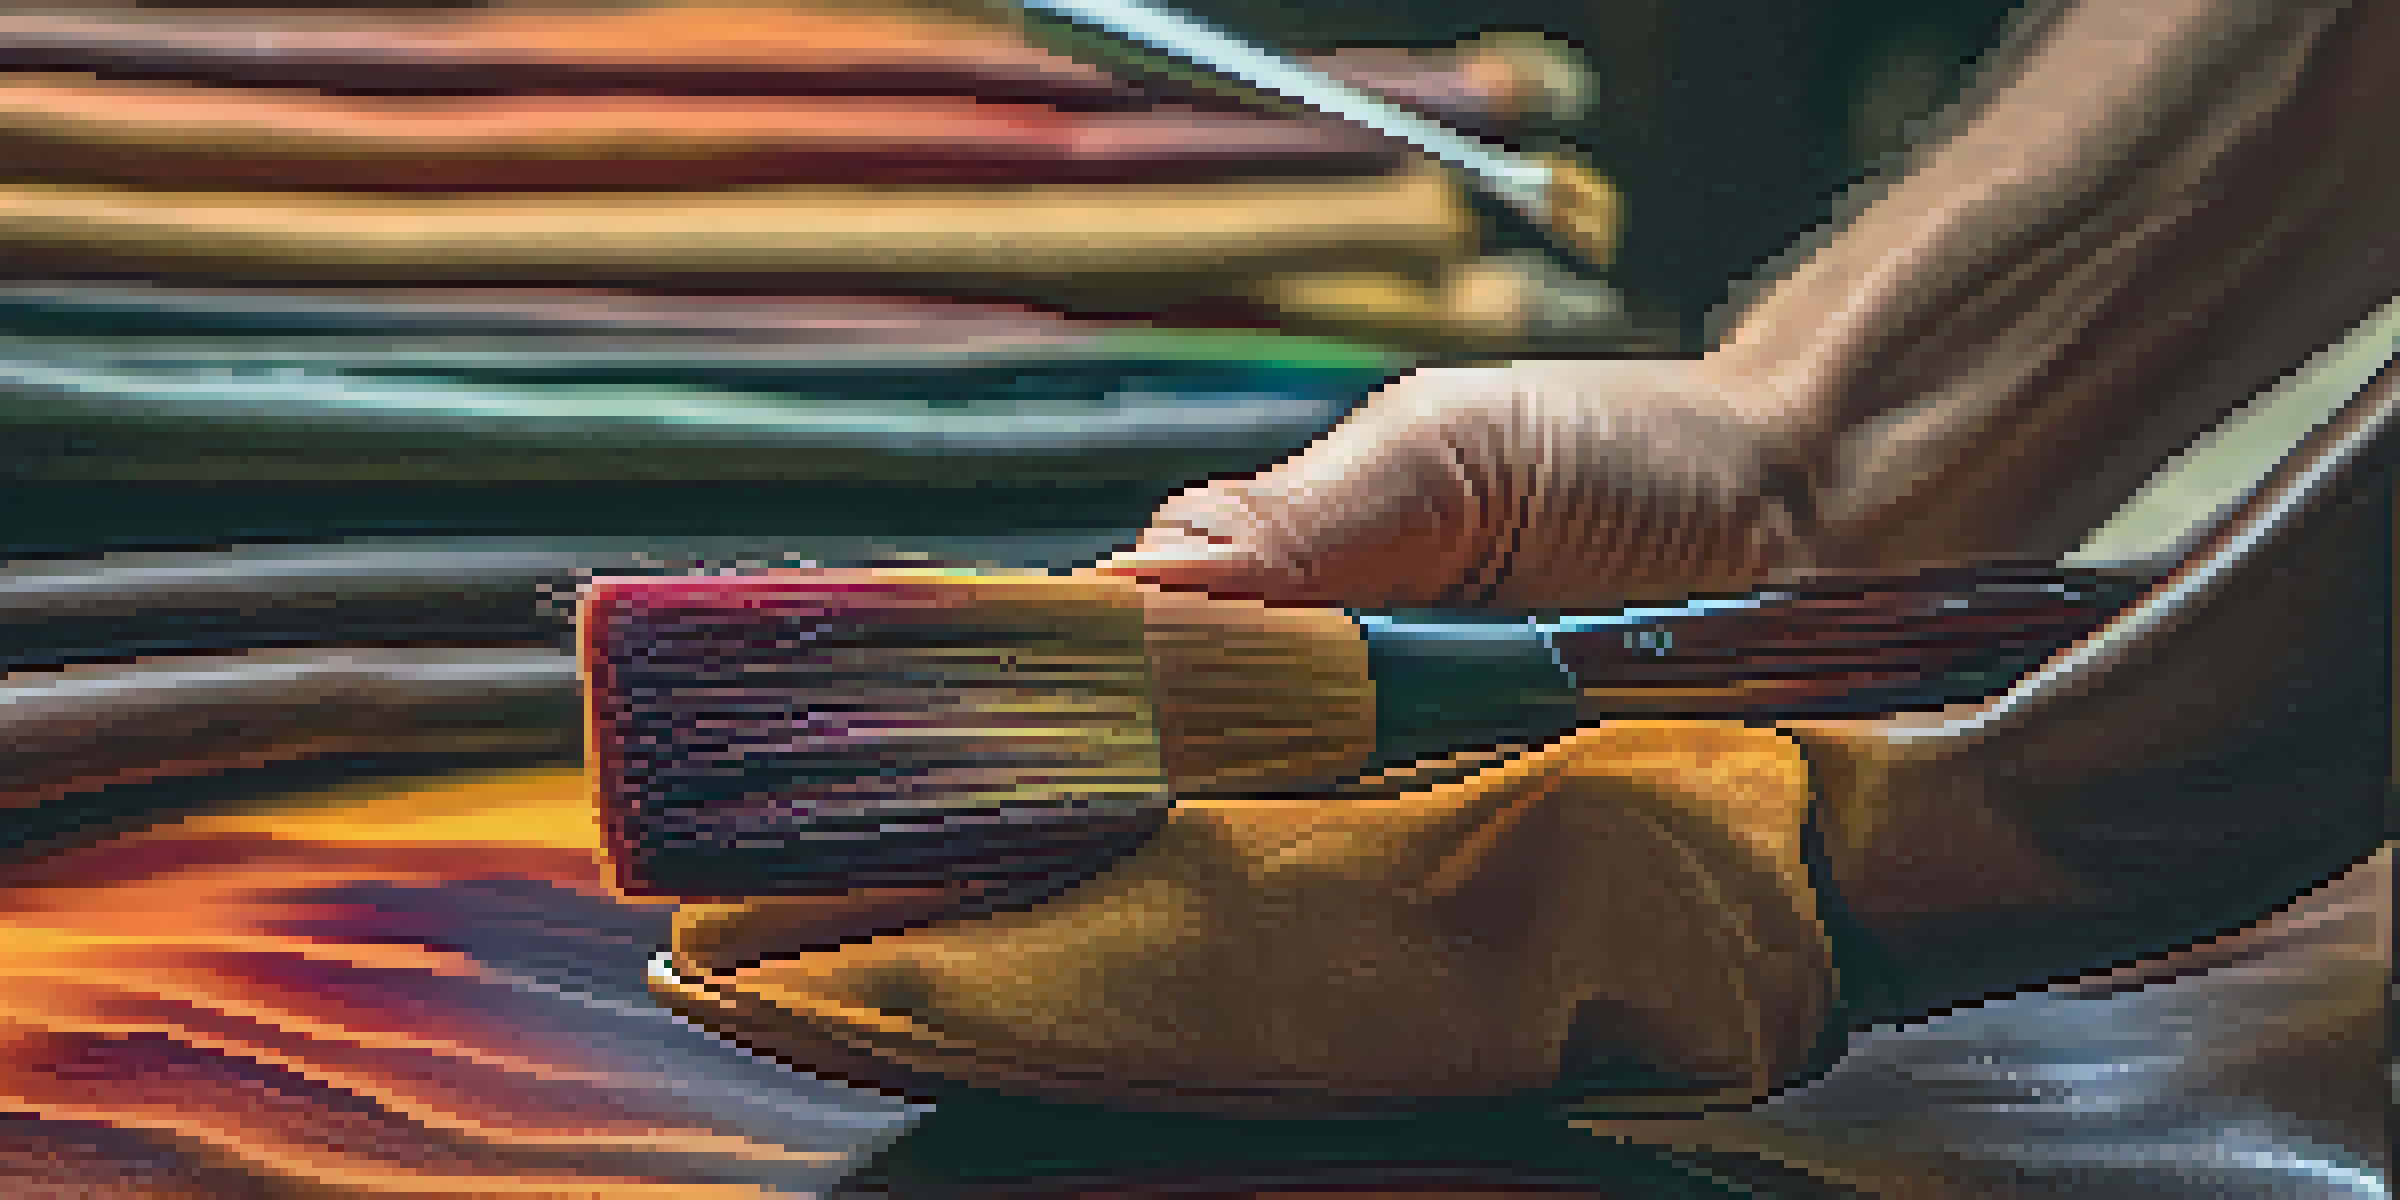
Application Techniques: Brush, Spray, and More
The way you apply dye can completely change the appearance of your leather piece. Using a brush allows for more control, enabling you to focus on specific areas or create patterns. This method is particularly effective for intricate designs or when working on smaller projects.
On the other hand, spraying dye can deliver a more uniform finish, making it ideal for larger surfaces. Spray application can also create a gradient effect if you’re comfortable with blending techniques. Just remember to work in a well-ventilated area when using spray dyes.
Choose the Right Dye Type
Selecting the appropriate type of dye, whether water-based for ease or pigment for vibrancy, greatly impacts the final appearance of your leather project.
Additionally, sponging is another popular technique for a soft, textured look. This method allows for a more subtle application, ideal for achieving a distressed or vintage style. Whichever technique you choose, practice on scrap leather to perfect your skills!
Setting the Dye: Fixatives and Heat Treatment
Once you’ve applied your dye, it’s essential to set the color to prevent fading. This process often involves using a fixative, which helps to lock the dye into the leather fibers. Many crafters opt for a spray-on fixative, ensuring an even distribution across the surface.
Heat treatment is another effective method for setting dye. By using a heat gun or hairdryer on a low setting, you can help the dye bond with the leather. Just be cautious not to overheat the leather, as this can cause damage or discoloration.
Lastly, allowing your dyed leather to cure for several days ensures optimal results. This waiting period allows the dye to fully penetrate and stabilize, giving you that rich, vibrant color you desire.
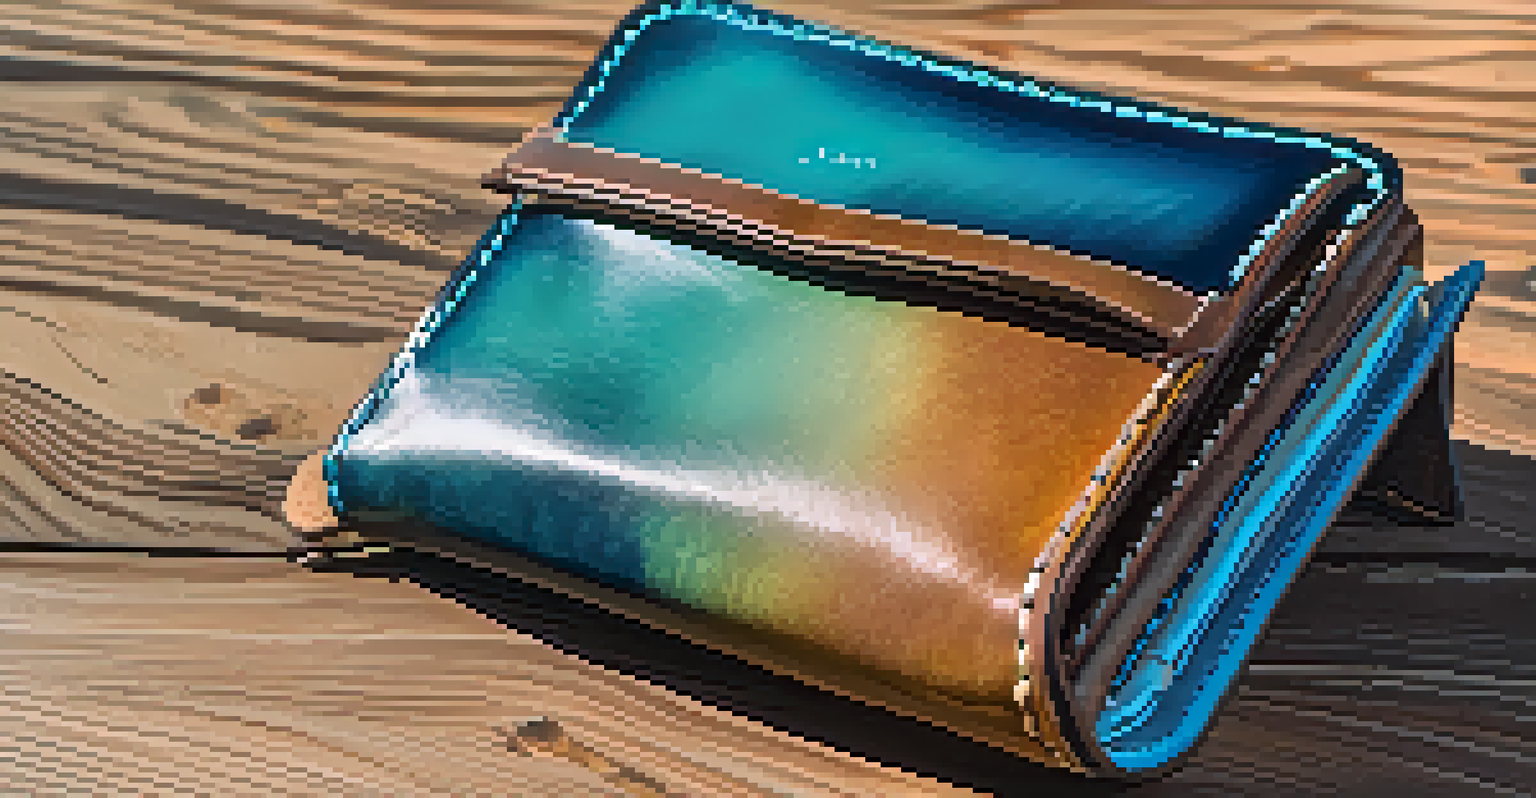
Finishing Touches: Sealing and Protecting Your Work
After dyeing and setting, the final step is to seal and protect your leather piece. A good leather finish not only enhances the color but also offers a layer of protection against wear and tear. Look for sealants that are specifically designed for dyed leather to ensure compatibility.
Applying a wax or acrylic finish can also add a beautiful sheen while providing durability. These finishes can help to repel water and stains, keeping your leather looking fresh and vibrant for longer.
Set and Protect Your Dye Work
Using fixatives and finishes after dyeing ensures your colors stay vibrant and protects your leather from wear and tear.
Don’t forget to maintain your leather after it’s completed. Regular conditioning and cleaning will help preserve both the color and the integrity of your work, ensuring it remains a stunning piece for years to come.
Troubleshooting Common Leather Dyeing Issues
Even the most experienced crafters may encounter issues when dyeing leather. One common problem is uneven color, which can result from insufficient dye application or improper preparation. To fix this, ensure that the leather is clean and evenly conditioned before starting, and consider applying multiple layers of dye for better saturation.
Another issue can be dye bleeding, especially if the leather isn’t properly sealed. To prevent this, always use a high-quality sealant and allow ample curing time. If you find that dye is still bleeding after sealing, a light coat of a fixative might help.
Lastly, if you’re unhappy with the color, don’t fret! Leather can often be dyed over again. Just remember to properly prep the surface again before applying a new color to achieve the best results.