Tips for Using Airbrushes in Model Painting

Understanding the Basics of Airbrushes for Models
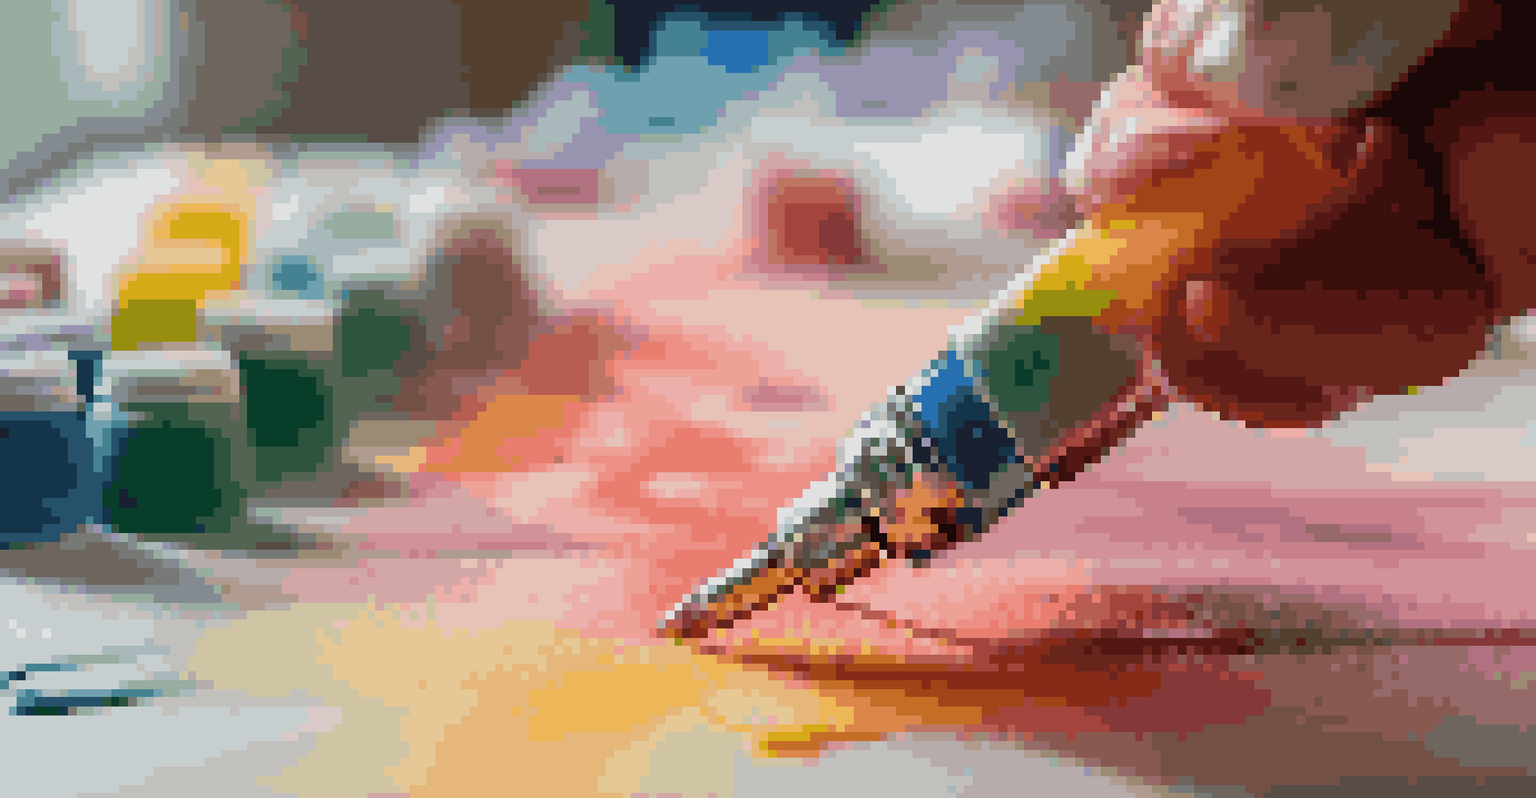
Before diving into airbrush painting, it's crucial to understand the basic components of an airbrush. Essentially, an airbrush is a small, air-operated tool that sprays various media, like paint or ink. Its design allows for precision and control, making it ideal for model painting, where details matter.
The details are not the details. They make the design.
Airbrushes come in two main types: siphon feed and gravity feed. Siphon feed models pull paint from a bottle below, while gravity feed models use a cup on top. Each type has its advantages, so consider what best suits your painting style and project requirements.
Familiarizing yourself with the parts of an airbrush, such as the nozzle, needle, and trigger, will significantly enhance your painting experience. This knowledge will help you troubleshoot issues and maintain your airbrush, ensuring it performs optimally.
Preparing Your Workspace for Airbrush Painting
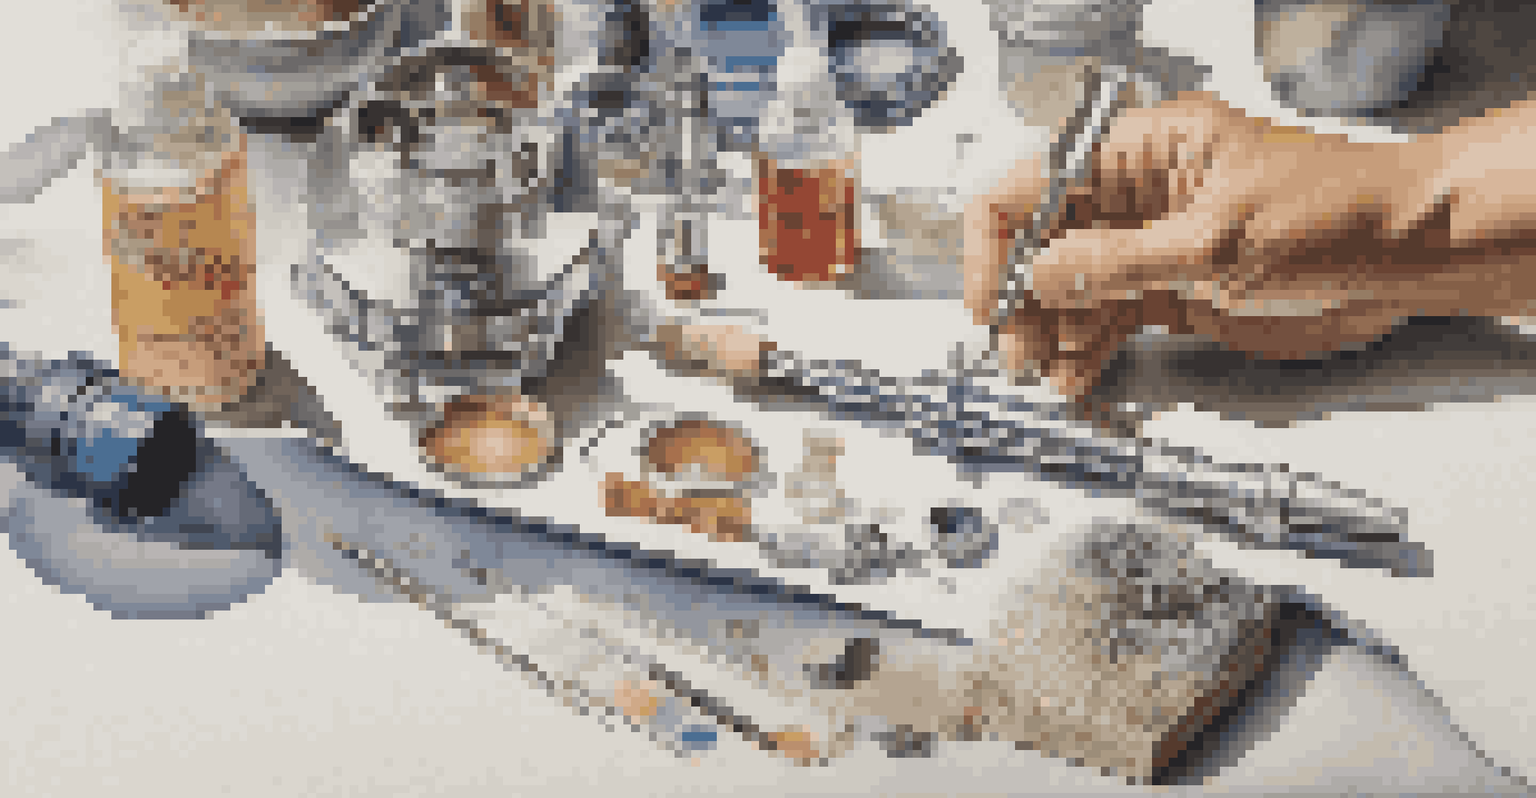
Creating a conducive workspace is vital for successful airbrush painting. Start by ensuring your area is well-ventilated, as the fumes from paint can be hazardous. A dedicated space also helps you keep all your tools organized and within reach.
Consider using a spray booth or a cardboard box to contain overspray. This not only keeps your workspace clean but also helps you avoid inhaling harmful particles. Plus, it allows for better control over your painting environment, leading to smoother finishes.
Essential Airbrush Components
Understanding the basic parts of an airbrush, like the nozzle and needle, is key to enhancing your painting experience.
Lastly, don't forget to gather all necessary supplies before starting. From your airbrush to paints, thinners, and cleaning materials, having everything on hand will streamline your workflow and reduce interruptions.
Choosing the Right Paint for Airbrushing Models
Not all paints are created equal when it comes to airbrushing. Water-based acrylics are popular among model painters due to their ease of use and quick drying times. However, there are also solvent-based and enamel paints that can yield stunning results if used correctly.
Every artist was first an amateur.
When selecting paint, ensure it's specifically formulated for airbrushing. This will ensure the paint flows smoothly through the airbrush without clogging. Always check the manufacturer's recommendations for thinning and application techniques to achieve the best finish.
Experimenting with different types of paint can help you find what works best for your style. Consider creating test pieces to practice and observe how various paints interact with your airbrush and the model surface.
Mastering Airbrush Thinning Techniques
Thinning your paint is a crucial step in achieving a smooth finish with an airbrush. The right consistency allows for better flow and atomization, which is essential for detailed work. A good rule of thumb is to aim for a milk-like consistency, but this can vary based on the paint type.
To thin your paint, use a compatible thinner recommended by the paint manufacturer. This ensures the paint retains its properties while improving its flow. Start by adding small amounts of thinner and test the mixture until you reach the desired consistency.
Importance of Workspace Setup
A well-organized and ventilated workspace is crucial for effective airbrush painting, ensuring safety and efficiency.
Remember to mix thoroughly before pouring the paint into your airbrush. A well-thinned paint not only prevents clogging but also allows for better coverage and smoother gradients, enhancing the overall look of your models.
Understanding Air Pressure Settings for Airbrushes
Air pressure plays a significant role in airbrush painting. The right pressure setting can vary depending on the type of paint and the effect you want to achieve. Generally, lower pressures (around 10-20 PSI) are ideal for fine details, while higher pressures (20-30 PSI) work better for larger areas.
Experimenting with different pressure settings can yield different results. For instance, using lower pressure allows for more control and less overspray, while higher pressure can help cover larger areas quickly. Finding the sweet spot for your specific project is key.
Don’t forget to adjust your pressure as you paint. As the paint level decreases in the cup, you may need to tweak the pressure to maintain consistent flow and coverage. Keeping an eye on this detail can significantly improve your painting outcomes.
Techniques for Effective Airbrush Application
When it comes to airbrushing, technique is everything. Start with light layers and build up your color gradually. This approach allows for greater control and the ability to correct mistakes without ruining your model.
Using the right distance from your model is also crucial. Generally, keeping the airbrush about 6-12 inches away will provide even coverage without overwhelming the surface with paint. Adjusting your distance based on the effect you want will help you achieve professional results.
Techniques for Best Results
Mastering techniques such as layering and proper distance can significantly improve the quality of your airbrush application.
Don't hesitate to practice different techniques, such as stippling or feathering, to create unique textures and effects. These methods can add depth and realism to your models, making them stand out in your collection.
Cleaning and Maintaining Your Airbrush
Proper maintenance of your airbrush is essential for longevity and performance. After each painting session, make it a habit to clean your airbrush thoroughly. This prevents paint buildup, which can lead to clogging and poor performance during your next project.
Use appropriate cleaning solutions, such as water for water-based paints or specific cleaners for solvent-based paints. Disassembling your airbrush for a deep clean may seem daunting, but it's a valuable skill that will pay off in the long run.
Regular maintenance also involves checking for wear and tear on parts like the needle and nozzle. Replacing worn components promptly can help maintain the precision and quality of your airbrush, ensuring consistent results in your model painting endeavors.