Creating Realistic Water Effects in Model Landscapes
Understanding Water Effects in Model Landscapes
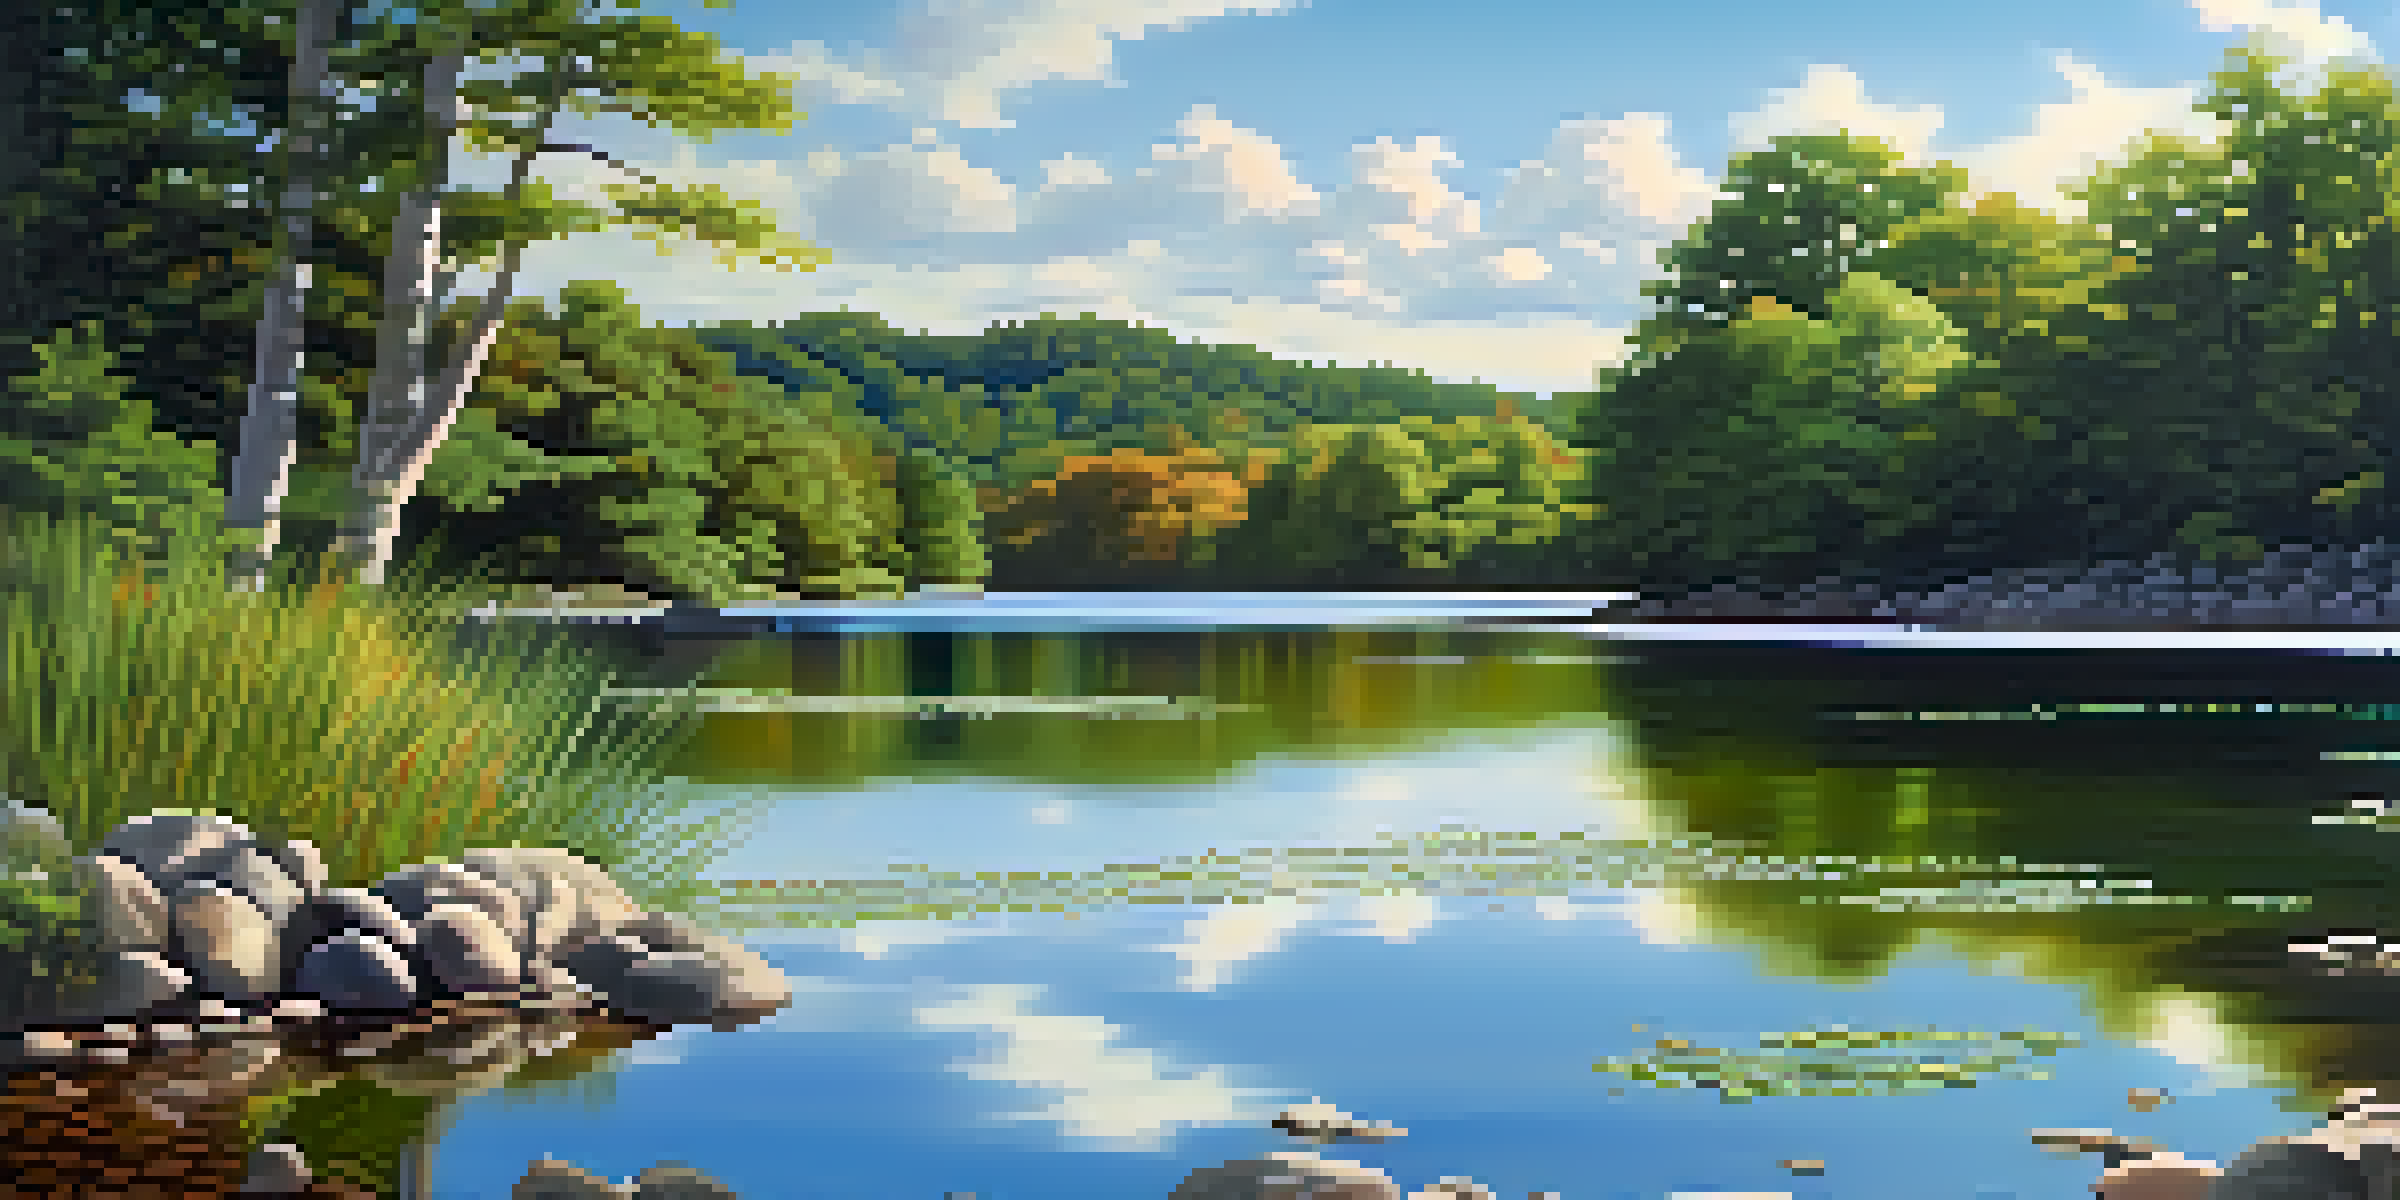
Water effects can transform a model landscape from ordinary to extraordinary. They add a sense of realism, creating a dynamic focal point that draws the eye. Whether it's a serene lake, a rushing river, or gentle waves, incorporating water can enhance the overall aesthetic of your model.
Water is the driving force of all nature.
To achieve realistic water effects, it’s essential to consider both the physical properties of water and the visual aspects. Water behaves differently depending on its environment, so understanding factors like reflection, refraction, and movement is crucial. This knowledge will help you create effects that are not only visually appealing but also believable.
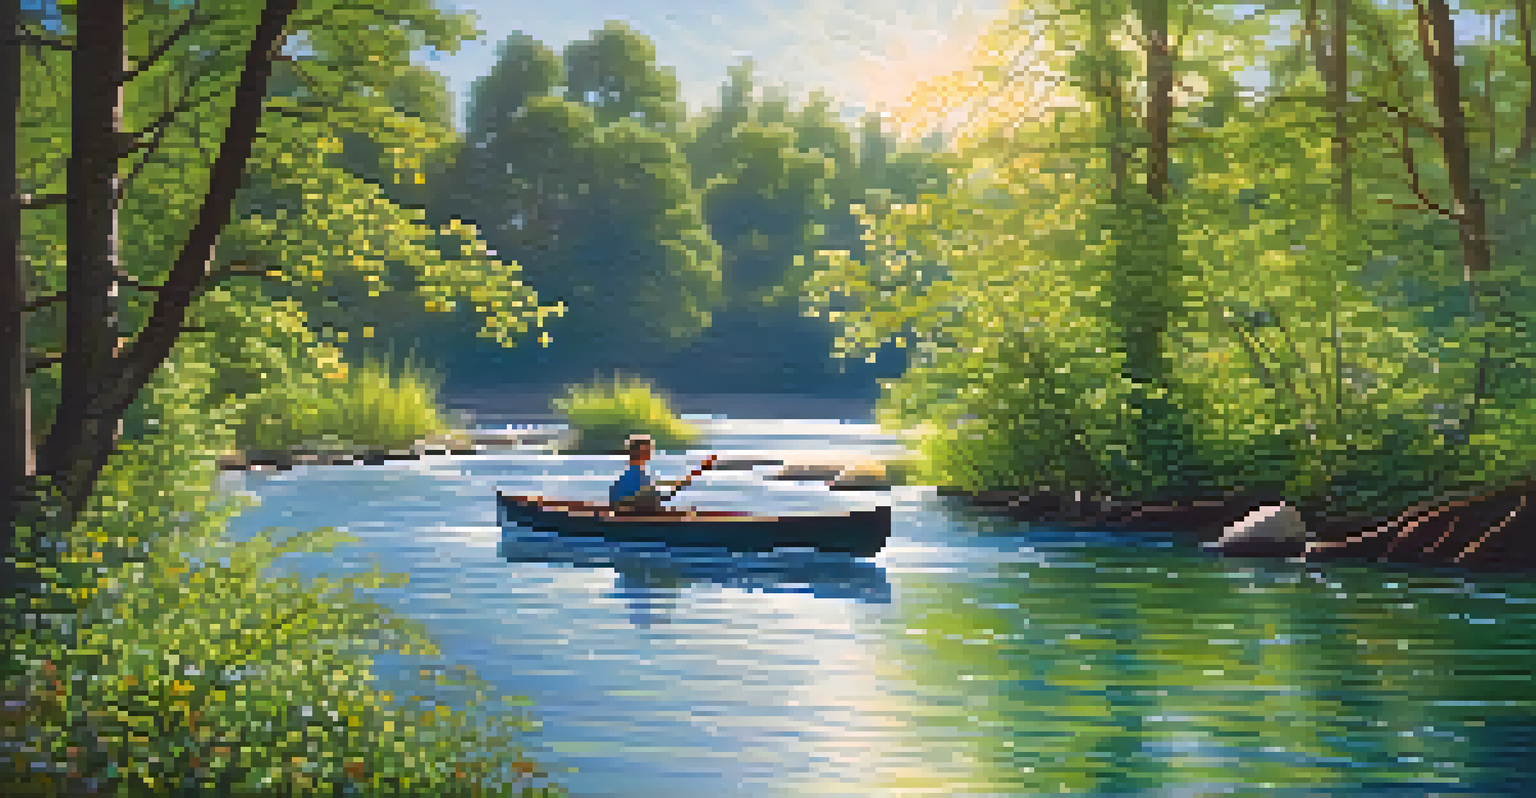
Additionally, incorporating water can enhance storytelling within your model. Imagine a peaceful fishing scene or a dramatic flood; the water's appearance can set the mood and context. By mastering water effects, you can bring your model landscapes to life.
Choosing the Right Materials for Water Effects
Selecting the right materials is foundational for achieving realistic water effects. Common materials include resin, acrylic gels, and even clear silicone. Each material has its own properties, such as drying time and texture, affecting the final look and feel of your water feature.
For example, epoxy resin is popular for its clarity and ability to mimic the surface of still water. However, it can be tricky to work with due to its long curing time and the potential for bubbles. On the other hand, acrylic gels are easier to manipulate and can be used to create ripples or waves without the need for complex techniques.
Realism through Water Effects
Incorporating water effects adds realism and dynamic appeal to model landscapes.
Experimenting with different materials can lead to unique outcomes, so don’t hesitate to try various combinations. Just remember to consider the scale of your model, as larger bodies of water may require different approaches than smaller features.
Creating Base Layers for Water Effects
A solid foundation is crucial for any water feature in your model landscape. Start by constructing the base layer, which will serve as the bed for your water. This can be made from materials like foam board, cardboard, or even plaster, ensuring it’s shaped to reflect the body of water you envision.
The beauty of water is not just in its clarity, but in its ability to reflect the world around it.
Once you have your base, it's essential to paint the bottom to mimic the color of water. Blues and greens are popular choices, but consider the environment; a muddy river might need browns and yellows. Adding texture with sand or small pebbles can also enhance realism, giving the impression of a natural riverbed.
After your base layer is complete and dried, you can begin applying your water materials. This initial layer sets the tone for the rest of your water effect, so take your time to ensure it looks just right.
Adding Depth and Color to Water Effects
To achieve a realistic appearance, it’s essential to consider depth and color in your water effects. Layering different shades of blue and green can create depth, helping to simulate how light interacts with water. Remember, deeper water often appears darker, while shallow areas may have clearer, lighter hues.
You can use transparent paints, washes, or even colored resins to add these layers. By gradually building up the color, you can create a more nuanced look that mimics real waterways. Don’t forget to blend colors smoothly to avoid harsh lines that can detract from realism.
Material Selection Matters
Choosing the right materials, like resin or acrylic gels, is crucial for achieving realistic water features.
Incorporating elements like algae or floating debris can also add to the visual interest and authenticity of your water. Small touches can make a significant difference in how your water feature is perceived, so take the time to experiment.
Creating Movement in Water Effects
Water is rarely still, and adding movement can bring your model landscape to life. Techniques such as using a heat gun on resin or incorporating waves with acrylic gels can simulate the look of flowing water. This adds an element of dynamism that can be captivating.
You might also consider using clear plastic sheets or caulking to create the illusion of ripples and waves. These materials can be shaped and molded to mimic the surface disruptions caused by wind or moving objects in the water. Experimenting with different textures can yield stunning results.
Additionally, the placement of your water feature can influence its perceived movement. A river flowing downhill, for instance, looks dynamic compared to a stagnant pond. Think about how the water interacts with its surroundings to enhance that illusion of movement.
Adding Realistic Details to Water Features
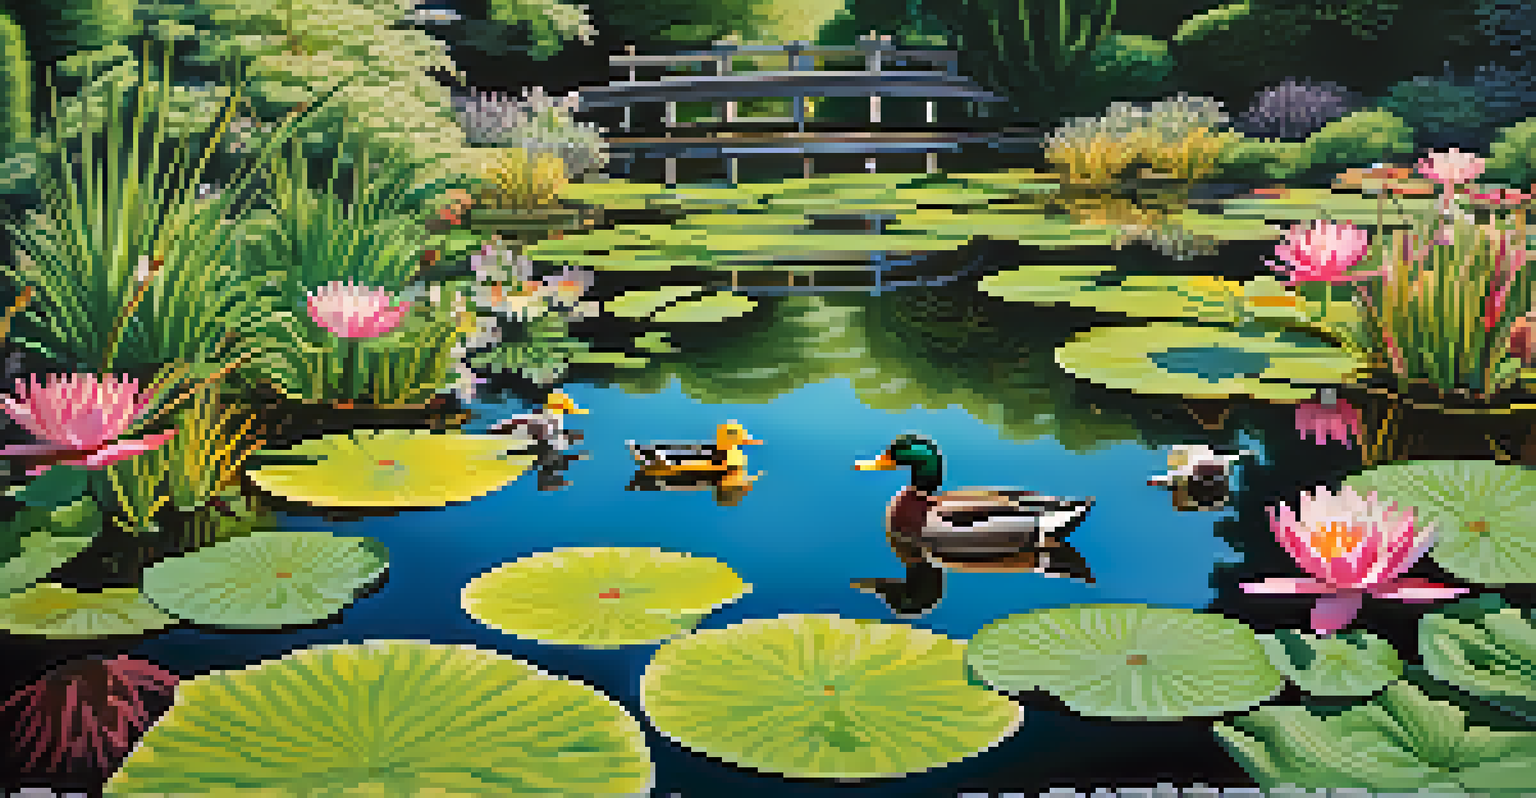
Details can make or break the realism of your water effects. Small elements like rocks, vegetation, or even miniature animals can add life and context to your water feature. Consider where the water is located and what kind of life it would naturally support.
You can use items like model fish, frogs, or even floating logs to enhance the narrative of your scene. Adding reeds or water lilies can also create a more immersive environment. These details help viewers engage with your model on a deeper level, inviting them to explore.
Details Enhance Engagement
Adding realistic details, such as vegetation and reflections, can significantly enhance the viewer's experience and immersion.
Also, consider the reflections you might see on the water's surface. Using a gloss finish can mimic the reflective quality of real water, while strategically placed objects can create interesting reflections that add to the realism. Every little detail counts in creating a captivating scene.
Final Touches for Stunning Water Effects
Once your water effects are in place, it’s time for the finishing touches that will elevate your project. Adding a gloss layer can enhance the shine of the water, making it appear more lifelike. This step is crucial for achieving that coveted reflective quality that real water has.
Also, consider weathering effects around the water’s edge. This could include adding mud, sand, or even small rocks to create a natural transition between land and water. These elements help ground your water feature within the larger landscape, providing context and enhancing realism.
Lastly, take a step back and assess your work. Sometimes, a small adjustment or addition can make a significant impact. Whether it’s adjusting the color saturation or adding a few more details, these final touches can turn a good model into a great one.