Building a Home Studio: Tips for Recording Musicians
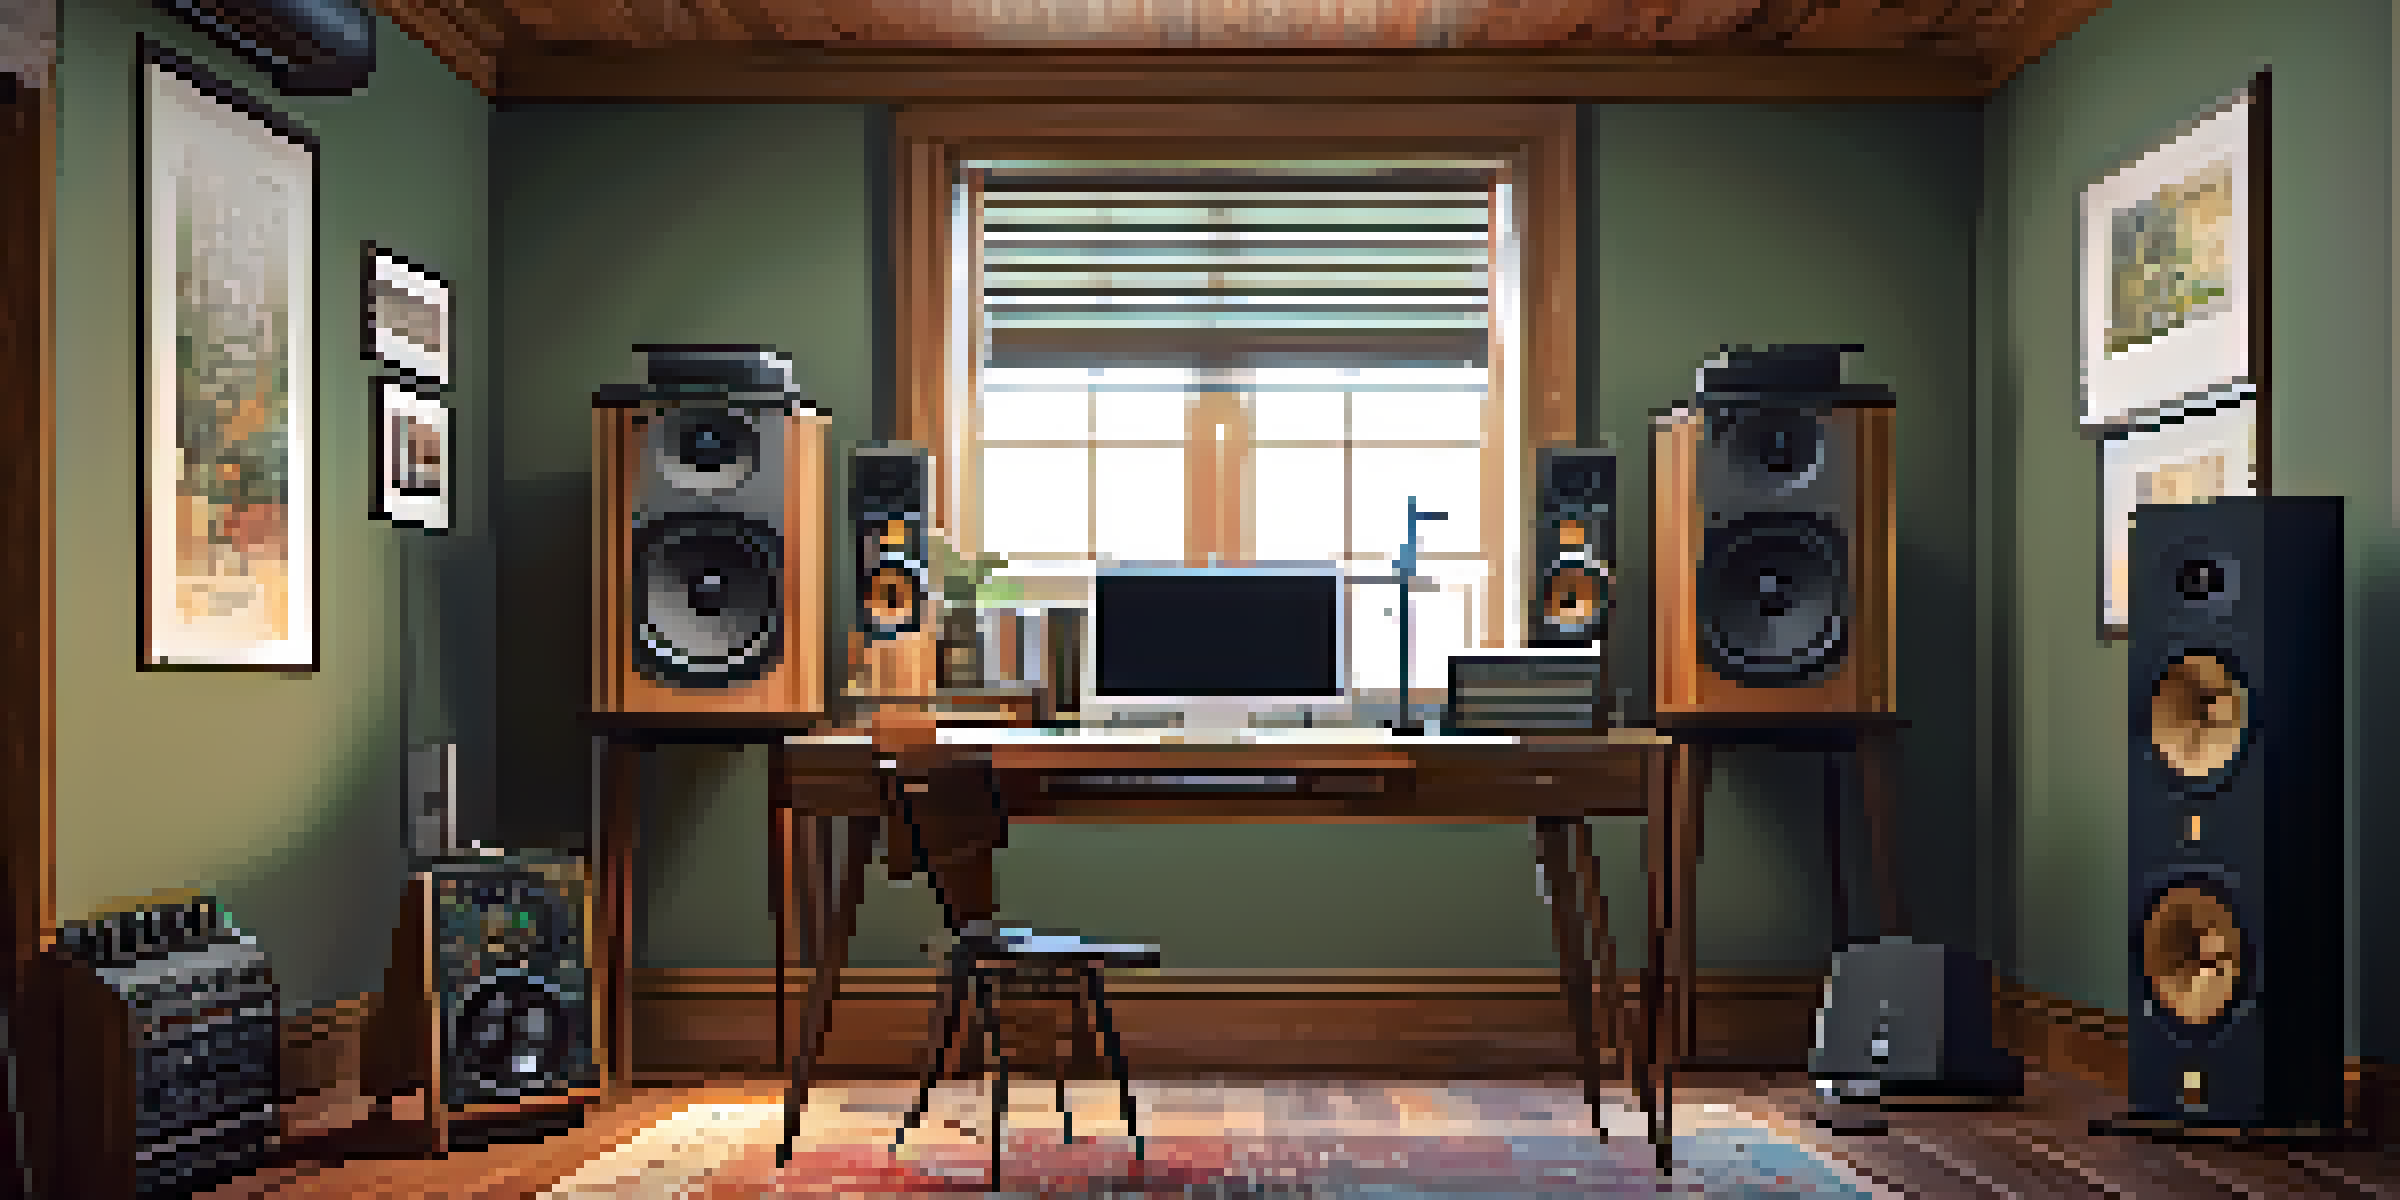
Choosing the Right Space for Your Home Studio
The first step in building a home studio is finding the perfect space. Ideally, you want a quiet room away from distractions where you can focus on your music. Consider factors like room size, shape, and how much natural light it gets, as these can affect sound quality.
Music is a world within itself; it's a language we all understand.
You might want to avoid rooms with too many windows or hard surfaces, as they can create unwanted echoes. A basement or a spare bedroom often works well, offering a more controlled environment for sound. Plus, think about the potential for soundproofing; you’ll want to minimize outside noise interference.
Ultimately, the goal is to create a space that inspires creativity while also being functional for recording. Don’t hesitate to experiment with different setups until you find what works best for you.
Essential Equipment for Your Home Studio
Once you have your space, it’s time to invest in some essential equipment. At a minimum, you’ll need a good quality microphone and audio interface to capture sound clearly. Think of the microphone as your primary tool; it’s what translates your voice or instrument into digital form.
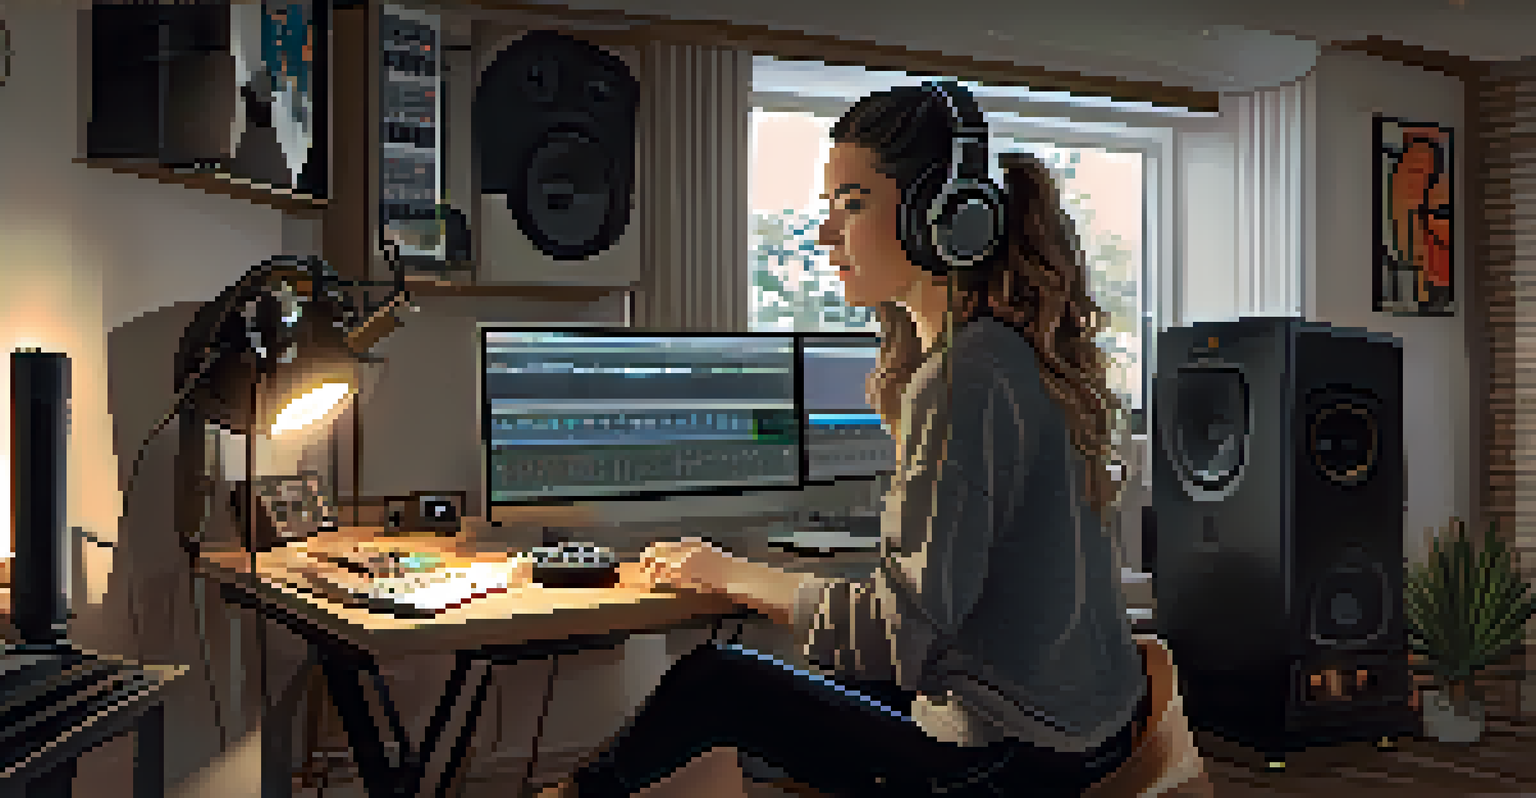
In addition to these basics, consider a pair of studio monitors for accurate sound playback. Unlike regular speakers, studio monitors are designed to produce a flat frequency response, allowing you to hear your recordings as they truly sound. This is crucial for making informed mixing decisions.
Choosing the Right Space
Select a quiet and distraction-free room that can be acoustically treated to inspire creativity in your music production.
Finally, don’t forget about software—digital audio workstations (DAWs) like Ableton Live or Pro Tools are popular choices. These tools will help you edit your recordings and add effects, turning your ideas into polished tracks.
Acoustic Treatment: Making Your Space Sound Great
Acoustic treatment is vital in creating a professional-sounding home studio. It's all about controlling sound reflections and preventing unwanted echoes that can muddy your recordings. Think of your room as a musical instrument; how you treat it can greatly affect the sound it produces.
The only way to make sense out of change is to plunge into it, move with it, and join the dance.
You can start with simple solutions like adding rugs, curtains, or even foam panels to absorb sound. Positioning these materials strategically can help minimize sound bouncing off walls. Over time, you’ll develop a better sense of how different treatments impact your recordings.
Remember, you don’t need to break the bank to achieve good acoustics. Many DIY options can work just as well as commercial products, so get creative while you enhance your studio’s sound quality.
Setting Up Your Recording Gear: Best Practices
Now that you have your equipment and space ready, it’s time to set everything up properly. Start with your audio interface, making sure it’s connected to your computer. From there, connect your microphone using an XLR cable, and don’t forget to check your gain levels to avoid distortion.
Next, arrange your studio monitors in an equilateral triangle with your listening position. This setup ensures you get the best sound possible while mixing. Also, keep your cables organized to avoid unnecessary clutter, which can distract you while you work.
Essential Equipment Needed
Invest in quality microphones, audio interfaces, and studio monitors to capture and playback sound accurately for your recordings.
Lastly, invest time in learning how to use your DAW effectively. Familiarizing yourself with its features will not only enhance your recording experience but also streamline your workflow, allowing you to focus more on creating music.
Recording Techniques: Getting the Best Sound
When it comes to recording, technique is just as important as equipment. Start by experimenting with mic placement—moving it just a few inches can dramatically change the sound. Don’t hesitate to try different angles and distances until you find what works best for your instrument or voice.
Consider recording multiple takes of the same part. This can give you more options to choose from and allow for layering, which adds depth to your track. Remember, sometimes the magic happens in the imperfections, so embrace those moments.
Lastly, don’t forget to monitor your recordings in real-time. This will help you catch any issues on the spot, ensuring you capture the best possible takes and reducing the need for extensive editing later.
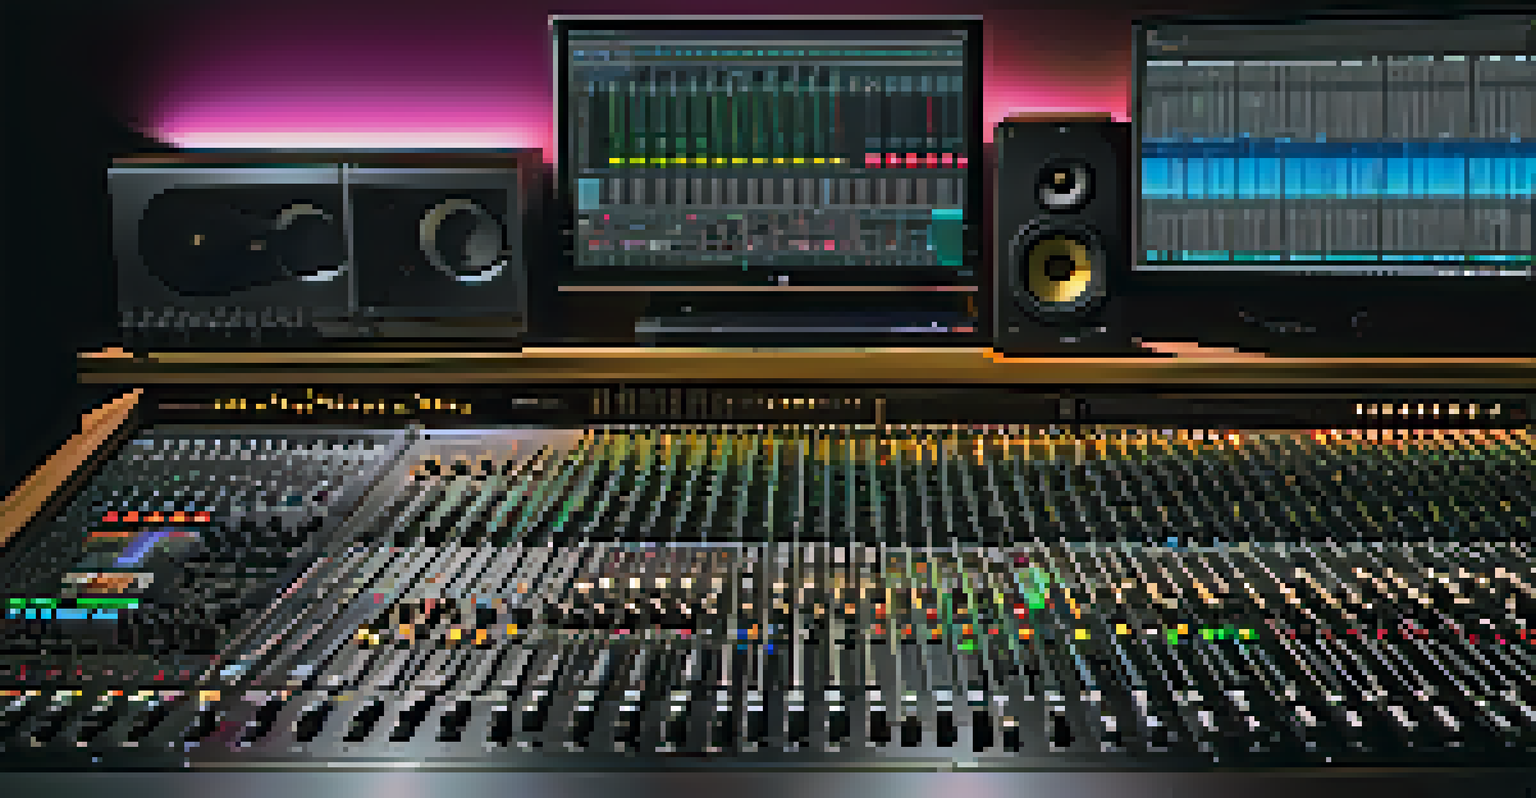
Mixing Basics: Bringing Your Tracks to Life
After recording, the next vital step is mixing your tracks. Mixing involves balancing the levels of different audio tracks so that each element shines through. Think of mixing as the art of blending ingredients to create a delicious dish; each component needs to complement the others.
Begin by adjusting volume levels and panning tracks left or right to create a sense of space. This can help your music feel more dynamic and engaging. Don’t shy away from using EQ to carve out frequencies, ensuring that each instrument has its own sonic space.
Mixing and Mastering Your Tracks
Focus on mixing to balance audio levels and enhance sound quality, followed by mastering to ensure your music is ready for distribution.
Finally, add effects like reverb or compression to polish your mix. These tools can enhance your sound and give it that professional edge. Remember, mixing is a skill that improves with practice, so don’t get discouraged if it takes time to master.
Finalizing Your Music: Mastering Essentials
Once your mixing is complete, the final step is mastering your track. Mastering is the process of preparing your music for distribution by ensuring it sounds good on all playback systems. Think of it as the final polish before sending your work out into the world.
During mastering, you’ll focus on optimizing the overall volume and ensuring consistent sound across your album or EP. This may involve making subtle adjustments to EQ and dynamic range. A well-mastered track will translate well, whether it’s played on a high-end system or a smartphone.
If you're unsure about mastering your own tracks, consider hiring a professional. Having a fresh set of ears can make a difference, as they can identify issues you might have overlooked. Ultimately, the goal is to present your music in the best possible light, ready to impress your listeners.