The Journey of Creating a Self-Portrait: Step-by-Step Guide
Understanding the Purpose Behind Your Self-Portrait
When embarking on the journey of creating a self-portrait, it's essential to understand why you want to create one. Is it for self-expression, exploration of identity, or perhaps an artistic challenge? Knowing your motivation can shape your approach and influence the final outcome.
Every artist was first an amateur.
For instance, if your goal is to express your emotions, you might choose colors and styles that resonate with your current feelings. On the other hand, if you're aiming to explore your identity, you may want to incorporate elements that reflect your culture or personal history.
Ultimately, your purpose will guide your decisions and help you connect deeply with your work. This foundational understanding will serve as the compass for your creative journey.
Gathering Inspiration: Finding Your Creative Spark
Now that you have a purpose in mind, it's time to gather inspiration. This can come from various sources, such as famous self-portraits, nature, or even everyday life. Consider visiting art galleries, browsing online platforms like Pinterest, or flipping through art books to ignite your creativity.
As you explore, take note of the styles, colors, and emotions that resonate with you. Jot down your thoughts or create a mood board to visualize your ideas. This step will help you cultivate a rich pool of inspiration to draw from as you begin creating your self-portrait.
Define Your Purpose for Creation
Understanding your motivation behind creating a self-portrait shapes your approach and influences the final outcome.
Remember, inspiration is everywhere – it's about finding what speaks to you and allows you to express your unique perspective.
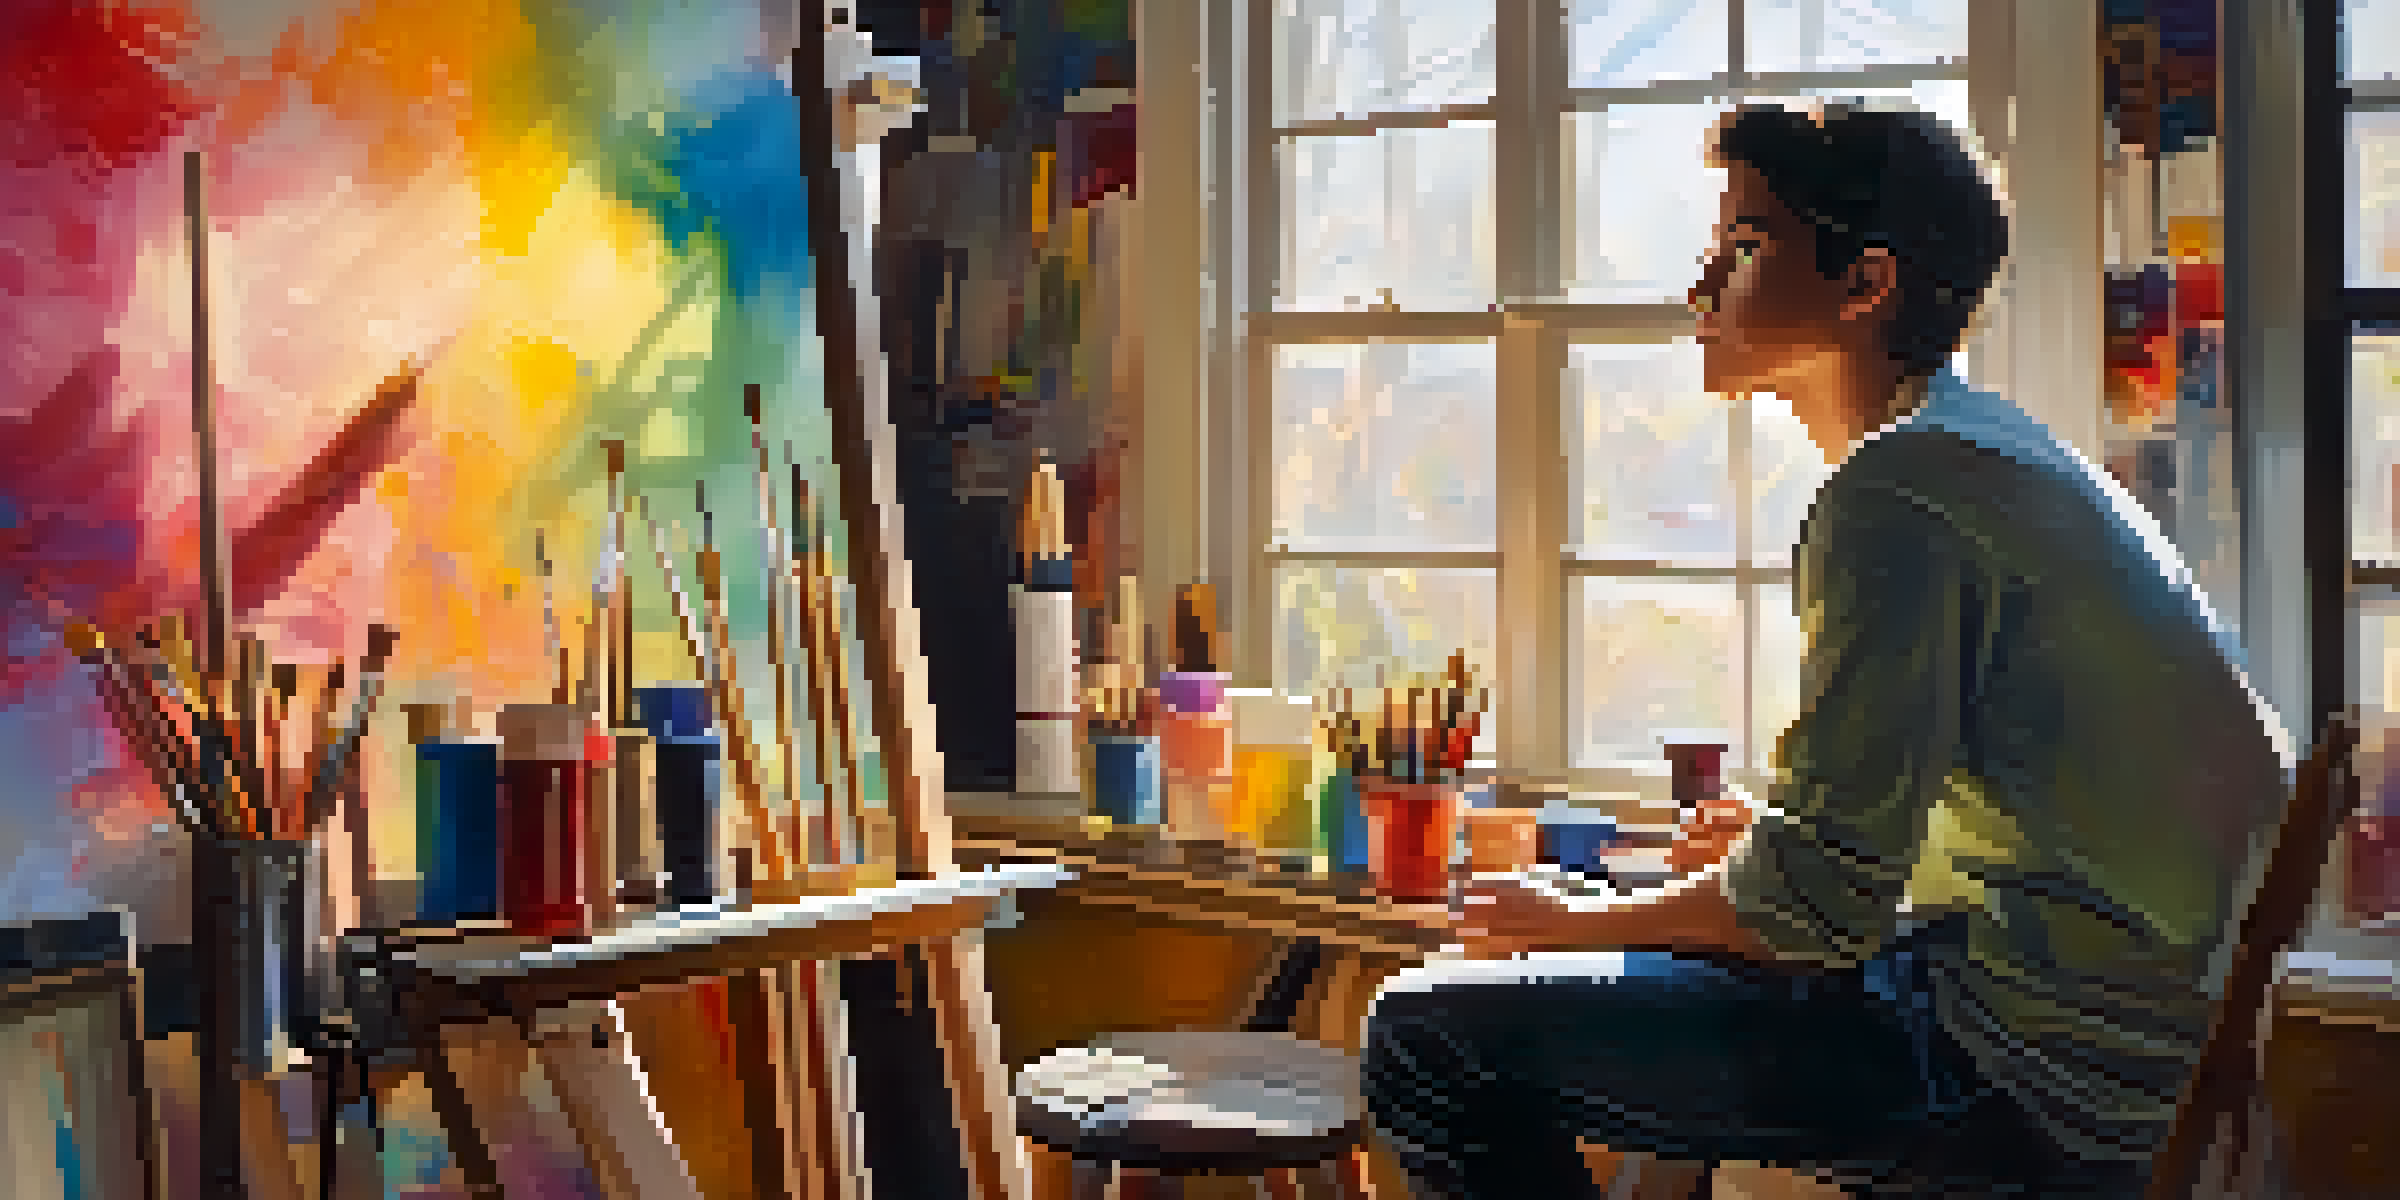
Choosing Your Medium: Paint, Pencil, or Digital?
With inspiration in hand, the next step is to choose your medium. Whether you prefer traditional methods like painting and drawing or digital platforms, each medium offers unique advantages. For instance, painting can provide a tactile experience, while digital art allows for quick edits and experimentation.
Art is not freedom from discipline, but disciplined freedom.
Consider your comfort level with each medium as well as the message you want to convey. A soft pencil sketch might evoke delicacy, while bold acrylic paints could express vibrancy and energy.
Ultimately, the choice of medium should align with your vision and enhance the overall impact of your self-portrait.
Sketching the Initial Outline: The Foundation of Your Portrait
Once you've chosen your medium, it's time to sketch the initial outline of your self-portrait. Start with basic shapes to represent the head, eyes, and features. This doesn't have to be perfect; think of it as a framework that will guide your artistic process.
As you sketch, pay attention to proportions and positioning. Using a mirror can help you accurately capture your likeness, giving you a reference point to work from. Don't be afraid to adjust your lines until you feel satisfied with the overall shape.
Gather Inspiration to Fuel Creativity
Collecting inspiration from various sources helps you visualize your ideas and express your unique perspective.
This stage is crucial, as it lays the groundwork for your self-portrait and allows you to experiment with different compositions before committing to the details.
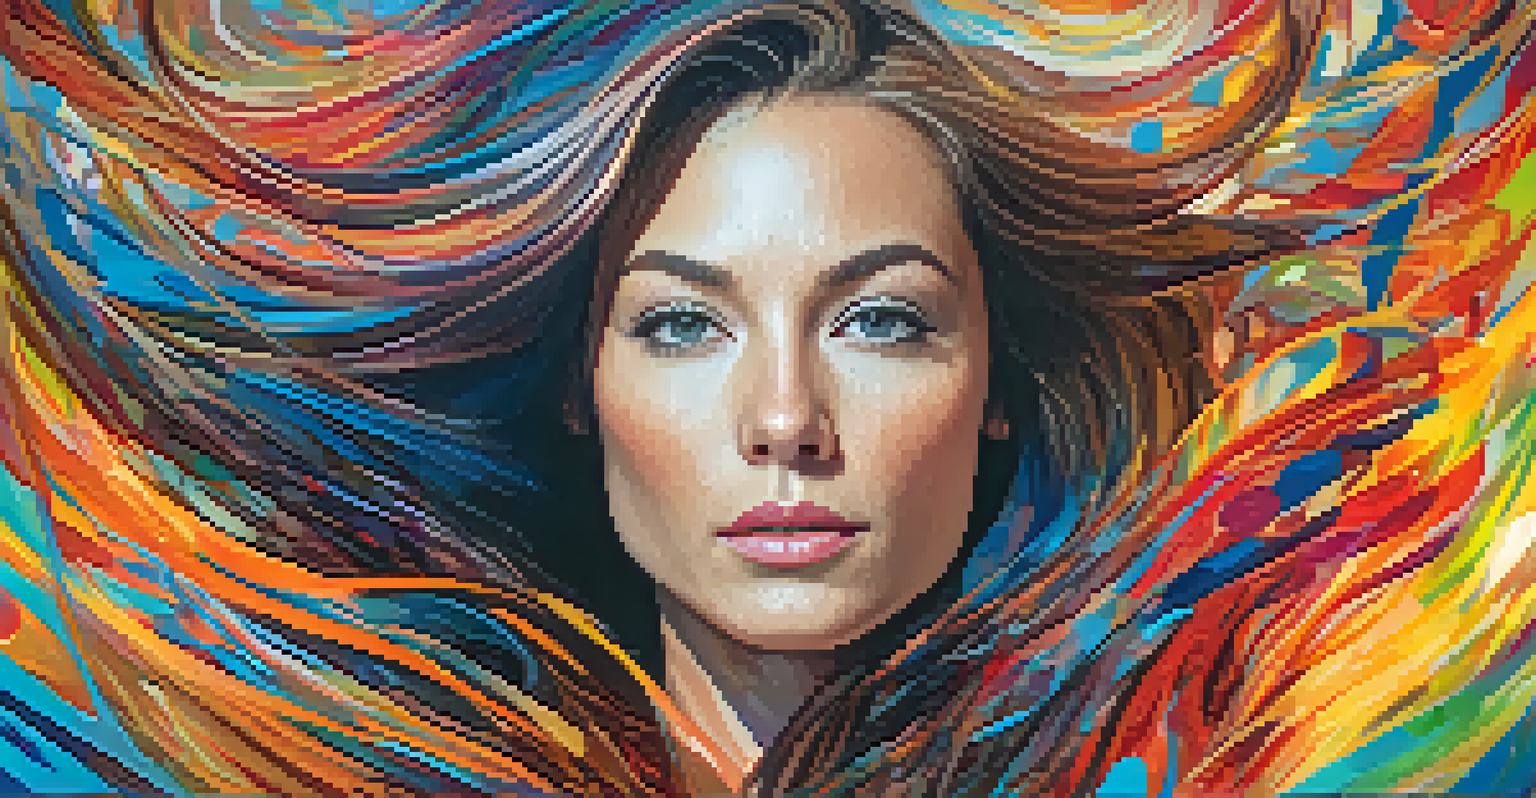
Adding Details: Bringing Your Portrait to Life
With your outline in place, it's time to add details and bring your self-portrait to life. Focus on features such as the eyes, nose, and mouth, as they convey emotion and personality. Take your time here; small adjustments can make a significant difference.
Consider the textures and colors that will enhance your portrait. If you're painting, think about how light and shadow can create depth. If you're drawing, explore different shading techniques to add dimension.
This is where your personality shines through, so don't hesitate to infuse your unique style into the details of your work.
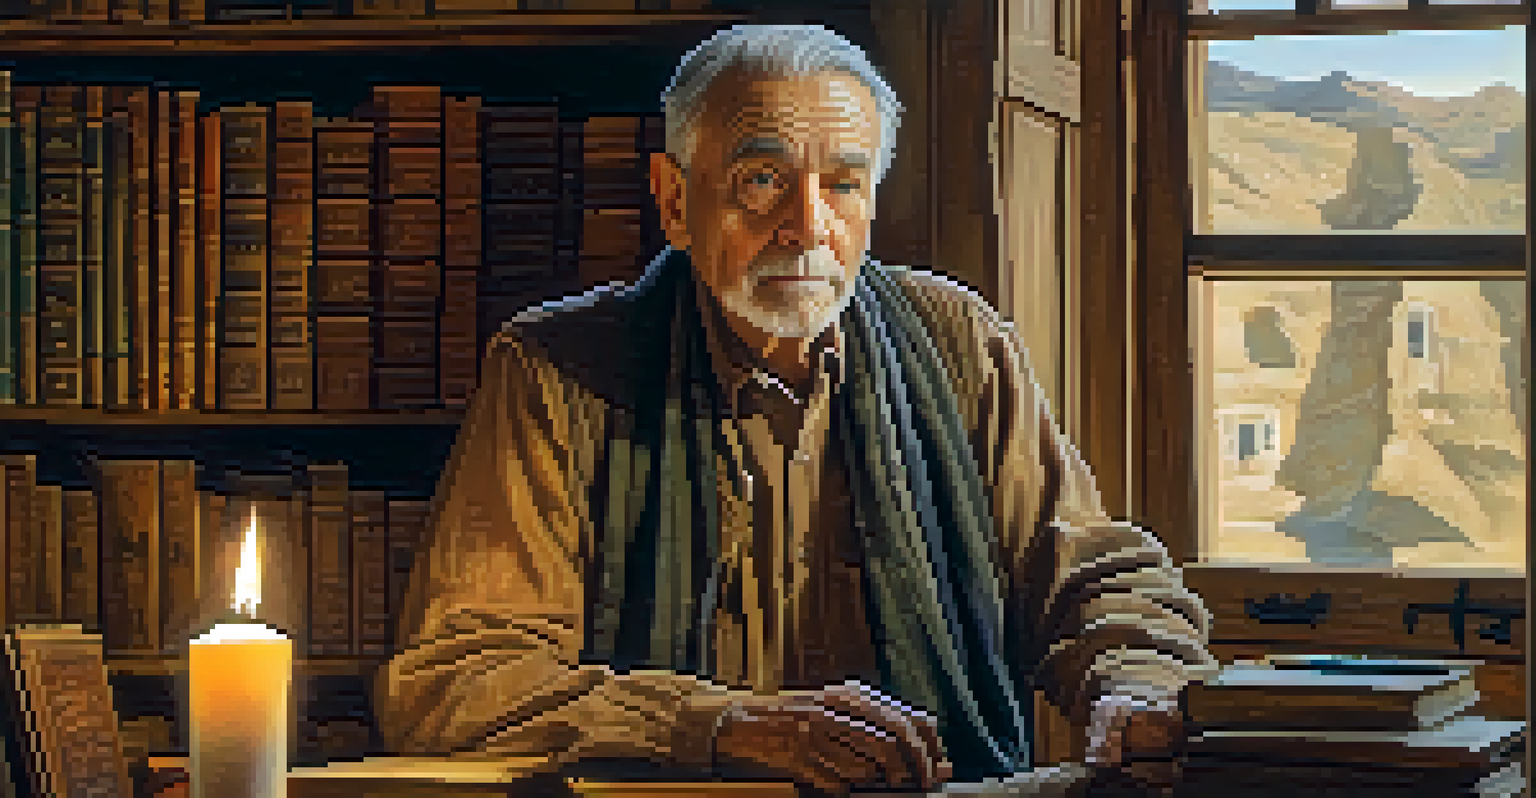
Incorporating Background Elements: Setting the Scene
Once you've crafted the main features of your self-portrait, consider adding background elements. The background can provide context and enhance the overall narrative of your piece. It could be something simple, like a gradient or color wash, or more complex, like a scene that reflects your interests.
Think about how the background complements your portrait. For example, if your self-portrait is vibrant, a muted background can help it stand out. Alternatively, a busy background might convey a sense of chaos or energy that mirrors your current state of mind.
Refine and Finalize Your Artwork
Taking the time for final touches and reviews can significantly elevate your self-portrait, ensuring you are satisfied with the result.
Ultimately, the background should enhance, not overpower, your self-portrait, creating a harmonious balance.
Final Touches: Reviewing and Refining Your Artwork
As you near completion, it's time for the final touches. Step back and review your self-portrait from a distance, allowing you to see it with fresh eyes. This is a great time to identify areas that may need more detail or refinement.
Whether it's adjusting colors, enhancing shadows, or adding highlights, these small changes can elevate your portrait significantly. Don't rush this stage; taking your time ensures that you’re satisfied with the final outcome.
Once you’re happy with your work, consider framing it or sharing it with others. Celebrating your creation is an important part of the journey!