Firing Clay: A Step-by-Step Guide to the Firing Process
Understanding the Importance of Firing Clay
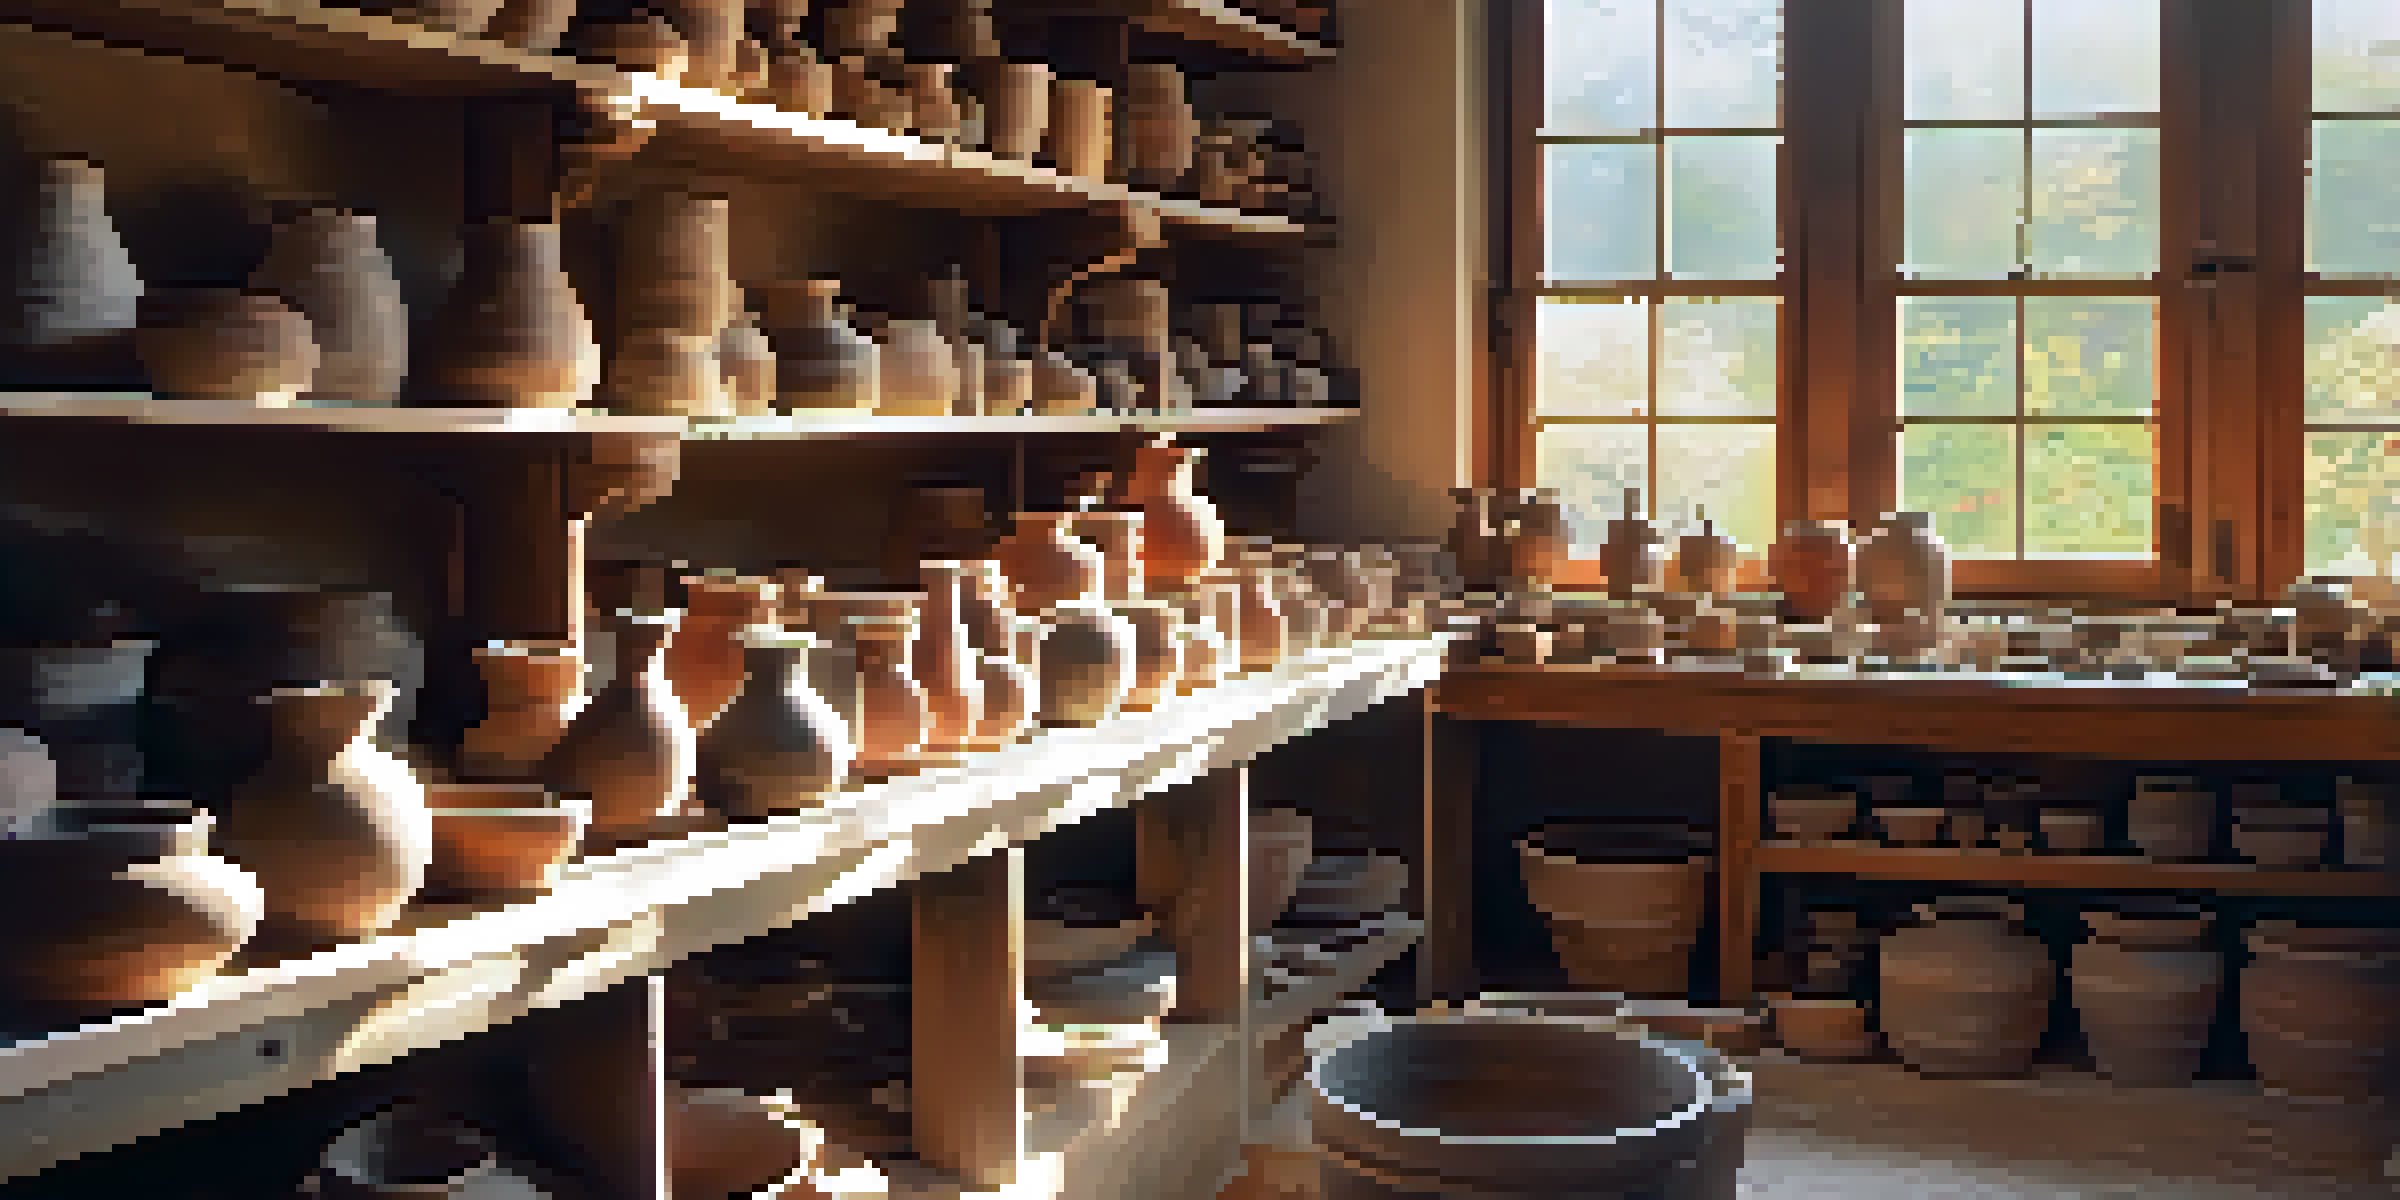
Firing clay is a vital step in transforming raw clay into durable pottery. This process not only hardens the clay but also enhances its color, texture, and strength. Without firing, your creations would remain fragile and susceptible to damage.
Ceramics are a process of transformation, not just a material.
The firing process involves heating the clay to high temperatures, which causes physical and chemical changes. This transformation is essential for any ceramic work, as it allows the clay to become waterproof and usable for various purposes. Think of firing as the 'cooking' stage that solidifies the artistry of your work.
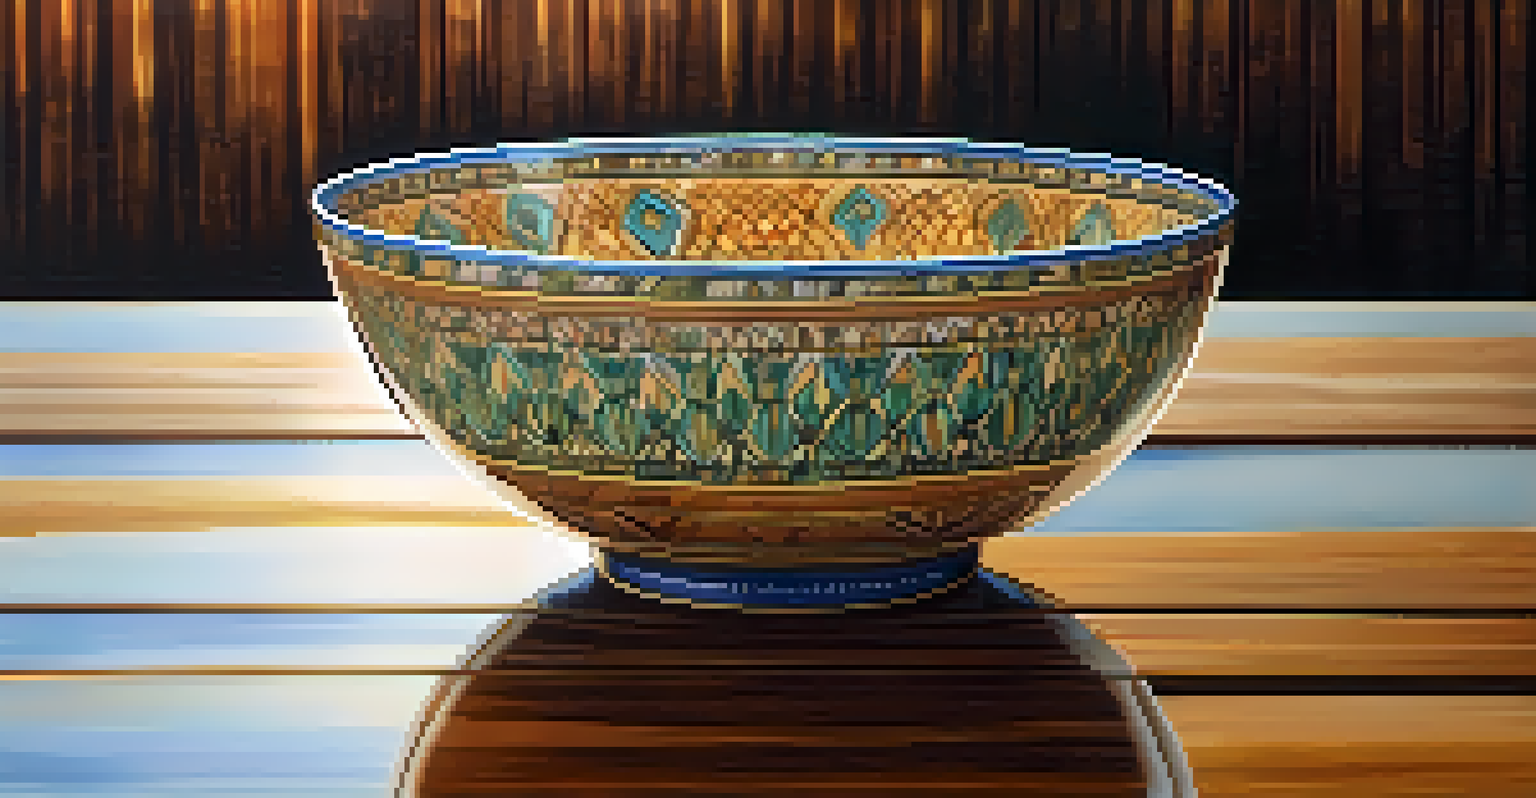
Additionally, the firing process can influence the final aesthetics of your piece. Different temperatures and atmospheres during firing can lead to unique finishes, glazes, and colors, giving each piece its own personality.
Gathering Your Materials for Firing
Before diving into the firing process, it's crucial to gather all necessary materials. You'll need your clay pieces, a kiln, kiln shelves, and any glazes you plan to use. Each item plays a significant role in ensuring a successful firing.
Make sure your kiln is suitable for the type of clay you're working with, as different clays require different firing temperatures. For example, earthenware typically fires at lower temperatures, while stoneware and porcelain need higher heat. Knowing your clay type will help you choose the right settings for your kiln.
Firing Clay Transforms Pottery
The firing process hardens clay, making it durable and enhancing its color, texture, and strength.
Also, consider investing in kiln furniture like posts and shelves, which will help properly space your pieces during firing. This setup not only maximizes the space inside the kiln but also ensures even heat distribution, leading to better results.
Preparing Your Clay Pieces for Firing
Once you have your materials ready, it’s time to prepare your clay pieces. Ensure all pieces are completely dried before firing; any moisture left in the clay can lead to explosive results. A good rule of thumb is to let your pieces dry for at least 24 hours.
The fire is the master of the clay, and the pot is a reflection of the artist's soul.
After drying, inspect your work for any imperfections. You can smooth out rough edges or apply slip, a liquid clay mixture, to enhance your piece's surface. This step is crucial as it can affect both the aesthetic and structural integrity of your pottery.
Finally, if you're using glaze, apply it now. Whether you prefer a brush-on glaze or dipping, make sure to follow the manufacturer's instructions for the best results. Remember that glazing can also alter the color of your piece after firing, so choose wisely!
Loading the Kiln Correctly
Loading the kiln might seem straightforward, but it's an art in itself. Proper loading is crucial for ensuring that each piece receives even heat during the firing process. Think of the kiln as a crowded bus—everyone needs their space to avoid bumping into each other.
Start by placing the larger pieces on the bottom shelf and work your way up with smaller items. Ensure there's enough space between each piece to allow for airflow and heat circulation. Overcrowding can lead to uneven firing and potentially ruin your creations.
Properly Load the Kiln
Effective loading of the kiln ensures even heat distribution, which is crucial for successful firing.
Additionally, be cautious of the kiln shelves. You want to avoid glaze drips that can fuse your pieces to the shelves. Using kiln wash, a protective coating, on your shelves can help prevent this and save you a lot of trouble during the unloading process.
Setting the Kiln Temperature and Program
Once your kiln is loaded, it’s time to set the temperature. Different clay bodies and glazes have specific firing temperature ranges, so refer to your materials' guidelines. Setting the right temperature is like setting the oven for a cake; too high or too low can lead to disappointing results.
Most kilns come with programmable settings that allow you to control the firing schedule. For instance, you might want to use a slow ramp-up to avoid thermal shock in your pieces. This gradual increase in temperature helps to ensure your creations withstand the heat without cracking.
After inputting your desired settings, double-check everything before starting the firing process. Once the kiln is running, it's best to avoid opening the door until the firing cycle is complete, as this could disrupt the process and lead to uneven results.
Understanding the Cooling Process
The cooling process is just as important as firing itself. Once the firing is complete, the kiln will need to cool down gradually. Rapid cooling can cause your pottery to crack or break, so patience is key here.
Many potters opt for a slow cooling method, which can take several hours to even days depending on the kiln and the pieces. During this time, it's advised to keep the kiln closed to maintain a stable environment. Think of it as allowing your freshly baked cake to cool in the oven; sudden changes can ruin it.
Cooling is Key to Success
A gradual cooling process prevents cracking and preserves the integrity of your pottery after firing.
After the kiln has cooled significantly, you can then safely open it and inspect your work. This moment is filled with anticipation, as you get to see the final results of your hard work. Enjoy the excitement of revealing your finished pieces!
Unloading and Finishing Touches
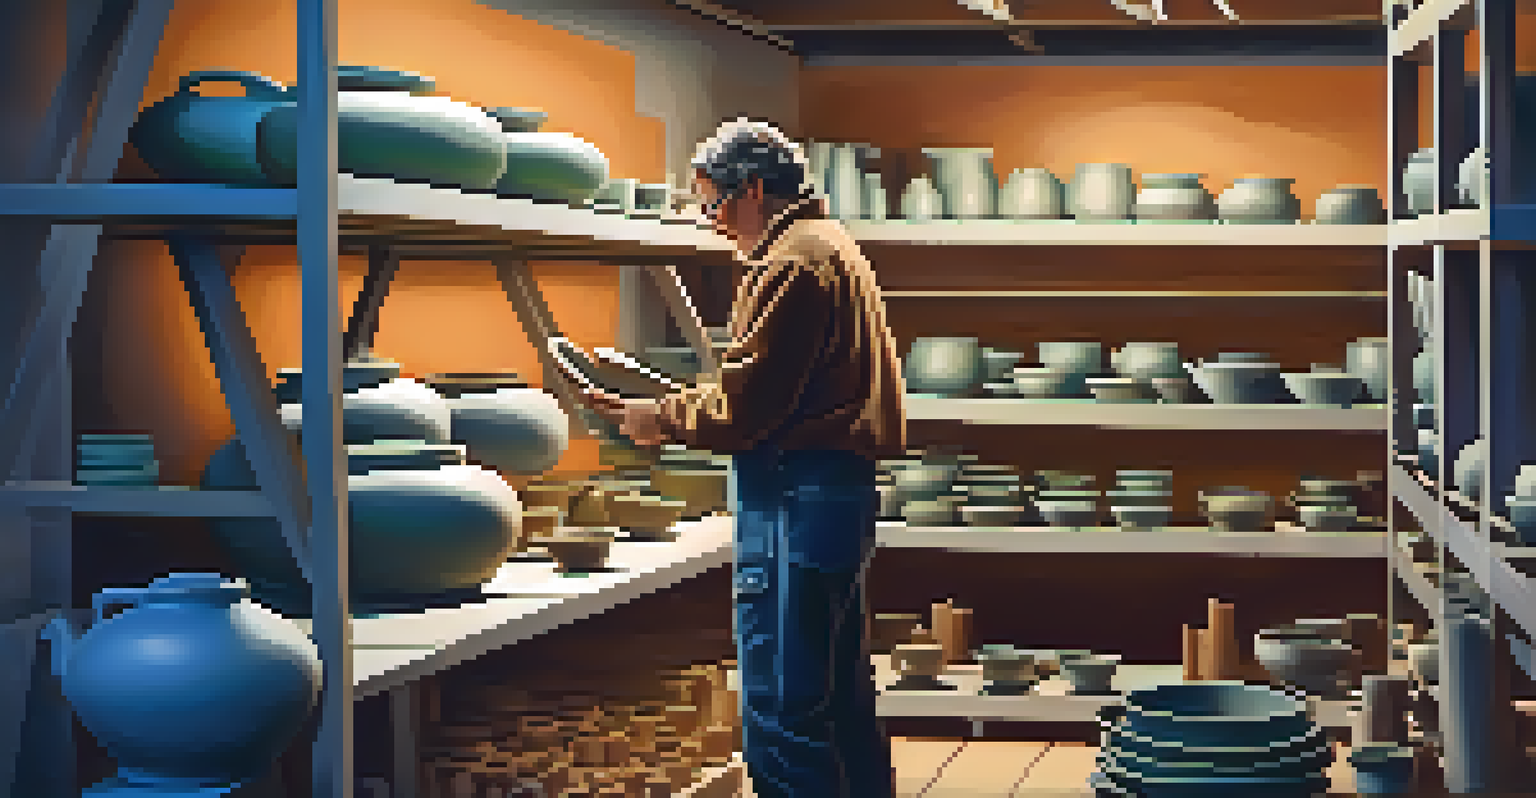
After the cooling period, it's time to unload your kiln and see your creations! Carefully remove each piece, taking note of any areas that may need touch-ups. This step is like unveiling a masterpiece after a long wait.
Inspect each piece for any imperfections that may have occurred during firing. Some minor issues can be corrected with sanding or additional glazing. This is also the time to celebrate the successes of your firing and consider what you’ve learned for future projects.
Finally, don’t forget to showcase your work! Whether you’re giving pieces as gifts or selling them, the satisfaction of completing the firing process is unparalleled. Share your journey with others, as each piece carries a story of creativity and craftsmanship.