Handbuilding Techniques for Pottery: A Comprehensive Guide
Understanding Handbuilding: The Basics of Pottery Creation
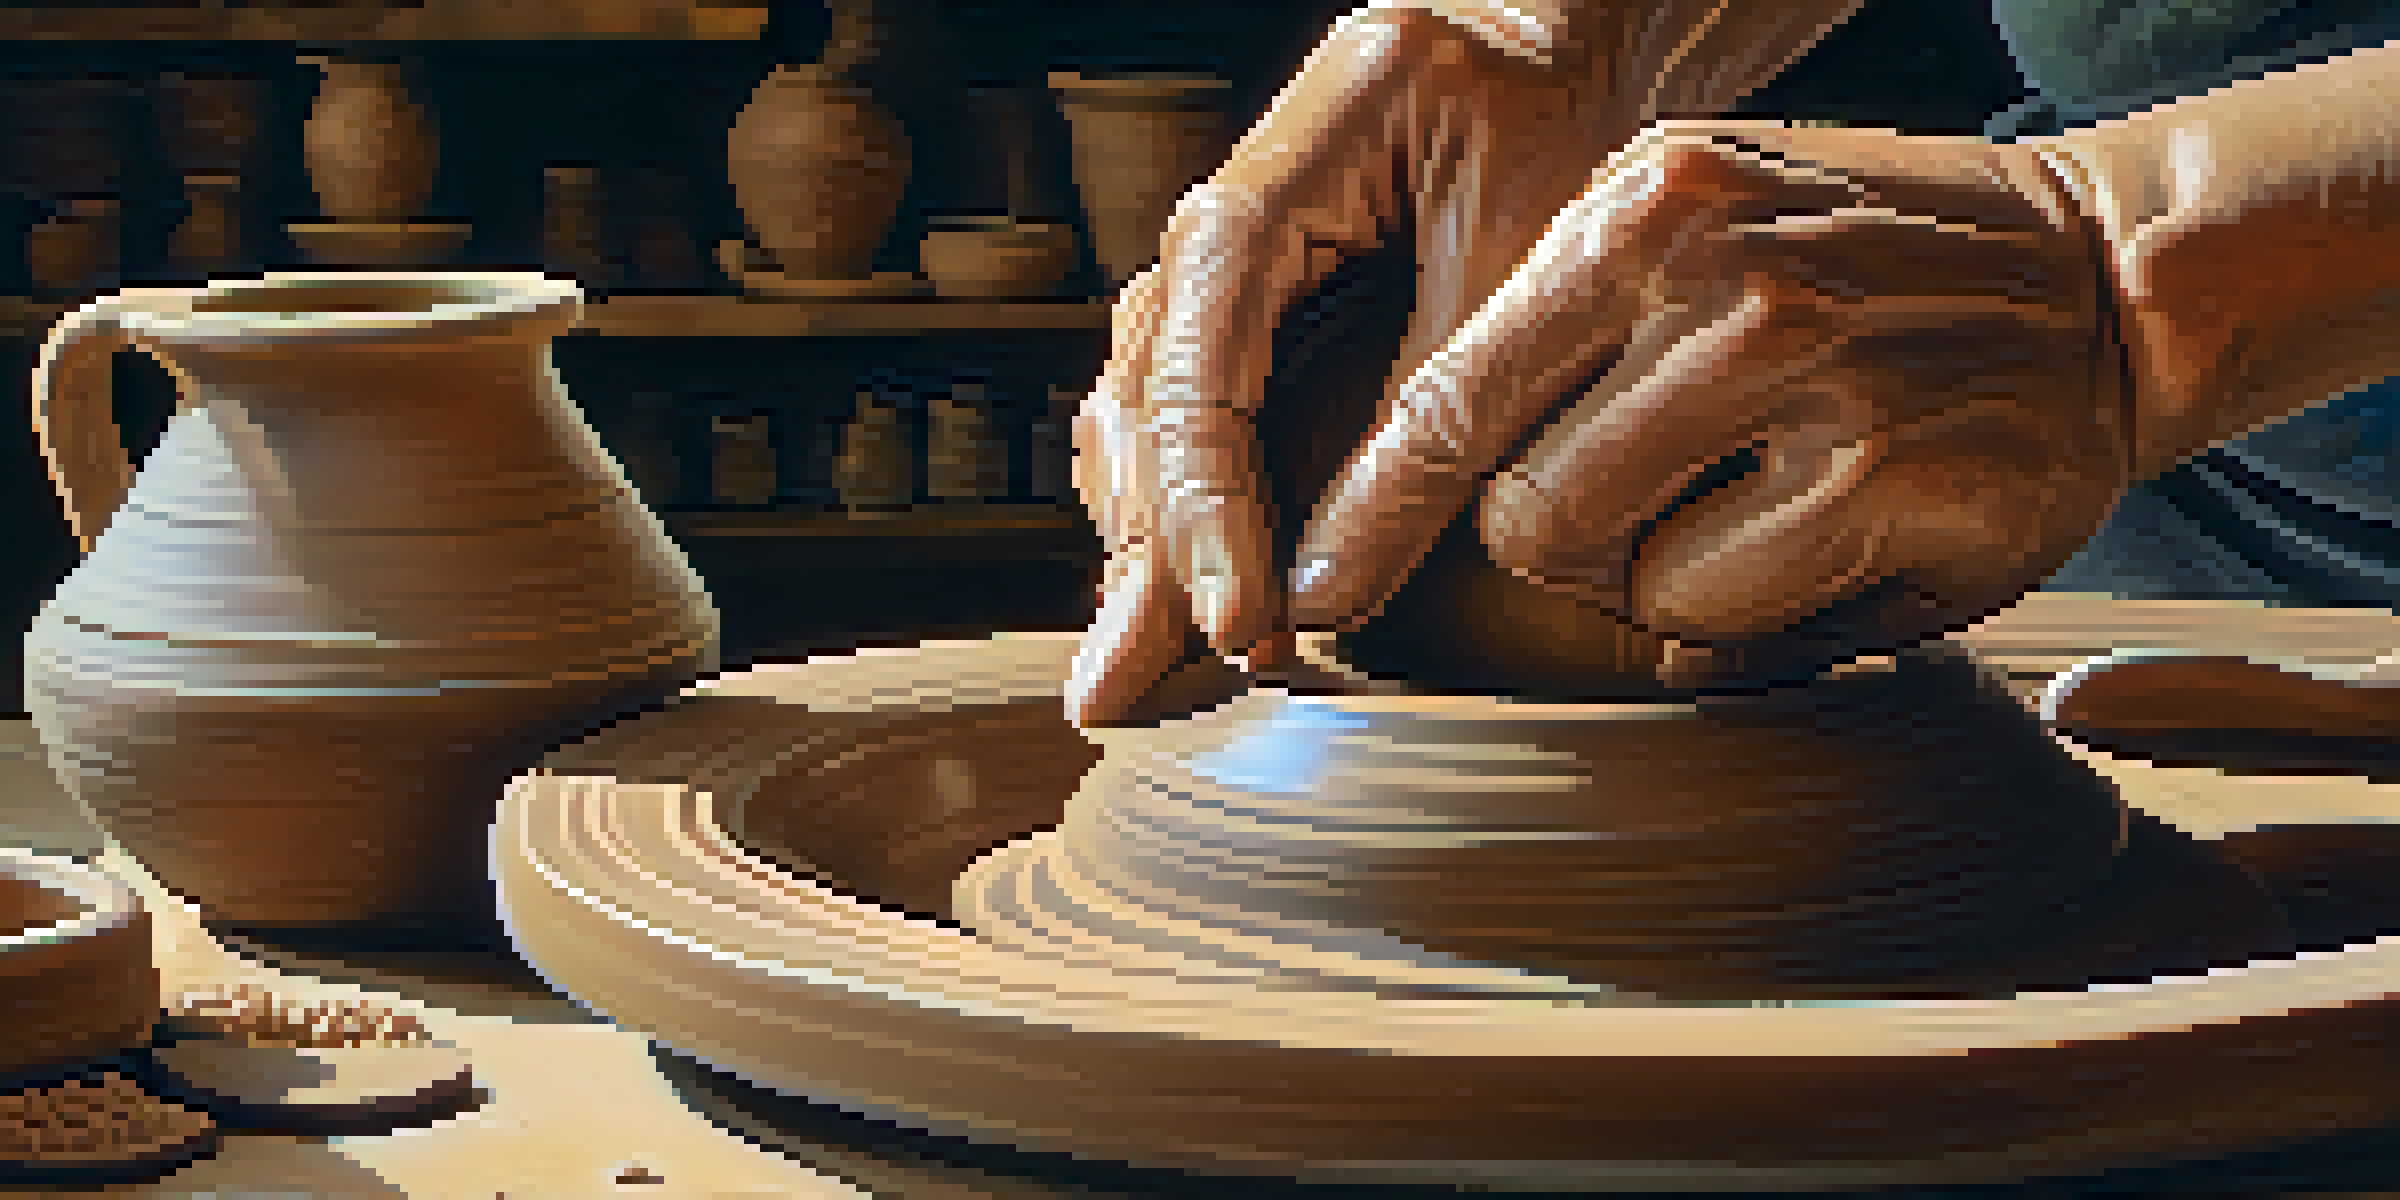
Handbuilding is a pottery technique that allows artists to create unique pieces without a potter's wheel. Instead of relying on machinery, potters use their hands and simple tools to shape clay. This method is accessible for beginners and gives artists a chance to express their creativity more freely.
Art is not a thing; it is a way.
Common handbuilding techniques include pinch pots, coil building, and slab construction. Each technique offers different possibilities for texture, form, and function. By mastering these basics, you'll be able to create everything from functional dinnerware to intricate sculptures.
The beauty of handbuilding lies in its versatility. Whether you want to make a rustic mug or a delicate vase, handbuilding techniques can adapt to your vision. It's a great way to start your pottery journey and experiment with clay in a tactile and personal way.
Pinch Pots: Crafting with Your Fingers
Pinch pots are one of the simplest handbuilding techniques, making them perfect for beginners. This method involves taking a ball of clay and pinching it to create a small bowl or vessel. It's a direct and intuitive way to work with clay, allowing for immediate feedback as you shape your piece.
To create a pinch pot, start by rolling a ball of clay into your palm, then use your thumb to press into the center. Gradually pinch the walls of the pot to create even thickness. This technique not only helps you understand the material better but also encourages creativity in form and size.
Handbuilding Techniques Explained
Handbuilding offers various pottery techniques, such as pinch pots, coil building, and slab construction, allowing artists to create unique pieces without a potter's wheel.
Many artists enjoy the organic shapes that pinch pots can produce. Since each pinch pot is made by hand, no two pieces will ever look exactly the same. This uniqueness is a hallmark of handbuilt pottery, making each item special and reflective of the artist's touch.
Coil Building: Layering for Strength and Form
Coil building is a technique that involves rolling out long, snake-like strands of clay, which are then stacked and blended together to form a larger structure. This method allows for more complex shapes and sizes compared to pinch pots. It's particularly effective for creating bowls, vases, and even larger sculptural pieces.
Creativity takes courage.
To start coil building, roll out uniform coils and lay them on top of each other, gradually building up the walls of your piece. Use your fingers or tools to blend the coils together, ensuring a smooth surface. This technique not only strengthens the structure but also adds interesting textures and patterns.
One of the appealing aspects of coil building is the freedom it offers for creativity. You can experiment with different coil sizes, shapes, and layering techniques to create unique designs. Plus, the method encourages you to think about the balance and proportions of your work as you build.
Slab Construction: Creating Flat Surfaces and Shapes
Slab construction involves rolling out flat pieces of clay, or slabs, which are then cut and assembled into various forms. This technique is excellent for making functional items like plates, tiles, or even boxes. It allows for precise shapes and can incorporate a wide range of textures and patterns.
To create a slab piece, start by rolling out a uniform thickness of clay using a rolling pin or slab roller. Once you have your slabs, you can cut them into desired shapes and join them using scoring and slipping techniques. This adds strength to the seams and helps prevent cracks during drying.
Joining for Strong Connections
Mastering scoring and slipping techniques is essential for effectively joining different parts of your pottery, ensuring strength and preventing cracks.
Slab construction opens up a world of design possibilities. You can combine different slabs, create layers, or even add decorative elements like stamps and impressions. This versatility makes slab construction a favorite among potters looking to experiment with form and surface design.
Adding Texture: Techniques to Enhance Your Pottery
Texture can elevate your pottery from simple to stunning. By incorporating various techniques, you can create visual interest and tactile appeal in your pieces. From using tools to imprint designs to adding natural elements like leaves, the options are endless.
One popular method for adding texture is the use of stamps or carving tools. You can press stamps into the clay to create patterns or carve directly into the surface for a more intricate design. This not only enhances the aesthetic but also allows you to personalize each piece.
Exploring texture can also lead to unique glazing effects after firing. Different textures can interact with glazes in unexpected ways, creating depth and character in your finished pottery. So don’t hesitate to experiment with texture to find your own signature style.
Joining Techniques: Making Strong Connections in Clay
When working with different parts in handbuilding, it's crucial to join them effectively to ensure your piece holds together. Scoring and slipping are two fundamental techniques used to create strong connections between clay sections. These methods help the clay adhere better, preventing cracks or breaks during drying and firing.
Scoring involves scratching the surfaces of the clay pieces that you want to join. After scoring, apply slip—a mixture of clay and water—onto the scratched areas. This creates a strong bond when the two pieces are pressed together, ensuring a seamless connection.
Finishing with Glazes and Treatments
Applying glazes and surface treatments not only enhances the aesthetic appeal of your pottery but also allows for creative expression, making each piece one-of-a-kind.
Mastering joining techniques is essential for more complex projects. It allows you to build multi-part structures confidently, knowing that your creation will not fall apart. As you gain experience, you'll find that these techniques open up even more possibilities for your handbuilding projects.
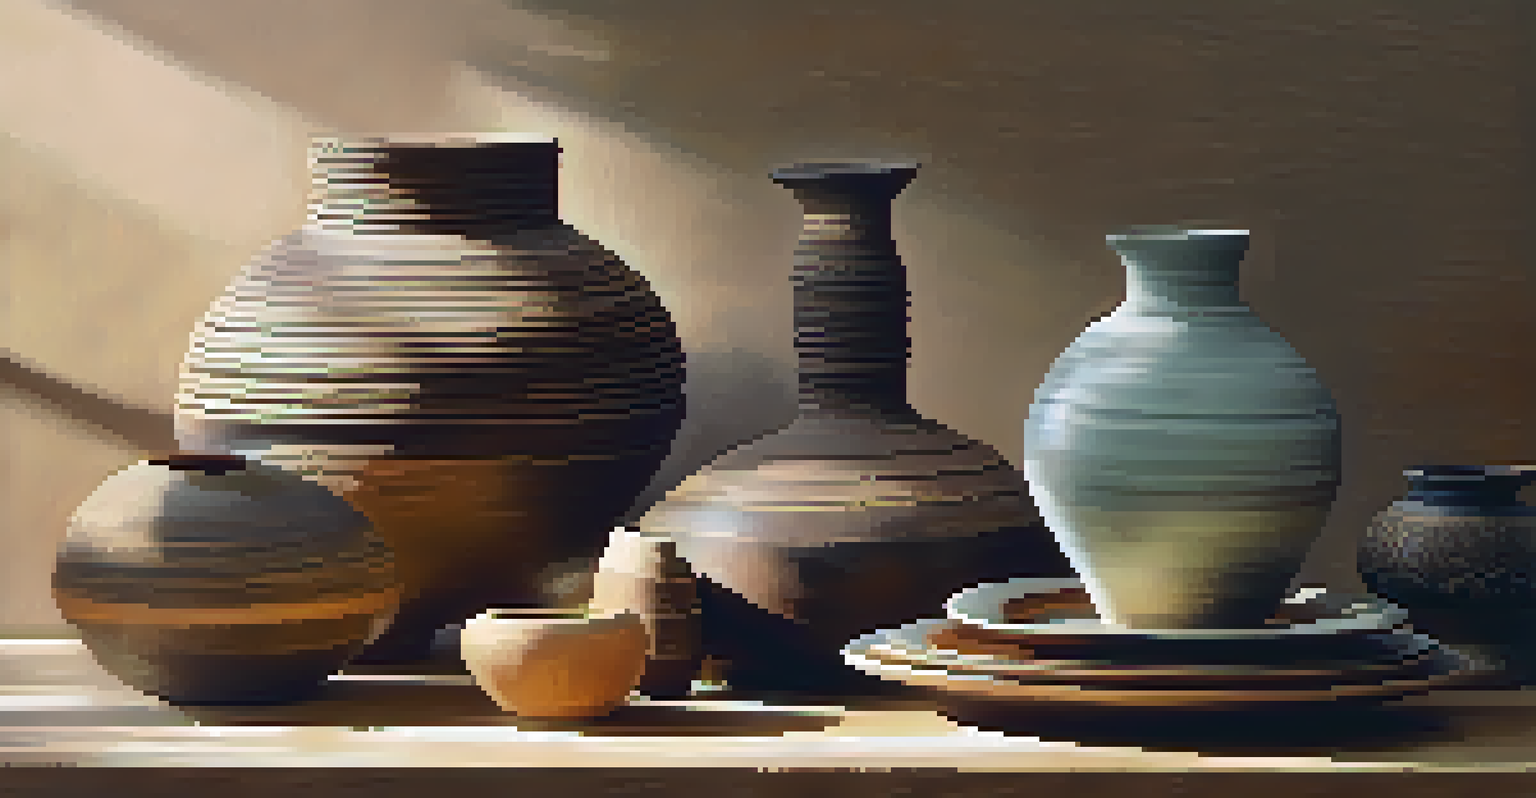
Finishing Touches: Glazing and Surface Treatments
Once you've crafted your pottery, the finishing stage begins. Applying glazes and surface treatments is an exciting part of the handbuilding process. Glazes can add color, shine, and even texture to your pieces, transforming them into functional art.
Before glazing, it's essential to bisque fire your pottery to make it more durable. Once cooled, you can apply your chosen glaze using brushes, sprays, or dipping methods. Each application method can yield different results, so feel free to experiment with techniques to discover what works best for your style.
Don't forget about surface treatments like underglazes or stains, which can add layers of color and detail before the final glaze. This stage allows you to showcase your personality and creativity, making each piece truly one-of-a-kind. The final firing will bring everything together, resulting in a beautiful, unique creation.
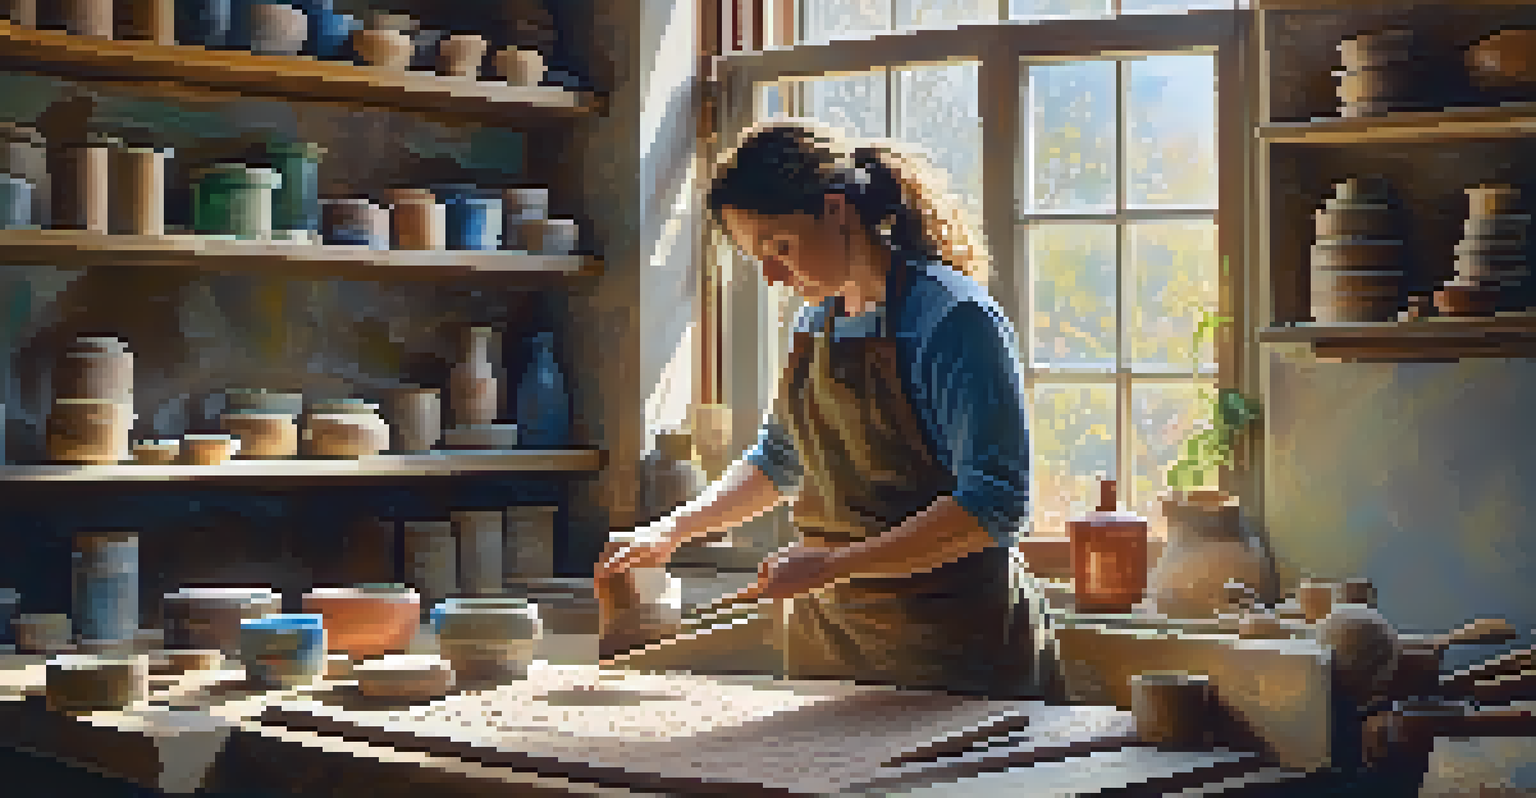
Exploring Your Creativity: Tips for Handbuilding Success
Handbuilding is not just about techniques; it's also about expressing your creativity. As you become comfortable with the basic methods, don't be afraid to think outside the box. Allow yourself the freedom to play with forms, textures, and colors, letting your imagination guide you.
One way to spark creativity is to draw inspiration from nature or everyday objects. Look around you for shapes and patterns that resonate, and consider how you can incorporate those elements into your pottery. This can lead to unique designs that reflect your personal style.
Lastly, remember that practice makes perfect. The more you work with clay, the more confident you'll become in your abilities. Embrace the journey of learning and enjoy the process of creating pottery that is not only functional but also a reflection of who you are as an artist.