The Basics of Mold Making for Sculpture: A Step-by-Step Guide
Understanding the Importance of Mold Making in Sculpture
Mold making is a crucial aspect of sculpture that allows artists to replicate their work. By creating a mold, you can produce multiple copies of a sculpture without having to recreate it from scratch each time. This process not only saves time but also opens up new possibilities for sharing and selling your art.
Art is not freedom from discipline, but disciplined freedom.
Imagine a baker who makes a unique cake. Instead of baking a new cake every time someone wants one, they create a mold to replicate the cake easily. Similarly, mold making in sculpture ensures that your original piece can be appreciated by many more people without compromising its integrity.
In this guide, we will explore the various steps involved in mold making, making it simple and accessible for both beginners and seasoned artists. Whether you're looking to create a one-of-a-kind piece or mass-produce your work, understanding mold making is foundational to your artistic journey.
Gathering the Essential Materials for Mold Making
Before you dive into mold making, you need to gather the right materials. Common supplies include mold rubber, a release agent, and a sturdy container to hold your mold. Depending on your project, you might also need tools like a spatula for smoothing and a scale for measuring materials accurately.
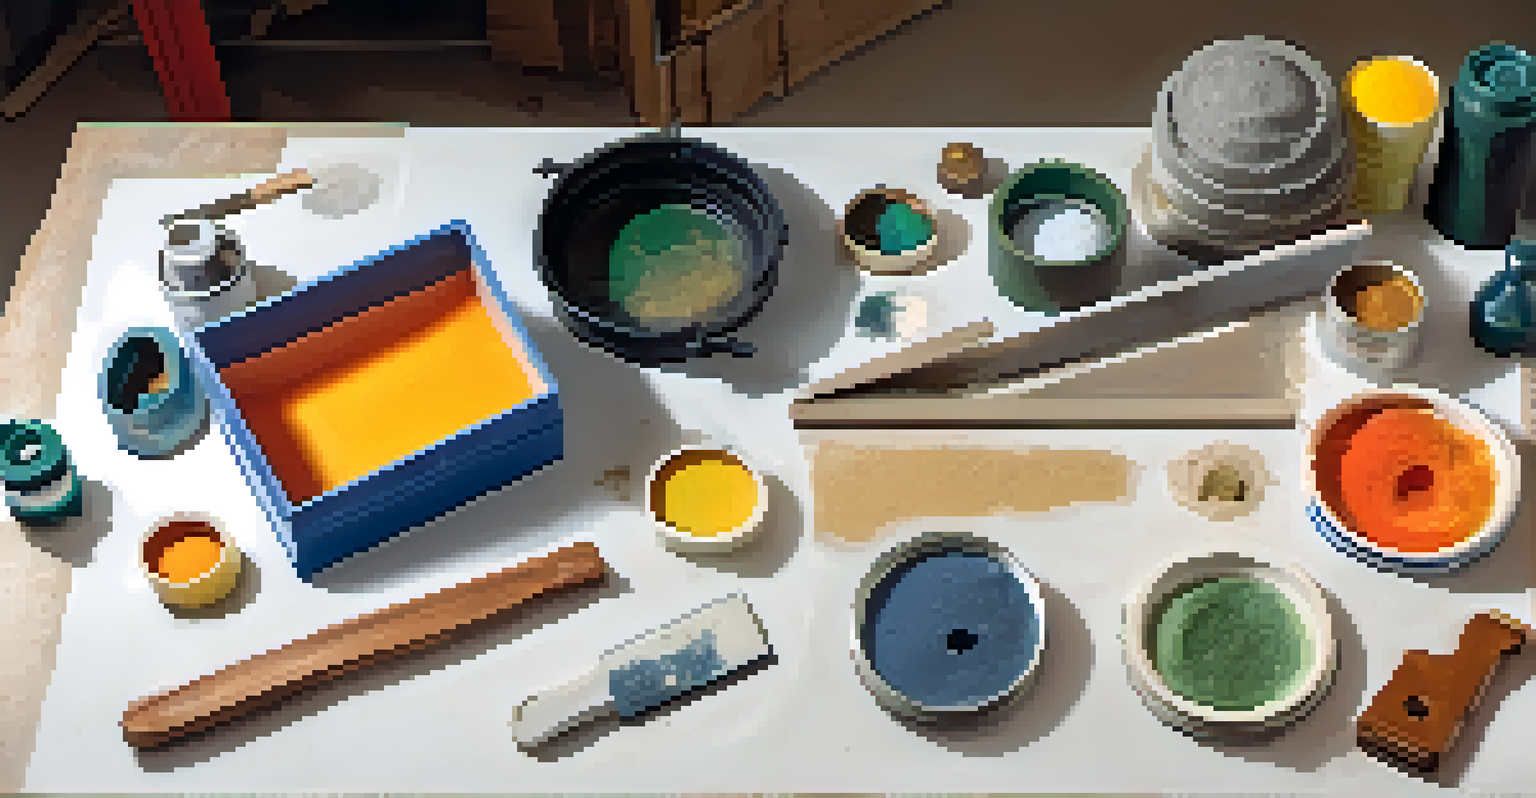
Think of this step as preparing for a big meal. Just as you wouldn’t want to cook without all your ingredients, having everything on hand is crucial for successful mold making. Take the time to collect all necessary items before starting to ensure a smooth process.
Mold Making Saves Time and Effort
By creating a mold, artists can replicate their sculptures efficiently, allowing for multiple copies without starting from scratch.
Don't forget to choose materials that suit the type of mold you need. For instance, silicone rubber is great for intricate details, while plaster is ideal for simpler forms. Knowing your project will help you select the best materials for your needs.
Preparing Your Original Sculpture for Molding
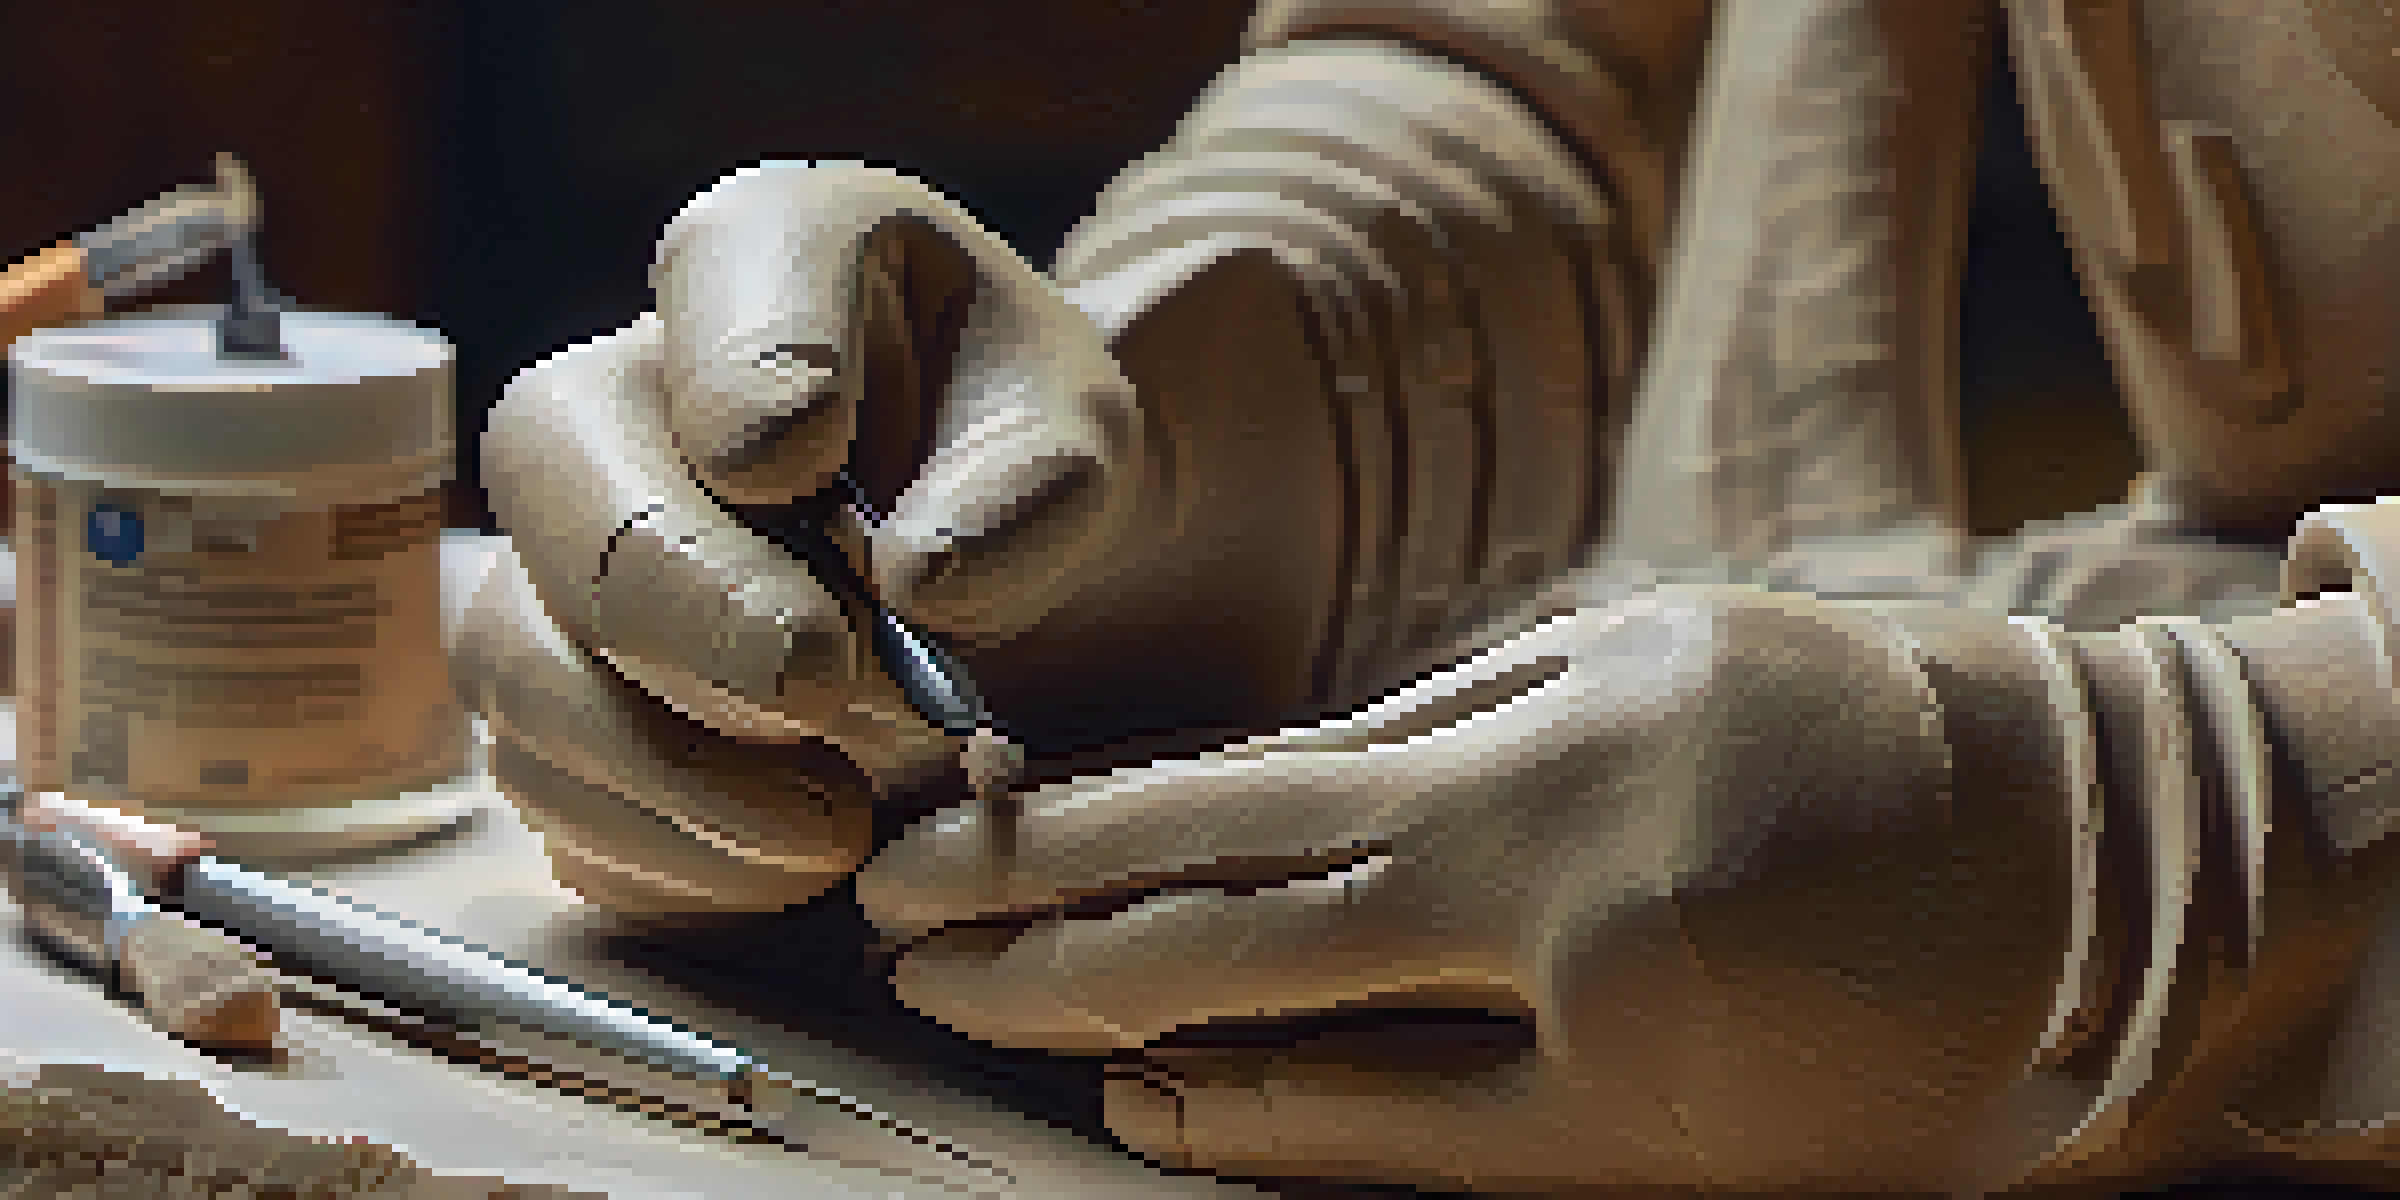
The next step is to prep your original sculpture. This involves cleaning the surface to remove dust or oils that could interfere with the mold. Additionally, applying a release agent can help ensure that the mold comes off easily later on.
Every artist was first an amateur.
Imagine trying to peel a sticker off a surface without any preparation; it often leads to tears and frustration. Similarly, ensuring your sculpture is clean and treated with a release agent will save you time and headaches when it’s time to remove the mold.
Once your sculpture is ready, inspect it for any flaws. Addressing any imperfections before molding can help create a better final product, ensuring that your mold captures every detail of your original work.
Creating a Support Shell for Your Mold
A support shell is essential for maintaining the shape of your mold. This shell can be made from materials like plaster or fiberglass that provide rigidity while the mold is being formed. Constructing this shell involves encasing your original sculpture in the chosen material.
Think of the support shell as the frame of a house; it gives structure and stability to the entire mold. Without it, the flexible mold material might collapse or warp, leading to a distorted final product.
Proper Preparation is Key
Cleaning the original sculpture and applying a release agent are crucial steps to ensure a successful molding process.
Once your support shell is in place, allow it to set completely before moving on. This step is crucial because a well-structured shell will ensure that your mold captures the original sculpture accurately and maintains its integrity.
Mixing and Applying the Mold Material
Now it’s time to mix your mold material according to the manufacturer’s instructions. Achieving the right consistency is vital; too thick, and it won’t fill details; too thin, and it may not hold its shape. Pour the mixture carefully over your original sculpture to avoid bubbles.
Consider this step like mixing a cocktail; the right proportions make all the difference in achieving the desired flavor. Similarly, getting your mold material just right will ensure that the final product meets your artistic vision.
As you apply the material, use a brush or spatula to work it into any intricate details. This ensures that every tiny feature of your original sculpture is captured, allowing for a quality reproduction later.
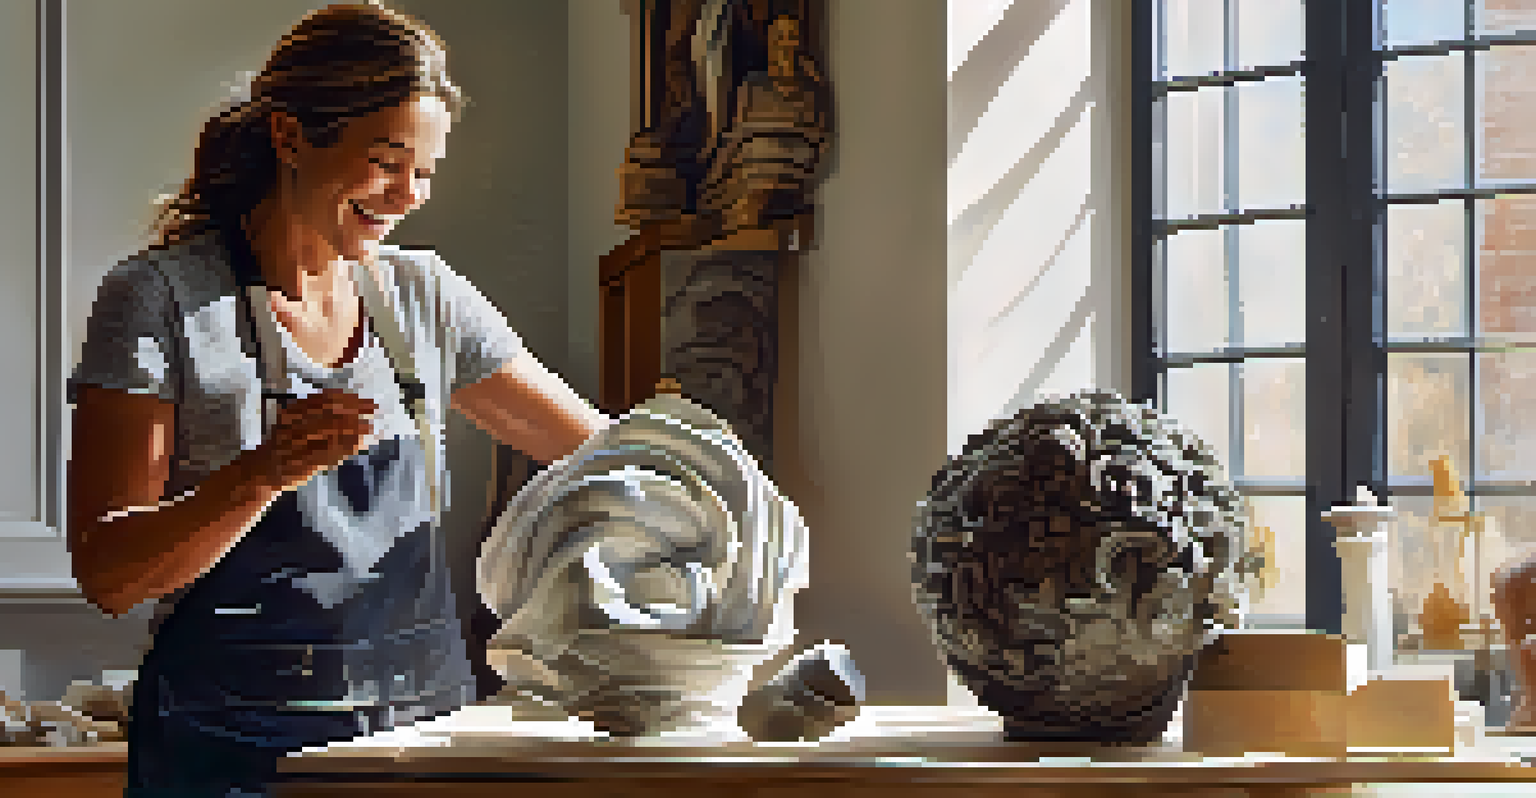
Removing the Mold and Inspecting the Results
After allowing your mold to cure completely, it’s time for the big reveal! Carefully remove the support shell and then peel away the mold material from your original sculpture. This step can be both exciting and nerve-wracking as you unveil your hard work.
Think of this moment like unwrapping a gift; you can’t wait to see what’s inside! Just like a thoughtful present, a well-made mold can bring joy and satisfaction when it reveals the details of your original piece.
Inspecting the Mold is Essential
After removing the mold, carefully inspecting it for imperfections is vital to ensure the quality of the final cast.
Once the mold is removed, inspect it closely for any imperfections or areas that may need fixing. Remember, the quality of your mold will directly impact the final cast, so take the time to ensure it’s perfect before moving on.
Casting Your Sculpture from the Mold
With your mold ready, you can now start casting your sculpture. Choose a casting material that suits your needs, whether it’s plaster, resin, or another medium. Carefully pour the material into your mold, ensuring it fills all the details.
This step is akin to pouring batter into a cake pan; you want to be precise to achieve the desired shape. Pay attention to any air bubbles that may form and gently tap the mold to help release them.
Allow the casting material to cure, and once it's set, you can remove your finished sculpture from the mold. This moment is a fantastic culmination of your efforts and creativity, bringing your vision to life in a new form.