How to Create Your Own Sewing Patterns: A Beginner's Guide
Understanding the Basics of Sewing Patterns
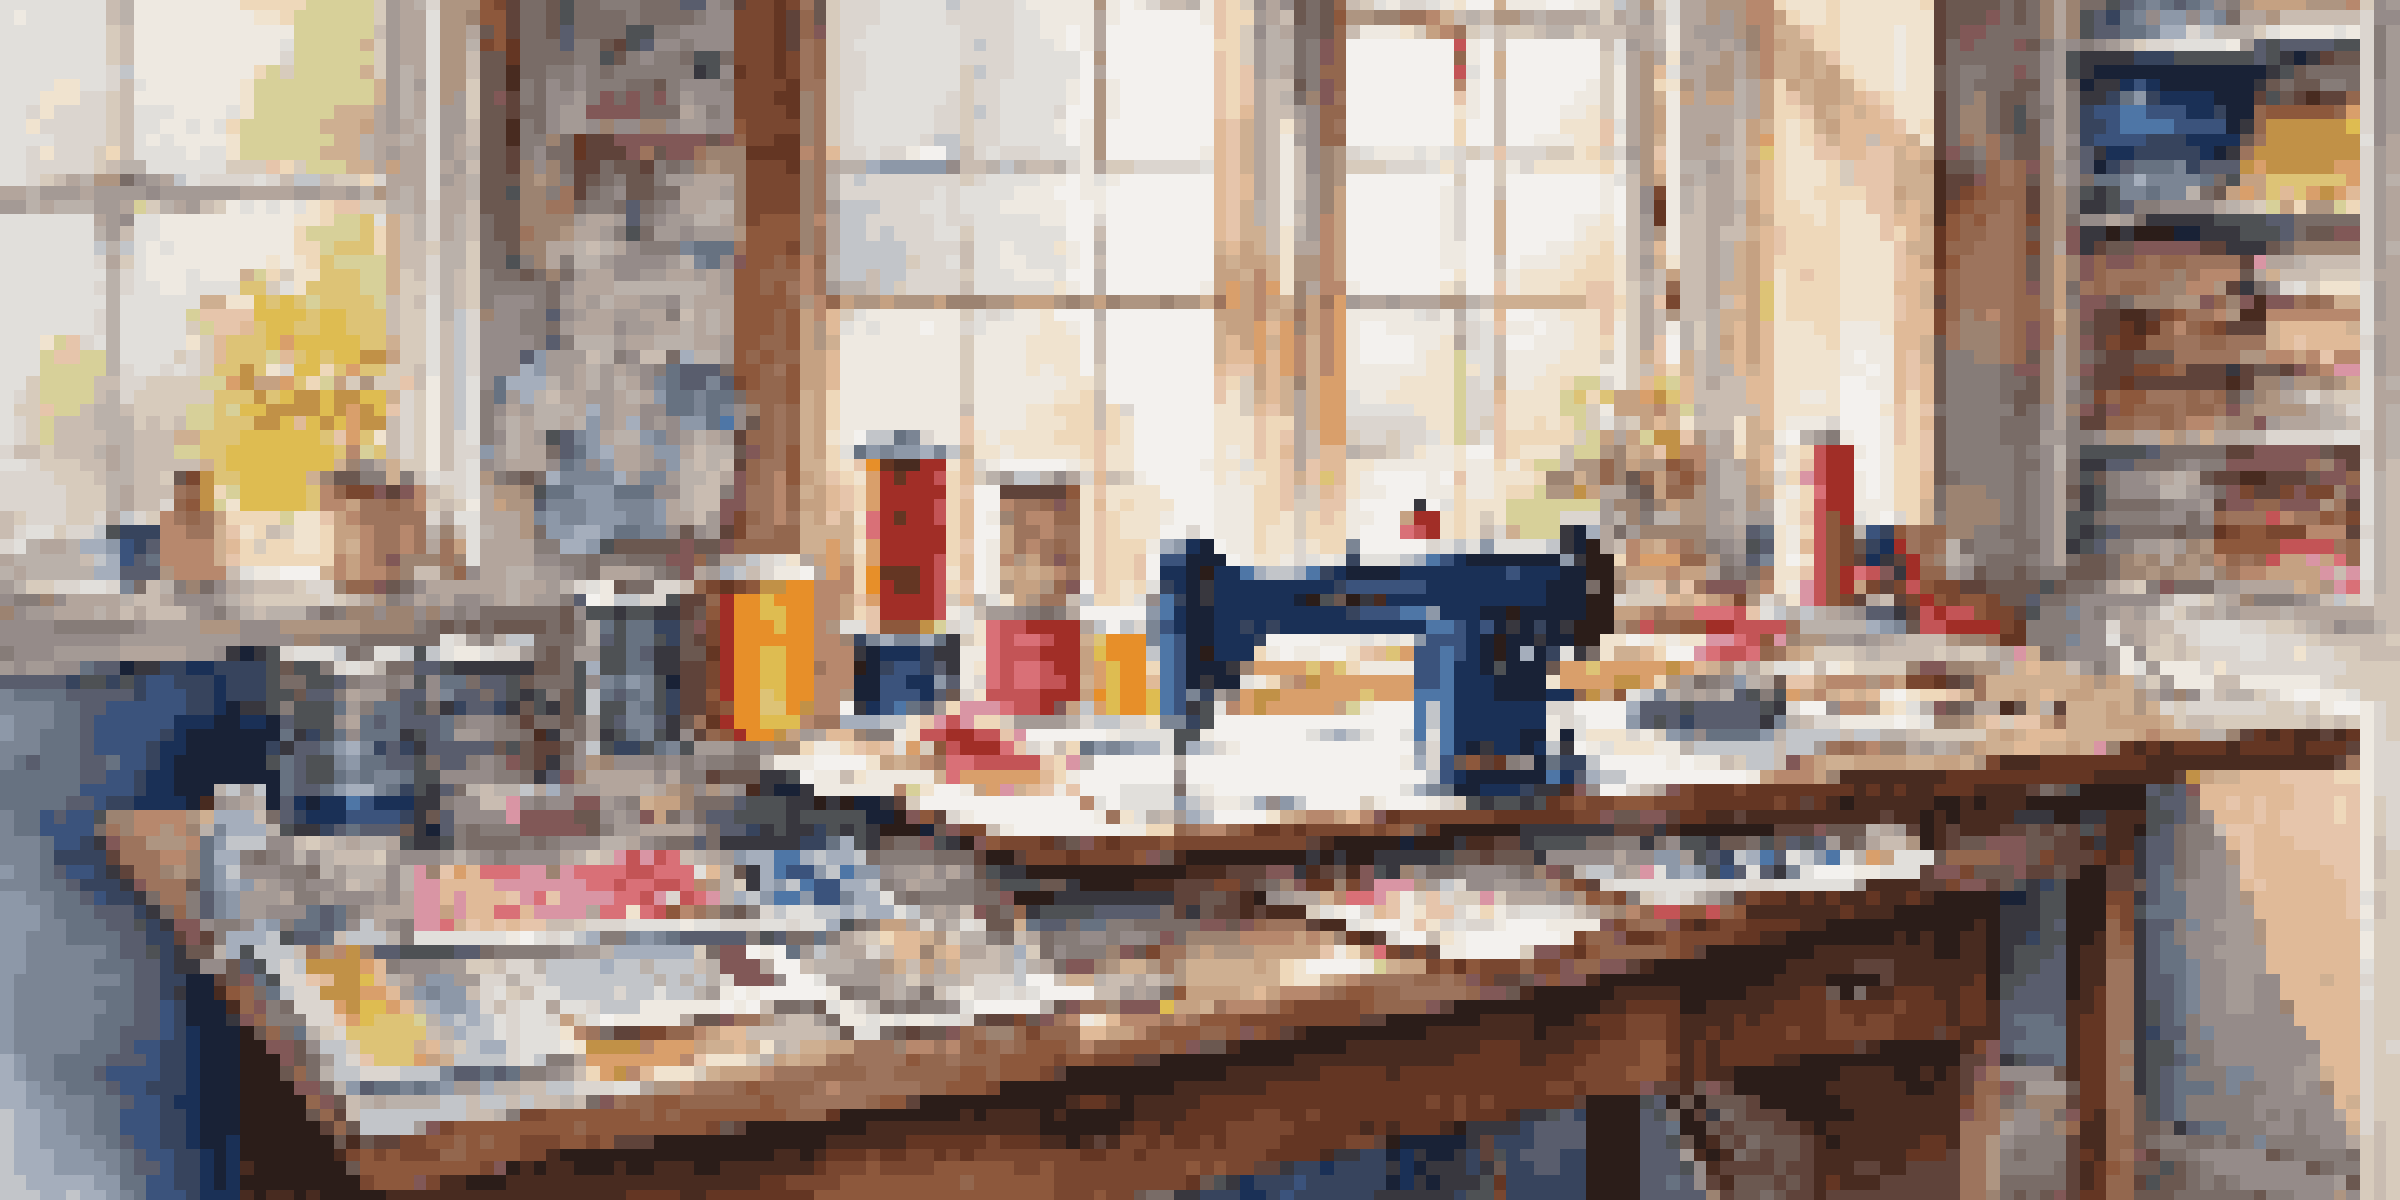
Sewing patterns are like blueprints for your garments, guiding you in creating clothing from fabric. They typically include various pieces that outline the shape and size of your project. Understanding these basics is crucial as they will help you visualize your final product before you even start cutting fabric.
Sewing is not just a craft, it’s a way to express yourself and create something unique.
As a beginner, it’s important to familiarize yourself with common pattern terms such as seam allowance (the extra fabric for stitching) and grainline (the direction of the fabric threads). Knowing these terms will ease your pattern-making journey and help you avoid common pitfalls.
Think of sewing patterns as the foundation of your garment-making house; without a solid base, everything else could crumble. Once you grasp the basics, you’ll find that designing your own patterns is not only rewarding but also a fun way to express your creativity.
Gathering Materials for Pattern Making
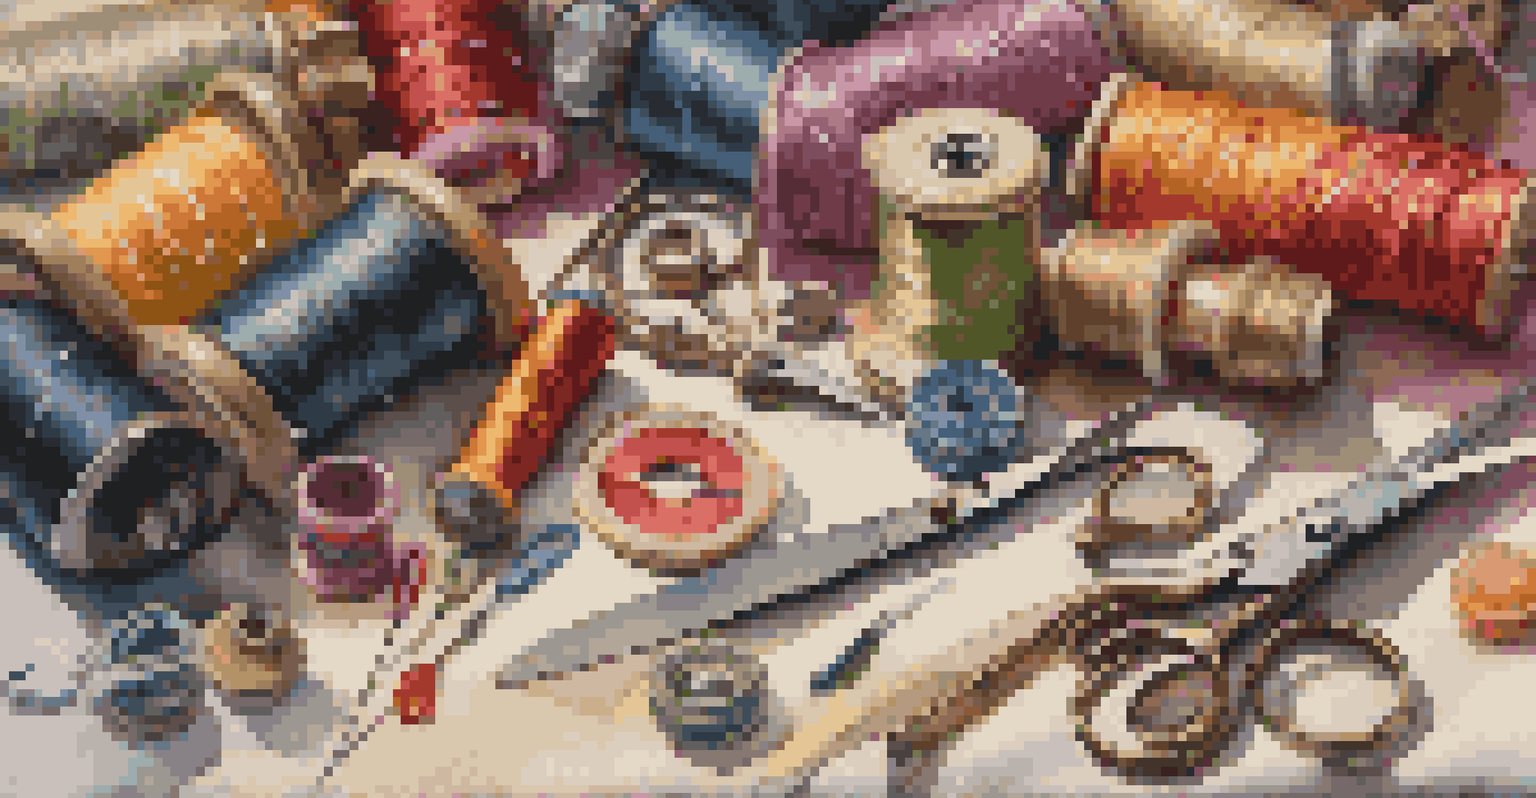
Before diving into pattern creation, it’s essential to gather the right materials. You’ll need pattern paper, which is often found in craft stores, along with a measuring tape, ruler, and pencil. Additionally, having scissors and a straight edge will aid in cutting your patterns accurately.
You might also want to invest in some weights or pins to hold your pattern in place while you work. This ensures that your lines remain straight and your measurements accurate, reducing the risk of errors in your final garment.
Sewing Patterns as Blueprints
Sewing patterns serve as essential guides that help you visualize and create your garments from fabric.
Consider this stage as preparing for a big cooking project: having all your ingredients and tools at hand makes the process smoother and more enjoyable. With the right materials, you’ll be well-equipped to bring your creative vision to life.
Taking Accurate Measurements for Your Pattern
Accurate measurements are the backbone of any successful sewing pattern. Use a flexible measuring tape to take your body measurements, focusing on key areas such as bust, waist, and hips. This will ensure a better fit and help you figure out how much ease to include in your pattern.
The only way to get better at sewing is to keep practicing and learning from your mistakes.
It's helpful to write down your measurements and compare them against a size chart. This not only helps you determine which size to create but also allows you to make adjustments for a more tailored fit. Remember, everyone's body is unique, so don’t hesitate to modify standard sizes to suit your shape.
Think of taking measurements like baking: precision is key. Just as a pinch too much salt can ruin a dish, inaccurate measurements can lead to garments that don’t fit as intended. Take your time, measure carefully, and you'll set a solid foundation for your pattern.
Drafting Your First Basic Pattern
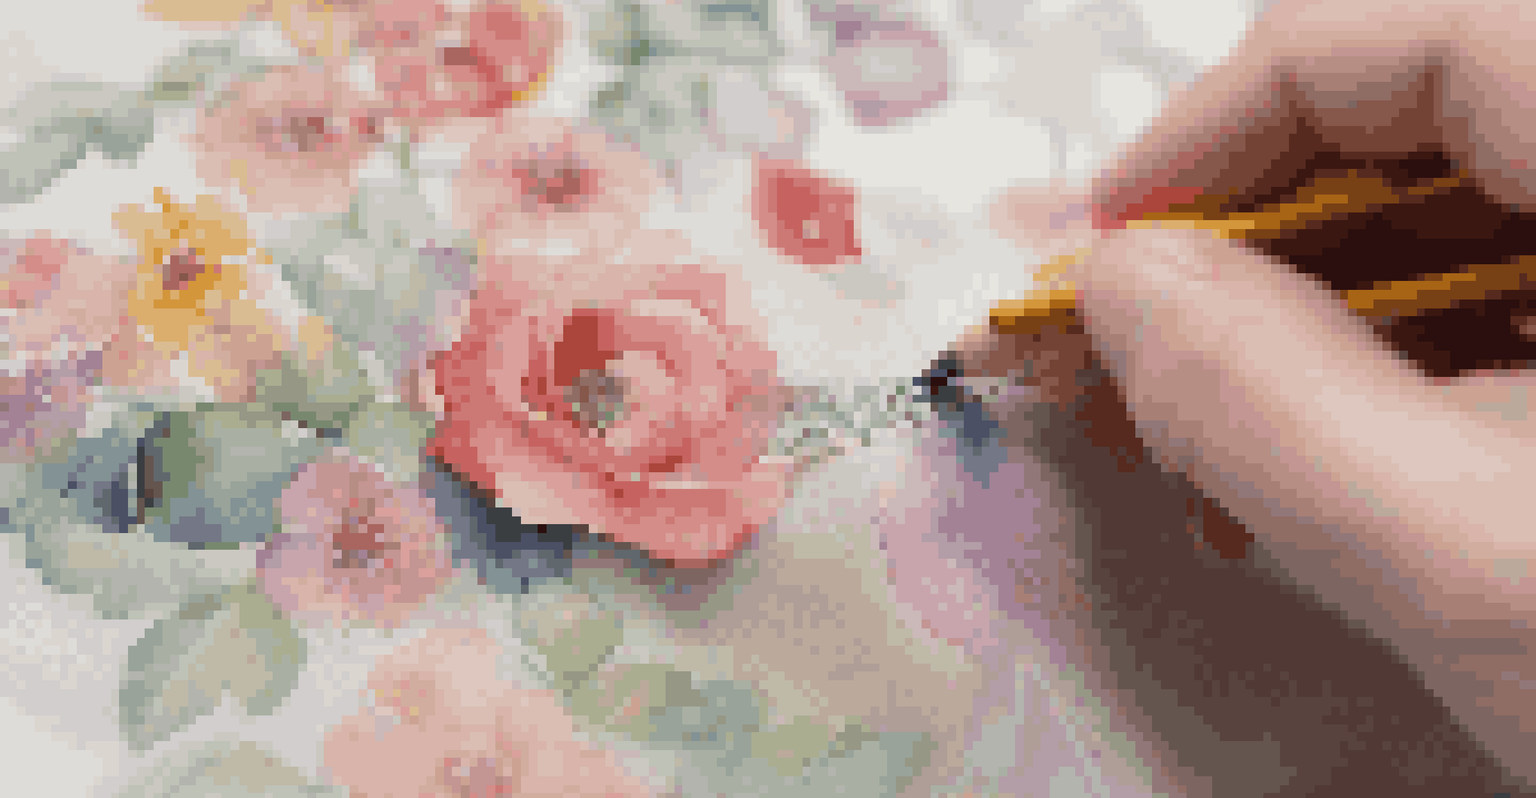
Now that you have your materials and measurements, it’s time to draft your first basic pattern. Start with simple shapes like a skirt or a basic top, as these require fewer pieces and are easier to manage. Use your measurements to create a basic outline on your pattern paper.
Don’t worry about making everything perfect on your first draft; this is all part of the learning process. It’s common to make adjustments as you go along, so embrace the trial-and-error aspect of pattern making. You can always refine your pattern later based on your fitting experiences.
Importance of Accurate Measurements
Taking accurate body measurements is crucial for ensuring a well-fitting garment and allows for necessary adjustments.
Visualize this step as sketching a rough draft of a story; you can always edit and polish it later. Your first draft is just the beginning of your creative journey, and with each iteration, you'll grow more confident in your abilities.
Making Adjustments for a Perfect Fit
After drafting your pattern, it’s crucial to test the fit. Cut out your pattern pieces from muslin or another inexpensive fabric to create a mock-up of your garment. This allows you to see how the pattern translates into a three-dimensional shape and identify any areas needing adjustment.
Common adjustments might include altering the length of sleeves, adjusting the waistline, or tweaking the bust area for better fit. Don’t hesitate to get creative; perhaps you want to add a flair or remove bulk based on your style preferences.
Think of this process like fine-tuning a musical instrument: it may take time and patience, but the end result will be worth it. Each adjustment brings you closer to your vision, ensuring that your final garment fits beautifully and feels comfortable.
Adding Seam Allowances to Your Pattern
Once you’re satisfied with the fit of your mock-up, it’s time to add seam allowances to your pattern. Seam allowances are the extra fabric you leave for sewing the pieces together, typically ranging from 1/4 inch to 5/8 inch, depending on your project. This step is essential to ensure your pieces fit together correctly when you sew them.
To add seam allowances, simply measure out from your pattern edges and mark the new lines. This gives you a clear guideline for cutting your fabric later on, preventing any confusion during the sewing process.
Finalizing Your Pattern for Sewing
Once your pattern is complete, adding seam allowances and carefully cutting your pieces sets the stage for a successful sewing project.
Think of seam allowances as the margin in a book: they provide space for important details without crowding the main content. By incorporating these allowances, you’ll ensure a polished finish on your garment.
Finalizing and Cutting Your Pattern
With your pattern complete and seam allowances in place, it’s time to finalize and cut your pattern. Carefully cut out your pattern pieces, ensuring you follow the lines you’ve established. It’s a good idea to label each piece to avoid confusion later on, especially if you’re creating a multi-piece garment.
Once your pieces are cut, you can pin them to your chosen fabric, ensuring that you pay attention to the grainline and any pattern direction. This step will help your final garment hang correctly and maintain its shape.
Think of this stage as laying the groundwork for your masterpiece. With everything cut and labeled, you’ll be ready to move on to the exciting part: sewing your unique design into reality!