How to Make a Quilt Block: A Beginner's Tutorial
Understanding Quilt Blocks: The Foundation of Quilting
Before diving into quilt making, it's essential to understand what a quilt block is. Essentially, a quilt block is a piece of fabric that's sewn together to create a specific pattern or design. These blocks are often repeated in various arrangements to form a complete quilt, making them the building blocks of your project.
Creativity takes courage.
Each quilt block can vary in size and complexity, ranging from simple squares to intricate patterns. This flexibility allows for a personalized touch in your quilting journey. The beauty of creating quilt blocks is that they can be as simple or as detailed as you want, so don’t be intimidated if you’re just starting out.
To get started, think of a quilt block as a puzzle piece. Each block will fit together with others, ultimately creating a beautiful tapestry of fabric. Understanding this concept will make the process of quilting feel much more manageable and enjoyable!
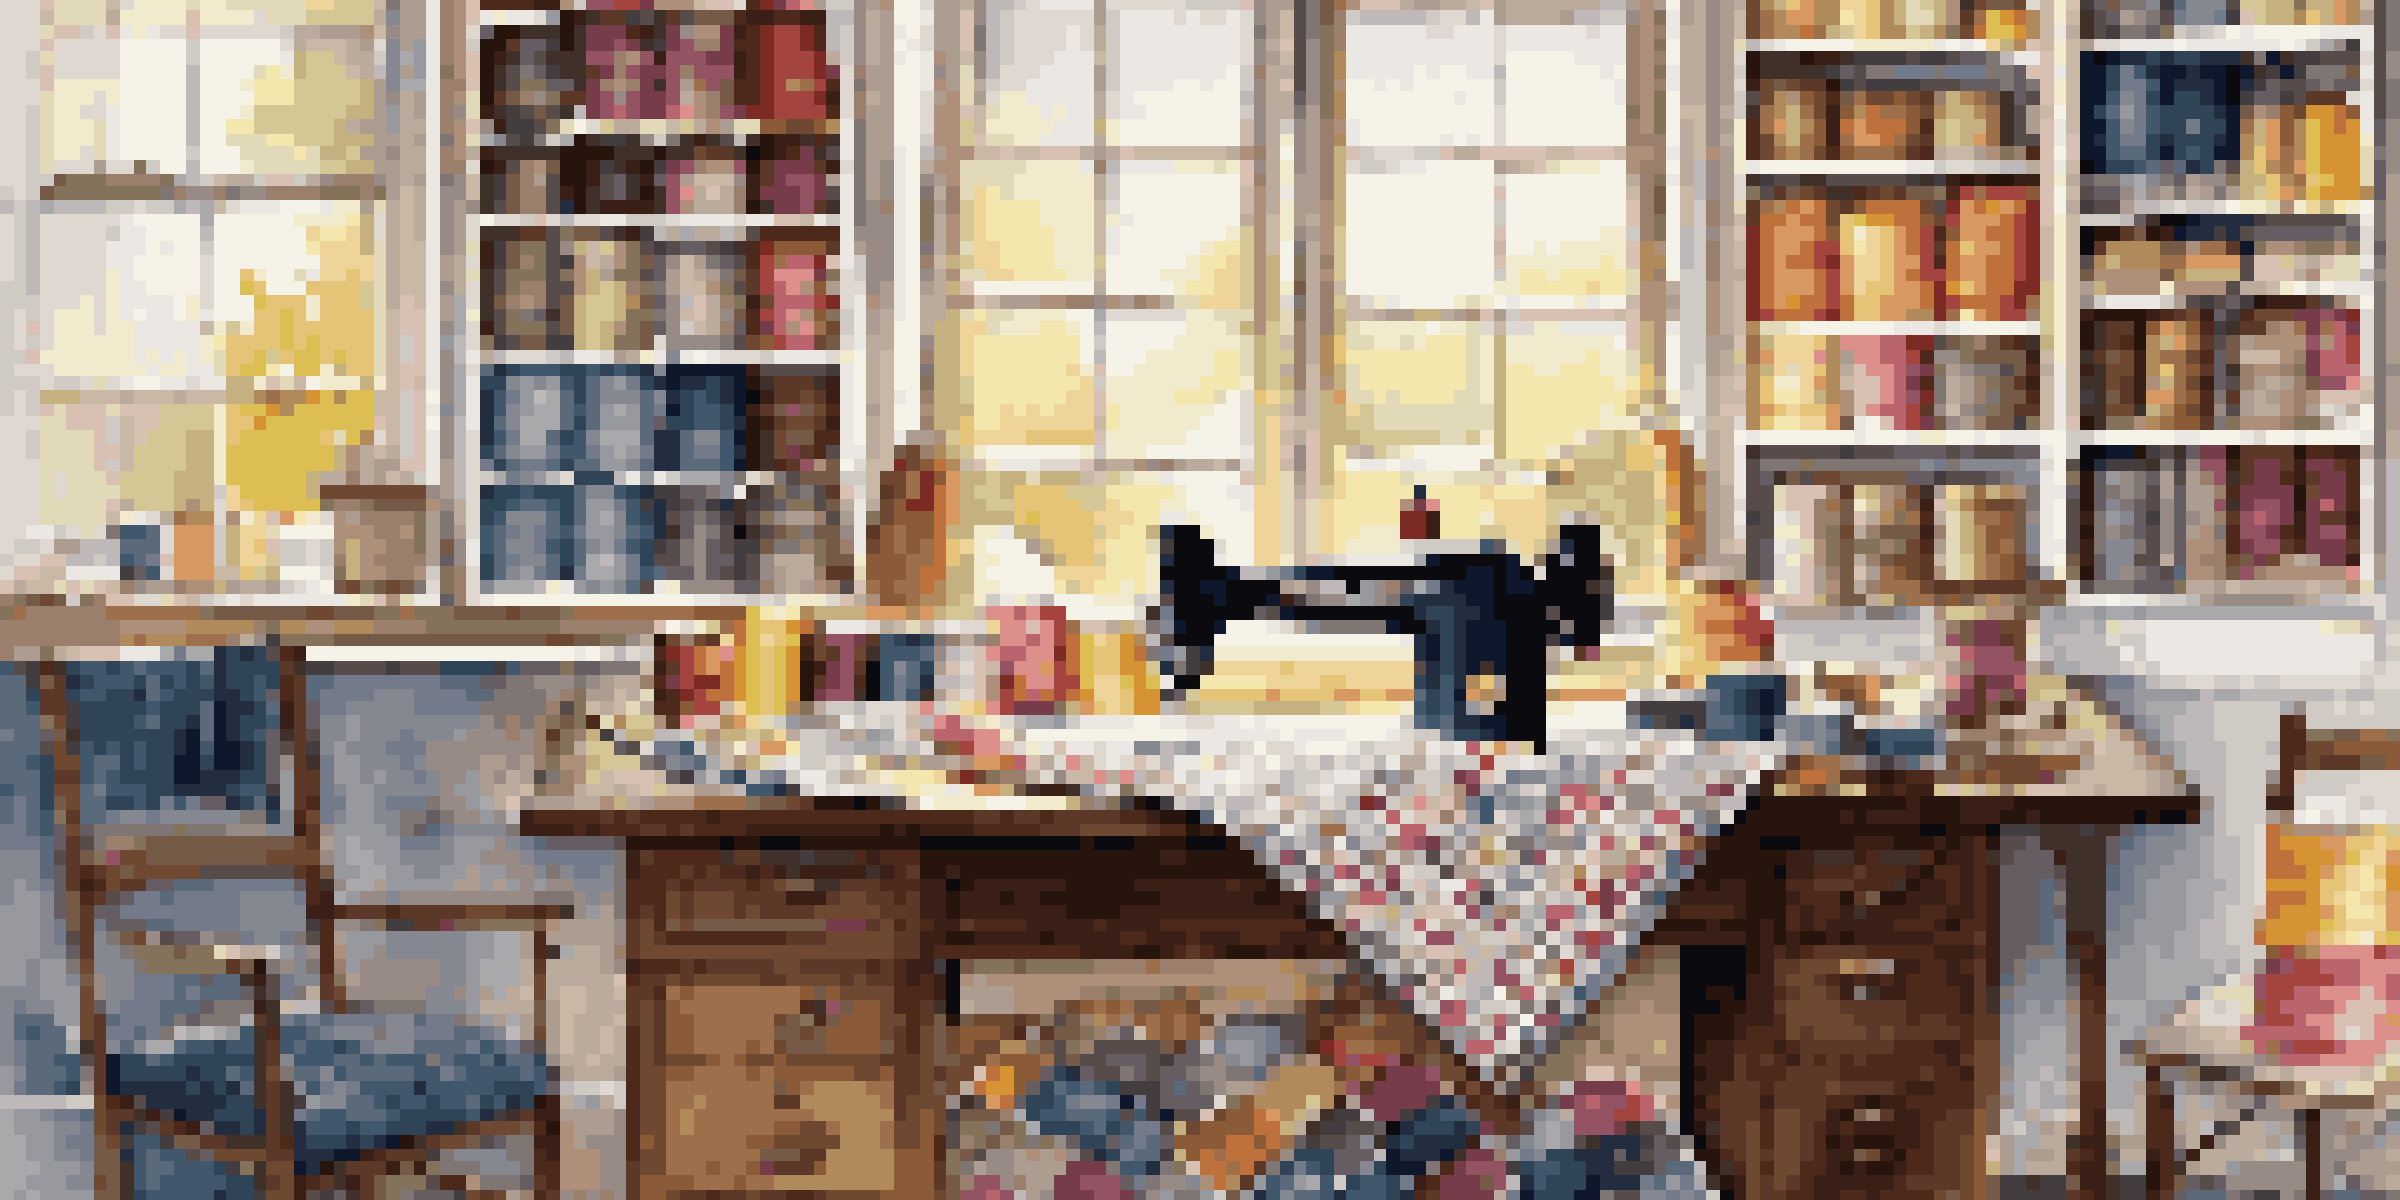
Gathering Your Essential Quilting Supplies
Having the right supplies is crucial for any quilting project. For your first quilt block, you will need fabric, a rotary cutter, a cutting mat, a ruler, and sewing scissors. Additionally, a sewing machine will make the process smoother, but hand sewing is perfectly fine if you prefer a traditional approach.

When selecting your fabric, consider starting with cotton, as it’s easy to work with and comes in endless patterns and colors. You may also want to choose a few contrasting fabrics to add depth and interest to your block. Remember, the goal is to enjoy the process, so choose fabrics that make you smile!
Understanding Quilt Blocks Basics
Quilt blocks are the fundamental pieces sewn together to create unique patterns and designs in quilting.
Don’t forget about thread! Selecting the right thread color can enhance your quilt block. Matching your thread with your fabric can create a seamless look, while contrasting thread can add a fun, decorative element. Once you have your supplies ready, you're all set to embark on your quilting adventure!
Choosing Your First Quilt Block Pattern
As a beginner, it’s wise to start with a simple quilt block pattern. Patterns like the nine-patch or four-patch are excellent choices because they are easy to sew and help you understand basic quilting techniques. You can find countless free patterns online that provide clear instructions and visuals.
The only way to do great work is to love what you do.
When selecting a pattern, consider your comfort level with sewing. If you’re feeling adventurous, try a pattern that introduces a new technique, like half-square triangles. Challenge yourself, but remember to keep it fun and enjoyable to avoid frustration.
Once you've chosen your pattern, take a moment to visualize the finished block. This mental picture can serve as motivation and help guide your fabric and color choices. Remember, each block you create is a step towards mastering the art of quilting!
Preparing Your Fabric for Cutting and Sewing
Before you cut your fabric, it's important to pre-wash it to remove any sizing or chemicals that may be present. This step also prevents shrinking later on. Once your fabric is clean and dry, press it with an iron to eliminate any wrinkles that could affect your measurements.
Next, measure and cut your fabric according to your chosen pattern. Use a ruler and rotary cutter on a cutting mat for accuracy. This might feel tedious, but precise cutting is essential for ensuring that your blocks fit together perfectly.
Essential Supplies for Quilting
Gathering the right tools, including fabric, a rotary cutter, and a sewing machine, is crucial for a successful quilting project.
As you cut, keep your workspace organized. Lay out your pieces in the order they will be sewn together to prevent confusion. A little preparation goes a long way in making your sewing process smoother and more enjoyable!
Sewing Your Quilt Block: Step-by-Step Guide
Now the fun part begins: sewing your quilt block! Start by laying out your cut fabric pieces according to your pattern. Pin the pieces together to keep them from shifting as you sew, making sure to align the edges neatly.
Using a quarter-inch seam allowance is standard in quilting, so be consistent with your measurements. If you're new to sewing, it might help to practice sewing straight lines on scrap fabric before tackling your block. Take your time, and don’t rush—enjoy the rhythm of sewing!
Once you’ve sewn all the pieces together, press your seams flat with an iron. This step helps ensure that your quilt block lays flat and looks polished. Congratulations! You've just created your first quilt block; take a moment to admire your handiwork!
Finishing Your Quilt Block: Trimming and Pressing
After sewing your quilt block, the next step is to trim any excess fabric. Use your ruler and rotary cutter to ensure that your block is the correct size, following the measurements specified in your pattern. Trimming is crucial for achieving accurate and professional-looking results.
Once trimmed, give your quilt block an iron to smooth out any seams. Pressing is different from ironing; you'll want to lift the iron rather than slide it back and forth to prevent distorting your block's shape. A well-pressed block will align beautifully with others when you assemble your quilt.
Creating and Combining Quilt Blocks
Making multiple quilt blocks and experimenting with their arrangement is key to assembling a beautiful quilt top.
Take a moment to enjoy your finished block! It's a tangible representation of your hard work and creativity. Each block you create adds to your confidence as a quilter, paving the way for more complex projects in the future.
Combining Your Quilt Blocks: Creating a Quilt Top
Now that you’ve made a quilt block, you may be wondering how to turn it into a quilt. The first step is to create multiple blocks, following the same or different patterns. Experimenting with various colors and designs can yield stunning results, so don't hesitate to let your creativity shine!
Once you have a collection of quilt blocks, lay them out in the desired arrangement. This is a great opportunity to play with patterns and colors before committing to the final layout. Take a step back and observe how the blocks interact with one another; this step can really enhance your overall design.
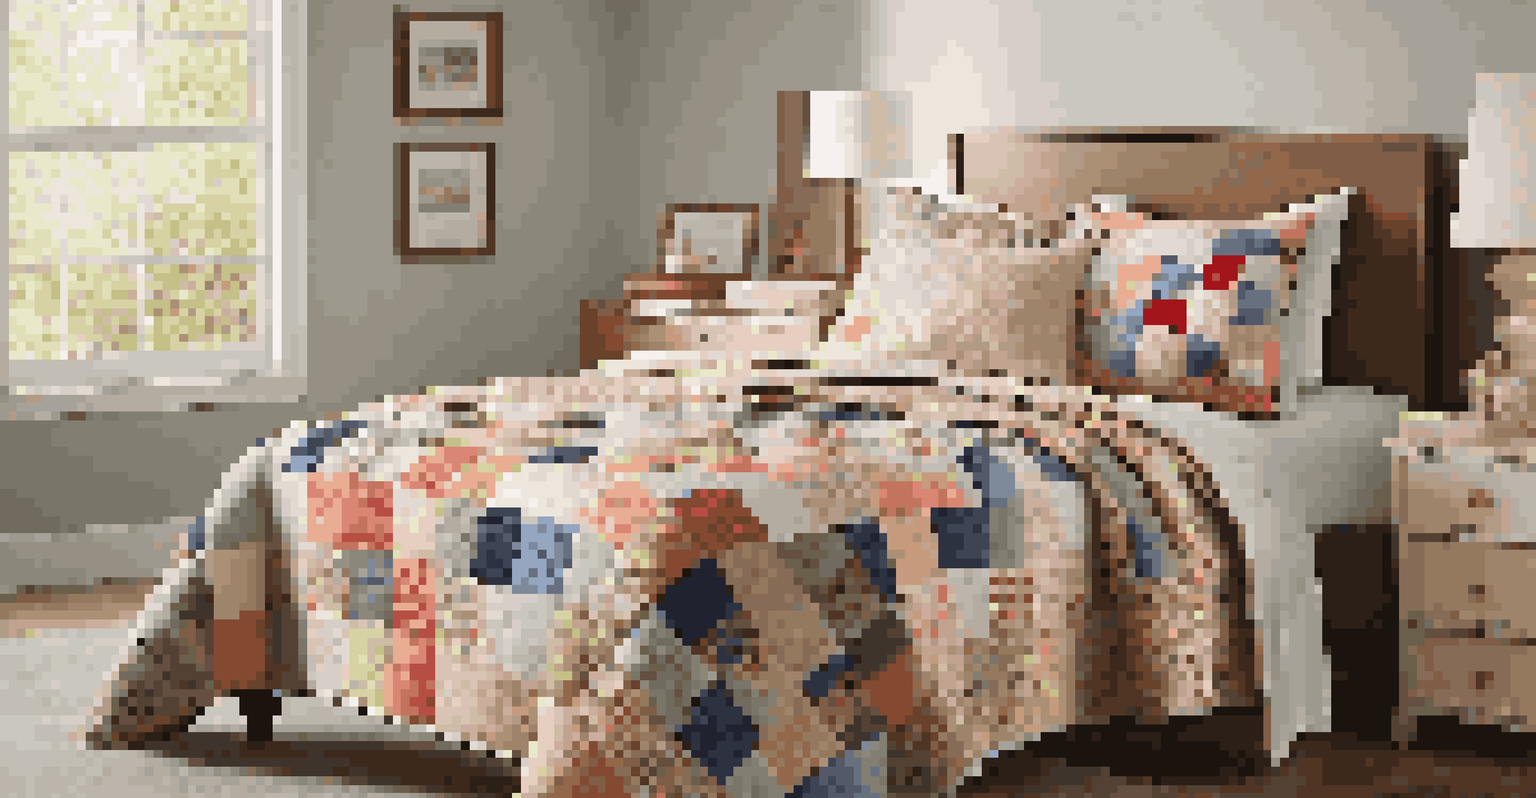
After finalizing the layout, sew the blocks together to form rows, and then stitch the rows together. This process transforms your individual blocks into a cohesive quilt top, ready for the next steps of layering and quilting. Remember, each stitch brings you closer to your finished quilt!