How to Quilt by Hand: Techniques for Beginners
Understanding the Basics of Hand Quilting
Hand quilting is a beautiful craft that involves sewing together layers of fabric to create a unique and functional piece of art. At its core, it combines creativity and technique, allowing you to express yourself while enjoying a meditative process. Beginners often find it a rewarding way to relax and unwind while making something special.
Quilting is a great way to express your creativity, and it's also a great way to relax and unwind.
Unlike machine quilting, which can feel mechanical, hand quilting offers a personal touch. Each stitch tells a story, and your unique rhythm will shine through in your work. Plus, hand quilting gives you more control over the intricate details, making it easier to create beautiful patterns.
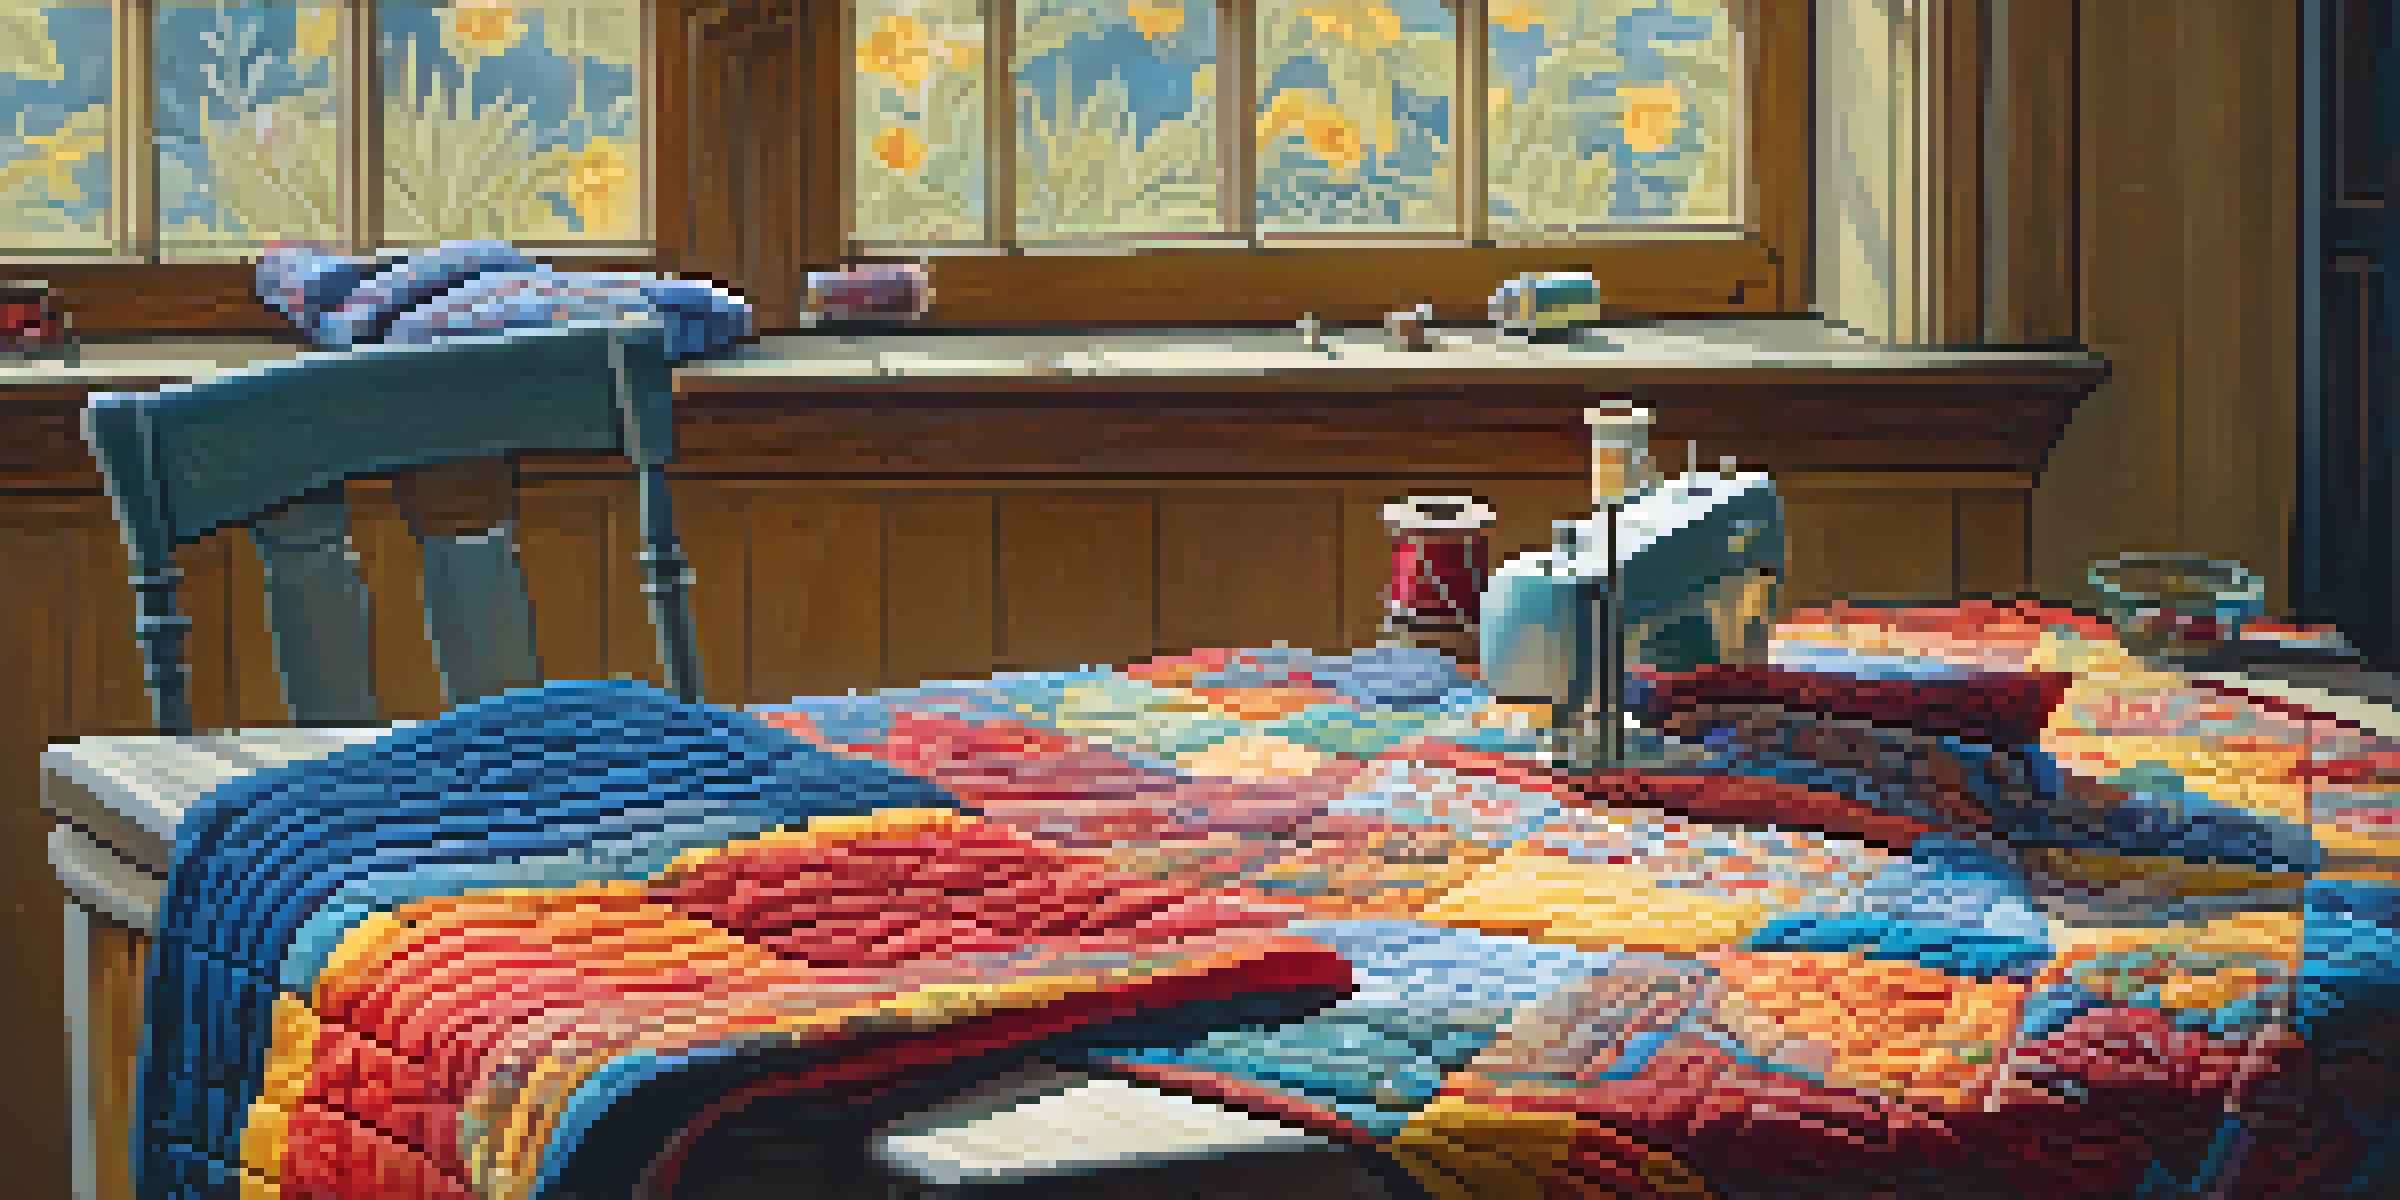
Before diving in, it’s essential to gather some basic supplies. You'll need fabric, batting, a needle, thread, scissors, and a thimble. Starting with these fundamentals will set you up for success and help you feel more confident as you begin your quilting journey.
Choosing the Right Fabric for Your Quilt
Selecting the right fabric is crucial in hand quilting. Quilting cotton is a popular choice due to its durability and variety of colors and patterns. However, you can also experiment with other fabrics like flannel or muslin, depending on the look and feel you desire.
When choosing fabrics, consider how they will interact with each other. A good rule of thumb is to mix light, medium, and dark colors to create depth and interest in your quilt. Additionally, pay attention to the fabric's weight; lighter fabrics can shift more easily, while heavier ones provide stability.
Start with Essential Quilting Supplies
Gathering basic tools like fabric, batting, and a thimble is crucial for a successful start in hand quilting.
Don’t forget about pre-washing your fabrics! This step helps to eliminate any residual chemicals and prevent future shrinkage. By taking this precaution, you’ll ensure your quilt maintains its beauty and quality over time.
Essential Tools for Hand Quilting Success
Having the right tools can make a significant difference in your hand quilting experience. Essential tools include sharp quilting needles, high-quality thread, and a reliable cutting mat. Investing in these items will not only make your quilting easier but also more enjoyable.
Every quilt tells a story; each stitch represents a memory or a moment in time.
A thimble is another important tool, especially for beginners. It protects your fingers while pushing the needle through multiple layers of fabric. There are various styles of thimbles available, so it’s worth trying a few to find the one that feels most comfortable for you.
Lastly, don’t overlook the importance of a good pair of fabric scissors. Sharp scissors will help you cut your fabric cleanly, which is essential for precise quilting. Having the right tools by your side will help you feel prepared and excited to start your first project.
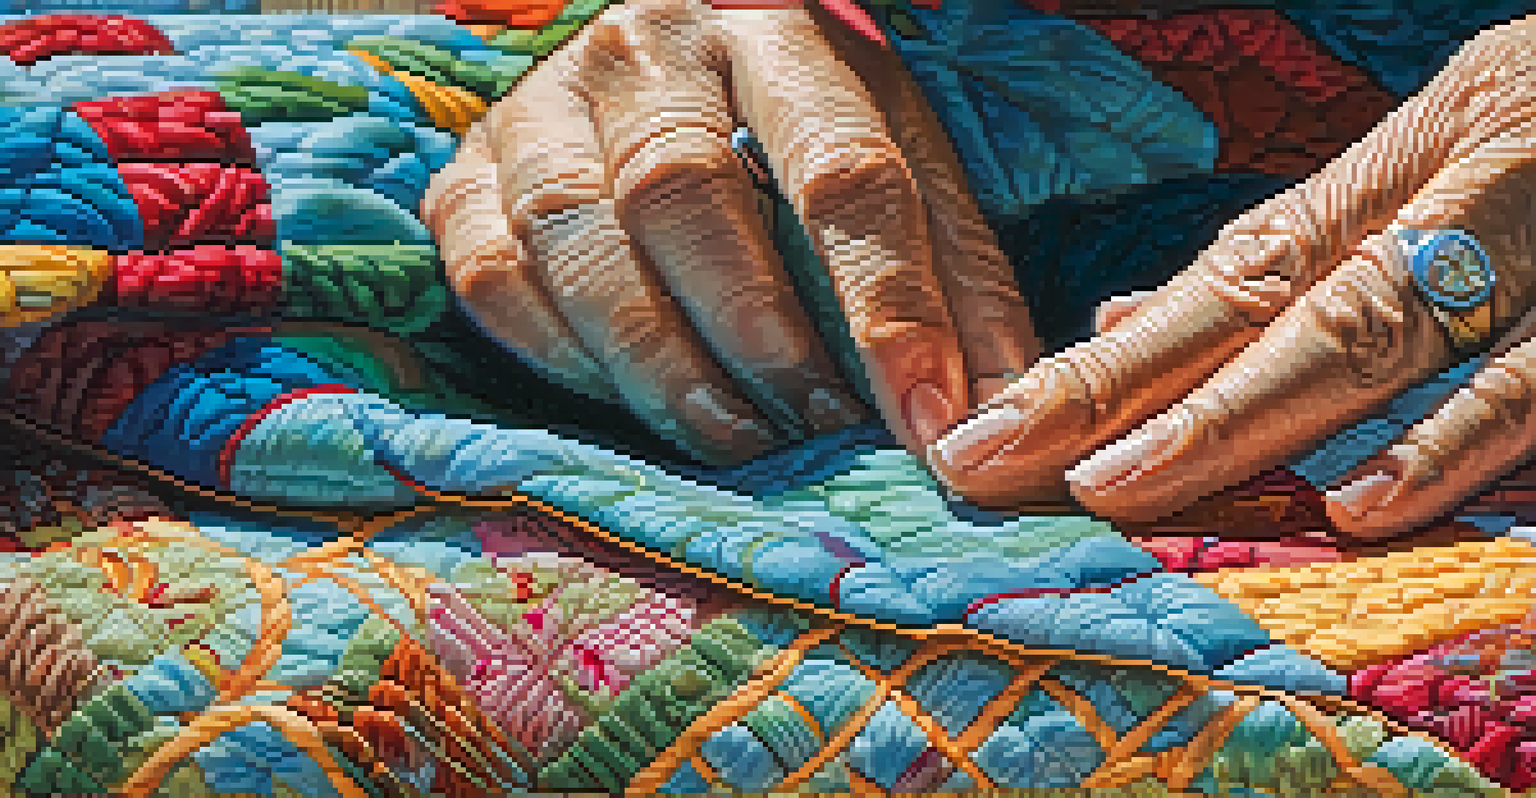
Learning Basic Hand Quilting Stitches
As a beginner, mastering a few basic stitches will lay a solid foundation for your hand quilting journey. The running stitch is the most fundamental; it involves sewing small, even stitches in a straight line. This stitch is often used for both quilting and piecing layers.
Another common stitch is the backstitch, which creates a strong, durable seam. This stitch is great for adding extra security to your quilt layers. Once you feel comfortable with these stitches, you can explore more advanced techniques, such as the whip stitch or the ladder stitch.
Master Basic Hand Quilting Stitches
Learning simple stitches such as the running stitch and backstitch will provide a solid foundation for your quilting projects.
Practicing these stitches on scrap fabric before diving into your quilt project is a smart move. This will help you build muscle memory and gain confidence in your stitching abilities. Remember, practice makes perfect!
Preparing Your Quilt Sandwich for Hand Quilting
Creating a 'quilt sandwich' is a crucial step in the hand quilting process. This involves layering your backing fabric, batting, and quilt top in a way that allows you to stitch through all the layers easily. Start by laying the backing fabric right side down, followed by the batting, and finally, the quilt top right side up.
It’s important to smooth out any wrinkles or bubbles as you assemble your layers. You can use safety pins or basting spray to hold everything in place temporarily. This ensures that your quilt remains stable while you work and prevents any shifting that could lead to uneven stitches.
Once your quilt sandwich is prepared, take a moment to inspect it. Make sure all layers are aligned and secure before moving on to the actual quilting. A well-prepared quilt sandwich will make your stitching experience much more enjoyable and successful.
Quilting Techniques: Stitching Your Design
Now that your quilt sandwich is ready, it’s time to start stitching! Begin by outlining your design with small, even stitches. This will help create a guide for the rest of your quilting. Whether you choose to follow a specific pattern or create your own freeform design, take your time and enjoy the process.
As you quilt, be mindful of your tension. Too tight, and your fabric may bunch up; too loose, and your stitches may not hold. Aim for a comfortable rhythm, allowing your hands to guide the needle naturally. If you encounter any difficulties, don’t hesitate to pause and reassess your technique.
Prepare Your Quilt Sandwich Carefully
Creating a well-aligned quilt sandwich with smooth layers is essential for achieving even stitches during the quilting process.
Remember, hand quilting is all about enjoying the journey. Each stitch you make contributes to the overall beauty of your quilt. Embrace any imperfections, as they add character and authenticity to your handmade piece.
Finishing Touches: Binding Your Quilt
After completing your quilting, it’s time to add the finishing touches! Binding your quilt is the final step that gives it a polished look. You can choose to make your own binding from leftover fabric or purchase pre-made binding for convenience.
To bind your quilt, start by cutting the fabric into strips and sewing them together at an angle to create a long continuous strip. Then, attach the binding to the edges of your quilt, folding it over and stitching it down. This step may seem daunting, but with practice, it becomes easier and more intuitive.
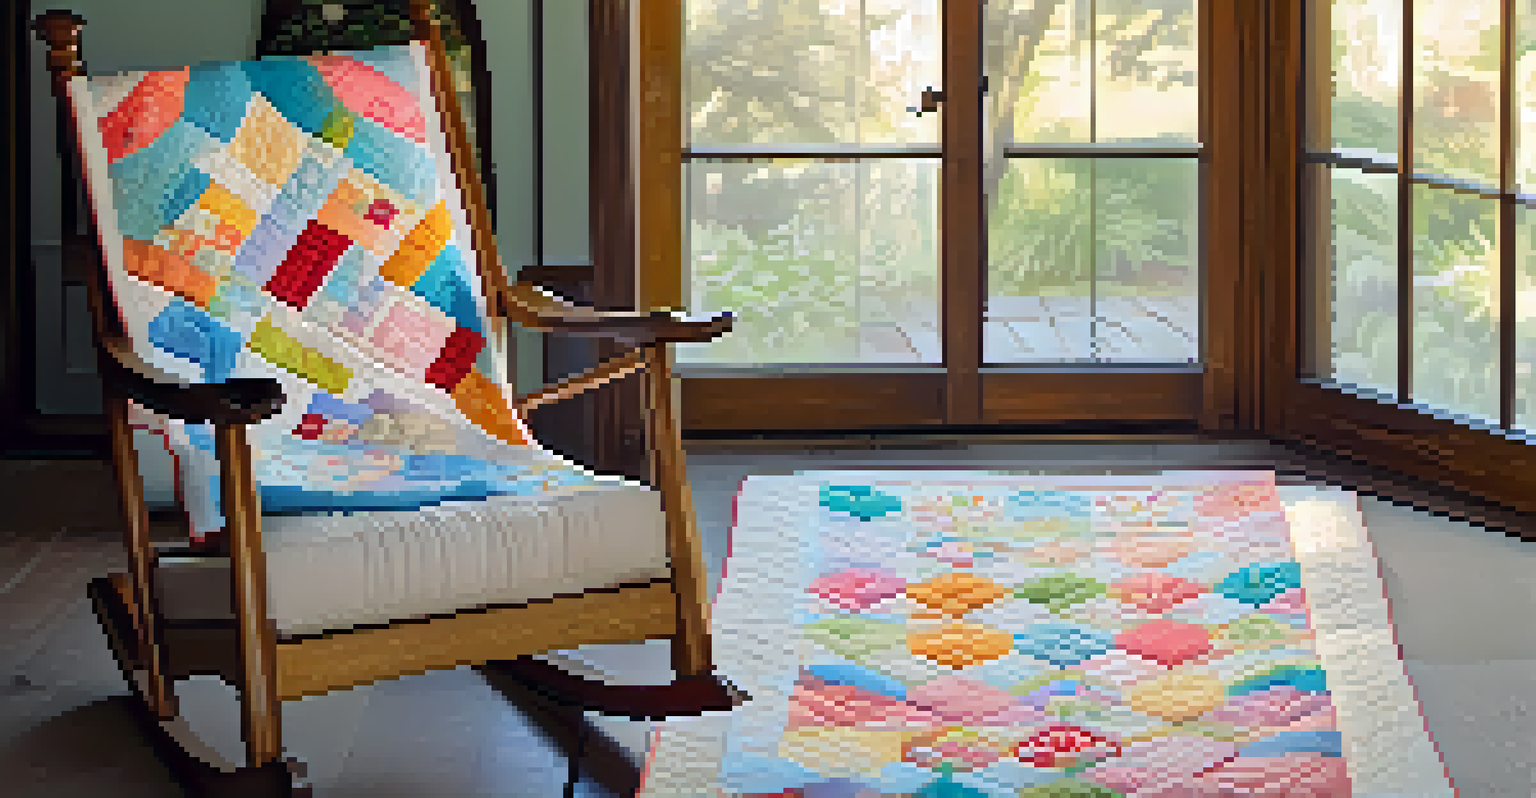
Once your binding is complete, take a moment to admire your handiwork. You’ve turned a collection of fabric into a beautiful quilt! This sense of accomplishment is one of the most rewarding aspects of hand quilting.