How to Sew a Simple Tote Bag: A Step-By-Step Guide
Gather Your Materials for the Tote Bag
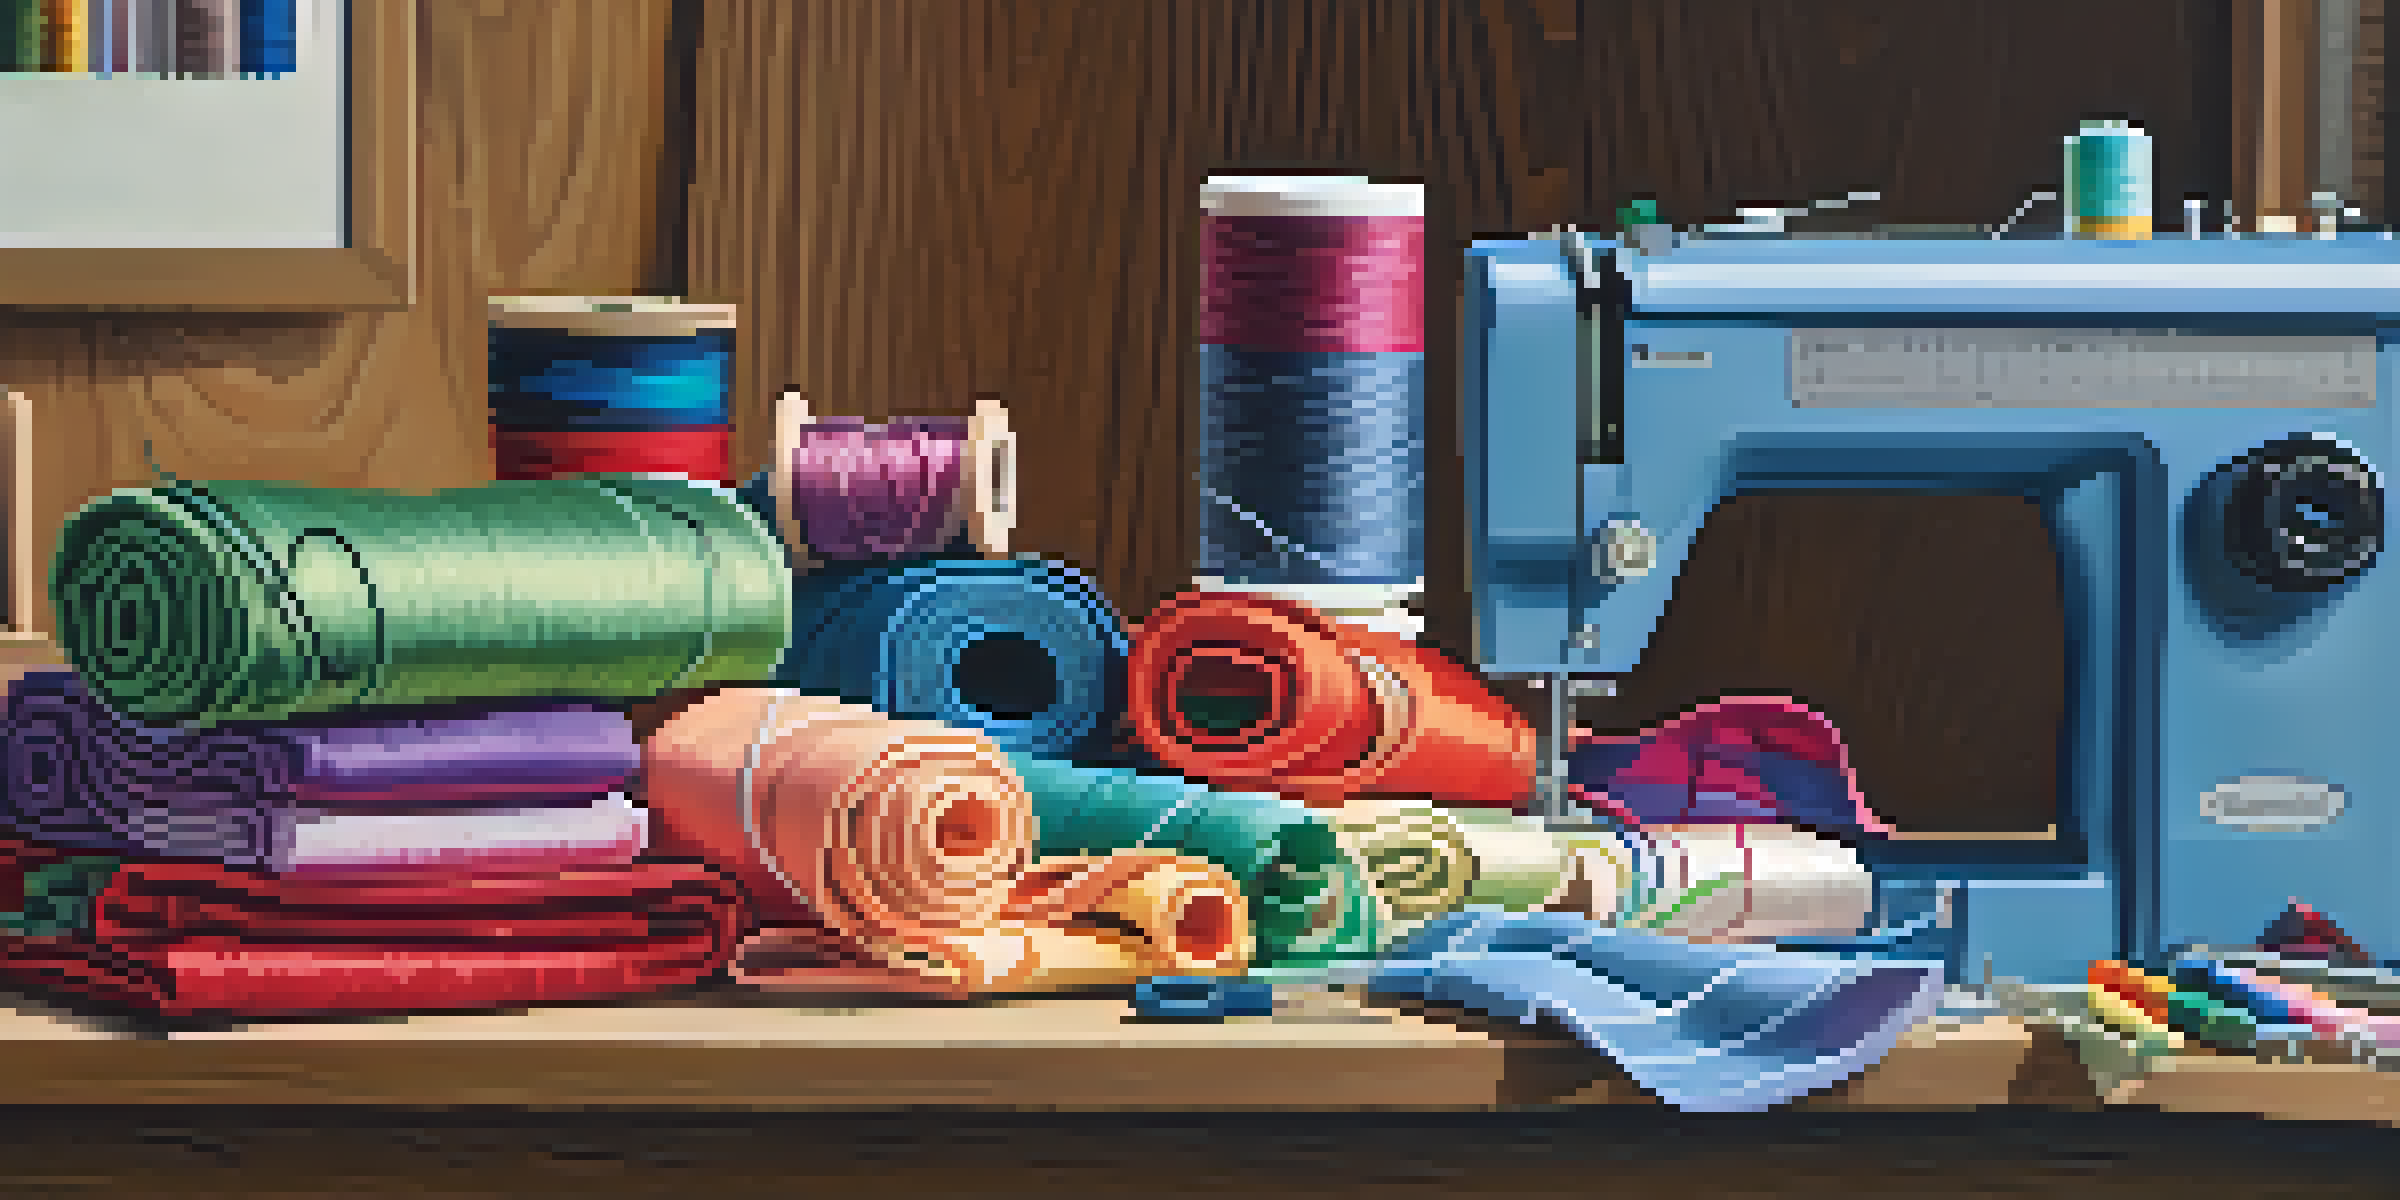
Before diving into the sewing process, it’s essential to gather all your materials. You'll need fabric, thread, scissors, pins, and a sewing machine. Choosing the right fabric is important; cotton or canvas works well for a sturdy tote. Don’t forget to grab a measuring tape and some chalk or a fabric marker for marking your cuts.
The journey of a thousand miles begins with one step.
Consider selecting a fabric that reflects your personal style or is suitable for the bag's intended use. For example, if it's for grocery shopping, a durable and washable fabric is a practical choice. Additionally, think about any embellishments like pockets or patterns that could add a fun touch to your tote.
Once you have everything ready, you’ll feel more organized and confident as you begin the sewing process. It’s like preparing for a cooking recipe: the more prepared you are, the smoother the process will go!
Measure and Cut Your Fabric Pieces
Now that you have your materials, it's time to measure and cut your fabric. For a simple tote bag, you'll typically need two pieces for the body and two strips for the handles. A common size for the body is 14 inches wide by 16 inches tall, but you can adjust these measurements based on your preference.
Use your measuring tape to mark the dimensions on the fabric with chalk or a fabric marker. Then, carefully cut along the lines, ensuring that your cuts are straight. Remember, precision is key here—accurate cuts will make sewing much easier and result in a neater finished product.
Gather Materials for Sewing Success
Collect essential items like fabric, thread, and a sewing machine to ensure a smooth sewing process.
After cutting, take a moment to double-check that you have all the necessary pieces. It’s a good idea to lay them out on a flat surface to visualize your tote bag before moving on to the next step.
Prepare the Fabric for Sewing
Before sewing, you’ll want to prepare your fabric pieces to ensure a professional finish. Start by ironing your fabric; this smooths out any wrinkles and makes it easier to work with. If your fabric tends to fray, consider using a serger or zigzag stitch along the edges to prevent this.
Creativity is allowing yourself to make mistakes. Art is knowing which ones to keep.
Next, pin the fabric pieces together, right sides facing each other. This will help keep everything in place while you sew. Don’t be shy with the pins—using plenty will ensure that your fabric stays aligned and reduces the chances of any shifting during sewing.
Taking these extra steps to prepare your fabric might seem tedious, but trust me, it pays off. A well-prepared fabric makes for a smoother sewing experience and a more polished final product.
Sew the Main Body of the Tote Bag
With your fabric pinned and ready, it’s time to sew the main body of your tote bag. Start by stitching along the sides and bottom of the fabric pieces with a straight stitch, leaving the top open. A seam allowance of about half an inch is standard, but you can adjust it based on your design.
As you sew, remember to backstitch at the beginning and end of your seams to secure them. This small step makes a significant difference in durability, especially for a bag that will be carrying items regularly. If you hit any bumps, don't hesitate to adjust your fabric and continue sewing.
Create and Attach Handles Securely
Design and securely attach handles to your tote for both functionality and style.
Once you've sewn the sides and bottom, take a moment to check your seams. If everything looks good, you can turn the bag right-side out for a sneak peek at your progress!
Create and Attach the Handles
Now, let’s move on to creating the handles for your tote bag. Cut two strips of fabric, typically about 22 inches long and 4 inches wide, but you can customize these dimensions based on your preference. Fold each strip in half lengthwise, right sides together, and sew along the long edge, leaving the ends open.
After sewing, turn the strips right-side out. A handy trick is to use a safety pin to help with this process. Once you have the handles flipped, press them with an iron to flatten and shape them nicely.
Finally, position the handles on the inside of the bag, pinning them securely in place. Make sure they’re evenly spaced and aligned so that your bag looks great and functions well when you carry it.
Finish the Tote Bag with a Top Stitch
With the handles attached, it’s time to give your tote bag a polished finish with a top stitch. This step not only adds a decorative touch but also reinforces the seams for added durability. To do this, sew along the top edge of the bag, about a quarter-inch from the edge.
While sewing, make sure to keep the fabric taut and guide it steadily through the machine. If you're feeling adventurous, you can even try a decorative stitch for a unique flair! This can turn a simple bag into a standout accessory.
Add Personal Touches to Your Tote
Enhance your finished tote bag with pockets or decorations that reflect your unique style.
After finishing the top stitch, take a moment to admire your work. You’re just about ready to show off your new tote bag!
Final Touches and Personalization Ideas
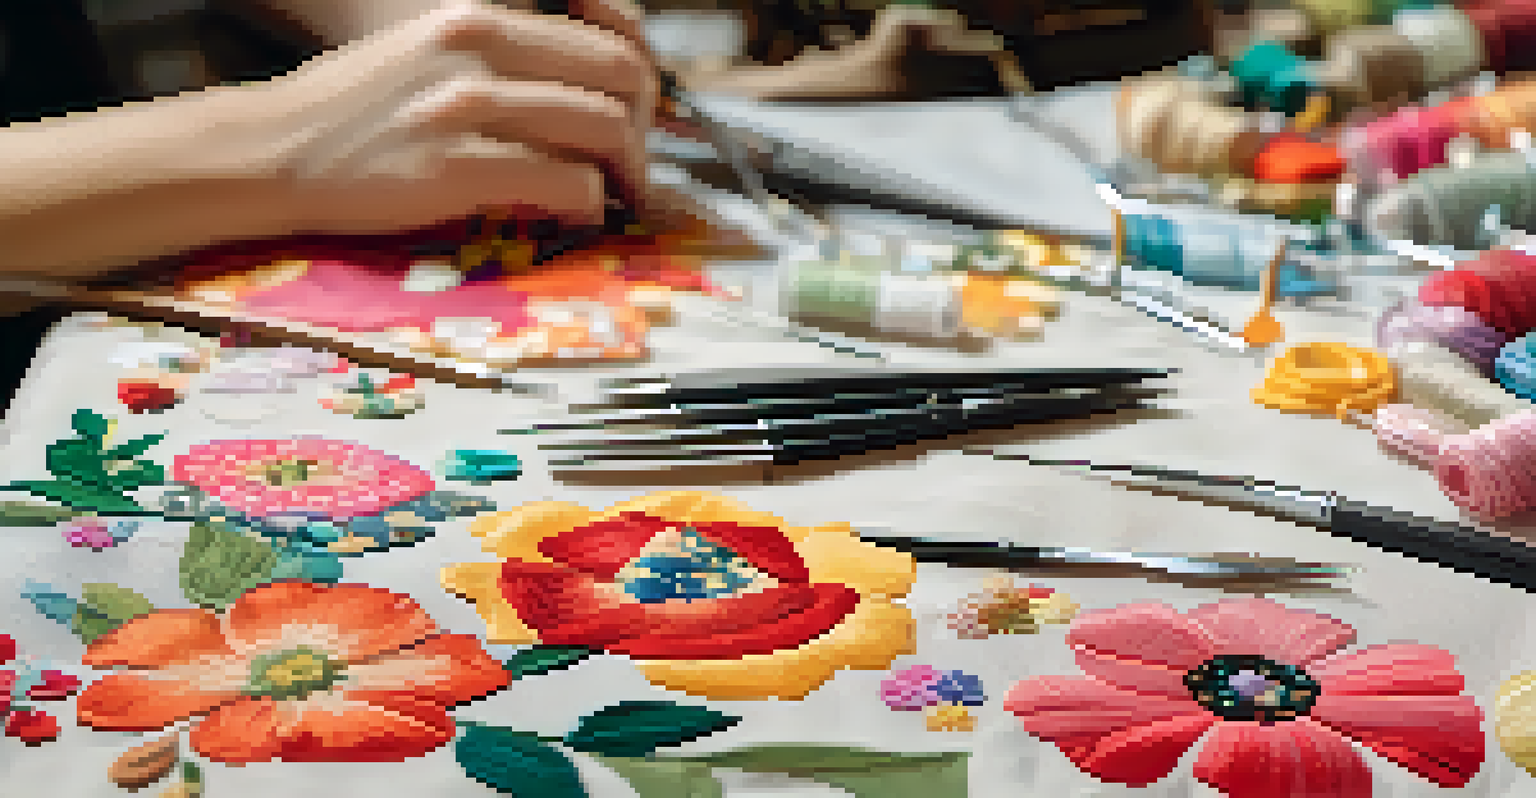
Now that your tote bag is complete, it’s time for some final touches! Consider adding pockets to the inside or outside for extra functionality. You can also personalize your bag with fabric paint, patches, or embroidery. This is where your creativity can truly shine!
If you're feeling extra crafty, you might even want to line your tote bag for a more professional look. Simply cut a second set of fabric pieces and follow the same steps for assembly. This will give your bag added structure and a beautiful finish.
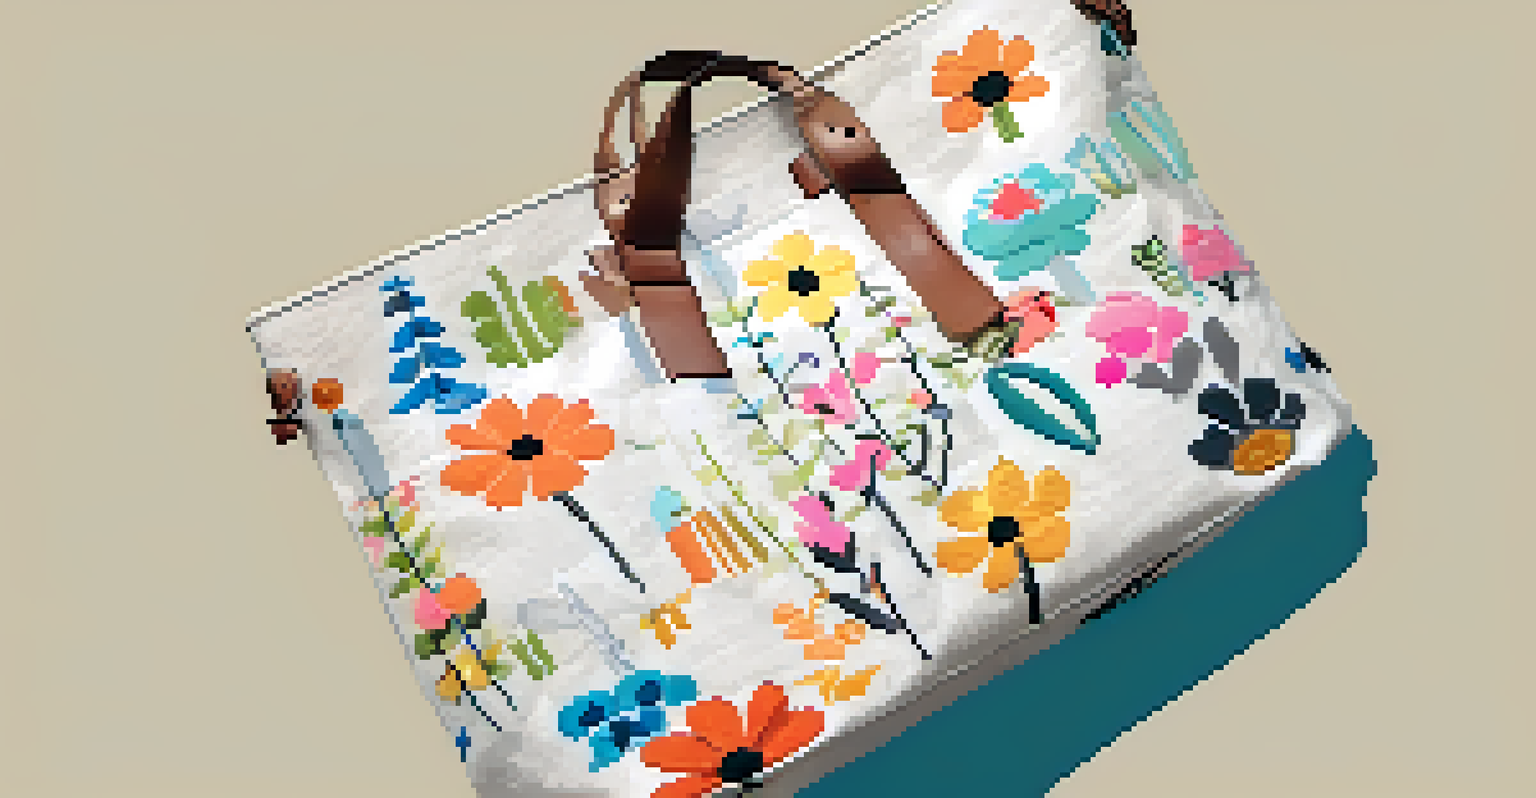
Remember, your tote bag is a reflection of your style, so have fun with it! Whether you keep it simple or go all out with decorations, the most important part is that you enjoy the process.
Enjoy Your New Tote Bag and Share Your Experience
Congratulations! You’ve successfully sewn your own tote bag, and now it’s time to put it to good use. Whether you use it for shopping, beach days, or as an everyday carry-all, your new bag is ready for action. Don't forget to show it off to family and friends—they'll be impressed by your handiwork!
If you enjoyed this project, consider sharing your experience on social media or with fellow crafting enthusiasts. You might inspire someone else to pick up a needle and thread and create their own tote bag. Plus, sharing tips and tricks can help others improve their sewing skills.
Remember, sewing is a journey. The more you practice, the more confident you'll become. So, keep creating and experimenting with new projects—who knows what you’ll make next!