How to Make Soap in Different Shapes: Fun Techniques
Getting Started with Soap Making Basics
Before diving into creative shapes, it's important to understand the basics of soap making. At its core, soap is made through a chemical reaction called saponification, which involves mixing oils with an alkali, usually lye. Familiarizing yourself with these ingredients and processes ensures a successful start to your soap-making journey.
Soap making is an art, and the process is just as beautiful as the final product.
You'll need essential tools like a digital scale, thermometer, and safety gear, especially gloves and goggles, since lye can be hazardous. Once you have your workspace set up and your materials gathered, you’ll be ready to explore the fun side of soap making. With a solid foundation, you can confidently move on to crafting unique shapes.
Remember, the goal is not just to create soap, but to experiment and enjoy the process. So, gather your ingredients and let the creative fun begin!
Choosing the Right Soap Base for Shaping
When it comes to making soap in fun shapes, selecting the right soap base is crucial. There are two primary types: melt-and-pour and cold process. Melt-and-pour is user-friendly and perfect for beginners, while cold process allows for more customization but requires more skill and patience.
If you're looking for vibrant colors and interesting textures, melt-and-pour soap bases are ideal. They come in various types, such as glycerin or shea butter, and can easily be melted and poured into molds. On the other hand, if you're ready to experiment, the cold process gives you the freedom to create unique blends and designs.
Begin with Soap Making Basics
Understanding saponification and gathering essential tools ensures a successful start to your soap-making journey.
Ultimately, your choice of soap base will influence the ease and fun of creating unique shapes, so choose one that aligns with your skills and creative goals.
Using Molds for Fun Soap Shapes
Molds are the heart of creating fun shapes in soap making. They come in all sorts of designs, from traditional bar shapes to whimsical animal figures and complex geometric patterns. Silicone molds are particularly popular due to their flexibility and ease of use, allowing for smooth soap removal.
Creativity is contagious, pass it on.
When choosing molds, consider the size and shape you want to create. Keep in mind that intricate molds may require a little more skill and patience, especially when it comes to pouring the soap without spilling. If you're new to soap making, starting with simple shapes will help build your confidence.
Once you've selected your molds, the real fun begins! You can pour colorful layers, incorporate textures, or even embed items like dried flowers or herbs for added visual interest.
Techniques for Layered Soap Designs
Layering is a fantastic technique to achieve visually striking soap designs. To create layers, simply pour your first layer of soap into the mold and let it partially set before adding another color or scent. This technique allows for endless customization and creativity.
Choosing complementary colors can make your layered soap pop, while contrasting colors can create a bold statement. You can also experiment with different scents for each layer, making your soap not only beautiful but fragrant as well. Remember to allow each layer to cool slightly before adding the next to prevent mixing.
Choose the Right Soap Base
Selecting between melt-and-pour or cold process soap bases influences both the ease of use and your creative possibilities.
Layered soap not only looks impressive but also offers a fun way to experiment with various ingredients. Don't be afraid to play around and see what unique combinations you can come up with!
Incorporating Natural Ingredients for Texture
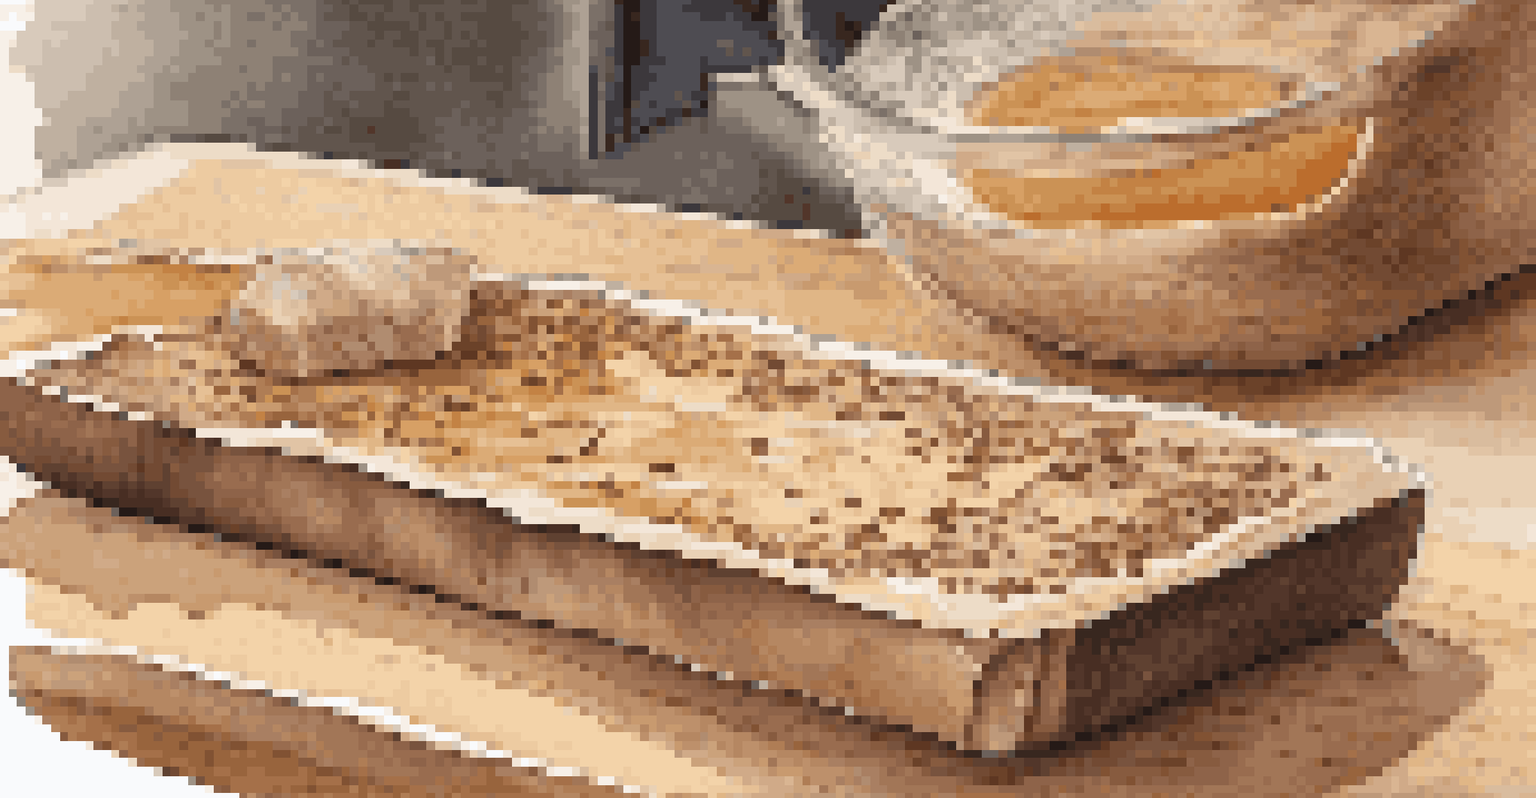
One of the joys of soap making is the ability to personalize your creations with natural ingredients. Adding items like oatmeal, coffee grounds, or dried herbs can provide texture and make your soap unique. These ingredients can also offer additional benefits, such as exfoliation or soothing properties.
When incorporating natural elements, consider their size and how they will interact with the soap. For instance, finely ground oatmeal can create a smooth texture, while larger pieces may provide a gentle scrub. Just be cautious not to overload your soap, as too many additives can affect the saponification process.
By adding natural ingredients, you not only enhance the aesthetic appeal of your soap but also create a product that feels luxurious and nourishing on the skin.
Experimenting with Fragrance and Color
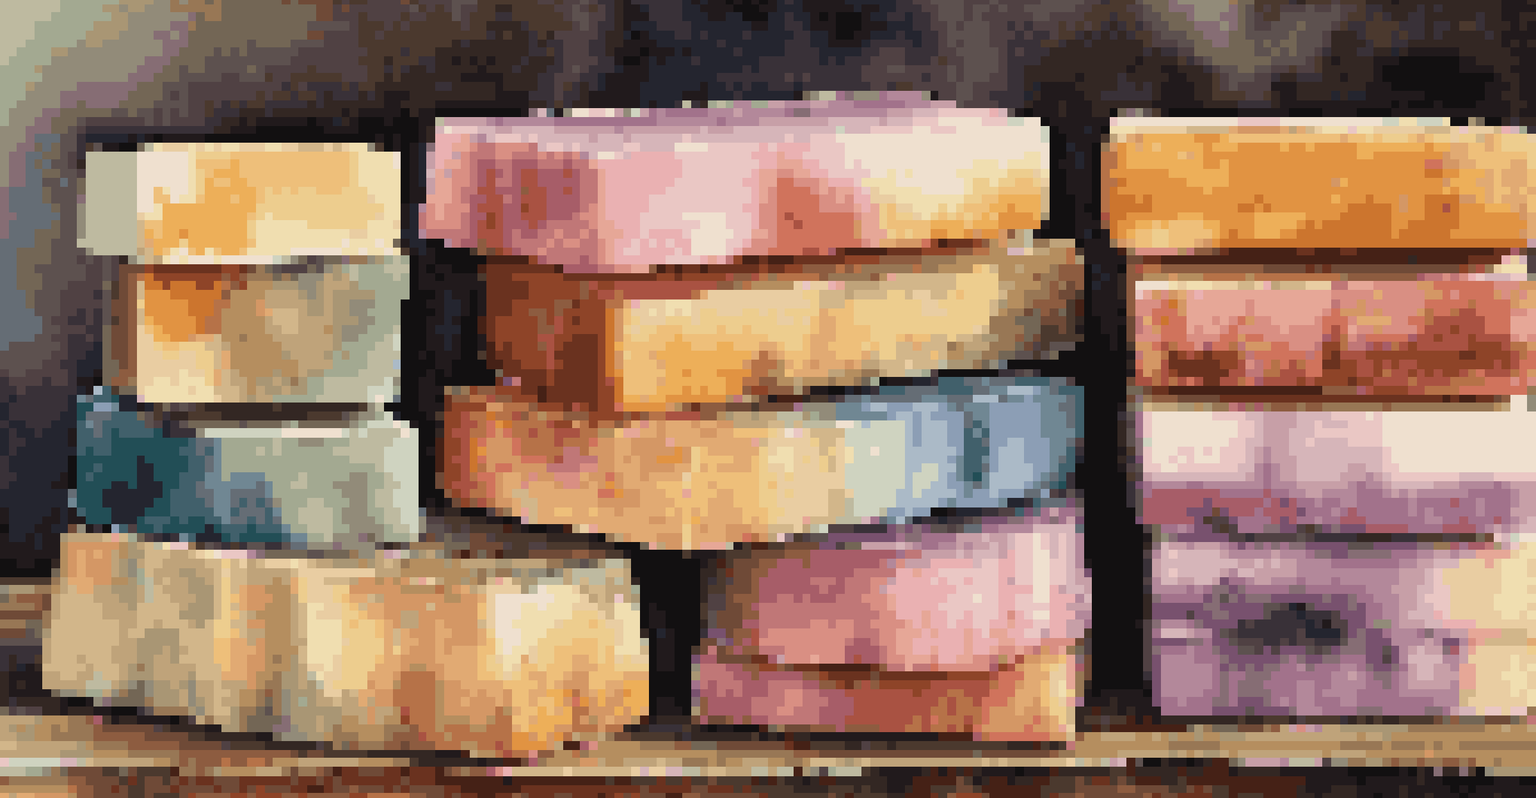
Fragrance and color are key elements that can transform your soap into a sensory experience. When selecting colors, you can use natural colorants like turmeric or beet powder, or opt for synthetic dyes designed for soap making. Both options allow you to create vibrant, eye-catching designs.
For fragrance, essential oils are an excellent choice as they add lovely scents while offering potential therapeutic benefits. Be sure to research which oils are safe for skin application and how much to use, as some scents can be quite potent. Mixing different essential oils can yield delightful combinations, enhancing the overall experience.
Enhance Soap with Natural Additives
Incorporating natural ingredients like oatmeal and essential oils adds texture and personal flair, making your soap unique.
Playing with color and fragrance not only makes your soap visually appealing but also adds a personal touch that reflects your unique style and preferences.
Finishing Touches: Packaging and Presentation
Once your soap has set and cured, it’s time for the finishing touches: packaging and presentation. This step is important, especially if you plan to gift your creations or sell them. Beautiful packaging can elevate your soap’s appeal and make it a standout product.
Consider using eco-friendly materials like kraft paper, muslin bags, or recycled boxes. You can also personalize your packaging with labels, ribbons, or stamps to reflect your brand's personality. A thoughtful presentation adds value and makes your soap more memorable.
Remember, the way you package your soap can tell a story about your creativity and care. So, take your time to make it as attractive as the soap itself!