How to Make Soap with Household Items: A Simple Guide
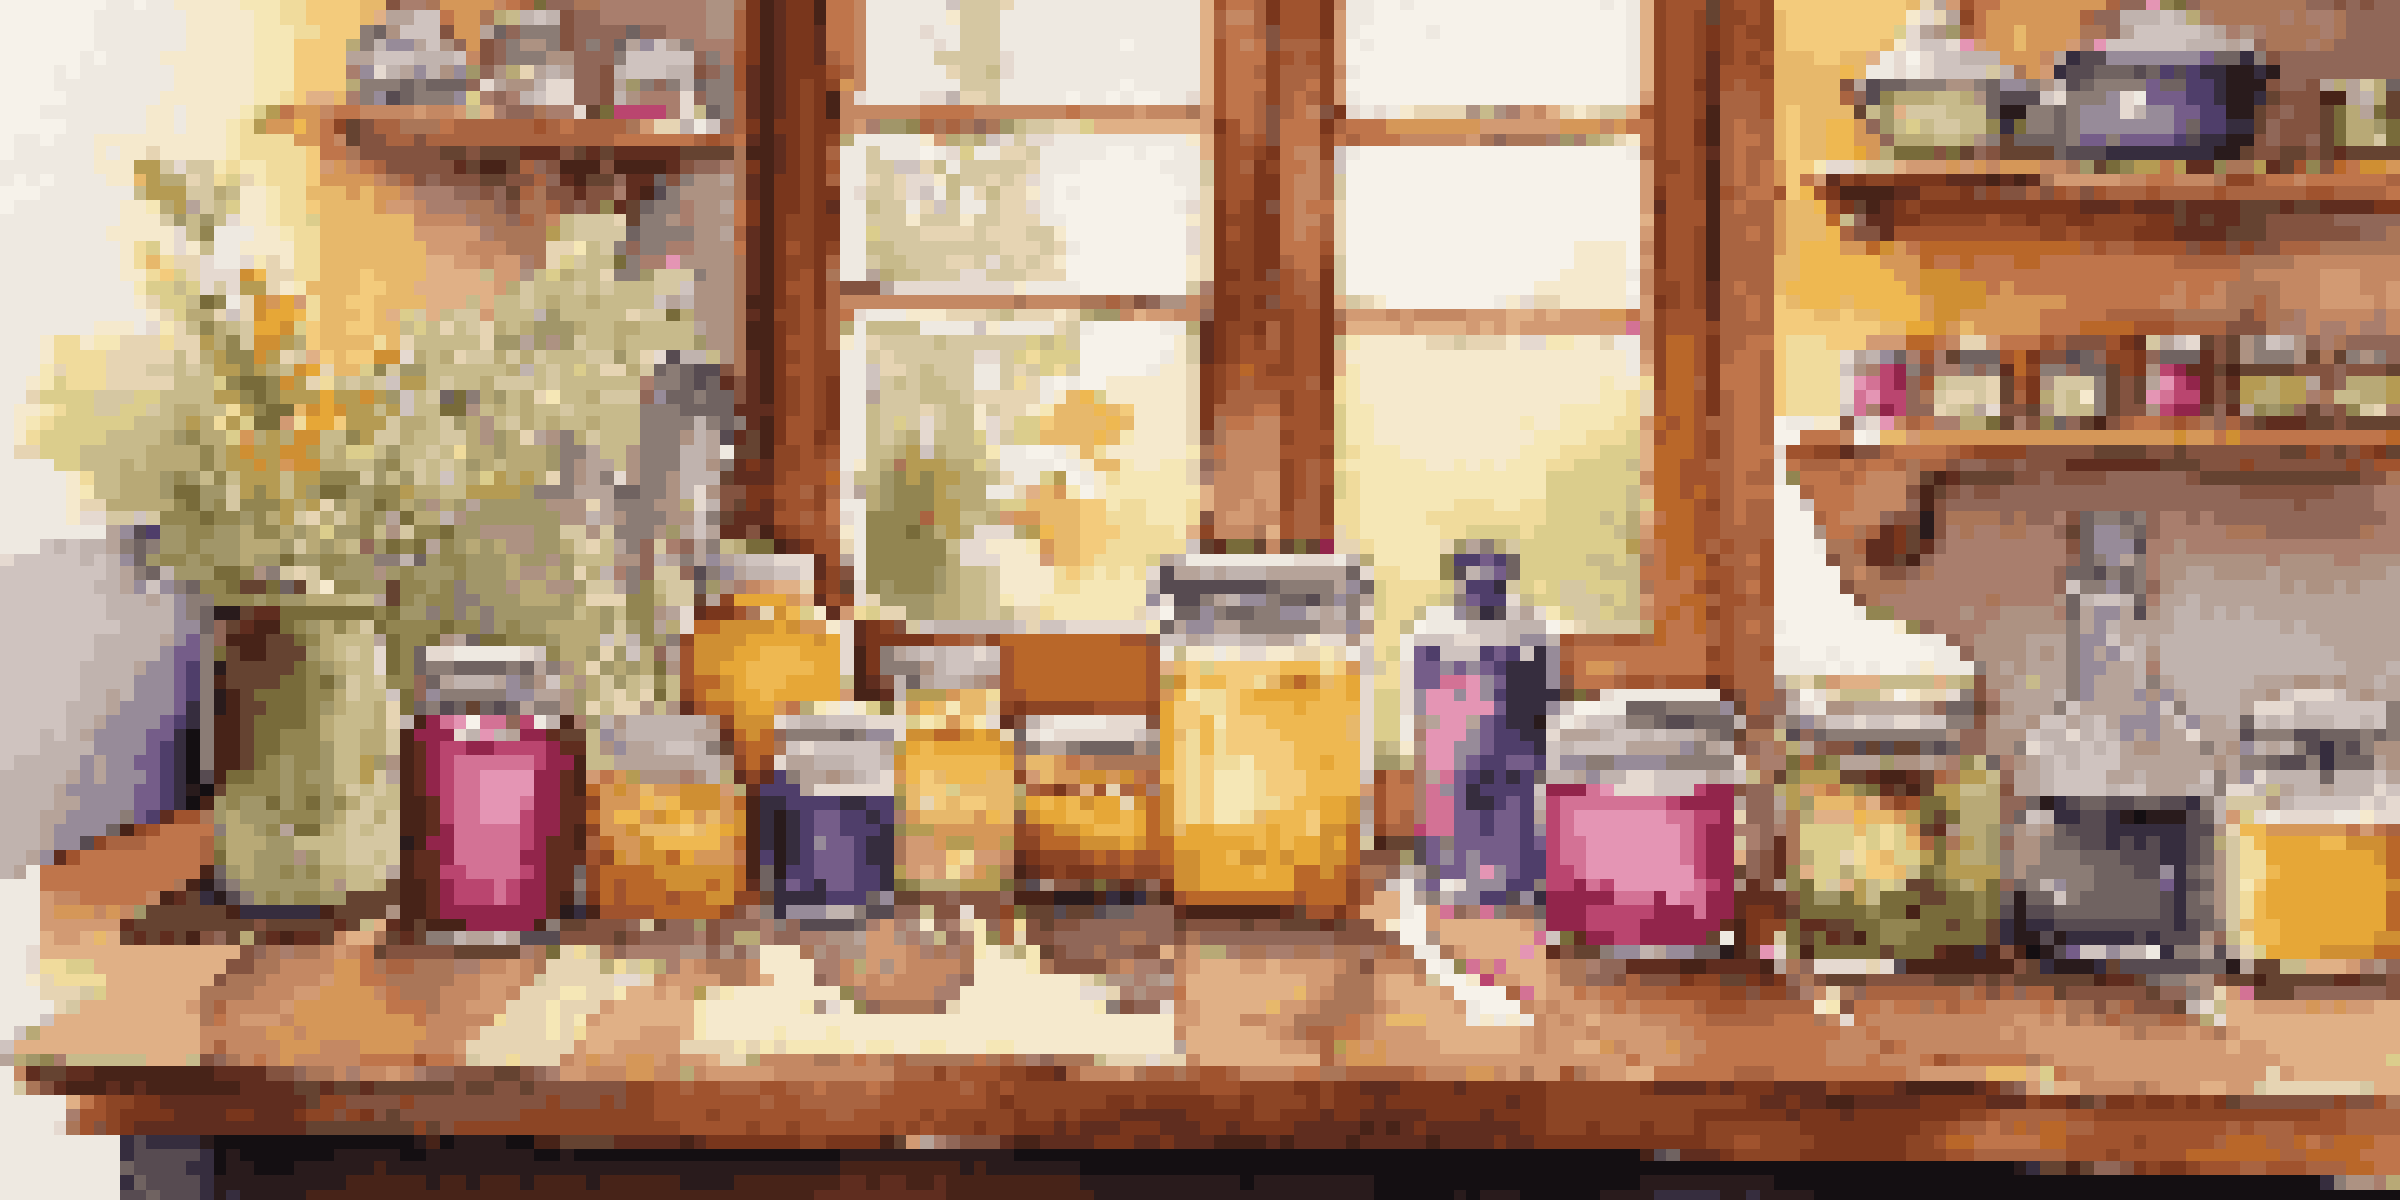
Gather Your Household Supplies for Soap Making
Before diving into soap making, it’s essential to gather all necessary supplies. You’ll need items like bar soap, water, and oils, which are likely already in your kitchen or bathroom. This not only makes the process more convenient but also keeps costs down.
The greatest gift of the garden is the restoration of the five senses.
Look for common household soaps, such as castile or glycerin soap, as your base. Additionally, consider using natural oils like olive or coconut oil to enhance the moisturizing properties of your soap. These ingredients are easy to find and safe to use, making your soap-making journey enjoyable.
Finally, don’t forget to include optional additives like essential oils for fragrance or natural colorants like turmeric or beetroot powder. These little touches can personalize your soap and make it uniquely yours!
Understanding the Basic Soap-Making Process
Soap making is a delightful mix of science and art. At its core, the process involves combining fats or oils with an alkali to create soap through a chemical reaction called saponification. This might sound complicated, but with a bit of practice, you’ll find it’s quite manageable.
The beauty of making soap at home is that you can customize it to your liking. You can experiment with different oils, scents, and textures until you find the perfect blend for your skin. Embrace the creative aspect and let your imagination run wild!
Gather Essential Soap-Making Supplies
Collect common household items like bar soap, oils, and optional additives to kickstart your soap-making adventure.
Remember, patience is key. Allow your soap to cure for a few weeks after making it, as this helps the soap harden and improves its quality. This waiting period is a chance to prepare for the delightful results of your hard work.
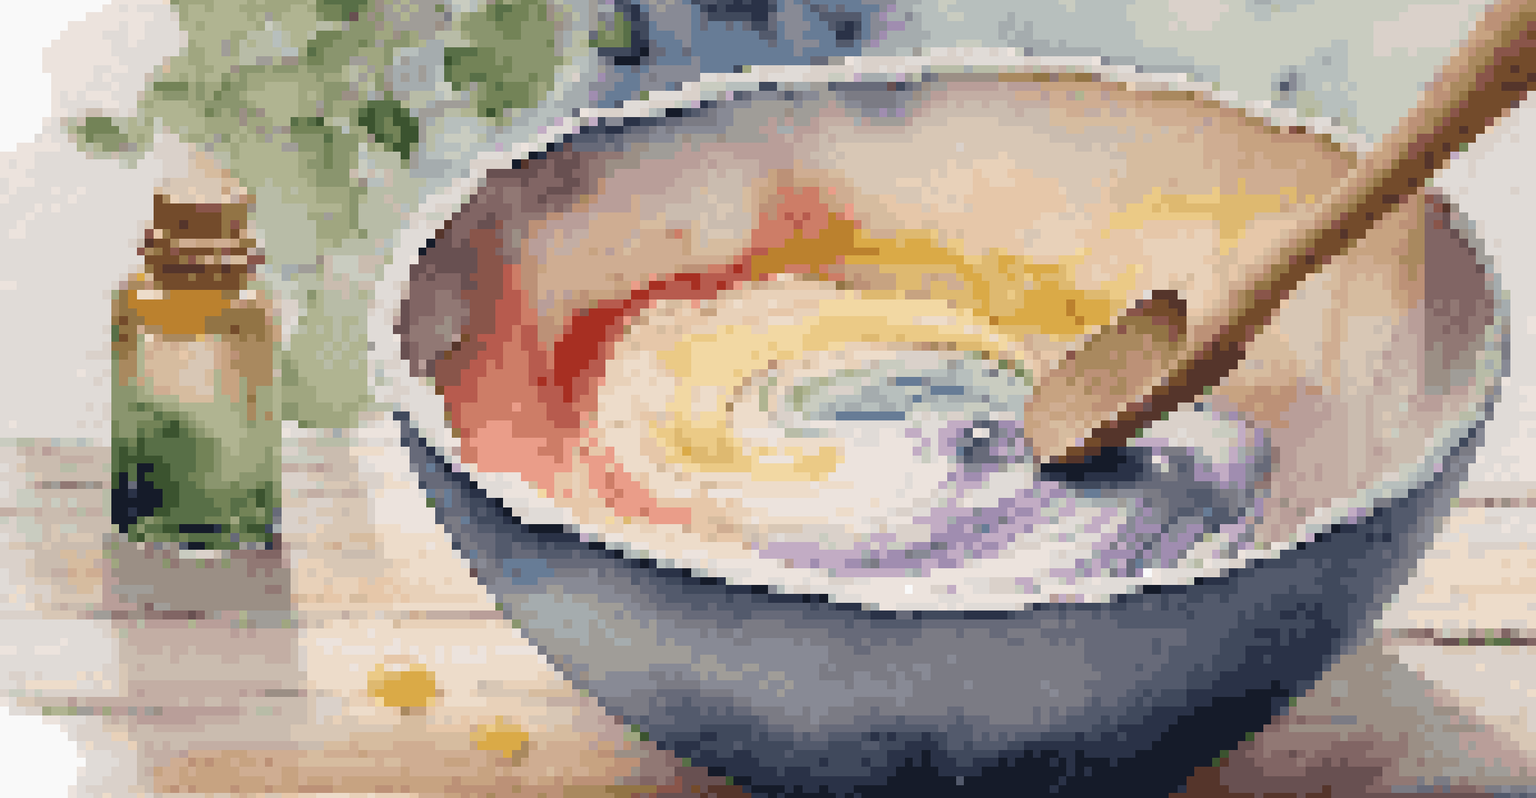
Step-by-Step Guide to Melting and Mixing Ingredients
Start by cutting your bar soap into small pieces to ensure it melts evenly. You can use a microwave or a double boiler for this step. If using a microwave, heat it in short intervals and stir in between to avoid overheating.
Creativity is intelligence having fun.
Once your soap is melted, add in the oils you’ve chosen, mixing them thoroughly. This is where you can start to see your unique creation come to life. Be sure to blend the ingredients well to ensure an even distribution of moisture and scent.
If you’re adding colorants or fragrances, now’s the time to do so. Just a few drops can transform your soap, making it visually appealing and fragrant. Stir well to incorporate everything before pouring the mixture into molds.
Choosing the Right Molds for Your Soap
The mold you choose can make a big difference in the final look of your soap. You can use silicone molds, which are flexible and easy to remove, or repurpose items like muffin tins or ice cube trays for fun shapes. The key is to ensure they are clean and dry before pouring in your soap mixture.
Using molds not only shapes your soap but also adds a personal touch. Consider experimenting with different molds to create unique designs that reflect your personality or the occasion. It’s a fun way to make your soap stand out!
Customize Your Soap-Making Process
Experiment with different ingredients and molds to create unique soaps that reflect your personal style.
Once you’ve poured your mixture into the molds, gently tap them on the counter to release any air bubbles. This will help your soap achieve a smooth finish. Now, all that’s left is to let them set!
Curing Your Soap: Why It Matters
After pouring your soap into molds, it’s essential to let it cure properly. Curing allows the soap to harden and ensures that any excess moisture evaporates, resulting in a better quality bar. This stage can take anywhere from a few days to a few weeks, depending on your recipe.
During the curing process, it’s a good idea to store your soap in a cool, dry place away from direct sunlight. This helps prevent any unwanted reactions and keeps your soap looking great. Plus, it gives you something to look forward to as you wait for your handmade creations!
Patience is key here, but the payoff is worth it. Once your soap is cured, you’ll have a beautifully crafted product ready for use or gifting. It’s incredibly satisfying to know you made it yourself!
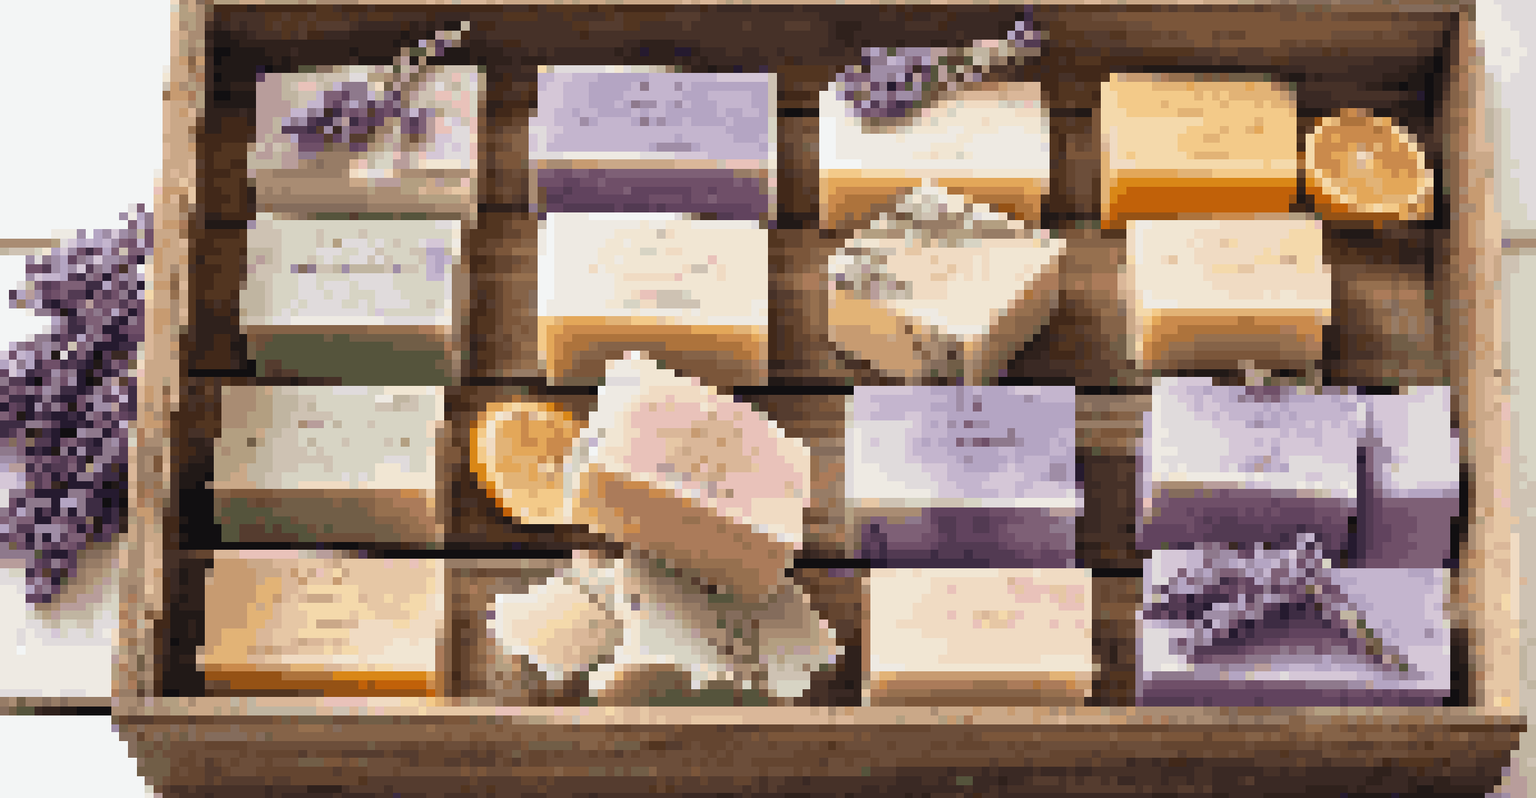
Cutting and Storing Your Finished Soap Bars
Once your soap has fully cured, it’s time to cut it into bars. If you used a loaf mold, a sharp knife or soap cutter will work well. Aim for even sizes to ensure consistent usage and presentation. If you’re feeling adventurous, you can even create unique shapes with cookie cutters!
Proper storage of your finished soap is crucial to maintaining its quality. Store your bars in a cool, dry place, preferably wrapped in paper or cloth to protect them from moisture. Avoid plastic wraps, as they can trap moisture and lead to soggy soap.
Allow Soap to Cure for Best Quality
Proper curing is crucial for achieving a hard, high-quality soap, so be patient and store it correctly during this time.
Finally, don’t forget to label your creations if you made different types of soap. This will help you remember the ingredients and scents, especially if you plan to gift them or use them later. Enjoy the satisfaction of having handcrafted soap that you can use or share!
Tips for Personalizing Your Soap-Making Experience
Soap making is all about personalization. Don’t hesitate to experiment with different scents, colors, and additives to create a soap that’s truly yours. You could add dried herbs, oatmeal, or even coffee grounds for texture and exfoliation, making your soap not just beautiful but also functional.
Consider creating themed soaps for special occasions or seasons. For instance, a lavender soap for relaxation or a citrus soap for a refreshing morning routine can be delightful. This adds a thoughtful touch to your gifts or personal use.
Lastly, keep a notebook of your experiments. Jot down what worked, what didn’t, and any new ideas that come to you. This way, you’ll be able to refine your technique and create even more amazing soaps in the future!