How to Use Soap Molds for Creative Shapes and Designs

Understanding Soap Molds: The Basics
Soap molds come in various shapes and materials, providing a canvas for your creativity. Whether you prefer silicone, plastic, or wood, each type offers unique benefits, such as flexibility or durability. Understanding these options is the first step in selecting the right mold for your project.
Creativity takes courage.
Silicone molds are particularly popular because they allow for easy removal of soap once it's set. On the other hand, wooden molds can provide a rustic aesthetic and are perfect for larger batches. By knowing your options, you can choose the mold that best suits your artistic vision.
Additionally, consider the size and shape of the mold. Some molds create bars, while others make intricate designs like flowers or animals. This choice will influence not just the look of your soap but also how it's used, whether as a decorative piece or a practical item.
Choosing the Right Soap Recipe for Molds
Selecting a suitable soap recipe is crucial when using molds, as different formulas can behave differently. Melt-and-pour soap bases are incredibly versatile and work well with various molds, allowing for easy experimentation. Alternatively, cold process soap requires more precision due to its chemical reactions.
When choosing your recipe, consider the temperature and texture of the soap mixture. Some molds can withstand higher temperatures, while others may warp if exposed to heat. This is particularly important when you're making intricate designs that require a stable base for pouring.
Choose the Right Soap Mold
Selecting the appropriate soap mold, whether silicone, plastic, or wood, is crucial for achieving the desired shape and aesthetic in your soap-making projects.
Don’t forget to factor in additives like colorants and fragrances, as they can alter the consistency of your soap. By experimenting with different recipes, you'll discover the best combinations for the molds you have, leading to unique and creative designs.
Preparing Your Molds for Soap Making
Before pouring your soap, preparation is key to achieving the best results. Start by cleaning your molds thoroughly to remove any dust or residues that could affect the final product. Ensuring your molds are dry will help the soap release easily once it's solidified.
The best way to predict the future is to create it.
Next, consider using a mold release spray or lining your mold with parchment paper. This step can save you frustration when it comes time to demold your creations. A small amount of preparation goes a long way in ensuring a smooth process.
Finally, make sure your molds are positioned on a flat surface to avoid spills. It's all about setting yourself up for success, so take the time to prepare properly and your creativity will shine through in the finished soap.
Creative Techniques for Unique Soap Shapes
Once your molds are prepared and your soap mixture is ready, it’s time to get creative! Consider layering different colors of soap to create a marbled effect, or use a piping technique to add decorative swirls on top. These techniques can elevate your soap from simple to stunning.
Another fun approach is to embed objects like dried flowers, herbs, or even small toys in your soap. This adds a personal touch and can make your soaps great gifts. Just ensure whatever you embed is safe for skin contact and won’t affect the soap’s performance.
Prepare Molds for Best Results
Properly preparing your molds by cleaning and using a release agent ensures easy demolding and a smooth soap-making process.
Experimenting with different pouring techniques can also yield unique shapes and designs. For instance, try pouring at different heights or angles to create interesting textures. With a little practice, you’ll discover your own signature style in soap making!
Incorporating Colors and Fragrances into Soap Designs
Color and fragrance can significantly enhance the appeal of your handmade soaps. When adding colorants, remember that a little goes a long way; start with small amounts and gradually increase until you achieve the desired shade. Natural colorants like turmeric or spirulina can also add an earthy vibe.
Fragrance oils are another exciting aspect of soap making. Select scents that complement your theme or mood, whether it’s refreshing citrus or calming lavender. Just ensure that the fragrance is skin-safe and suitable for your soap recipe.
Combining colors and scents can create a sensory experience for your soaps. Think about how the colors reflect the fragrance and how they might appeal to your audience. With thoughtful combinations, you can create soaps that are not just visually appealing, but also a joy to use.
Demolding and Curing Your Soap Creations
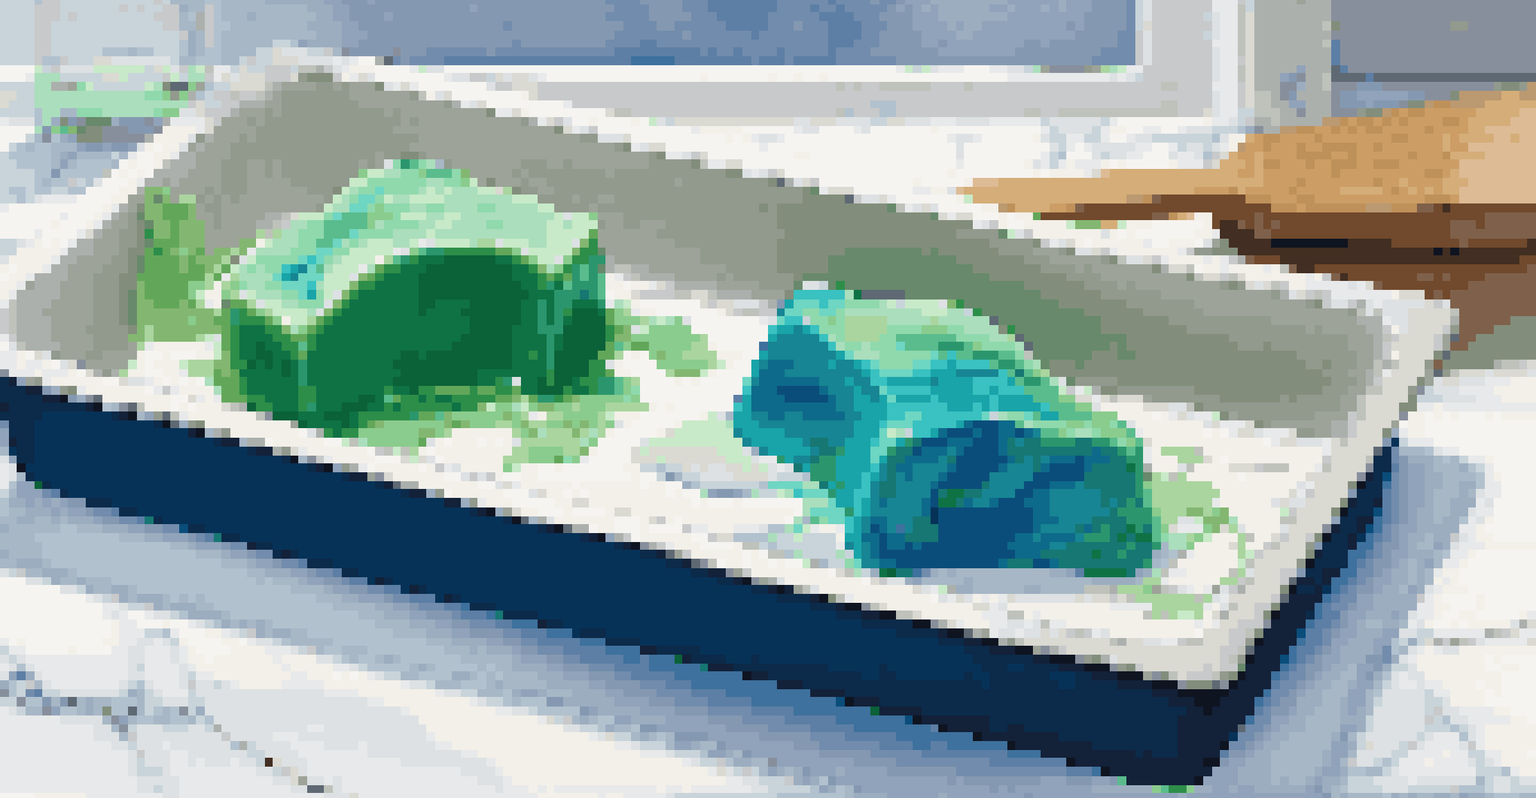
After your soap has set, the moment of truth arrives: demolding! Gently flex the silicone molds or tap the edges of plastic molds to help release your soap. If using wooden molds, you may need to use a knife to loosen the edges before popping it out.
Once demolded, it’s essential to cure your soap, especially if you’ve used the cold process method. Curing helps the soap develop its full hardness and improves its lather. Typically, soap should cure for about four to six weeks in a cool, dry place.
Enhance with Color and Fragrance
Incorporating carefully chosen colors and fragrances can elevate your handmade soaps, creating a delightful sensory experience for users.
During curing, make sure to store your soaps in a well-ventilated area to prevent moisture buildup. This step is crucial for achieving a quality final product that lasts longer and feels great on the skin. Patience is key, and the results will be worth it!
Packaging and Presenting Your Soap Designs
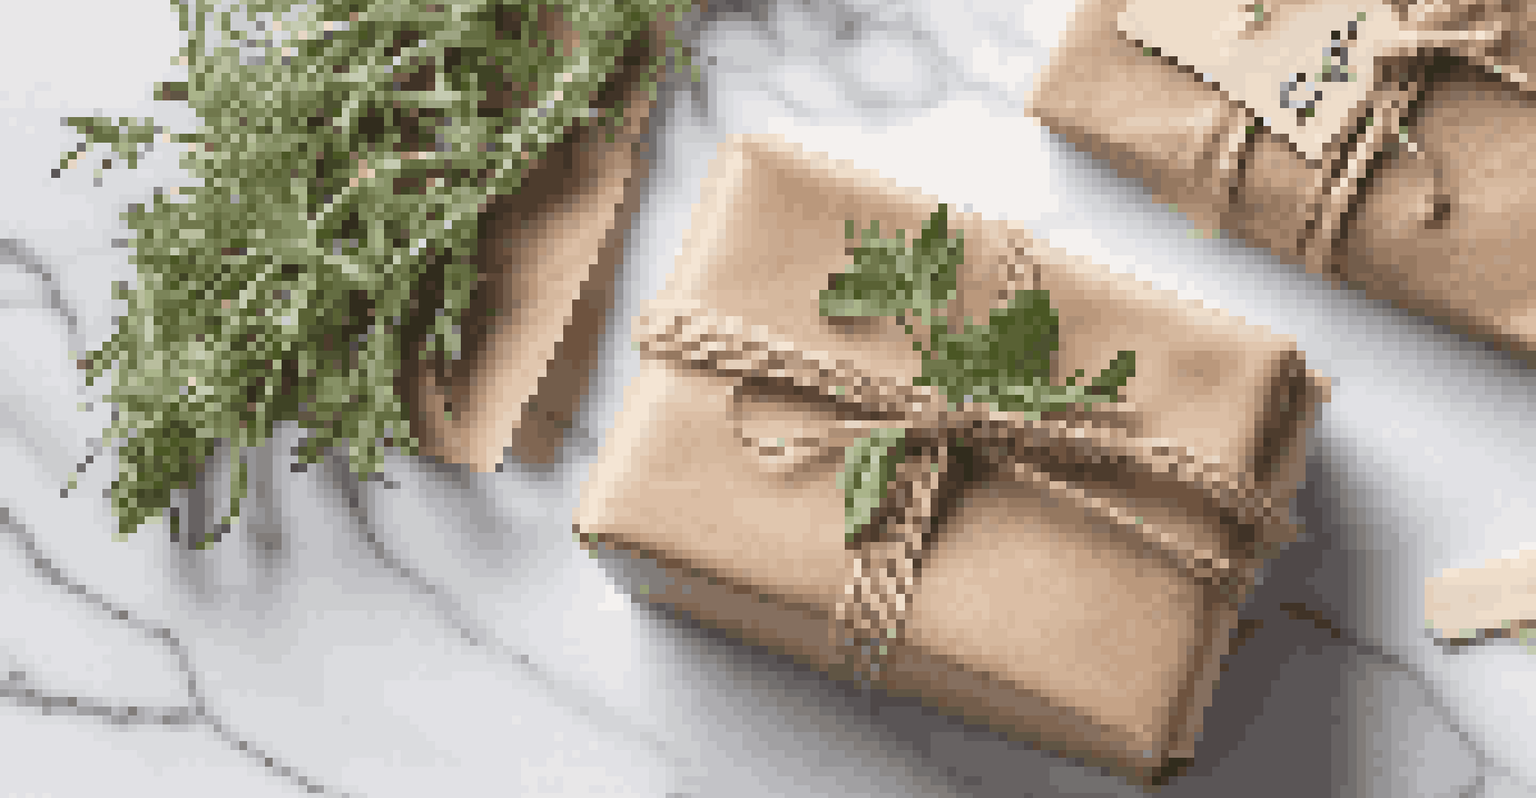
Once your soaps are fully cured, it’s time to think about packaging and presentation. The way you package your soaps can enhance their appeal and make them perfect for gifts or sales. Simple options include wrapping them in kraft paper or placing them in clear bags tied with ribbons.
For a more upscale look, consider using custom labels or boxes that reflect your brand’s aesthetic. Beautifully packaged soaps can attract attention at markets, shops, or online, making them more desirable to customers. Think about how your packaging can tell a story.
Don't forget to include information about the ingredients and benefits of your soaps. This transparency builds trust with your audience and helps them make informed choices. A little thought in presentation can turn your creative soap designs into standout products!