Understanding the Saponification Process in Soap Making
What is Saponification and Why is it Important?
Saponification is a chemical reaction that transforms fats and oils into soap. This process is crucial for anyone looking to make soap at home, as it dictates the quality and properties of the final product. Without understanding saponification, your soap-making efforts might not yield the desired results.
Soap is to the body what laughter is to the soul.
In simple terms, saponification occurs when a base, typically lye (sodium hydroxide), reacts with triglycerides found in fats and oils. The result? A beautiful, functional soap that can be customized with scents and colors. Knowing this process allows you to create soap that is not only effective but also tailored to your skin's needs.
Understanding saponification also helps in grasping the balance of ingredients. The right ratios ensure that the soap isn’t too harsh or too oily, giving you the perfect bar every time. So, let's dive deeper into how this fascinating process works.
The Science Behind Saponification
At its core, saponification is a hydrolysis reaction that breaks down fats into fatty acids and glycerol. When mixed with lye, these fatty acids react to form soap molecules and glycerin, which is a natural moisturizer. This scientific transformation is what makes soap effective at cleaning and nourishing the skin.
It's important to note that this reaction is exothermic, meaning it releases heat. This is why safety precautions are essential when working with lye; it can get quite hot and dangerous. Understanding this aspect of saponification ensures that you handle your materials safely and efficiently.
Understanding Saponification Basics
Saponification is the chemical reaction that turns fats and oils into soap, requiring knowledge of ingredients and ratios for successful soap-making.
Additionally, the type of fat or oil you use will influence the characteristics of your soap. For example, coconut oil creates a hard bar with rich lather, while olive oil produces a gentler, moisturizing soap. Knowing the science allows you to experiment and create your unique blends.
Ingredients Needed for Saponification
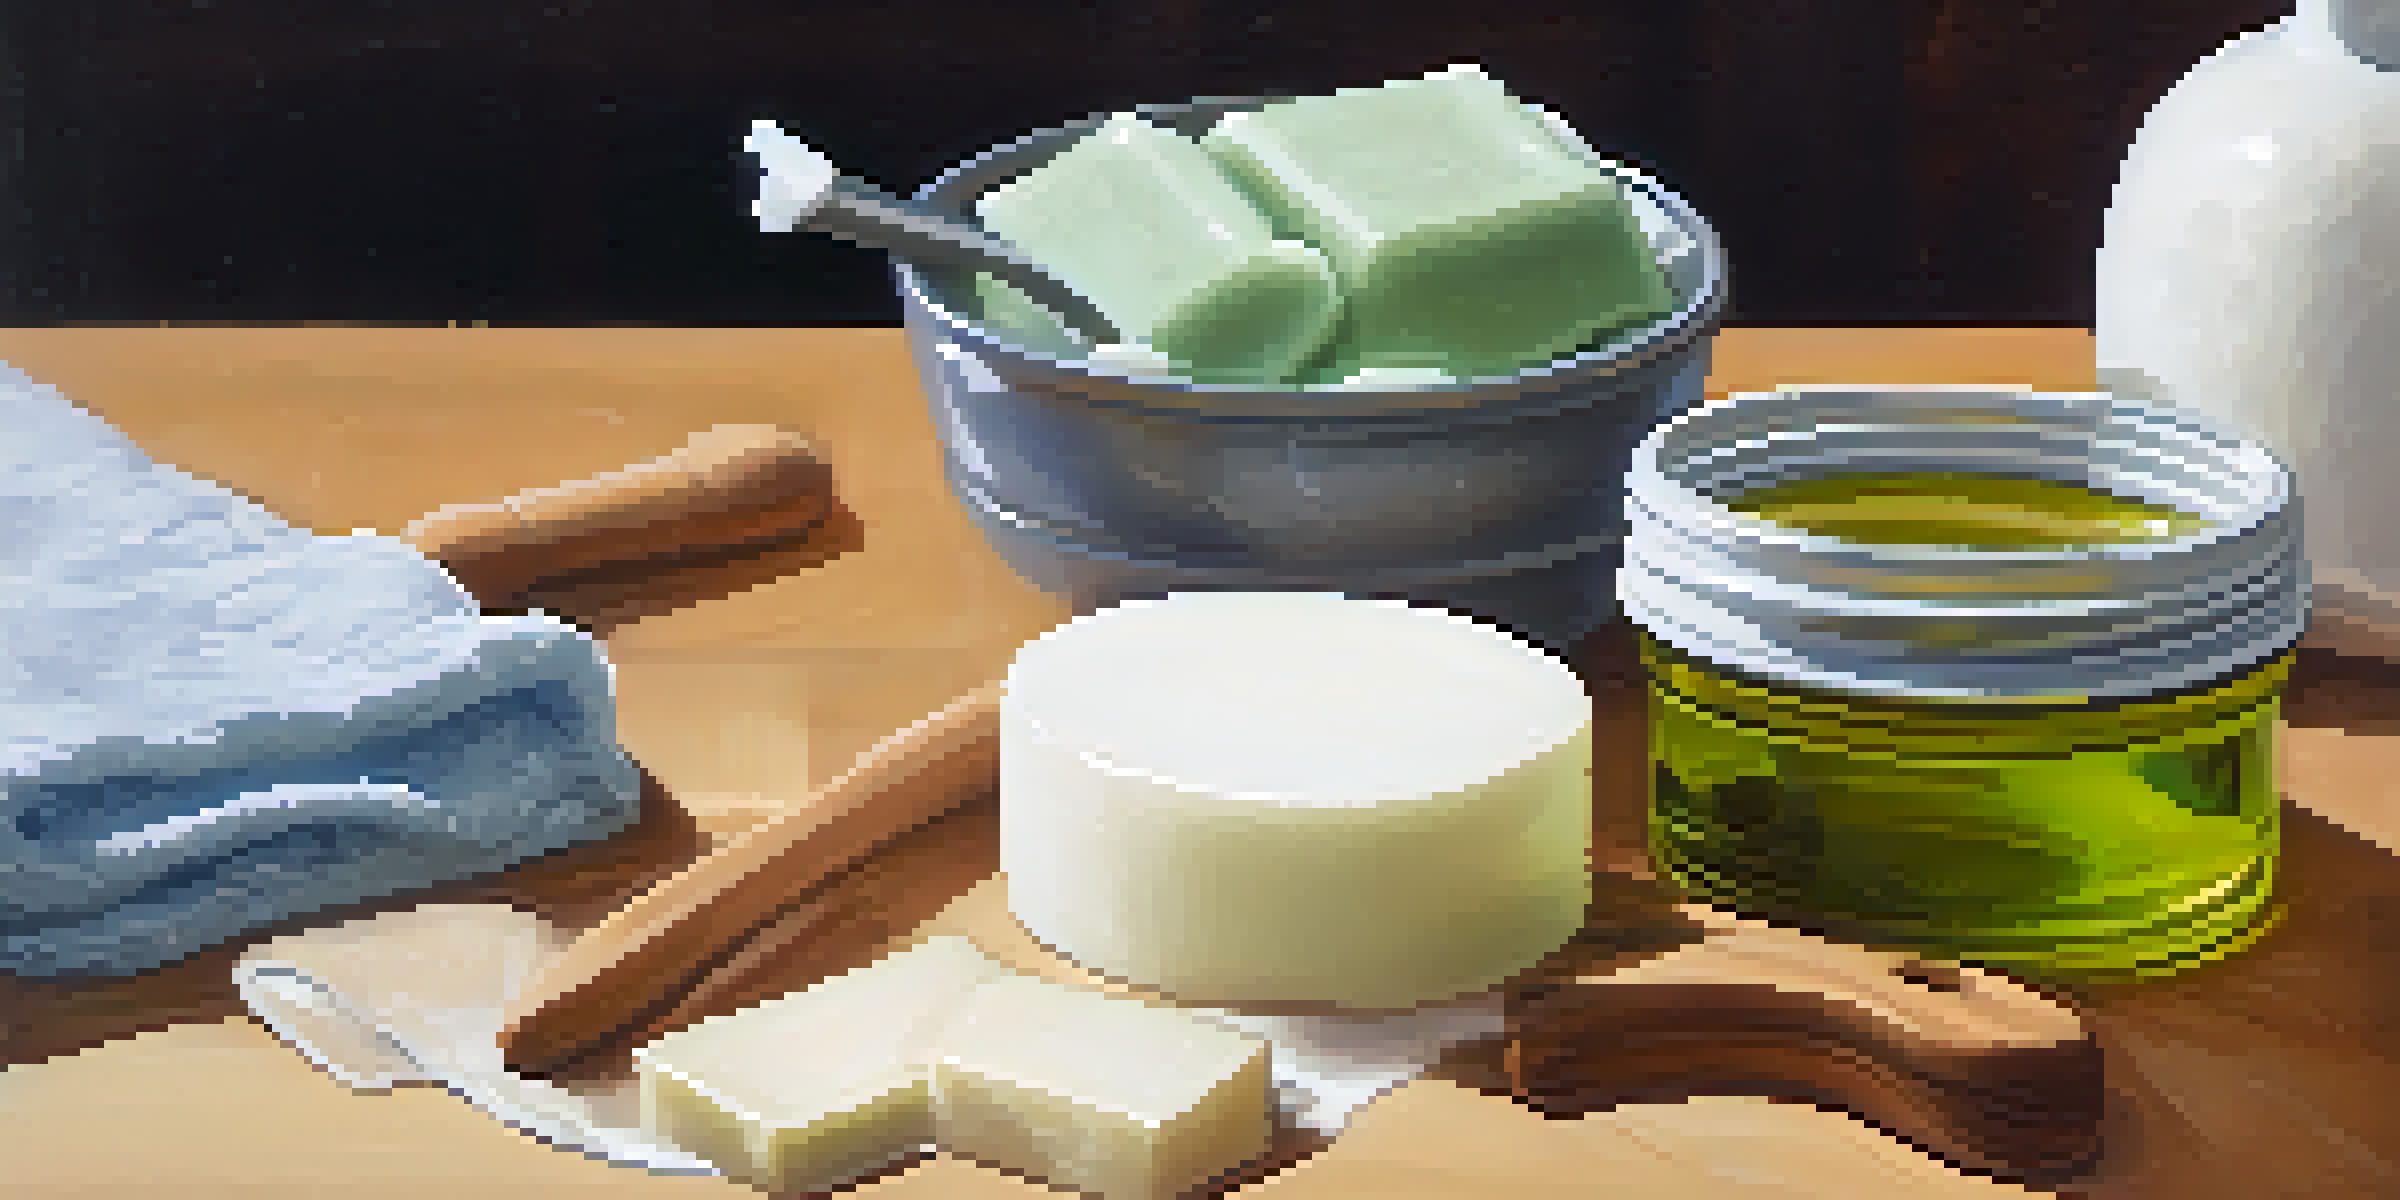
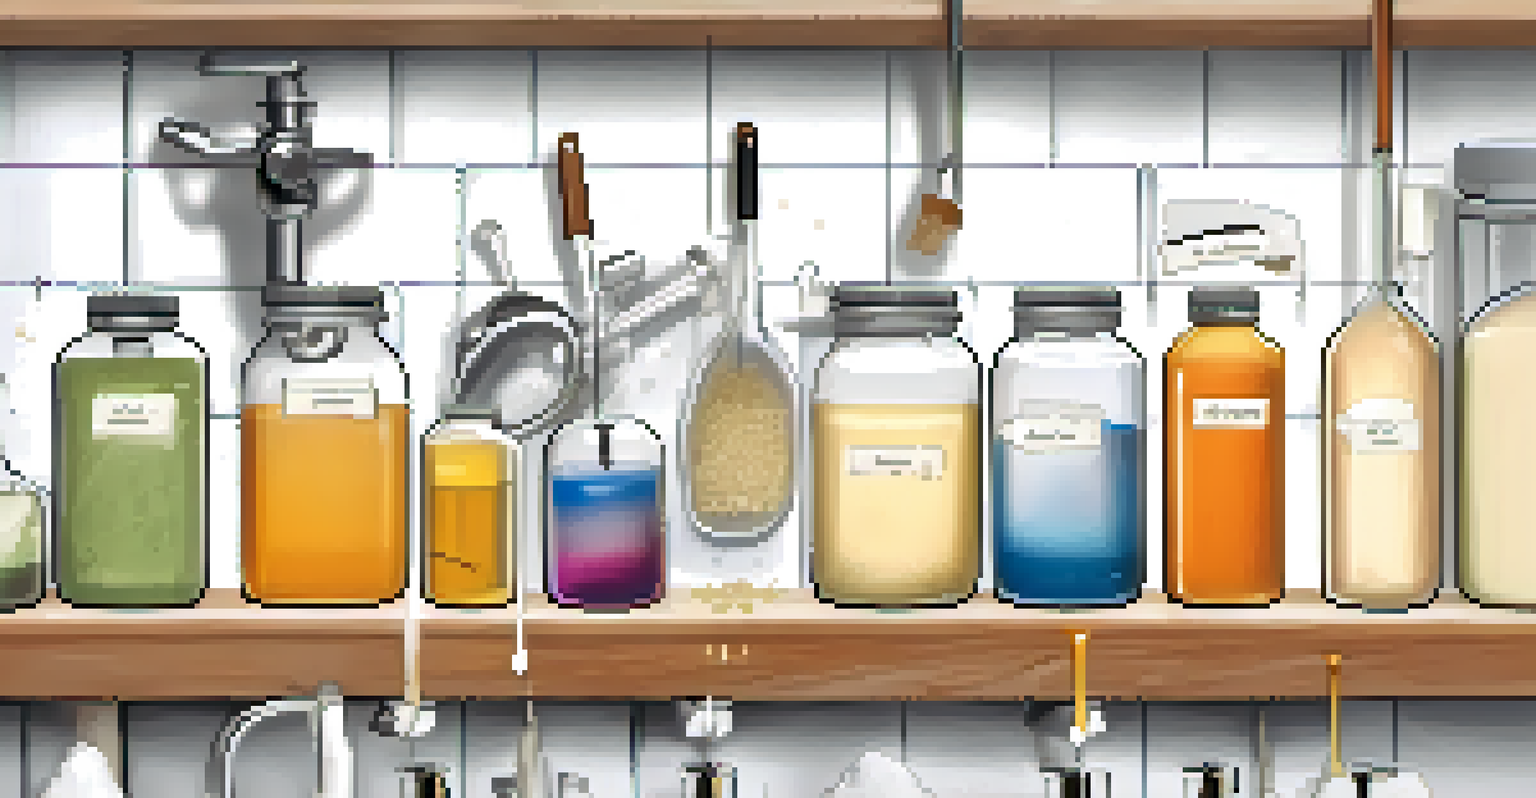
To initiate the saponification process, you'll need three main ingredients: a fat or oil, lye, and water. Each ingredient plays a vital role in the final product, with lye being the key agent that starts the chemical reaction. It's crucial to measure these components accurately to achieve the best results.
The best way to predict the future is to create it.
Common oils used in soap making include olive oil, coconut oil, and palm oil, each contributing unique properties to the soap. For instance, olive oil is renowned for its moisturizing qualities, while coconut oil helps produce a bubbly lather. Understanding the characteristics of different oils allows you to craft soap that meets your specific needs.
Don’t forget about safety gear when working with lye! Protective gloves and goggles are essential to protect your skin and eyes from potential burns. Being prepared ensures a smooth saponification process and a successful soap-making experience.
The Saponification Process Step-by-Step
The saponification process starts by carefully mixing lye with water. This mixture will heat up as it dissolves, so it's important to let it cool before combining it with your oils. Once the lye solution is ready, it's time to mix it with your chosen fats or oils, ensuring everything is at a similar temperature for the best results.
As you blend the lye and oils, you'll notice the mixture thickening – this is known as 'trace.' At this stage, you can add any essential oils or colorants to customize your soap. The trace stage is crucial; it indicates that the saponification process is well underway and that your soap will set properly.
Safety is Crucial with Lye
When working with lye, it's essential to wear protective gear and handle it carefully due to its caustic nature and heat generation.
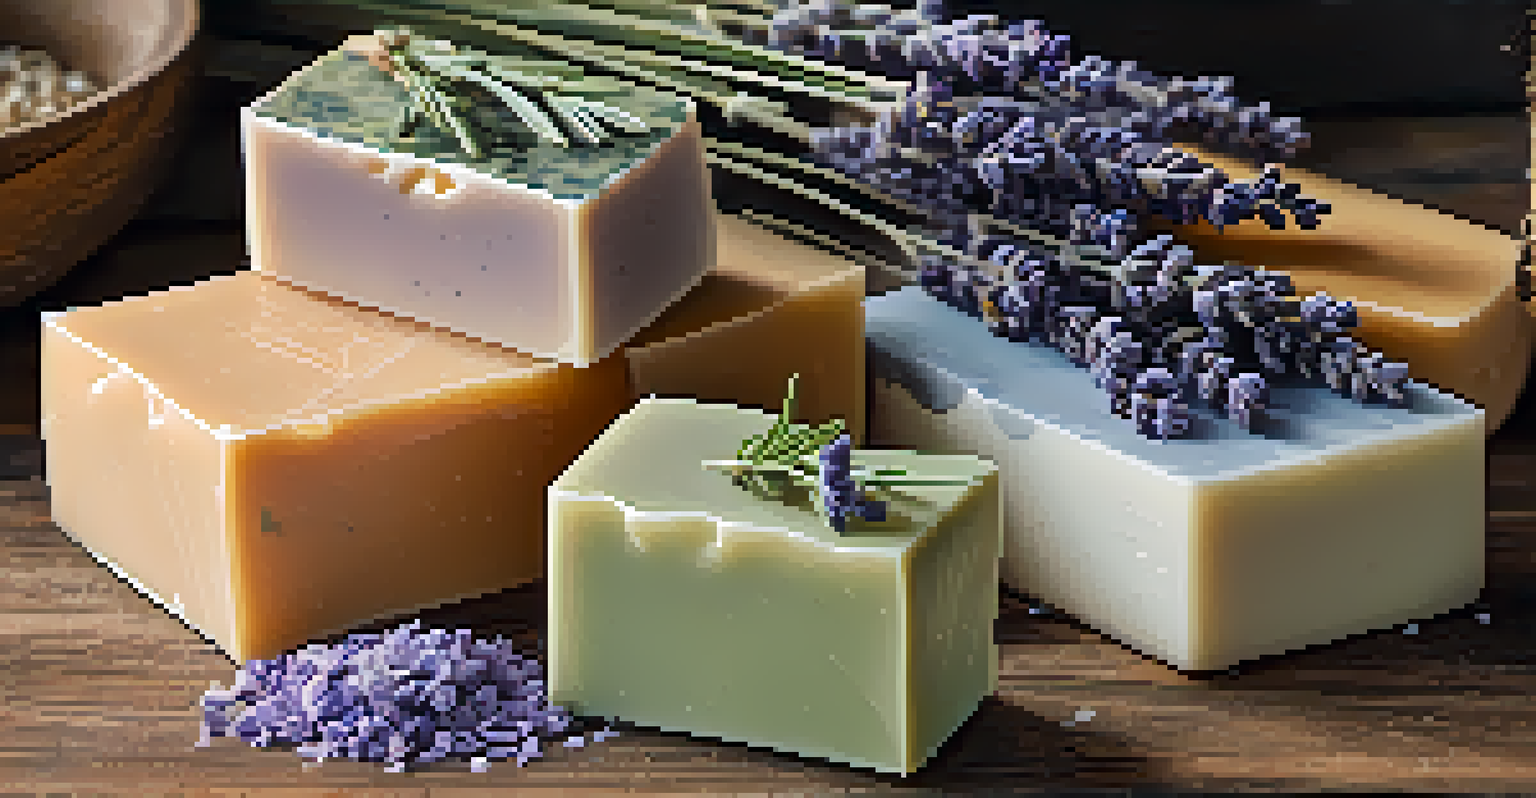
After mixing, pour the soap into molds and let it sit for 24-48 hours. During this time, the soap will harden, and the saponification process will continue. Once fully cured, you can cut and enjoy your very own homemade soap!
Curing and Storing Your Soap
After the initial saponification, your soap needs time to cure. This process allows excess water to evaporate, resulting in a harder bar that lasts longer. Typically, curing takes about 4 to 6 weeks, depending on the recipe and ingredients used.
Proper storage during the curing phase is essential. Store your soap in a cool, dry place, away from direct sunlight. This helps preserve the integrity of the soap and prevents it from becoming overly soft or losing its scent.
Once cured, your soap can be stored in a sealed container or wrapped in paper. Keeping the soap away from moisture and heat ensures it maintains its quality and effectiveness. After all, you want your handmade soap to shine when it's time to use or gift it!
Common Mistakes to Avoid During Saponification
Even seasoned soap makers can run into pitfalls during the saponification process. One common mistake is not measuring ingredients accurately, which can lead to a soap that is too harsh or doesn’t set properly. Invest in a good scale and take your time to ensure precision.
Another mistake is neglecting safety precautions when handling lye. Always wear gloves and goggles, and work in a well-ventilated area. Understanding the risks associated with lye helps foster a safe soap-making environment.
Curing Soap for Best Results
Properly curing soap for 4 to 6 weeks enhances its quality and durability, making it ready for use or gifting.
Lastly, don't rush the curing process. Cutting soap too early can lead to a messy outcome that doesn’t hold its shape. Patience is key; waiting for your soap to cure properly will reward you with a beautiful and functional product.
Exploring Variations of Saponification
Saponification isn't a one-size-fits-all process; it's versatile and can be adapted to suit different preferences. For instance, you can explore cold process or hot process methods, each offering unique benefits. Cold process requires more time but allows for intricate designs, while hot process speeds up the curing time.
Additionally, you can experiment with different oils, scents, and additives to create unique soaps. From herbal infusions to exfoliating agents like oatmeal, the possibilities are virtually endless. This creativity is part of what makes soap making such a rewarding hobby.
As you gain more experience, consider exploring advanced techniques like swirling colors or embedding objects into your soap. Each variation brings new opportunities for creativity and personal expression in your soap-making journey.