Restoration of Vintage Car Bodywork: A Guide for Beginners
Understanding the Basics of Car Restoration
Before diving into the restoration of vintage car bodywork, it's essential to grasp the fundamentals. Restoration is not just about aesthetics; it involves preserving the car's history while enhancing its functionality. Think of it like storytelling—each dent and scratch has a tale to tell, and your job is to honor that narrative through careful restoration.
Restoration is a process, not an event.
Most vintage cars come with unique characteristics that require special attention. Understanding the model's history, materials used, and previous restorations can significantly impact your approach. This foundational knowledge will help you make informed decisions as you embark on your restoration journey.
Lastly, it's vital to set realistic expectations for your project. Restoration can be time-consuming and may require a range of skills—from welding to painting. However, with patience and dedication, you can bring that classic beauty back to life, one step at a time.
Gathering Essential Tools and Materials
Before you start any restoration work, gathering the right tools is crucial. Basic tools like wrenches, hammers, and screwdrivers are a good start, but specialized equipment such as sanders and welding machines may also be necessary, depending on the extent of the bodywork required. Think of it like preparing for a kitchen renovation; the right tools make all the difference in the outcome.
In addition to tools, having the proper materials is equally important. This includes body fillers, primers, and paints that match the vintage car's original look. Researching and sourcing quality materials can save you time and frustration later on, ensuring your restoration stands the test of time.
Foundation of Car Restoration
Understanding the basics of car restoration, including the car's history and realistic expectations, is essential for a successful project.
Lastly, consider creating a checklist of tools and materials needed for your specific project. This not only helps you stay organized but also prevents you from overlooking essential items that could delay your progress. A well-prepared workspace is a key ingredient for a successful restoration.
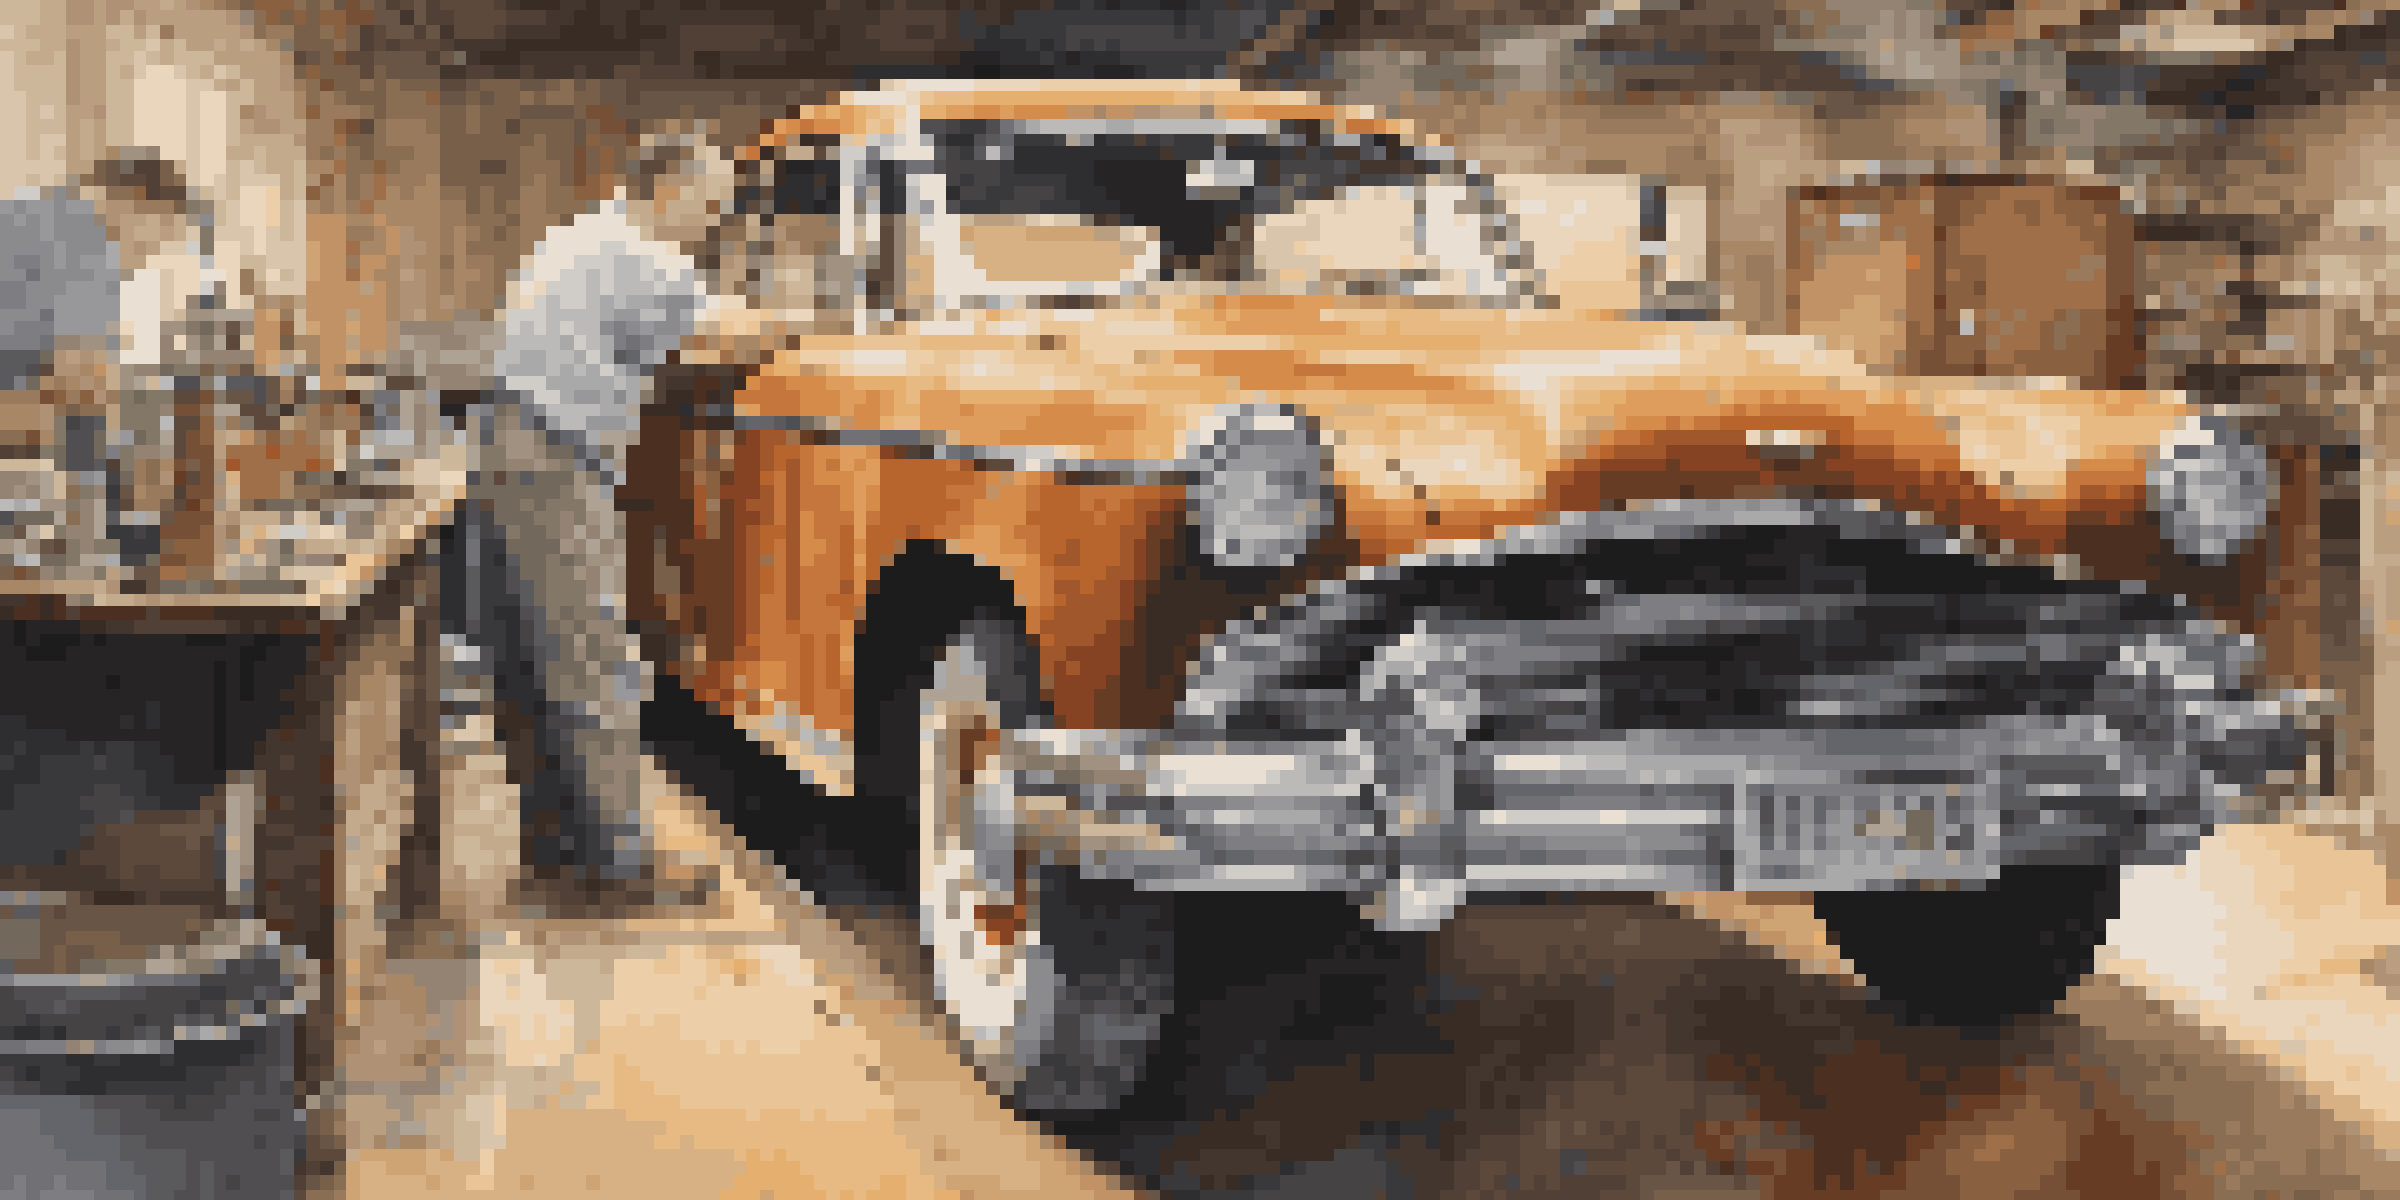
Assessing the Condition of Your Car's Bodywork
Once you've gathered your tools and materials, the next step is to assess the condition of your car's bodywork. This involves a thorough inspection to identify rust, dents, or any previous repair work that might need attention. Think of it as a health check-up for your car; understanding its current state will guide your restoration plan.
Every car has a story to tell; it's our job to listen and restore its voice.
Take notes and photos during your assessment, as this documentation can help you track your progress and make informed decisions. You may discover issues that were initially hidden, like rust under the paint or structural problems. Being aware of these challenges early on will help you plan your restoration more effectively.
Don’t hesitate to consult with other restoration enthusiasts or professionals if you find yourself unsure about certain areas. Their insights can provide valuable guidance and help you avoid common pitfalls, ensuring a smoother restoration process.
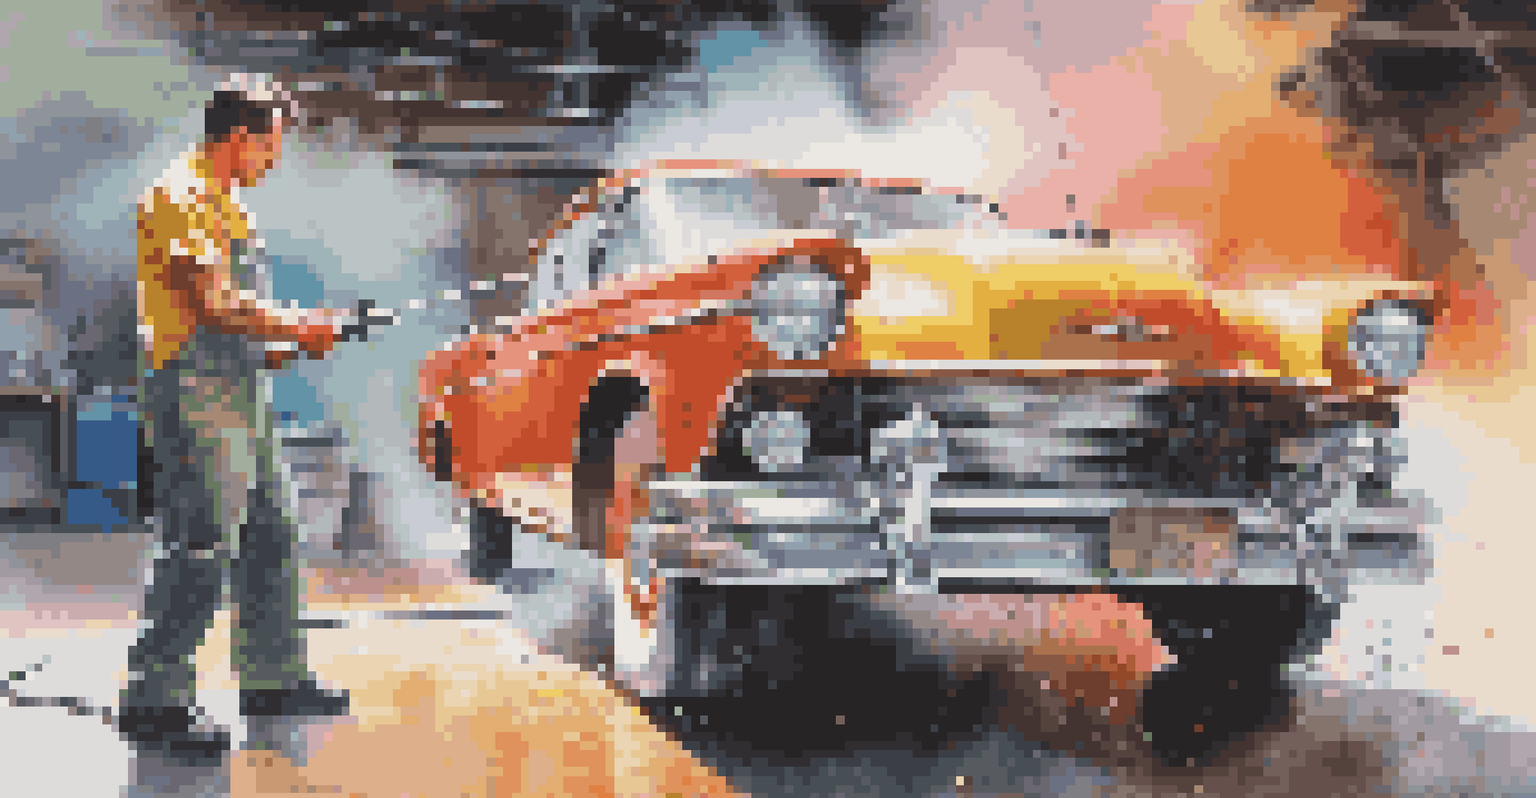
Removing Old Paint and Rust
One of the most satisfying yet challenging steps in vintage car restoration is removing old paint and rust. This process can reveal the underlying metal and prepare it for new paint, much like peeling back layers of an onion to uncover its core. You can use chemical strippers, sanders, or grinders, depending on the condition of the existing paint.
While removing rust, it's essential to be thorough to prevent future issues. Rust can spread if left untreated, so addressing it promptly is crucial. You might find that some areas need patching or even replacement, which can seem daunting but is entirely manageable with the right approach and tools.
Essential Tools and Materials
Gathering the right tools and quality materials is crucial to ensure a smooth restoration process and a polished final result.
Once the old paint and rust are removed, take the time to clean the surface thoroughly. A clean surface ensures better adhesion for your primer and paint, setting the stage for a polished finish. Remember, preparation is key in any restoration project, so don’t rush this important step.
Repairing Dents and Damage
After you've stripped away the old paint and rust, it's time to focus on repairing dents and other damage. This process can be akin to sculpting; you’re essentially reshaping the car’s body to restore its original lines. Techniques such as using a hammer and dolly or filler can be effective, depending on the severity of the dents.
If you're dealing with larger dents, you might want to consider more advanced methods like using a stud welder or even a paintless dent repair approach. These techniques are great for preserving the original paint, which is often a key aspect of vintage car restoration. Remember, patience is essential here; take your time to get the repairs just right.
Once you've made the repairs, sand the area smoothly to prepare it for painting. This step is vital for ensuring a seamless blend with the surrounding bodywork. Paying attention to these details will not only enhance the car's appearance but also contribute to its overall value.
Applying Primer for Protection and Smooth Finish
With the bodywork repaired, the next step is applying primer. Think of primer as the foundation of a house; it’s essential for protecting the metal and providing a smooth surface for paint. A good quality primer will help to seal the repairs and prevent rust from returning, ensuring that your hard work lasts.
When applying primer, be sure to follow the manufacturer's instructions carefully. This includes guidelines on the number of coats and drying times. A well-applied primer can make a significant difference in the final finish of your paint job, so don’t skip this step or rush through it.
Importance of Surface Preparation
Thoroughly preparing the car's bodywork, including removing old paint and applying primer, is vital for achieving a long-lasting and professional finish.
Once the primer is dry, you can sand it lightly to create an even smoother surface before painting. This step is akin to preparing a canvas before painting; it allows for better adhesion and a more professional-looking finish. The care you take during this stage will pay off in the final results.
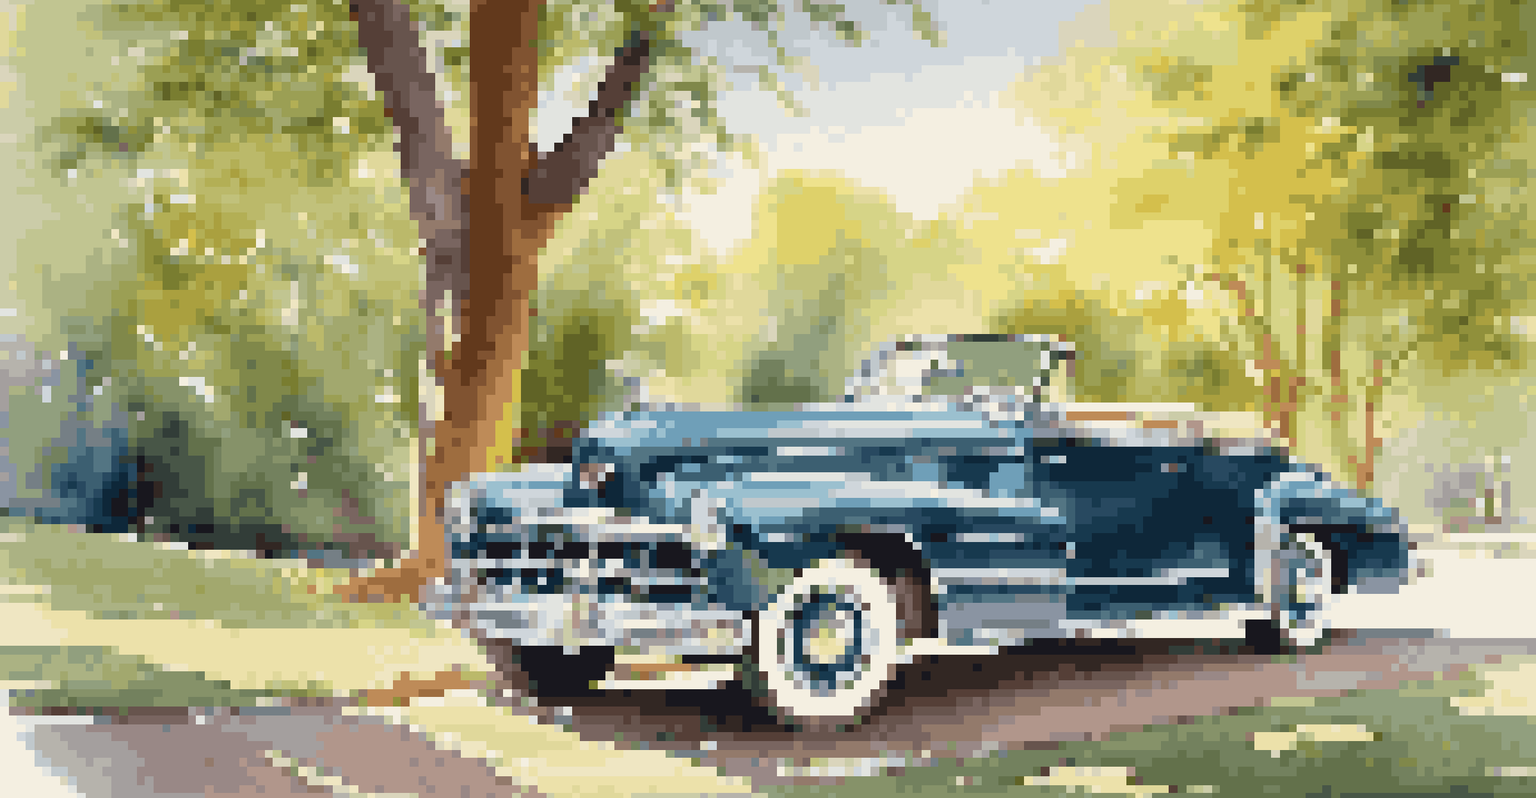
Painting Your Vintage Car: Tips and Techniques
Now comes the exciting part—painting your vintage car! This step allows you to express your style and bring the car to life. Before you start, ensure you're in a well-ventilated area and wearing appropriate safety gear, as paint fumes can be harmful.
When it comes to painting techniques, consider using a spray gun for a more even application. This method can help you achieve a professional-looking finish, much like an artist with a brush. Start with light coats and gradually build up to your desired color and finish, allowing each coat to dry as recommended.
Once the paint is applied, let it cure according to the paint manufacturer's instructions. This period is crucial for ensuring durability and a beautiful finish. A little patience here will lead to a stunning result that you can proudly show off on the road.