Step-by-Step Guide to Restoring a Classic Car Successfully
Understanding the Restoration Process Before Getting Started
Restoring a classic car is an exciting journey filled with challenges and rewards. Before diving in, it's crucial to understand what the process entails. This includes assessing the car's condition, identifying missing parts, and estimating the time and budget needed for the project.
The cars we drive say a lot about us.
Many classic car enthusiasts start with a vision, but it's important to be realistic. Restoration can take months or even years, depending on the car's state and your skill level. Setting clear goals will help you stay motivated and focused throughout the journey.
Ultimately, a successful restoration is about passion and patience. Embrace the learning curve and be prepared for surprises along the way. After all, every scratch and dent tells a story that adds character to your classic ride.
Choosing the Right Classic Car for Restoration
Selecting the right classic car is a pivotal first step in your restoration journey. Consider your interests, the model's availability, and its potential for value appreciation. Popular models often have more resources and parts available, making your restoration process smoother.
Think about your skill level and whether you want a project that's challenging or something more manageable. A car that needs minimal work might suit beginners, while seasoned restorers might prefer a more complex project that tests their skills.
Understand the Restoration Process
Before starting your classic car restoration, it's essential to grasp the entire process, including planning, budgeting, and setting realistic goals.
Don't forget to factor in the emotional connection. Sometimes, the car that resonates with you the most—perhaps one your parents owned—can drive your passion for the restoration process. After all, a classic car is more than just metal; it's a piece of history.
Creating a Comprehensive Restoration Plan
Having a solid restoration plan can be the difference between a smooth project and a chaotic one. Start by outlining each stage of the restoration process, from disassembly to final touches. This structured approach helps you stay on track and ensures you don't overlook critical steps.
It's not just a car, it's a piece of art and history.
Incorporate a budget into your plan, accounting for parts, tools, and any professional help you might need. Having a financial roadmap can prevent overspending and keep your project sustainable. Plus, it’s always a good idea to set aside a little extra for unexpected expenses.
Lastly, establish a timeline that considers your availability and the complexity of the restoration. While it's tempting to rush through, remember that quality work takes time. A thoughtful plan will guide you through the ups and downs of restoration with greater ease.
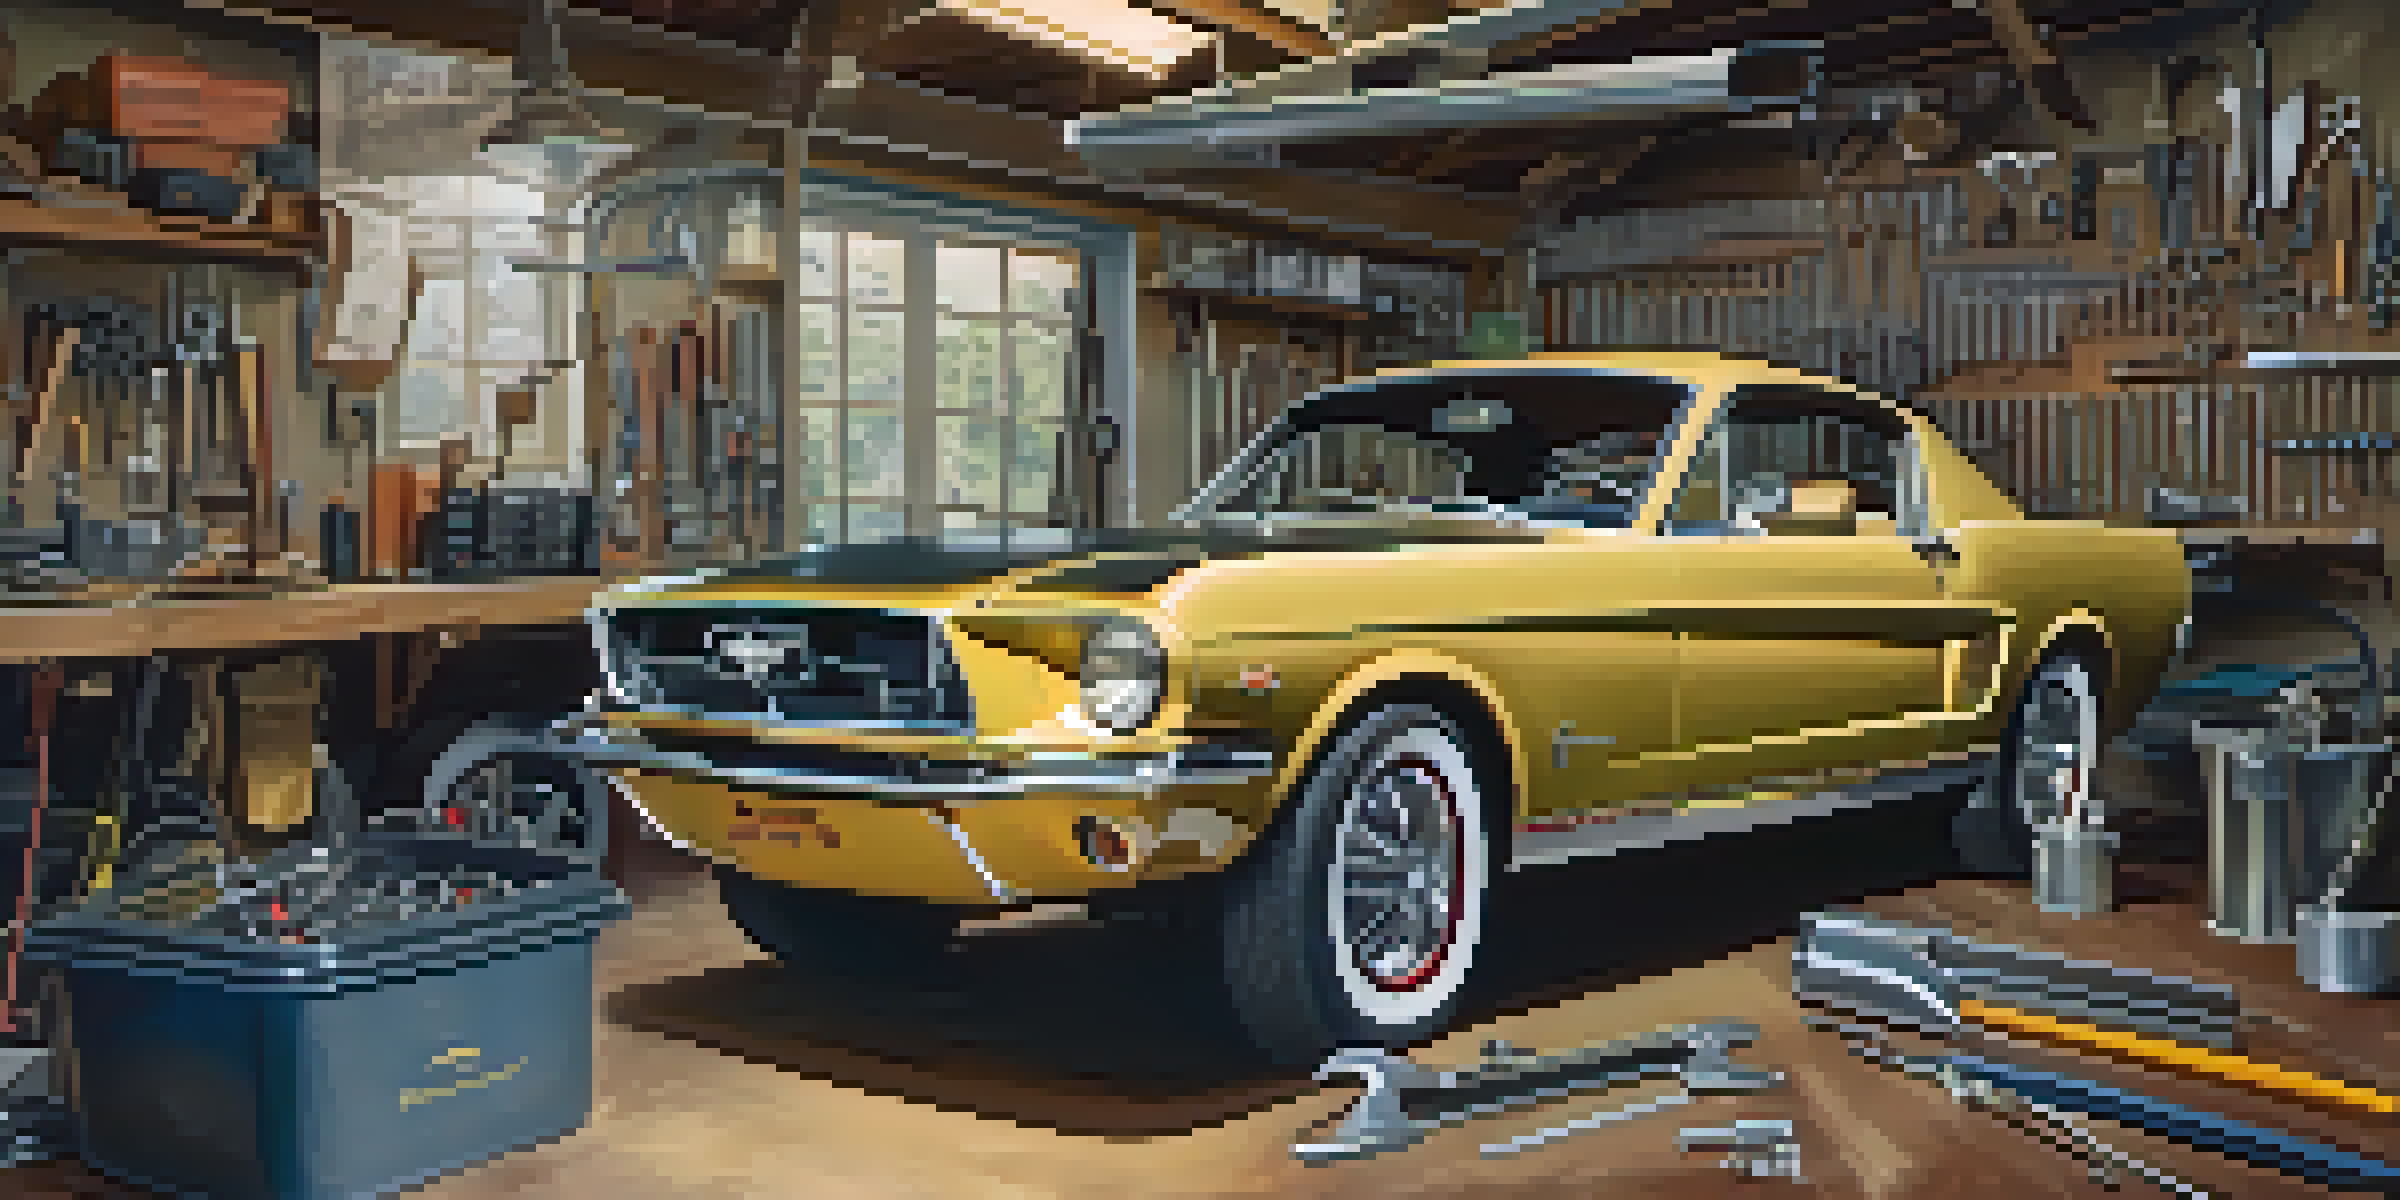
Gathering the Right Tools and Equipment for Restoration
Before you start tearing your classic car apart, gather the essential tools and equipment you'll need. A basic toolkit might include wrenches, screwdrivers, and pliers, but depending on your project, you may also require specialized tools like a torque wrench or a welder.
Consider the workspace as well. A clean, organized garage with ample lighting makes for a more efficient restoration process. Having a designated area for parts and tools helps minimize frustration and keeps you focused on the task at hand.
Choose the Right Classic Car
Selecting a classic car that resonates with you and suits your skill level is crucial for a fulfilling restoration experience.
Investing in good-quality tools can save you time and headaches in the long run. While it may be tempting to opt for the cheapest options, remember that durability and reliability are key when dealing with classic cars.
Disassembling the Car with Care and Precision
Disassembling your classic car is a critical stage that requires patience and attention to detail. Start by documenting each step with photos and notes, as this will help you during reassembly. Consider creating a parts inventory to keep track of what you’ve removed.
Be methodical in your approach; label every part and bolt as you go. This practice saves time and confusion when you’re ready to put everything back together. Remember, every piece plays a role, so treating them with care is essential.
If you encounter rust or damage, take the time to assess how it impacts the restoration. Sometimes, it may be worth it to replace parts rather than trying to salvage them, especially if they compromise the car's integrity.
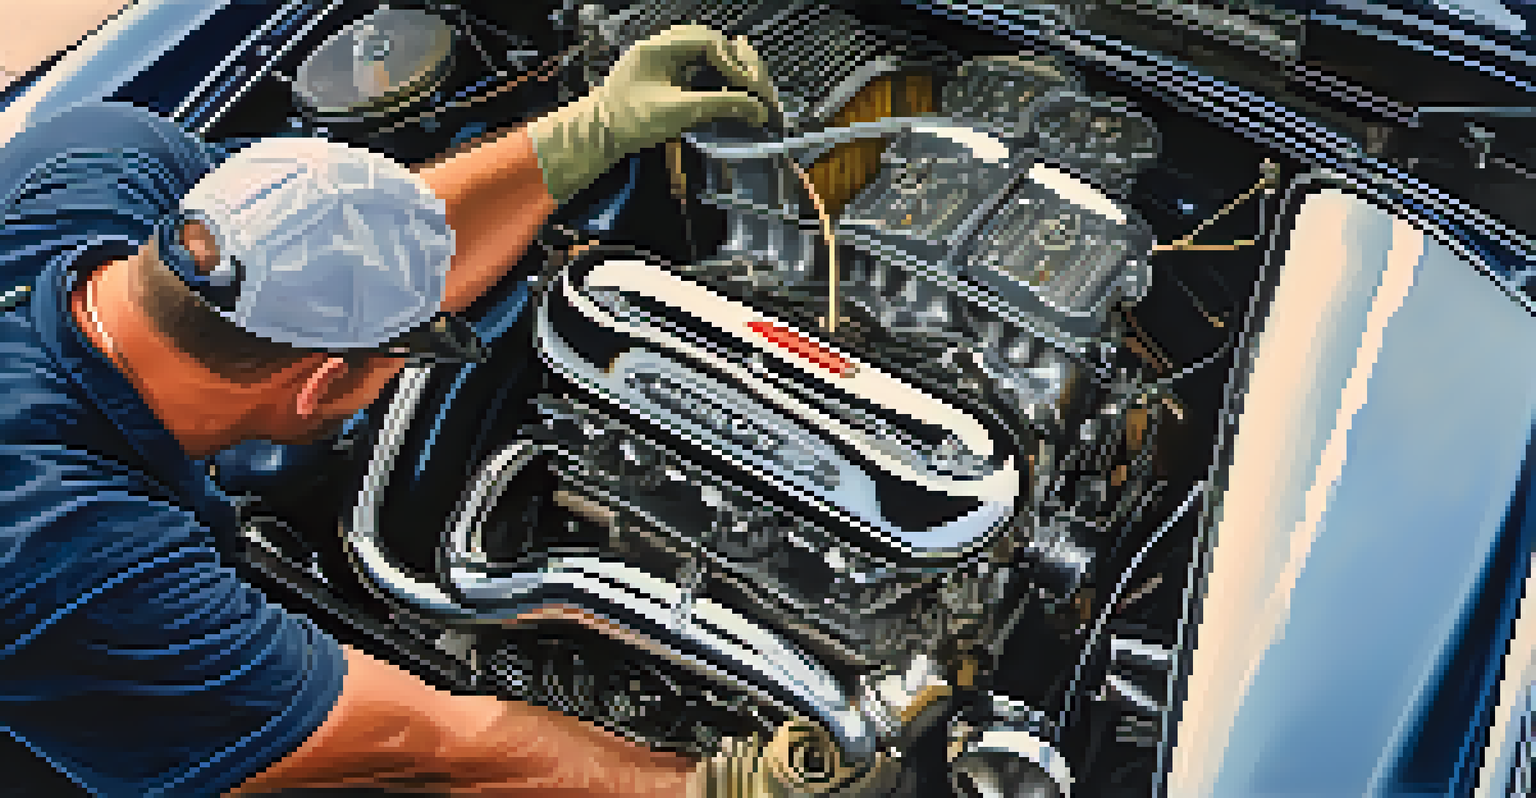
Restoring the Engine and Mechanical Systems
The engine is the heart of your classic car, and restoring it is a rewarding yet challenging task. Start by cleaning the engine bay and inspecting all components. Take note of any parts that need replacement or repair, and consult repair guides or forums specific to your car model.
Don’t rush through this phase; ensuring the engine runs smoothly is crucial for your car's overall performance. If you're not comfortable with engine work, consider hiring a professional mechanic to assist with major repairs or rebuilds.
Focus on Quality in Every Step
From gathering tools to final assembly, prioritizing quality and attention to detail throughout the restoration ensures a successful outcome.
Once the engine is restored, take the time to check other mechanical systems, such as the transmission and brakes. These components are vital for safety and performance, so ensuring they are in good working order is essential before hitting the road.
Focusing on Bodywork and Paint Restoration
Bodywork and paint restoration can dramatically transform your classic car's appearance. Start by addressing any dents, scratches, or rust spots on the body. Sanding down the surface and applying filler can help achieve a smooth finish, but be patient; this process can take time.
Once the bodywork is complete, it’s time to consider the paint job. Choose a color that resonates with you, whether it's the original paint or a custom hue. Make sure to use high-quality paint products designed for automotive use to ensure durability and a professional finish.
If you're unsure about painting the car yourself, don’t hesitate to seek help from a professional. A skilled painter can make a significant difference in the final result, giving your classic car the showroom finish it deserves.
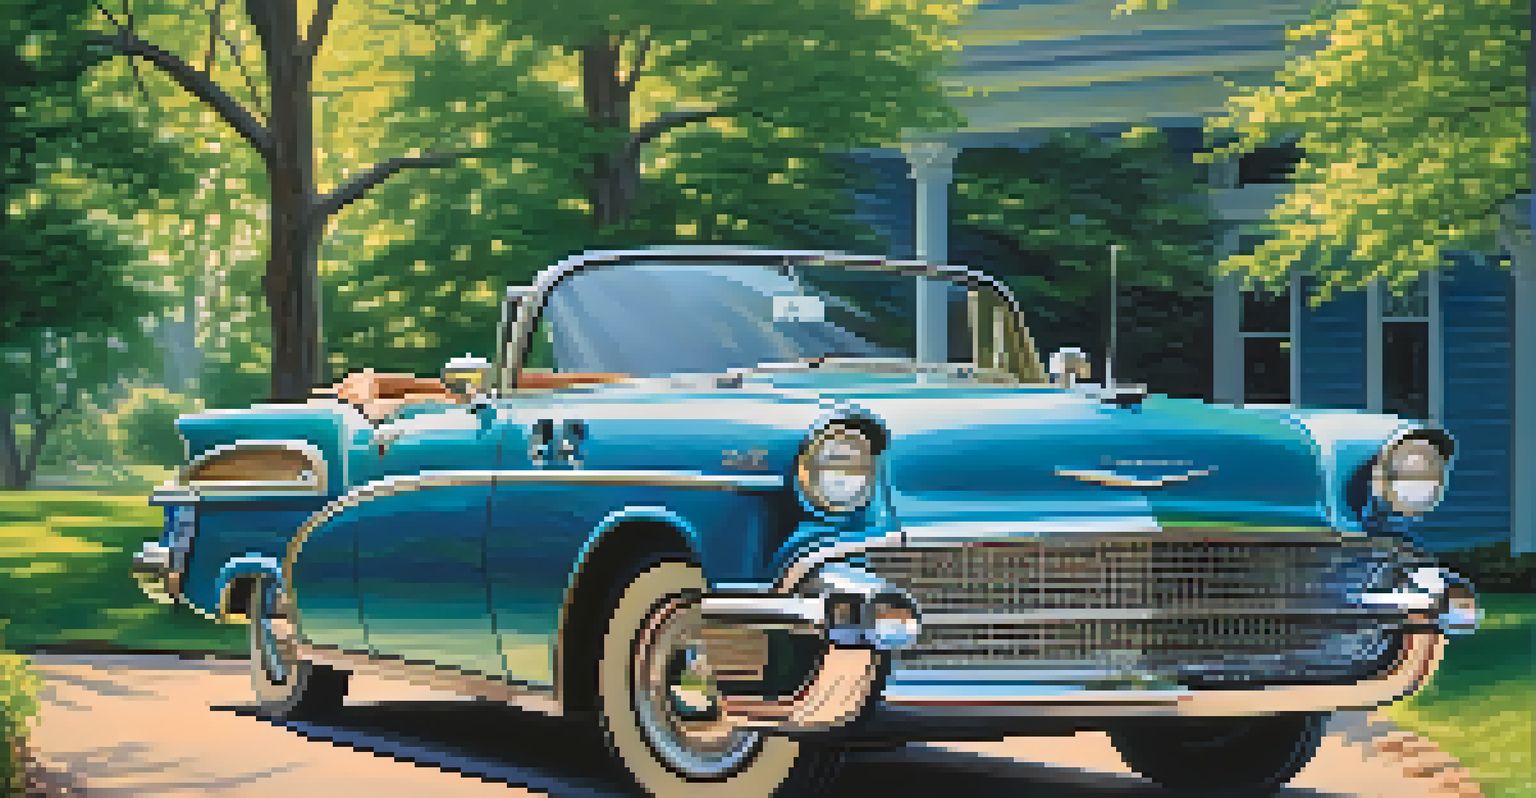
Final Assembly and Getting Ready to Hit the Road
As you near the finish line of your restoration project, it’s time for final assembly. Refer back to the notes and photos you took during disassembly to guide you. Take your time to ensure everything fits perfectly and is securely fastened.
Once assembled, conduct a thorough inspection of all systems. Check the brakes, lights, and tires before taking it for a test drive. It’s crucial to ensure that everything is working properly for both safety and performance.
Finally, enjoy the fruits of your labor! Taking your classic car out on the road for the first time is a moment to cherish. Share the experience with fellow car enthusiasts and celebrate the journey you’ve taken to restore a piece of automotive history.