The Basics of Rust Repair in Vintage Car Restoration
Understanding Rust: The Basics of Car Deterioration
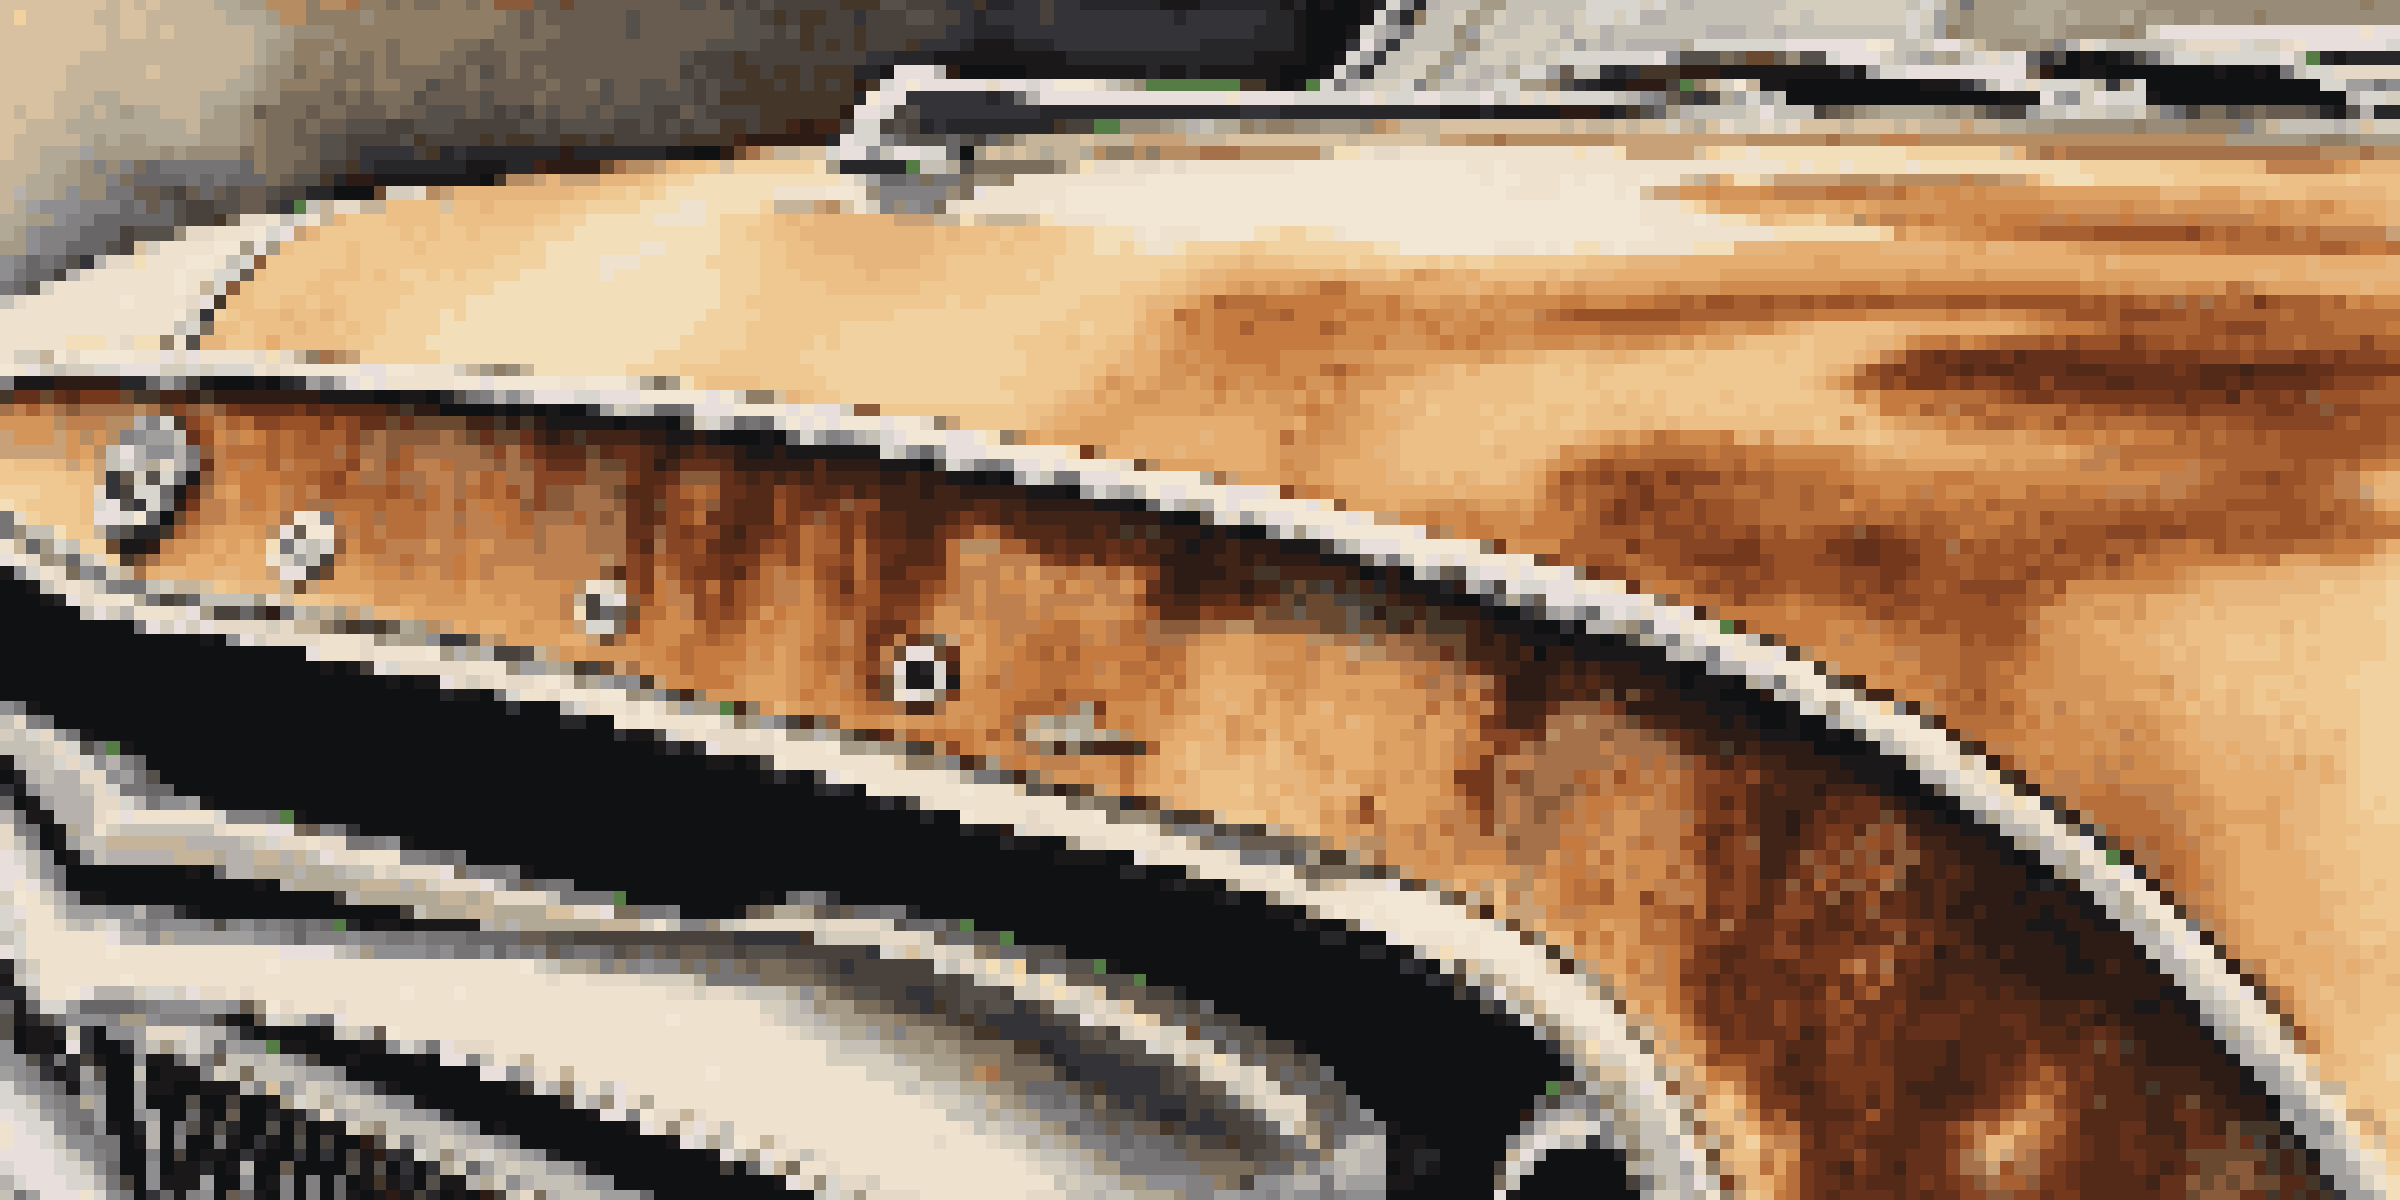
Rust is a common enemy for vintage car enthusiasts, often appearing as flaky patches on the metal surfaces. This deterioration occurs when iron reacts with moisture and oxygen, leading to oxidation. For car owners, understanding the causes of rust is crucial, as it can significantly affect the car's structural integrity and value.
A car is not an automobile, it’s a time machine. It takes you back to a different time, a different place. Rust is just a reminder of the journeys we've taken.
Rust can develop in various areas, including wheel wells, undercarriages, and around windows. The presence of rust not only affects aesthetics but can also lead to more severe damage if not addressed promptly. By recognizing the signs of rust early, vintage car restorers can take proactive measures to prevent further corrosion.
In essence, rust is a natural process, but it doesn't have to be the end of your vintage car's story. With the right knowledge and tools, you can fight back against this destructive force and restore your vehicle to its former glory.
Assessing the Damage: Visual Inspection Techniques
Before diving into repairs, a thorough assessment of the rust damage is essential. Start with a visual inspection, looking for any signs of discoloration, bubbling paint, or pitting on the metal. Using a flashlight can help illuminate hidden areas, revealing rust that might not be immediately visible.

It's also important to check the car's undercarriage and hard-to-reach spots, as these areas often harbor rust without detection. A magnifying glass can be an invaluable tool for spotting small rust spots that could grow over time. Documenting the extent of the damage will help you plan your repair strategy effectively.
Understanding Rust's Impact
Rust can severely affect a vintage car's structural integrity and value if not addressed promptly.
By taking the time to properly assess the rust, you can prioritize which areas need immediate attention and which can wait. This organized approach not only saves time but also ensures you address the most critical issues first.
Gathering Your Tools: Essential Equipment for Repairs
Having the right tools is crucial for effective rust repair. At a minimum, you’ll need sandpaper or a wire brush to remove rust, as well as safety gear like gloves and goggles to protect yourself during the process. Depending on the severity of the rust, you might also require power tools such as an angle grinder for more extensive work.
The best car safety device is a rear-view mirror with a cop in it.
In addition to cleaning tools, you'll need rust treatment products, such as rust converters or primers, to prevent future corrosion. These products neutralize rust and create a protective barrier on the metal surface. Don't forget to stock up on welding equipment if you're dealing with larger rust holes that require metal replacement.
By ensuring you have all necessary tools at hand before you start, you can work more efficiently and effectively. Being prepared allows you to focus on the repair process rather than running back and forth to gather supplies.
Removing Rust: Step-by-Step Techniques Explained
Once you’re geared up, it’s time to tackle the rust removal process. Start by using sandpaper or a wire brush to scrub away the rust down to bare metal. Be thorough in this step, as any remaining rust could resurface later, defeating your efforts.
For deeper rust pits, consider using a grinder to ensure a clean surface. After removing the rust, clean the area with a degreaser to eliminate any debris. This step is crucial, as a clean surface allows for better adhesion of rust treatment products.
Essential Tools for Repair
Having the right tools, including sandpaper, safety gear, and rust treatment products, is crucial for effective rust repair.
Finally, once the area is prepared, apply a rust converter or primer to protect the metal. This not only prevents future rust but also creates a smoother surface for repainting. With patience and care, you’ll set the foundation for a successful repair.
Repairing Rust Holes: Options for Effective Solutions
If your vintage car has rust holes, you’ll need to consider repair options based on the size of the damage. For small holes, fiberglass patches or epoxy fillers can work well to seal the area. Be sure to sand the surface smooth after application for a seamless finish.
For larger holes, welding in new metal patches may be necessary. This process involves cutting out the rusted section and welding in a replacement piece, ensuring a tight and durable fit. While this option requires more skill and tools, it provides a more permanent solution.
After any repairs are made, it's important to treat the area with a rust inhibitor before painting. This extra step will help protect your hard work and ensure the longevity of your restoration efforts.
Finishing Touches: Painting and Protecting Your Work
Once the rust has been dealt with, it’s time for the finishing touches. Start by applying a primer to the repaired area; this helps the paint adhere better and provides an additional layer of protection. Choose a primer that is compatible with automotive paint for the best results.
After the primer dries, you can paint over the area to match your vintage car's original color. Using a spray can or paint gun can provide a smooth and even finish. Don’t forget to apply clear coat afterward, as this will protect the paint and give it a nice shine.
Long-Term Rust Prevention Tips
Regular maintenance, such as washing and using rust inhibitors, is essential for preserving a vintage car's beauty and preventing future rust.
Lastly, consider applying a rust prevention treatment to the entire car. These treatments can help protect against future rust, preserving the beauty and value of your vintage vehicle for years to come.
Maintaining Your Restoration: Long-Term Care Tips
After investing time and effort into rust repair, maintaining your vintage car is crucial for its longevity. Regular washing and waxing can help protect the paint and prevent moisture buildup, which contributes to rust formation. Aim to wash your car at least once a month, especially during wet seasons.
Additionally, consider applying a rust inhibitor to key areas of the car to provide extra protection. These treatments can be reapplied annually to maintain their effectiveness. Keeping an eye out for any new signs of rust allows you to address issues before they escalate.
Lastly, store your vintage car in a dry, climate-controlled environment whenever possible. This will significantly reduce the risk of rust and keep your classic car looking its best for years to come.