The Best Practices for Restoring Vintage Car Electrical Systems
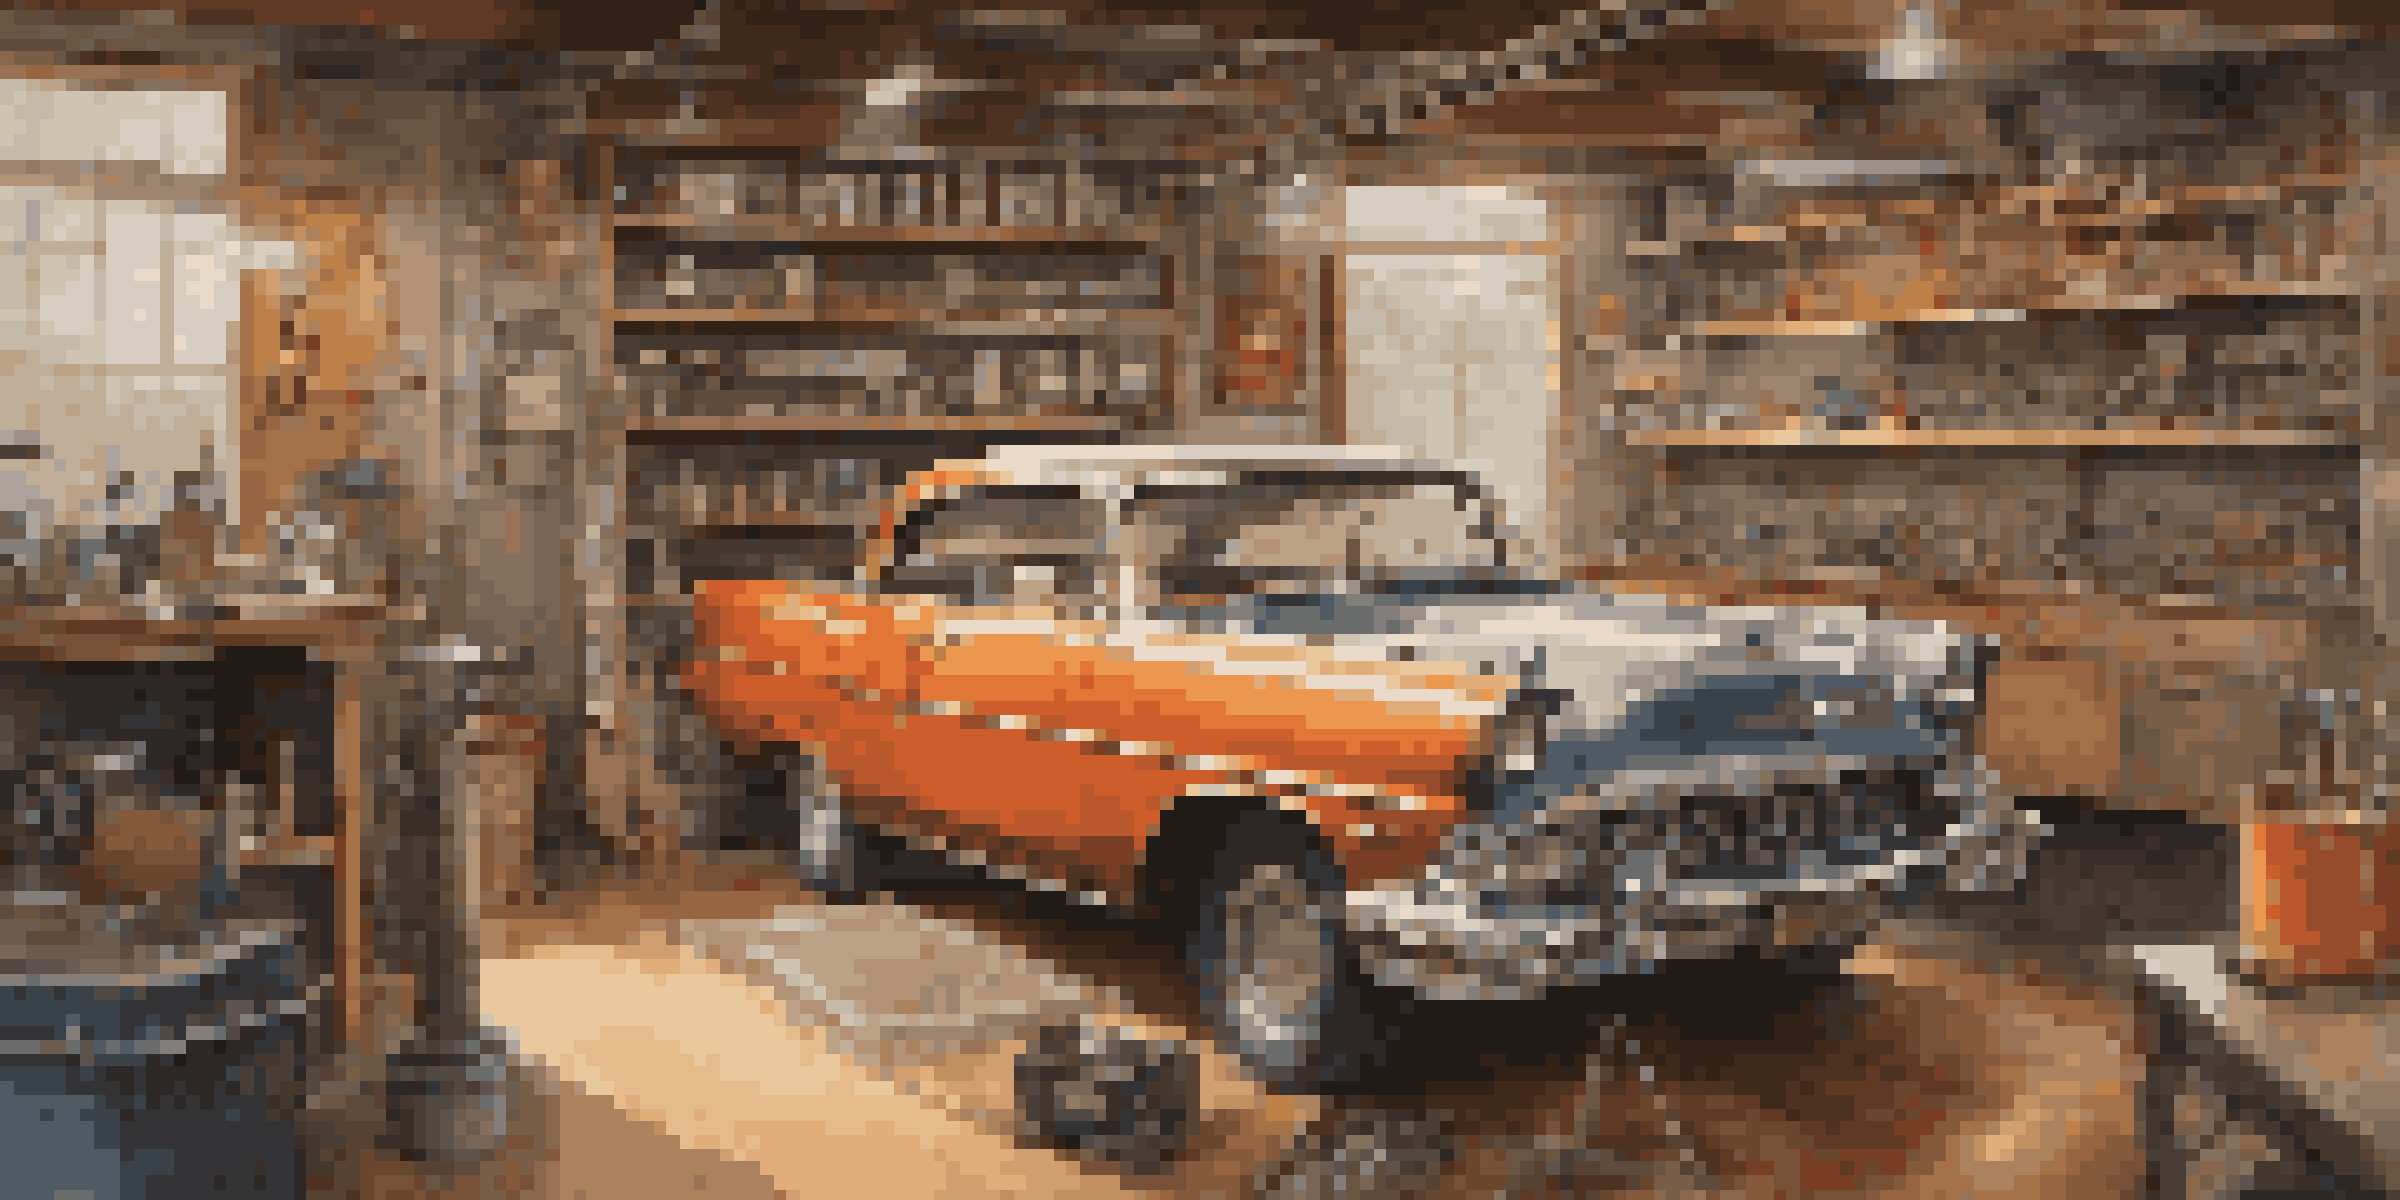
Understanding Vintage Car Electrical Systems
Restoring vintage car electrical systems begins with a solid understanding of how these systems functioned when the car was first built. Unlike modern vehicles, which often rely on complex computerized systems, vintage cars typically use simpler and more straightforward electrical setups. Familiarizing yourself with the basics of wiring, fuses, and components is crucial before diving into the restoration process.
The cars we drive say a lot about us.
For instance, knowing how to identify and differentiate between positive ground and negative ground systems can save you a lot of headaches down the line. Many vintage cars were designed with a positive ground system, which can confuse those accustomed to modern vehicles. Taking the time to study the original schematics can give you a clearer picture of what you’re working with.
Additionally, consider reaching out to vintage car enthusiast communities or forums. They can provide invaluable insights, share experiences, and even offer troubleshooting tips specific to your model. This collaborative approach can enhance your understanding and make the restoration process much smoother.
Assemble the Right Tools and Parts
Before you start restoring your vintage car's electrical system, it's essential to gather all the necessary tools and parts. Basic tools like screwdrivers, wire strippers, multimeters, and soldering irons are fundamental. Depending on the complexity of the restoration, you may also need specialized tools like a circuit tester or a heat gun for shrink tubing.
Moreover, sourcing the right parts is critical. Vintage cars often require specific components that may not be readily available at your local auto parts store. Websites dedicated to vintage car restoration or specialty shops can be great resources for finding original or reproduction parts that match your car's specifications.
Understand Vintage Electrical Systems
A solid grasp of vintage car electrical systems, including wiring types and component functions, is essential for effective restoration.
Lastly, don't forget to stock up on safety equipment. Working with electrical systems can be dangerous, so having gloves, goggles, and a first-aid kit on hand ensures you're prepared for any situation. A well-prepared workspace will help you work efficiently and safely.
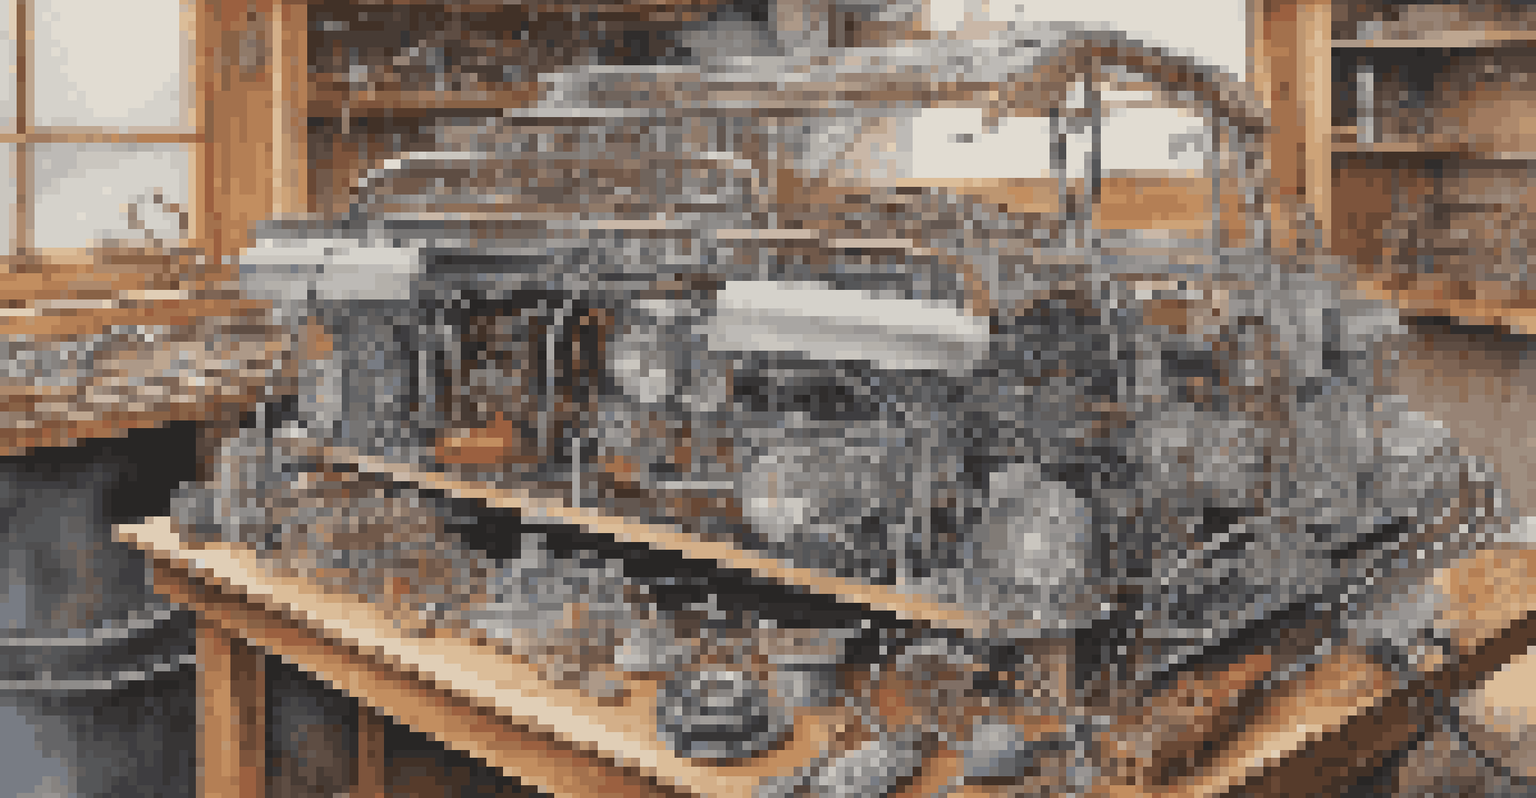
Inspecting and Testing Existing Wiring
Once you have the necessary tools and parts, the next step is to inspect and test the existing wiring. Begin by visually examining all the wires for signs of wear, fraying, or corrosion. Old wiring can be a common culprit of electrical issues in vintage cars, so identifying problem areas early on is crucial.
It's not just a car; it's a way of life.
Using a multimeter, test for continuity in the wires. This tool helps you determine if electricity flows through the wiring as it should. If you find any breaks or shorts, it's best to replace those sections rather than attempt a repair, as this could lead to further issues down the road.
Additionally, take note of any connections that appear loose or damaged. Tightening or replacing these connections can often resolve minor electrical problems. This thorough inspection sets a solid foundation for the rest of your restoration process.
Replacing Faulty Components
After inspecting the wiring, it's time to focus on replacing any faulty components. This includes items like the battery, alternator, starter, and any fuses that may be blown. Vintage vehicles may still have original parts, which could be decades old and less reliable than modern alternatives.
When selecting replacement components, try to find parts that match the original specifications as closely as possible. This ensures that your vintage car retains its authenticity while benefiting from improved reliability. If original parts are hard to come by, consider high-quality aftermarket options that meet the necessary specifications.
Gather Tools and Safety Gear
Collecting the right tools, parts, and safety equipment is crucial before starting any restoration work on vintage car electrical systems.
Remember to handle all components with care during installation. Follow the manufacturer's guidelines and consult your vehicle's wiring diagram to ensure everything is connected correctly. This attention to detail will pay off in the long run, enhancing both safety and performance.
Rewiring as Necessary for Safety
In some cases, the existing wiring may be too damaged or outdated to salvage, making rewiring necessary. While this might sound daunting, it can significantly improve the safety and function of your vintage car. Start by carefully documenting the current wiring layout, taking photos or making sketches to reference later.
Using your documentation, begin removing the old wiring, making sure to label each wire to avoid confusion during reinstallation. When selecting new wiring, opt for high-quality, insulated wire that can withstand the rigors of automotive use. Choose colors that match the original wiring to maintain authenticity.
As you rewire, take your time to ensure each connection is secure and correct. This meticulous approach not only enhances safety but also ensures your vintage car's electrical system operates smoothly for years to come.
Testing the Electrical System
After completing the restoration work, it's time to test the electrical system thoroughly. Start with the basics, such as checking the battery voltage and ensuring all connections are tight. Next, test individual components like headlights, turn signals, and the ignition system to ensure everything is functioning as it should.
Using a multimeter again can help identify any lingering issues. For instance, you might need to check for voltage drops at connections or components that aren't receiving power. If you encounter any problems, revisit your work and make adjustments as necessary.
Regular Maintenance is Key
Ongoing inspections and maintenance of your vintage car's electrical system help prevent issues and ensure safe operation over time.
Testing your electrical system not only confirms that the restoration was successful but also gives you peace of mind as you take your vintage car out on the road. A fully functional electrical system is essential for safety and reliability, so don’t skip this critical step.
Maintaining Your Vintage Car's Electrical System
Restoration doesn’t end with the last bolt tightened; maintaining your vintage car's electrical system is equally important. Regular inspections should become part of your routine, allowing you to catch any potential issues before they escalate. Check connections for corrosion and ensure that all components remain secure.
It’s also a good idea to keep a maintenance log. Document when you last checked the electrical system and any repairs or replacements made. This log can be invaluable for tracking the car’s overall condition and planning future maintenance.

Finally, don’t forget to drive your vintage car regularly. Regular use helps keep the electrical components in good working condition, preventing issues caused by inactivity. Plus, nothing beats the joy of hitting the open road in a classic car!