Creating Soap for Special Skin Conditions: A Guide
Understanding Special Skin Conditions and Their Needs
Special skin conditions, such as eczema and psoriasis, require gentle care. These issues often lead to dryness, irritation, and discomfort, making it essential to choose the right products. Commercial soaps can contain harsh chemicals that exacerbate these problems, which is why creating your own soap can be a game-changer.
The skin is the largest organ of the body, and it deserves to be treated with care and respect.
When crafting soap for sensitive skin, it's crucial to understand the specific needs of the skin condition at hand. For instance, people with eczema may benefit from added moisturizing properties, while those with acne-prone skin might need antibacterial ingredients. This tailored approach ensures that your soap is not just a product, but a remedy.
By focusing on natural ingredients, you can minimize the risk of irritation and allergic reactions. This leads to a more soothing experience for individuals with special skin conditions, allowing them to enjoy the benefits of bathing without the worry of flare-ups.
Choosing the Right Ingredients for Your Soap
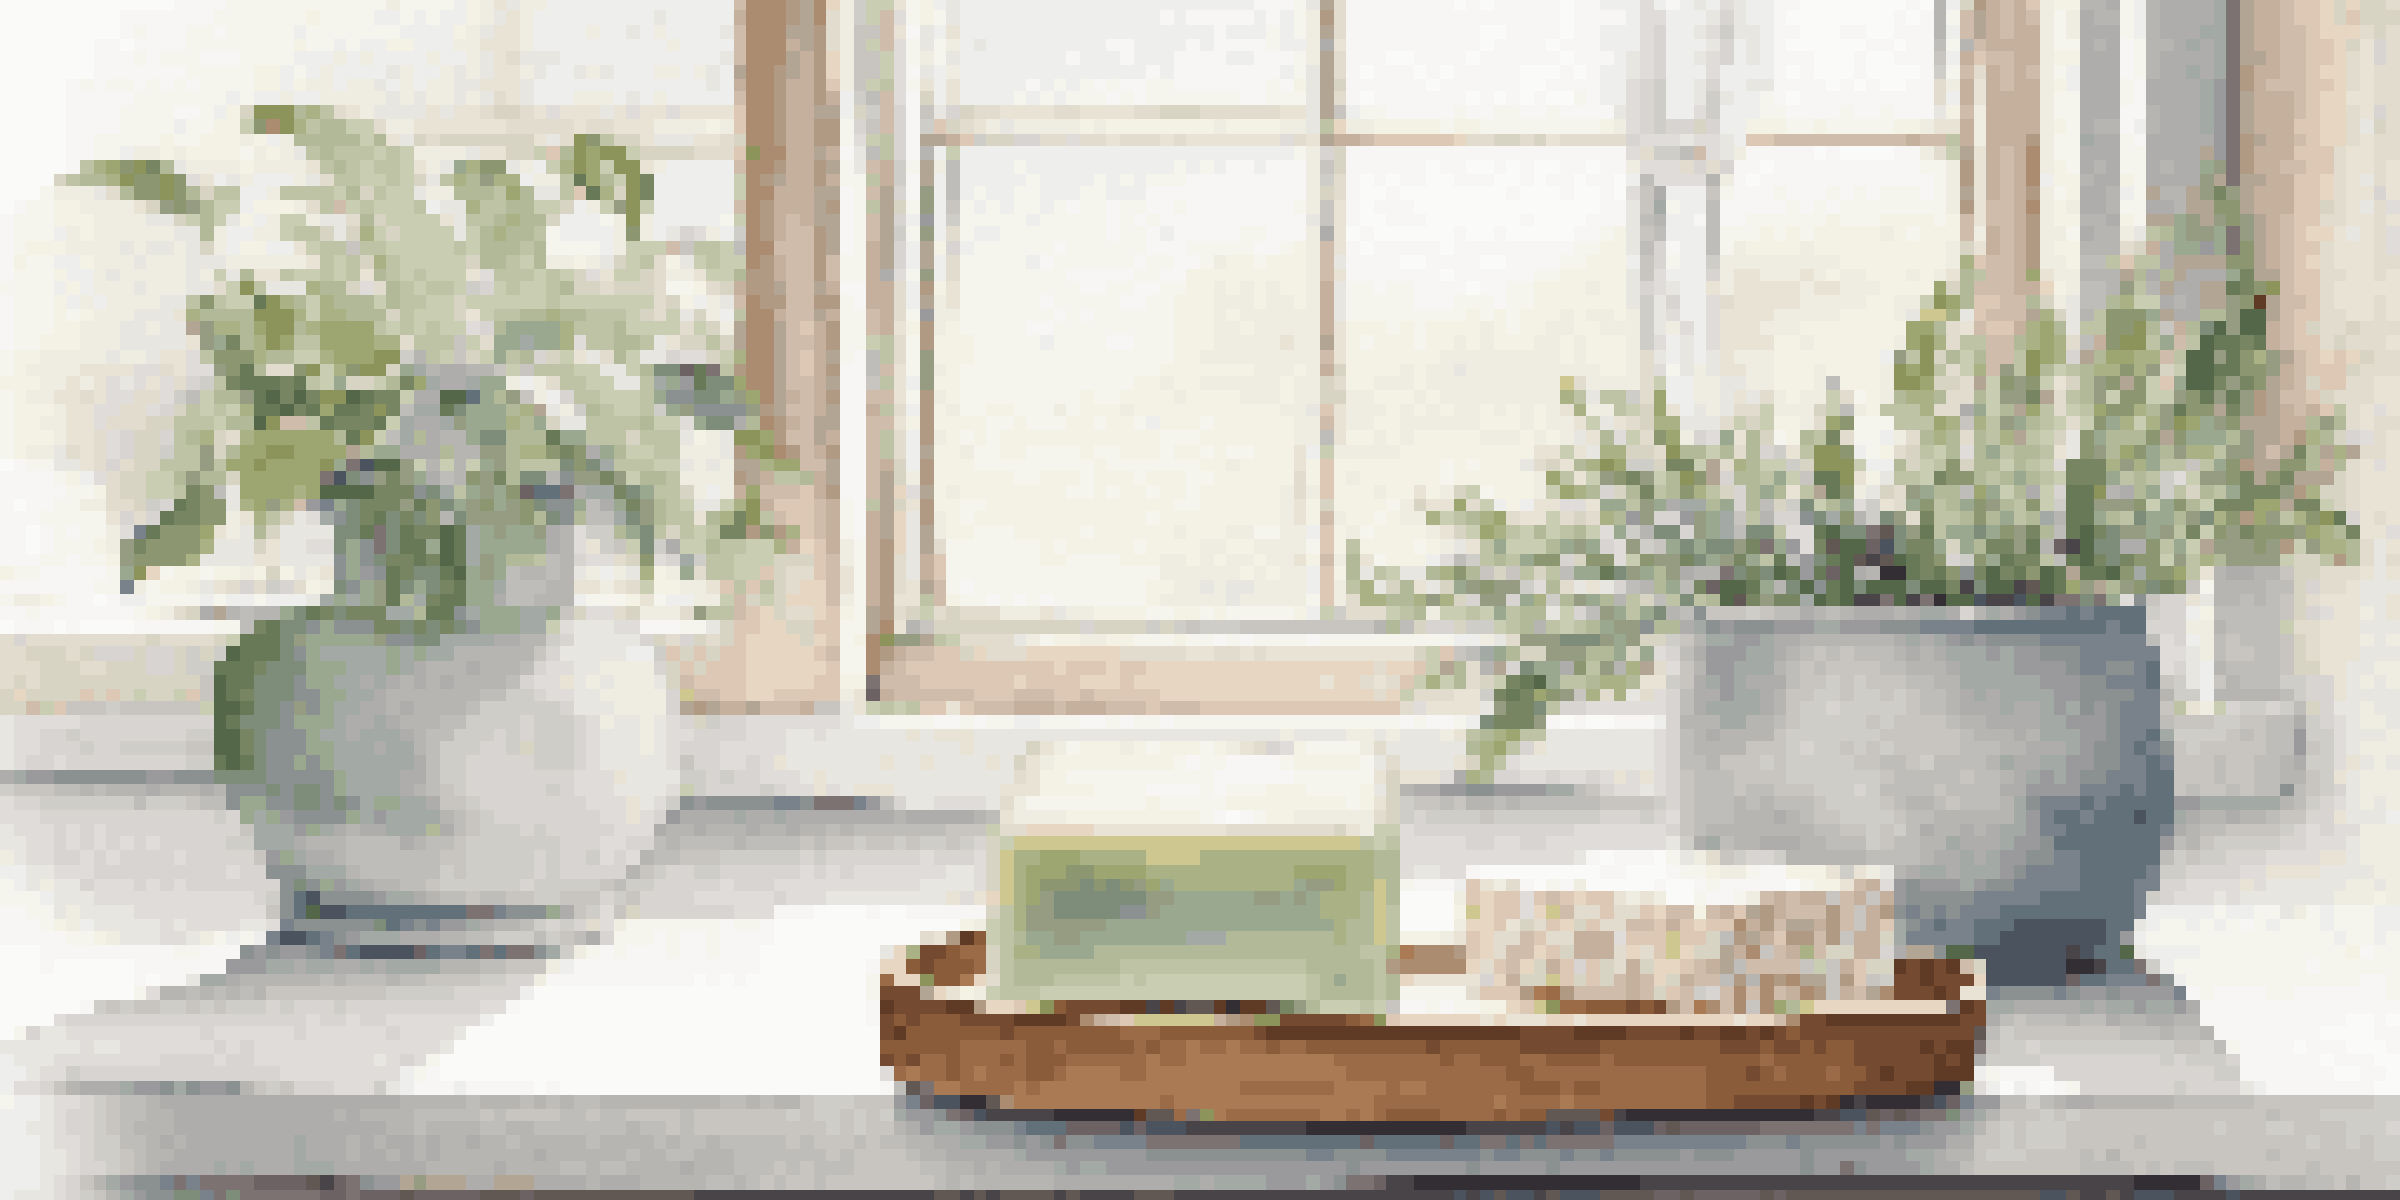
Selecting the right ingredients is key when making soap for special skin conditions. Ingredients such as olive oil, coconut oil, and shea butter are known for their hydrating properties, making them perfect for dry skin. Additionally, incorporating natural oils like tea tree or lavender can provide soothing benefits.

It's also important to avoid common irritants found in many commercial soaps, such as synthetic fragrances and dyes. Instead, opt for essential oils that not only provide pleasant scents but also offer therapeutic benefits. Remember, the goal is to create a product that nurtures the skin rather than aggravates it.
Crafting Soap for Special Skin Needs
Creating soap tailored to specific skin conditions like eczema and acne can provide soothing benefits and minimize irritation.
Consider including soothing additives like oatmeal or honey, which can help calm inflammation and enhance moisture retention. By thoughtfully choosing your ingredients, you'll be on your way to crafting effective soap tailored to specific skin needs.
Essential Equipment for Soap Making at Home
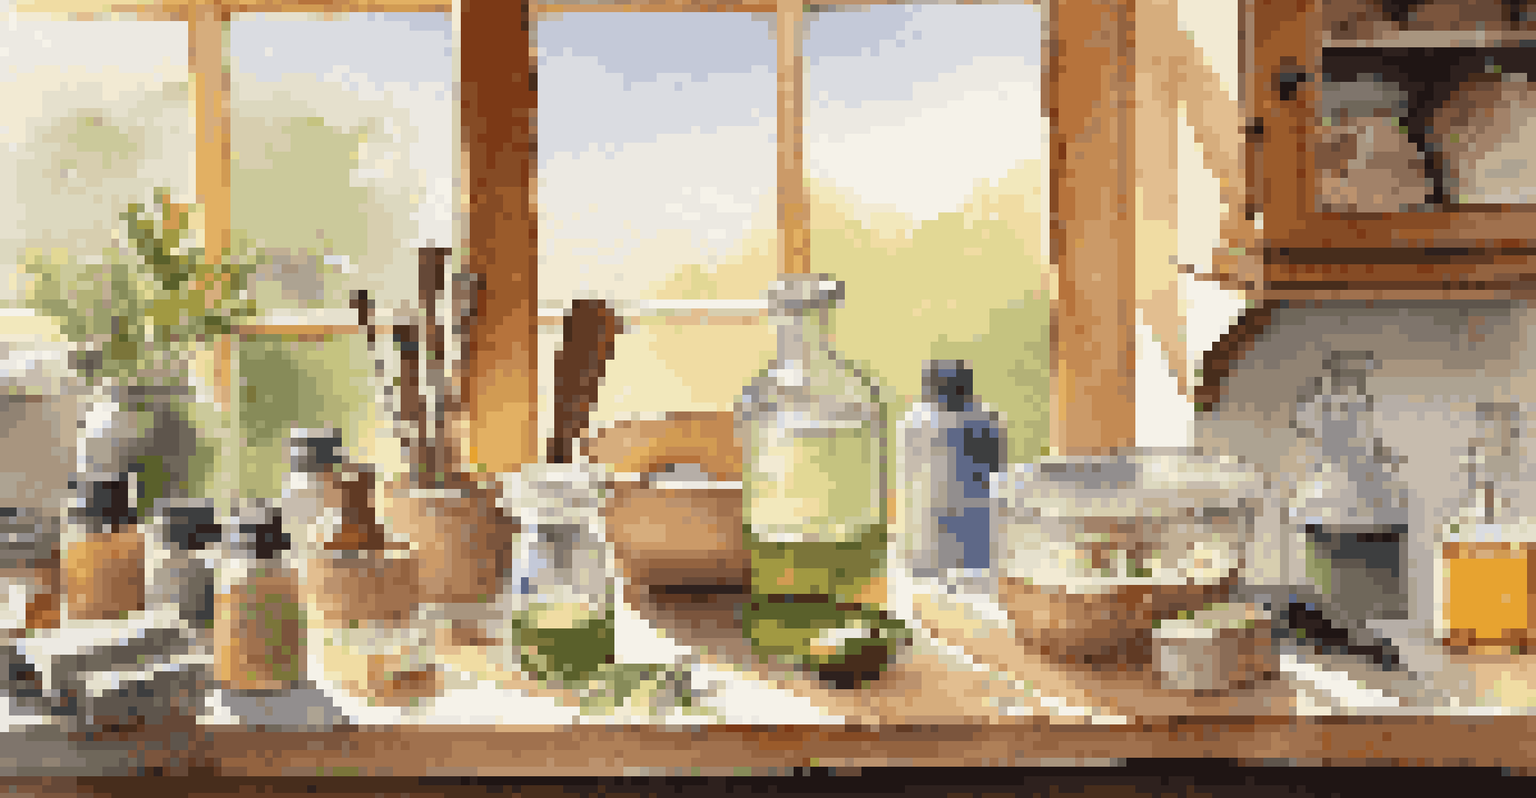
Before diving into soap making, gathering the right equipment is essential. You'll need a scale for precise measurements, mixing bowls, and a stick blender to ensure a smooth consistency. A thermometer is also handy for keeping track of temperatures, particularly when working with oils and lye.
Nature provides us with everything we need to create effective skincare solutions; we just need to know where to look.
Safety gear, such as gloves and goggles, is non-negotiable, especially when handling lye, which can be caustic. Creating a designated workspace can help keep your soap-making process organized and safe. With the right tools at your disposal, you'll find that the process becomes much more enjoyable.
Lastly, don't forget about molds! Silicone molds are popular for their ease of use and versatility. They allow you to create fun shapes and sizes, making your soap not just functional but visually appealing as well.
The Cold Process Method: A Step-by-Step Guide
The cold process method is a popular technique for making soap at home, allowing for a natural, chemical-free product. To start, gather your oils, lye, and any additives you wish to include. The process begins by carefully mixing the lye with water, ensuring safety precautions are followed, as this can release heat and fumes.
Once the lye solution has cooled, blend it with your chosen oils until it reaches a light trace, which means it thickens slightly. At this stage, you can add any essential oils or additional ingredients for color and texture. Pour this mixture into your prepared molds and let it sit for 24 to 48 hours to harden.
Choosing Natural Ingredients Matters
Opting for natural oils and avoiding synthetic irritants ensures a gentle, effective product for sensitive skin.
After the soap has set, it's important to cure it for several weeks before using. This curing process allows the soap to complete the saponification process and ensures it's gentle enough for sensitive skin. The result? A beautifully crafted soap that caters to special skin conditions.
Incorporating Natural Exfoliants for Enhanced Benefits
Natural exfoliants can enhance your soap by providing gentle scrubbing action without harsh chemicals. Ingredients like ground oatmeal, coffee grounds, or sea salt can help remove dead skin cells, promoting healthier skin. However, it's important to choose exfoliants that are suitable for the specific skin condition you're targeting.
For example, oatmeal is particularly beneficial for soothing irritated skin, making it a great choice for eczema. On the other hand, coffee grounds can stimulate circulation and are ideal for more resilient skin types. Just remember to use these ingredients sparingly to avoid over-exfoliation, which can lead to irritation.
When adding exfoliants, mix them in at the light trace stage of the cold process. This ensures an even distribution throughout the soap. The result is a product that's not only functional but also offers a spa-like experience during each use.
Testing Your Soap: Ensuring Safety and Effectiveness
Once your soap has cured, it's crucial to test it before sharing it with others. Conduct a patch test by applying a small amount of soap to a discreet area of skin to check for any adverse reactions. This is especially important for individuals with special skin conditions, as their skin may be more reactive.
If the patch test goes well, try using the soap in a controlled setting, observing how it interacts with the skin over a few days. Take note of any changes or improvements, such as reduced irritation or improved moisture levels. This feedback will help you refine your recipe for future batches.
Testing and Storing Handmade Soap
Conducting patch tests and using proper storage techniques are essential for maintaining the quality and safety of your handmade soap.
Always keep in mind that everyone's skin is unique, so what works for one person may not work for another. Being open to adjusting your ingredients based on feedback will help you create the best possible product for those with special skin conditions.
Storing and Packaging Your Handmade Soap
Proper storage and packaging of your handmade soap are essential to maintain its quality and effectiveness. Store your soap in a cool, dry place to prevent it from becoming overly soft or losing its beneficial properties. Avoid exposing it to direct sunlight or heat, which can lead to degradation.
When it comes to packaging, consider using eco-friendly materials that reflect your commitment to natural products. Simple paper wraps or biodegradable bags can be a great choice, as they not only protect your soap but also appeal to environmentally-conscious consumers.
If you're gifting your soap or selling it, adding a label with ingredients and usage instructions is a thoughtful touch. This transparency builds trust and helps users understand how to best utilize your soap for their specific skin conditions.