Creating Soap Sculptures for Special Events: A How-To Guide
Introduction to Soap Sculptures: A Unique Art Form
Soap sculptures are an innovative and eye-catching way to celebrate special events. They combine artistry with functionality, resulting in beautiful pieces that can also be used as gifts or decorations. Whether for weddings, birthdays, or corporate gatherings, these sculptures can add a personal touch that guests will remember.
Art enables us to find ourselves and lose ourselves at the same time.
Creating soap sculptures is not just for professional artists; anyone with a bit of creativity can dive into this craft. The materials are relatively inexpensive and accessible, making it a perfect project for beginners. Plus, the satisfaction of transforming simple soap into a stunning creation is truly rewarding.
In this guide, we'll walk you through the entire process of creating soap sculptures, from gathering materials to showcasing your finished artwork. Whether you're looking to impress guests or simply explore a new hobby, this guide will provide you with the tools and inspiration you need.
Gathering Materials: What You Need to Get Started
Before you start sculpting, it's essential to gather all the necessary materials. You'll need soap base, which can be purchased at craft stores or online, along with molds, carving tools, and colorants. Don't forget to have safety gear like gloves and goggles, especially when working with sharp tools.
Consider the type of soap you want to use—glycerin soap is popular for beginners due to its ease of melting and molding. If you're aiming for a particular design, you may also want embellishments such as essential oils, glitters, or even dried flowers. These will not only enhance the visual appeal but also add a delightful fragrance.
Soap Sculptures: An Accessible Art
Anyone can create stunning soap sculptures with simple materials and a bit of creativity.
Having everything organized before you start will make the sculpting process smoother. Set up a dedicated workspace where you can spread out and get creative without distractions. This preparation will help you focus on crafting your masterpiece rather than scrambling to find materials.
Choosing the Right Design: Inspiration and Ideas
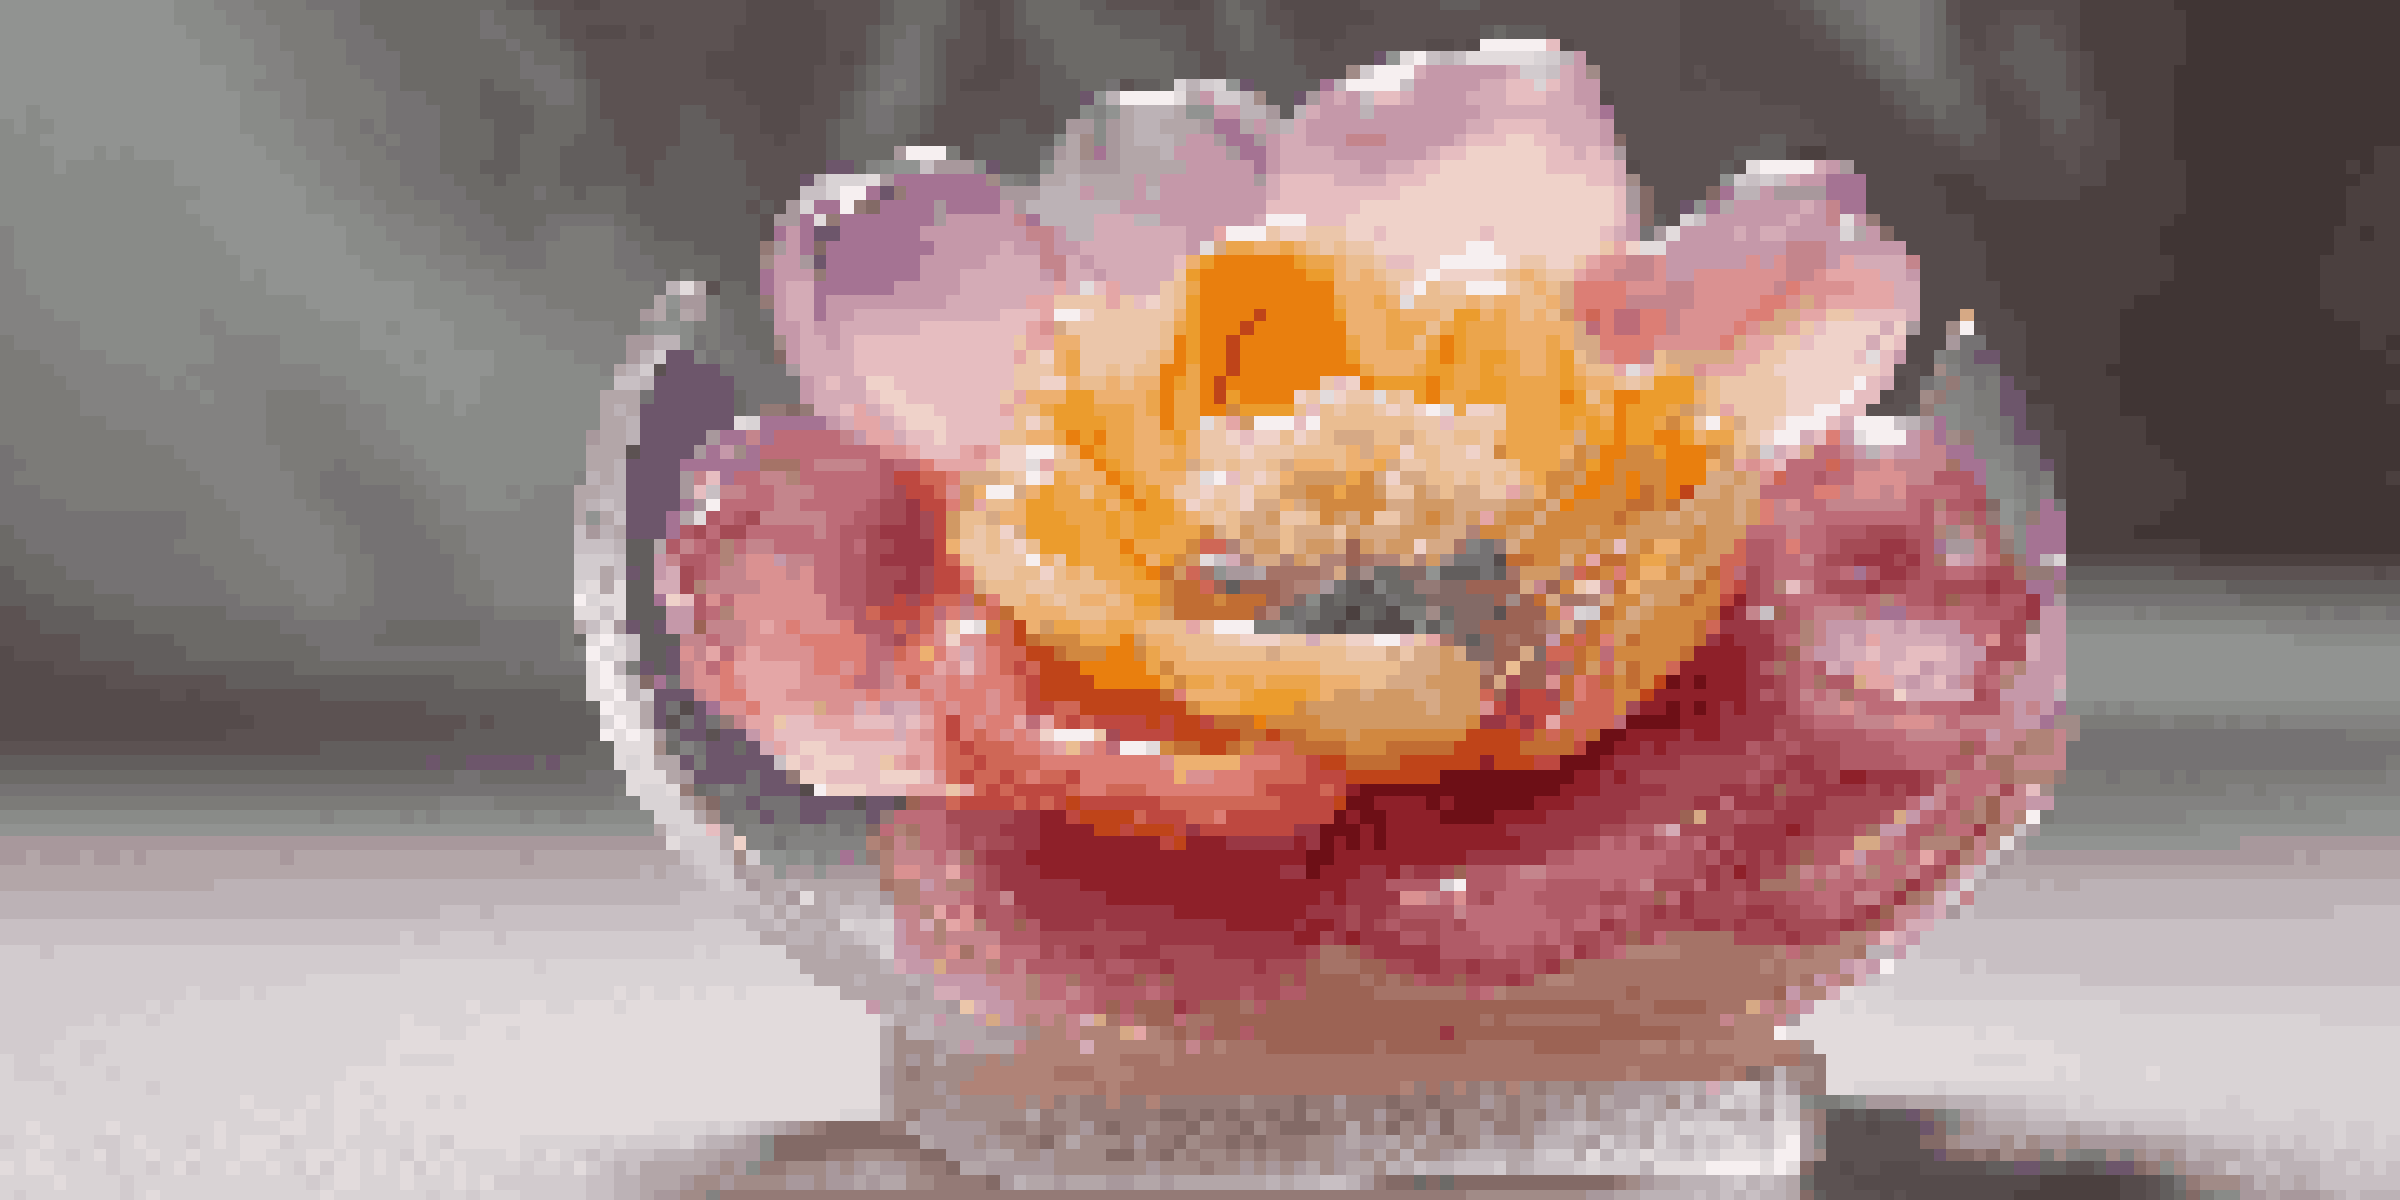
Choosing a design for your soap sculpture can be one of the most enjoyable parts of the process. Think about the theme of your event—floral designs work well for weddings, while geometric shapes can suit modern parties. Browsing through online platforms like Pinterest can spark your creativity and provide fresh ideas.
Creativity takes courage.
You can also consider personalizing the sculptures to reflect the tastes or interests of the event's honoree. For instance, if you're crafting for a child, you might create their favorite cartoon character. This thoughtful touch can create a deeper connection to the event and make your sculpture even more meaningful.
Sketching out your ideas before starting can help you visualize the final product. Don't be afraid to mix and match elements from different designs; this is your chance to showcase your creativity. Remember, the goal is to enjoy the process while making something beautiful!
Melting and Molding Soap: Step-by-Step Process
Once you have your design in mind, it's time to melt your soap base. Cut the soap into small cubes for even melting and place them in a microwave-safe container. Heat in short intervals, stirring in between, until the soap is fully melted but not boiling. This step is crucial, as overheating can affect the quality of your soap.
Next, pour the melted soap into your chosen mold. If you're adding colorants or essential oils, this is the moment to mix them in. Stir gently to avoid bubbles, which can mar the surface of your sculpture. Allow the soap to cool slightly before adding any intricate details to ensure they adhere properly.
Personalize Your Designs
Customizing your soap sculptures to reflect event themes or personal interests adds a meaningful touch.
After the soap has cooled and solidified, carefully remove it from the mold. If you encounter any sticking, you can gently wiggle or flex the mold to release the sculpture. Now, you’re ready to start adding your artistic flair—this is where the fun really begins!
Sculpting Techniques: Carving and Detailing Your Sculpture
With your soap base now molded, it's time to get creative with your carving tools. Use a knife or specialized soap carving tools to add details and refine your design. Start with larger shapes and gradually move to more intricate details to avoid overwhelming yourself.
As you sculpt, remember to take your time and be patient. It’s easy to get carried away and make mistakes, but the beauty of soap is that you can always melt and remold it if needed. If you’re feeling unsure, practice on a small piece of soap first to build your confidence.
Adding textures, patterns, or even layered colors can elevate your sculpture to the next level. Consider using a toothpick for fine lines or a sponge for softer effects. The more you experiment, the more unique your sculpture will become, so don’t hesitate to play around with different techniques!
Finishing Touches: Adding Colors and Fragrances
Once your sculpture is sculpted, it’s time to bring it to life with colors and fragrances. You can use soap-safe colorants to paint your sculpture or add swirls to the melted soap before pouring it into molds. This phase is where your creativity can truly shine, as you can use an array of colors to match your event's theme.
For those who want to add a delightful scent, incorporating essential oils during the melting process is a great option. Choose fragrances that complement the design and theme of your event, as this can enhance the overall experience for your guests. Just remember to use them sparingly, as strong scents can sometimes be overwhelming.
Display and Gift with Style
Thoughtful presentation and packaging can elevate your soap sculptures into memorable gifts or centerpieces.
Take a moment to inspect your sculpture for any rough edges or imperfections. You can use a small knife or a fine-grit sandpaper to smooth these out. These finishing touches will not only improve the aesthetic but also create a polished final product that you can be proud of.
Displaying and Gifting Your Soap Sculptures
Now that your soap sculpture is complete, think about how you want to present it. A beautiful display can elevate your sculpture from simple decoration to a centerpiece. Consider using clear acrylic stands or decorative trays that complement your event’s aesthetics to showcase your work.
If you’re gifting your sculptures, consider packaging them thoughtfully. A simple box or cellophane wrap with a ribbon can transform an already stunning piece into a lovely gift. Adding a personal note or tag can also create a more meaningful connection for the recipient.

Finally, don’t forget to take pictures of your creations! Sharing your soap sculptures on social media can inspire others to try their hand at this craft. Plus, it’s a fantastic way to remember the effort and creativity you poured into making your event memorable.